
How to Use Hose for Airbrush or Workshop Tools: Easy Guide
Quick Summary: Using a hose for your airbrush or workshop tools is simple. First, identify the correct hose and fittings for your tool. Next, securely attach the hose to both the air compressor and your tool, ensuring a tight, leak-free connection. Finally, adjust the air pressure on your compressor to the recommended setting for your tool, and you’re ready to go!
Ever struggled to get your airbrush or workshop tools connected and running smoothly? It’s a common frustration. Getting the right hose and fittings is key to making sure your tools work efficiently and safely. A loose connection can mean wasted air and poor performance, while the wrong type of hose can even damage your equipment.
Don’t worry! This guide will walk you through each step, from choosing the right hose to setting up your air pressure. By the end, you’ll be able to confidently connect and use hoses with your airbrush and workshop tools, saving you time and hassle. Let’s get started!
Understanding Hoses for Airbrush and Workshop Tools

Before diving into the how-to, let’s cover the basics. Different tools need different types of hoses to work their best.
Types of Hoses
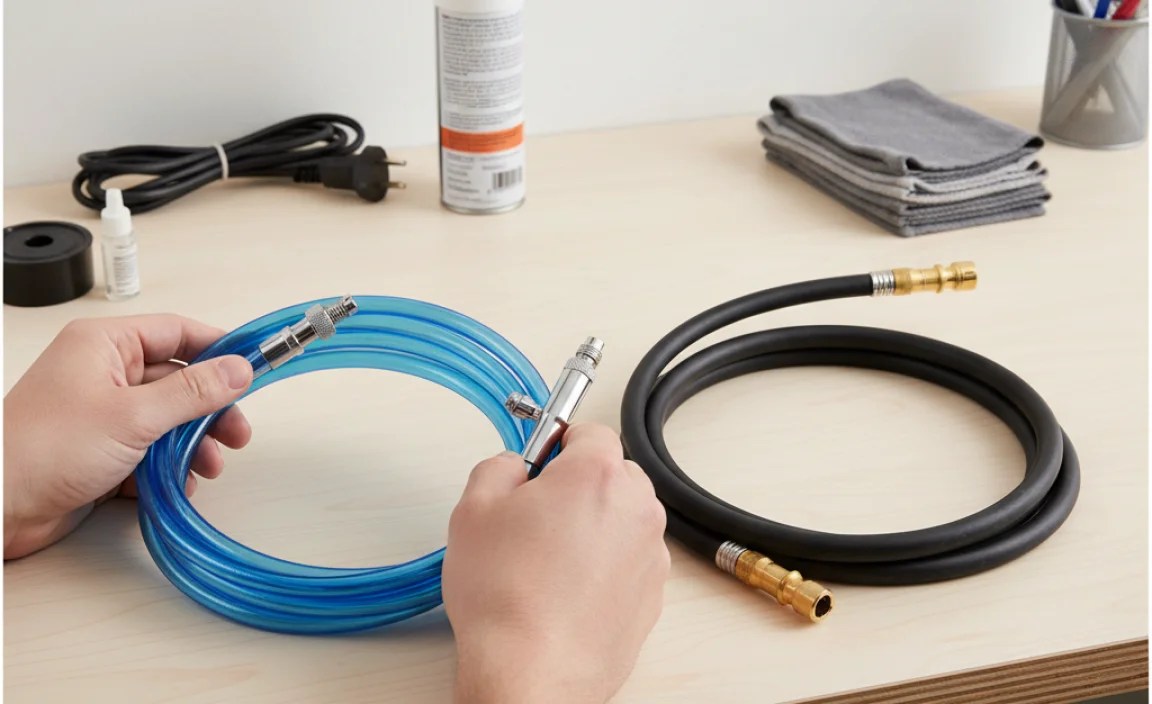
Choosing the right hose is the first step. Here’s a breakdown of common types:
- PVC Hoses: These are lightweight and flexible, making them great for general use. They’re affordable but not ideal for high-pressure applications.
- Rubber Hoses: More durable than PVC, rubber hoses can handle higher pressures and are resistant to cracking and abrasion.
- Polyurethane Hoses: Known for their flexibility and resistance to kinks, polyurethane hoses are a good middle-ground option.
- Nylon Hoses: These are very strong and can withstand high pressures and temperatures. They’re often used in more demanding workshop environments.
- Braided Hoses: These hoses have a reinforcing braid (usually nylon or stainless steel) around the inner tube, providing exceptional strength and durability. They’re ideal for high-pressure applications and tools that require consistent airflow.
Hose Materials: Pros and Cons
Here’s a quick comparison to help you decide:
| Hose Material | Pros | Cons |
|---|---|---|
| PVC | Lightweight, flexible, affordable | Not suitable for high pressure, can become brittle over time |
| Rubber | Durable, handles higher pressure, resistant to cracking | Heavier than PVC, can be more expensive |
| Polyurethane | Flexible, kink-resistant, good balance of properties | May not be as durable as rubber or nylon |
| Nylon | Very strong, high pressure and temperature resistance | Less flexible, can be more expensive |
| Braided | Extremely durable, high pressure resistance, consistent airflow | Most expensive, can be less flexible than other options |
Understanding Fittings and Connectors
Fittings are what connect the hose to your tool and air compressor. Common types include:
- Threaded Fittings: These screw onto the hose and tool. Common thread types include NPT (National Pipe Thread) and BSP (British Standard Pipe).
- Quick-Connect Fittings: These allow you to quickly attach and detach the hose without tools. They’re convenient for swapping between different tools.
- Barbed Fittings: These have barbs that grip the inside of the hose, providing a secure connection. They typically require hose clamps for added security.
Hose and Fitting Sizes
Make sure the hose and fittings are the correct size for your tools. Common sizes include 1/4 inch, 3/8 inch, and 1/2 inch. Check your tool’s manual to determine the correct size.
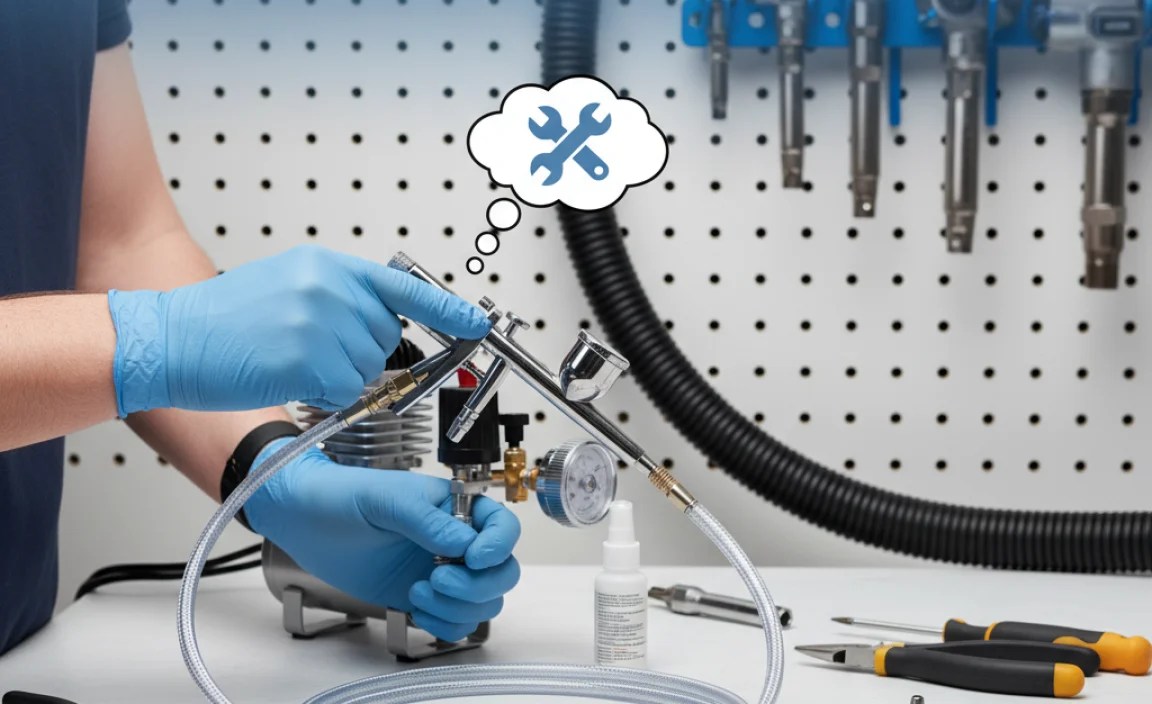
Step-by-Step Guide: Connecting Your Hose

Now, let’s get practical. Here’s how to connect your hose to your airbrush or workshop tools.
Tools You’ll Need
- Appropriate hose for your tool
- Correct fittings for your hose, tool, and compressor
- Adjustable wrench or pliers
- Teflon tape (also known as plumber’s tape)
- Safety glasses
Step 1: Prepare the Fittings
Wrap the threads of the fittings with Teflon tape. This creates a tighter seal and prevents leaks. Wrap the tape in the direction of the threads.
- Clean the threads of the fitting.
- Wrap Teflon tape around the threads 2-3 times.
- Make sure the tape is snug and covers all the threads.
Step 2: Connect the Fittings to the Hose
Attach the fittings to both ends of the hose. Tighten them securely with an adjustable wrench or pliers. Be careful not to overtighten, as this can damage the fittings.
- Push the hose onto the fitting.
- If using barbed fittings, secure with hose clamps.
- Tighten the clamps with a screwdriver.
Step 3: Connect the Hose to the Air Compressor
Attach one end of the hose to the air compressor. Again, make sure the fitting is securely tightened.
- Locate the air outlet on your compressor.
- Screw the hose fitting onto the outlet.
- Tighten with a wrench, being careful not to overtighten.
Step 4: Connect the Hose to Your Tool
Attach the other end of the hose to your airbrush or workshop tool. Ensure a secure connection.
- Locate the air inlet on your tool.
- Screw the hose fitting onto the inlet.
- Tighten with a wrench, being careful not to overtighten.
Step 5: Check for Leaks
Turn on the air compressor and check for leaks at all connections. If you find a leak, tighten the fitting or add more Teflon tape.
- Turn on the compressor and let it build pressure.
- Listen for hissing sounds near the connections.
- If you hear a hiss, tighten the fitting. If it still leaks, disconnect, add more Teflon tape, and reconnect.
Choosing the Right Hose for Specific Tools

Different tools require different hose characteristics. Here’s a guide to help you choose.
Airbrushes
Airbrushes need a lightweight, flexible hose to allow for easy movement. A 1/8-inch diameter hose is common. Braided hoses are also a great option for airbrushes, as they deliver consistent airflow.
- Recommended Hose: Braided or Polyurethane
- Fitting Size: 1/8 inch
- Why: Flexibility and consistent airflow
Pneumatic Tools (e.g., Nail Guns, Impact Wrenches)
Pneumatic tools require a hose that can handle high pressure. Rubber or nylon hoses are good choices. Ensure the hose diameter is sufficient for the tool’s air consumption.
- Recommended Hose: Rubber or Nylon
- Fitting Size: 1/4 inch or 3/8 inch (check tool requirements)
- Why: High-pressure resistance and durability
Spray Guns
Spray guns, like airbrushes, benefit from consistent airflow. A braided hose is an excellent choice. The diameter should match the gun’s requirements.
- Recommended Hose: Braided
- Fitting Size: 1/4 inch or 3/8 inch (check gun requirements)
- Why: Consistent airflow and durability
Sandblasters
Sandblasters need a robust hose that can withstand abrasion from the media. Rubber or reinforced hoses are best.
- Recommended Hose: Reinforced Rubber
- Fitting Size: 3/8 inch or 1/2 inch (check blaster requirements)
- Why: Abrasion resistance and durability
Maintaining Your Hoses
Proper maintenance will extend the life of your hoses.
Regular Inspections
Check your hoses regularly for cracks, kinks, and leaks. Replace any damaged hoses immediately.
- Look for cracks or bulges in the hose.
- Check fittings for damage or corrosion.
- Test for leaks by running the compressor and listening for hissing sounds.
Proper Storage
Store your hoses in a cool, dry place, away from direct sunlight. Avoid kinking or bending the hose sharply.
- Coil the hose loosely when storing.
- Hang the hose on a reel or hook to prevent kinks.
- Keep the hose away from heat sources and direct sunlight.
Cleaning
Clean your hoses regularly to remove dirt and debris. Use a mild soap and water solution.
- Disconnect the hose from the compressor and tool.
- Rinse the hose with water to remove loose dirt.
- Wash the hose with mild soap and water.
- Rinse thoroughly and allow to dry completely before storing.
Troubleshooting Common Problems
Even with careful setup and maintenance, you might encounter issues. Here’s how to tackle them.
Leaks
Leaks are a common problem. Here’s how to fix them:
- Problem: Leaks at fittings
- Solution: Tighten the fitting or add more Teflon tape. If the fitting is damaged, replace it.
- Problem: Leaks in the hose body
- Solution: Replace the hose.
Low Air Pressure
If your tool isn’t getting enough air, check the following:
- Problem: Low compressor pressure
- Solution: Adjust the compressor’s pressure regulator to the correct setting.
- Problem: Kinked or blocked hose
- Solution: Straighten the hose or remove the blockage.
- Problem: Incorrect hose diameter
- Solution: Use a hose with the correct diameter for your tool.
Hose Kinking
Kinks restrict airflow and can damage the hose:
- Problem: Hose kinks easily
- Solution: Use a more flexible hose (e.g., polyurethane or braided). Store the hose properly to prevent kinks.
Safety Tips
Safety is paramount when working with compressed air.
- Always wear safety glasses to protect your eyes.
- Never exceed the maximum pressure rating of your hose or tools.
- Disconnect the air compressor before performing maintenance on your tools or hoses.
- Never point an air hose at yourself or others.
FAQ Section
Here are some frequently asked questions to help you further.
Q1: What size hose do I need for my airbrush?
A1: Most airbrushes use a 1/8-inch diameter hose. Check your airbrush’s manual to confirm.
Q2: Can I use a garden hose for my air compressor?
A2: No, garden hoses are not designed for compressed air and can burst under pressure. Use a hose specifically designed for air compressors.
Q3: How often should I replace my air hose?
A3: Replace your air hose if you notice any cracks, leaks, or other damage. Even without visible damage, it’s a good idea to replace hoses every few years for safety.
Q4: What is Teflon tape used for?
A4: Teflon tape (also called plumber’s tape) is used to create a tight seal between threaded fittings, preventing air leaks.
Q5: How do I prevent my air hose from kinking?
A5: Use a flexible hose material like polyurethane or braided hose. Store the hose properly by coiling it loosely or hanging it on a reel.
Q6: What does CFM mean in relation to air compressors and hoses?
A6: CFM stands for Cubic Feet per Minute, and it measures the volume of air that an air compressor can deliver. When choosing a hose, make sure its CFM rating meets or exceeds the requirements of your air tools to ensure optimal performance.
Q7: Are quick-connect fittings worth the investment?
A7: Yes, quick-connect fittings save time and hassle when switching between different air tools. They are especially useful if you frequently change tools during a project.
Conclusion
Connecting hoses to your airbrush and workshop tools doesn’t have to be a headache. By understanding the different types of hoses and fittings, following the step-by-step instructions, and maintaining your equipment properly, you can ensure your tools run smoothly and safely. Remember to always prioritize safety and use the correct hose for the job. With a little practice, you’ll be a pro at connecting hoses in no time!


