
How to Fix Stiff or Twisted Hose: Easy Guide
Quick Summary: Got a stiff or twisted hose? No problem! Soak it in hot water to soften the material. Then, gently straighten any kinks or twists. For stubborn issues, try using a heat gun on low, or replace sections with new hose. Regular use and proper storage will keep your hose flexible and tangle-free!
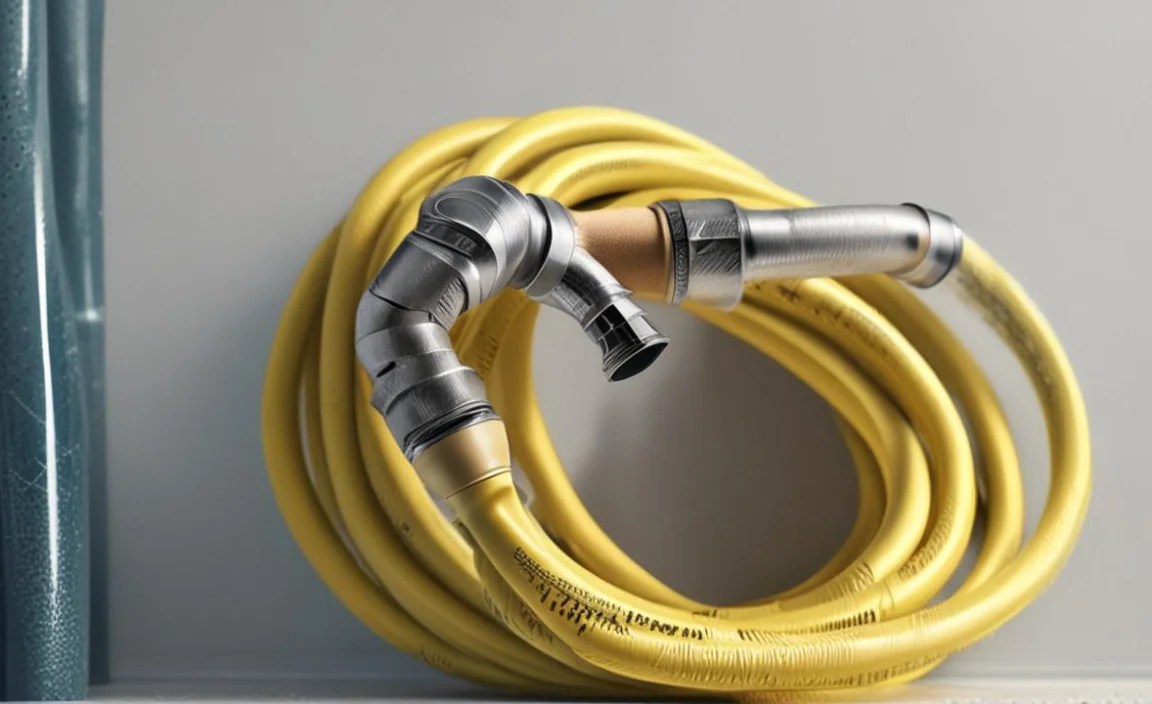
Dealing with a stiff or twisted hose is a common headache for cyclists. It makes inflating tires a real struggle, and nobody wants that right before a ride. But don’t worry, you don’t need to toss that hose just yet! There are simple ways to get it back in shape and keep it working smoothly.
In this guide, I’ll walk you through easy steps to fix a stiff or twisted hose. We’ll cover everything from simple heating methods to more advanced solutions, ensuring you can get your bike ready without the fuss. Let’s get started!
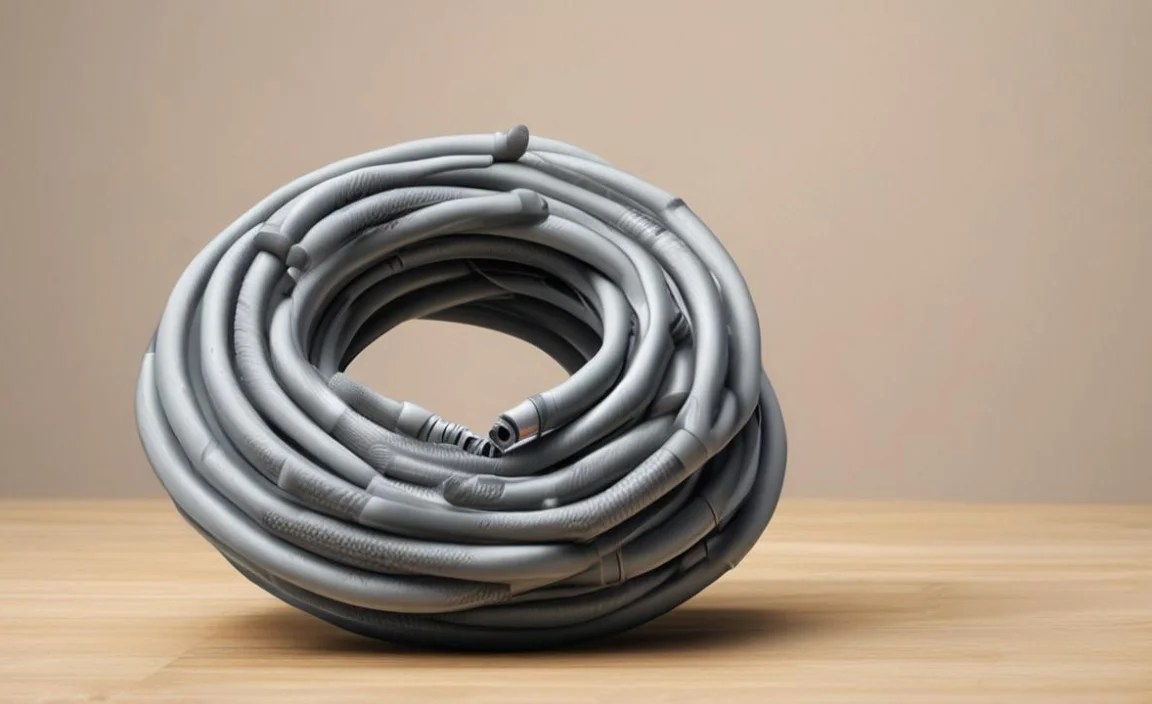
Why Your Hose Gets Stiff or Twisted

Before we dive into fixing the issue, let’s understand why your hose might be acting up in the first place. Here are a few common causes:
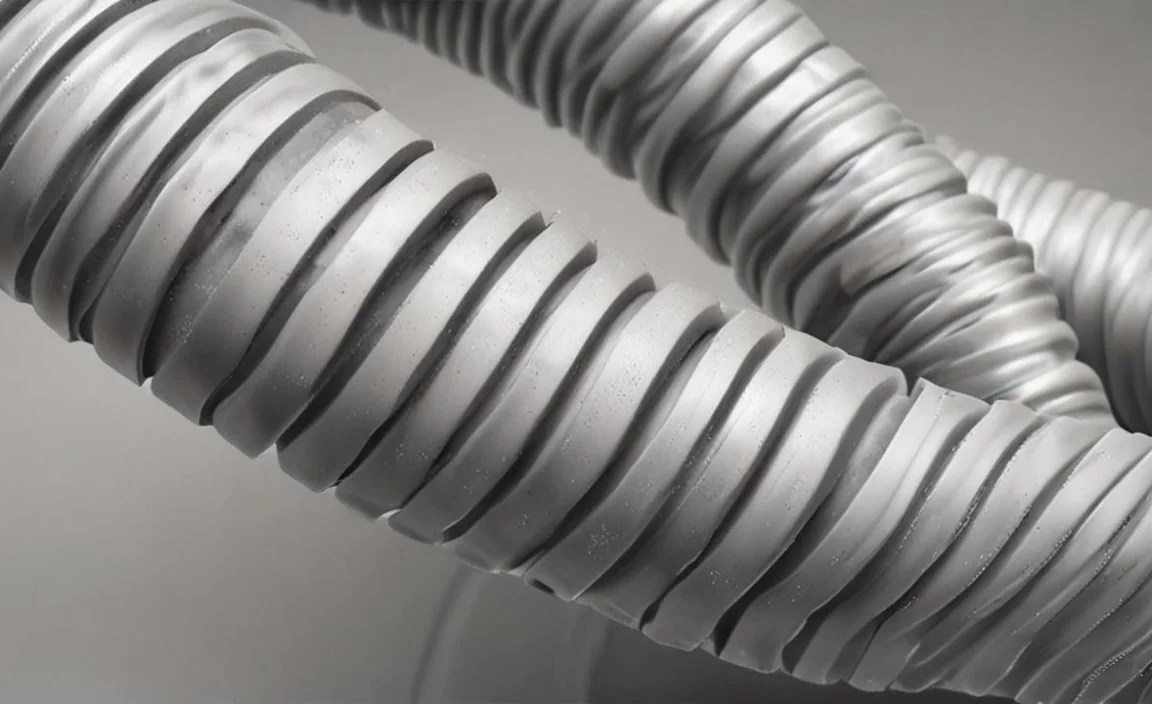
- Material Degradation: Over time, the rubber or plastic in your hose can break down, especially with exposure to sunlight and ozone.
- Temperature Changes: Extreme heat or cold can cause the hose material to harden or become brittle.
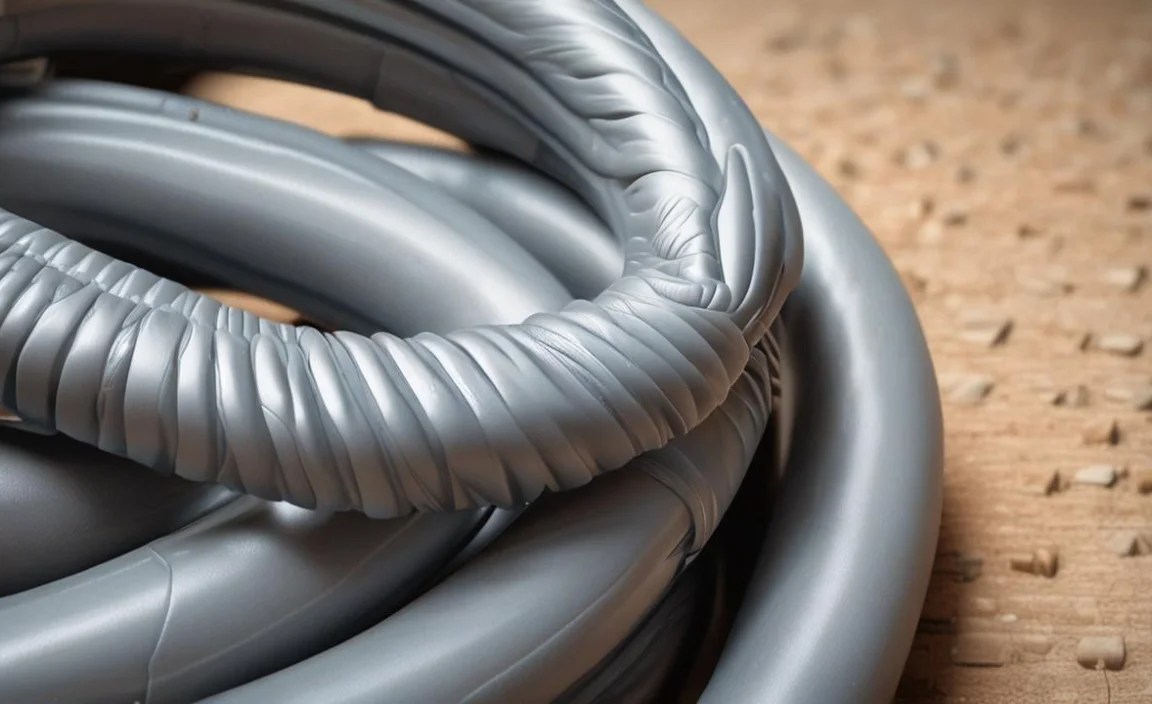
- Kinking and Twisting: Repeatedly bending the hose in the same spot weakens the material, leading to permanent kinks.
- Storage Issues: Improper storage, like tightly coiling the hose, can cause it to twist and lose flexibility.
- Age: Like all materials, hoses degrade with age. The older the hose, the more likely it is to become stiff or twisted.
Tools You Might Need
Depending on the severity of the issue, here are some tools you might find helpful:
- Hot Water: A bucket or sink to soak the hose.
- Heat Gun or Hair Dryer: For gentle heating (use with caution!).
- Mild Soap: To help lubricate and straighten the hose.
- Hose Clamps: To secure connections if you need to replace a section.
- Replacement Hose: If the damage is too severe.
- Scissors or Utility Knife: To cut the hose if replacing sections.
Step-by-Step Guide to Fixing a Stiff or Twisted Hose

Here’s how to tackle that stiff or twisted hose, step by step:
Step 1: The Hot Water Soak
This is often the easiest and most effective first step. Heat softens the hose material, making it more pliable.
- Fill a Bucket or Sink: Use hot (but not boiling) water. The temperature should be comfortable to touch but still warm.
- Submerge the Hose: Make sure the entire affected area is underwater.
- Soak for 10-15 Minutes: Give the heat time to work its magic.
- Remove and Gently Straighten: Carefully try to straighten any kinks or twists while the hose is still warm and flexible.
Step 2: Gentle Heat Application
If hot water alone doesn’t do the trick, a little more heat can help. But be careful not to overheat the hose, which can cause damage.
- Use a Heat Gun or Hair Dryer: Set it to the lowest setting.
- Apply Heat Evenly: Move the heat source back and forth along the affected area. Don’t hold it in one spot.
- Gently Straighten: As the hose warms up, try to straighten it.
- Let it Cool: Allow the hose to cool in the straightened position. This helps it retain its new shape.
Step 3: Soap and Manipulation
Sometimes, lubrication is what you need to work out those stubborn kinks.
- Apply Mild Soap: Use a small amount of dish soap or silicone-based lubricant.
- Work the Soap In: Gently massage the soap into the hose material.
- Straighten and Twist: Carefully work the hose back and forth, trying to loosen the kink.
- Rinse and Dry: Once you’ve straightened it, rinse off the soap and let the hose dry.
Step 4: Cutting and Replacing Sections
If a section of the hose is severely damaged, sometimes the best solution is to replace it. This is especially useful if you have a specific kink that just won’t come out.
- Identify the Damaged Section: Pinpoint the area that’s causing the most trouble.
- Cut the Hose: Use a sharp utility knife or scissors to cut out the damaged section.
- Measure the Replacement: Measure the length of the section you removed.
- Cut a New Piece of Hose: Purchase a replacement hose of the same diameter and cut it to the correct length.
- Attach the New Section: Use hose clamps to securely attach the new section to the existing hose. Make sure the connections are tight to prevent leaks.
Step 5: Preventative Measures
Once you’ve fixed your hose, here are some tips to keep it in good condition:
- Proper Storage: Store the hose loosely coiled in a cool, dry place. Avoid tight bends.
- Avoid Extreme Temperatures: Don’t leave the hose in direct sunlight or freezing temperatures for extended periods.
- Regular Use: Using the hose regularly helps keep it flexible.
- Inspect Regularly: Check for signs of wear and tear, like cracks or bulges.
Advanced Techniques for Stubborn Hoses
Sometimes, a hose is just too stubborn for the basic fixes. Here are some advanced techniques to try:
Using a Heat Sleeve
A heat sleeve can provide more even heat distribution than a heat gun, reducing the risk of damage.
- Purchase a Heat Sleeve: These are available at automotive or hardware stores.
- Slide the Sleeve Over the Hose: Position it over the affected area.
- Apply Heat: Use a heat gun on low, focusing on the sleeve.
- Straighten the Hose: As the hose warms up, gently work out the kinks.
- Cool Slowly: Let the hose cool down while still in the sleeve to retain its shape.
Using a Hose Straightener Tool
These tools are designed to gently stretch and straighten hoses without causing damage.
- Purchase a Hose Straightener: Look for one that fits the diameter of your hose.
- Attach the Tool: Follow the manufacturer’s instructions to attach the tool to the hose.
- Apply Gentle Pressure: Slowly and steadily apply pressure to straighten the hose.
- Work Gradually: Don’t try to straighten the hose all at once. Work in small increments.
Choosing the Right Replacement Hose
If you need to replace your hose, here’s what to look for:
- Material: Look for hoses made from high-quality rubber or reinforced plastic.
- Diameter: Make sure the replacement hose has the same inner diameter as your original hose.
- Flexibility: Choose a hose that’s flexible and easy to work with.
- Durability: Look for a hose that’s resistant to cracking and kinking.
Troubleshooting Common Issues
Here are some common problems you might encounter and how to solve them:
| Issue | Solution |
|---|---|
| Hose is still stiff after heating | Try a longer soak in hotter water, or use a heat gun more carefully. |
| Hose kinks immediately after straightening | Cool the hose in the straightened position, and consider using a hose straightener tool. |
| Hose cracks when bent | The hose is likely too old and brittle. Replace it. |
| New hose is too stiff | Soak it in hot water before use to increase flexibility. |
Comparing Hose Materials: Pros and Cons
When choosing a replacement hose, understanding the properties of different materials can help you make the best choice.
| Material | Pros | Cons |
|---|---|---|
| Rubber | Highly flexible, durable, resistant to cracking | Can degrade over time with exposure to ozone and UV light |
| Reinforced Plastic | Lightweight, resistant to chemicals, less prone to degradation | Can be less flexible than rubber, may kink more easily |
| Silicone | Highly flexible, resistant to extreme temperatures, long-lasting | More expensive than rubber or plastic |
Cost Considerations
Fixing a stiff or twisted hose is generally inexpensive. Here’s a breakdown of potential costs:
- Hot Water: Virtually free.
- Soap: A few cents for dish soap.
- Hose Clamps: $5 – $10 for a pack.
- Replacement Hose: $10 – $30, depending on the material and length.
- Heat Gun: If you don’t already have one, a basic model can cost $20 – $50.
- Hose Straightener Tool: $15 – $40.
FAQ: Common Questions About Hose Maintenance
Q1: How often should I replace my bike pump hose?
Answer: It depends on usage and storage, but generally every 2-3 years, or sooner if you notice cracks, stiffness, or leaks.
Q2: Can I use boiling water to soften the hose?
Answer: It’s best to avoid boiling water, as it can damage the hose material. Hot tap water is usually sufficient.
Q3: How do I prevent my hose from twisting in the first place?
Answer: Store it loosely coiled, avoid extreme temperatures, and don’t bend it sharply.
Q4: Is it safe to use a heat gun on my hose?
Answer: Yes, but use it on the lowest setting and keep it moving to avoid overheating one spot.
Q5: Can I use WD-40 to lubricate the hose?
Answer: It’s better to use silicone-based lubricants, as WD-40 can degrade rubber over time. Silicone lubricants are designed for rubber and plastic parts, offering better long-term protection and flexibility.
Q6: What’s the best way to store my bike pump hose?
Answer: Loosely coil it and store it in a cool, dry place away from direct sunlight. This prevents kinks and material degradation.
Q7: How can I tell if my hose needs replacing instead of fixing?
Answer: If the hose has multiple cracks, bulges, or persistent leaks even after attempting repairs, it’s time to replace it.
Conclusion
Fixing a stiff or twisted hose doesn’t have to be a daunting task. With these simple steps, you can restore your hose to its former glory and get back to enjoying your rides. Remember, prevention is key, so proper storage and regular maintenance will go a long way in keeping your hose flexible and tangle-free. So grab your tools, follow these tips, and keep those tires inflated!


