
How to Clean Inner Hose Using Compressed Air: Easy Guide
Quick Summary: Cleaning an inner hose with compressed air is straightforward. First, disconnect the hose from its source. Then, attach an air compressor nozzle to one end of the hose and apply short bursts of air. Repeat until no more debris comes out. This method quickly removes dirt, dust, and moisture, keeping your equipment running smoothly.
Ever feel like your bike pump isn’t working as well as it used to? Or maybe your inflatable kayak takes forever to fill up? A common culprit is a clogged inner hose. Over time, these hoses accumulate dust, dirt, and even moisture, which can seriously impact performance. The good news is, you can easily clean them using compressed air. This simple DIY fix will restore your equipment to its former glory. Let’s get started with a step-by-step guide to get that hose clean and your gear working like new!
Why Clean Your Inner Hose?
Before we dive into the how-to, let’s talk about why cleaning your inner hose is so important. Think of your hose as the artery that keeps everything flowing smoothly. When it’s clogged, here’s what can happen:
- Reduced Performance: Clogs restrict airflow, making pumps less efficient.
- Equipment Damage: Blockages can strain motors and other components, leading to breakdowns.
- Inaccurate Readings: Debris can interfere with pressure gauges, giving you false readings.
- Hygiene Issues: Moisture buildup can lead to mold and bacteria growth, especially in water-related equipment.
Regular cleaning prevents these issues, prolonging the life of your equipment and ensuring optimal performance.
Tools You’ll Need
You don’t need a ton of fancy gear for this task. Here’s a simple list of what you’ll need:
- Air Compressor: A standard air compressor with a nozzle attachment.
- Safety Glasses: To protect your eyes from flying debris.
- Gloves: To keep your hands clean and protected.
- Clean Rags: For wiping down the hose and catching any debris.
- Hose Clamps or Pliers (if needed): Depending on how your hose is connected.
Step-by-Step Guide: Cleaning Your Inner Hose with Compressed Air

Step 1: Safety First
Before you start, put on your safety glasses and gloves. This will protect your eyes and hands from any debris that might come flying out of the hose.
Step 2: Disconnect the Hose
Carefully disconnect the hose from the equipment it’s attached to. This might involve unscrewing it, unclamping it, or simply pulling it off. If there are clamps, use pliers to loosen them first. Make sure the equipment is off and, if necessary, depressurized before disconnecting anything.
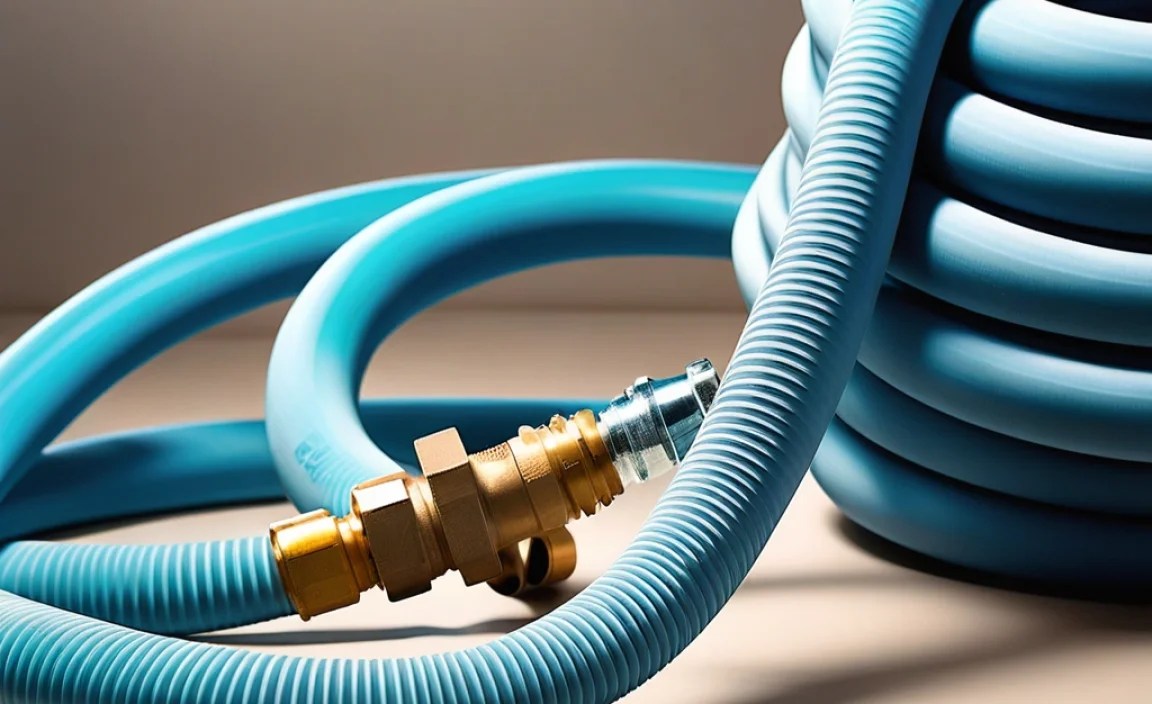
Step 3: Inspect the Hose
Take a good look at the hose. Check for any visible cracks, tears, or damage. If the hose is damaged, cleaning it might not be enough, and you may need to replace it altogether. A damaged hose can leak or burst under pressure, so it’s best to err on the side of caution.
Step 4: Prepare Your Air Compressor
Make sure your air compressor is set to a safe pressure. A good starting point is around 30-40 PSI (pounds per square inch). You don’t want to use too much pressure, as this could damage the hose. Attach the nozzle to the air compressor hose.
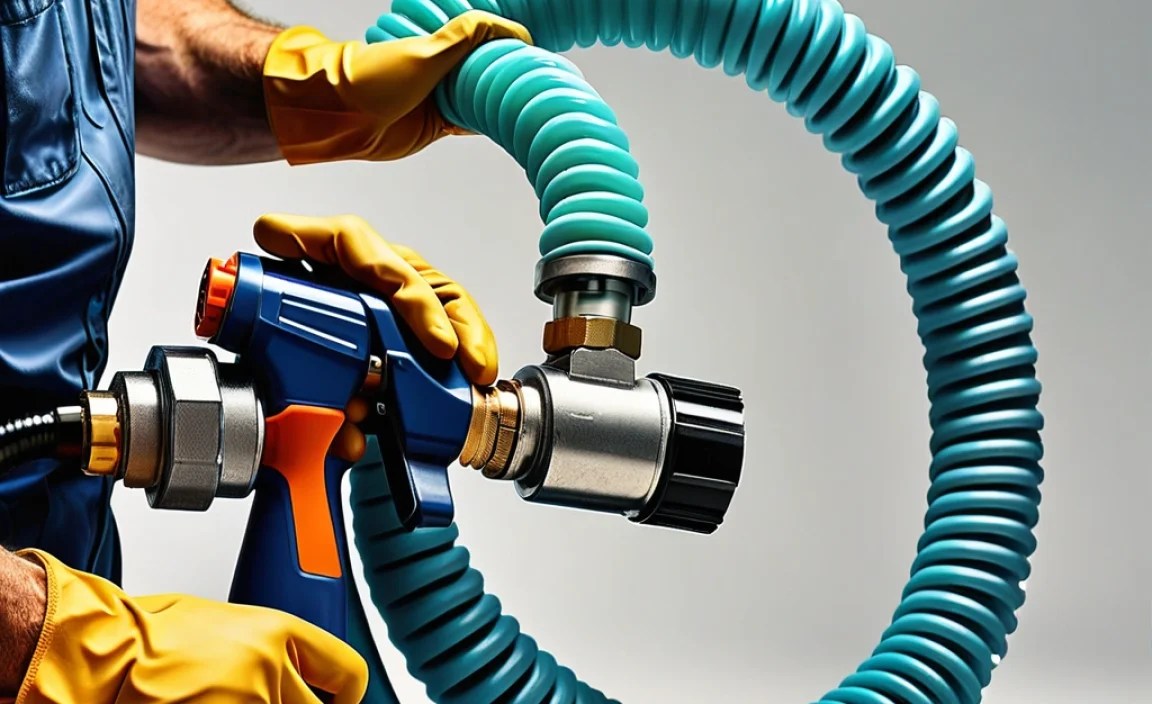
Step 5: Attach the Nozzle to the Hose
Insert the air compressor nozzle into one end of the inner hose. Make sure it fits snugly. If the nozzle is too small, you can wrap some tape around it to create a tighter seal. This will help direct the airflow and prevent air from escaping.
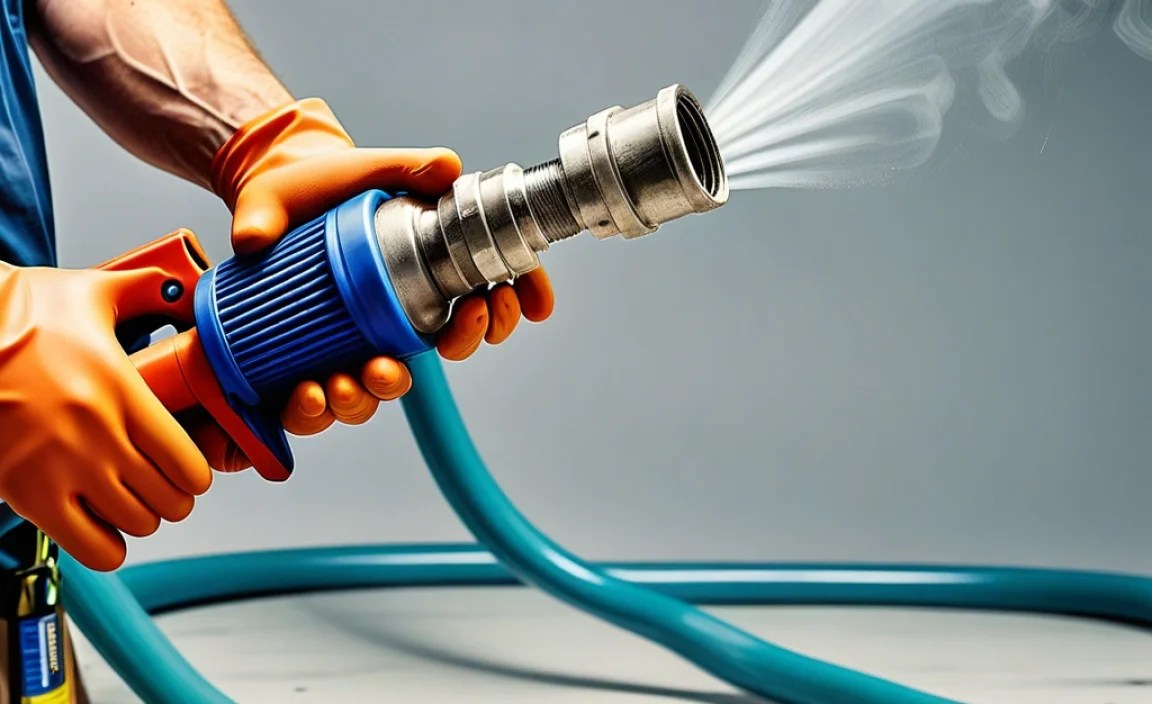
Step 6: Blow Out the Hose
Hold the hose firmly and point the open end away from yourself and others. Give the air compressor nozzle short, controlled bursts of air. You should see and hear debris coming out of the other end. Continue this process, alternating between short bursts and pauses, until the air comes out clean.
Step 7: Repeat the Process
Repeat the blowing process from the other end of the hose. This will ensure that you remove any debris that might be lodged in the middle. Again, use short bursts of air and check for cleanliness.
Step 8: Final Inspection
Once you’ve blown out the hose from both ends, give it a final inspection. Hold it up to the light and look through it to see if you can spot any remaining debris. If necessary, repeat the blowing process until the hose is completely clean.
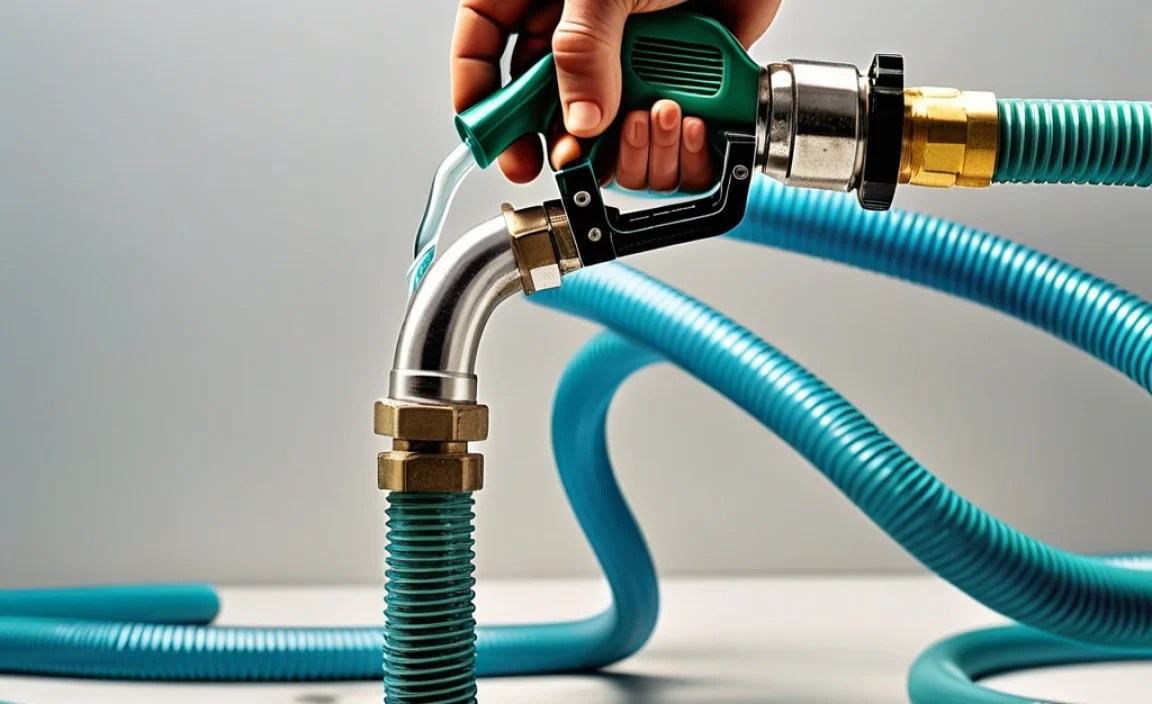
Step 9: Reconnect the Hose
Now that the hose is clean, it’s time to reconnect it to your equipment. Make sure the connections are secure and properly tightened. If you removed any clamps, reattach them securely.
Step 10: Test Your Equipment
Finally, test your equipment to make sure everything is working properly. If it’s a bike pump, try inflating a tire. If it’s another type of equipment, run it through its normal functions to ensure that the airflow is smooth and consistent.
Tips for Stubborn Blockages
Sometimes, you might encounter a stubborn blockage that just won’t budge. Here are a few tips to try:
- Increase Air Pressure: Gradually increase the air pressure on your compressor, but be careful not to exceed the hose’s maximum pressure rating.
- Use a Flexible Wire: Gently insert a flexible wire (like a speedometer cable for a bicycle) into the hose to break up the blockage. Be careful not to puncture the hose.
- Soak the Hose: Soak the hose in warm, soapy water for a few minutes to loosen any stubborn debris. Make sure to dry the hose thoroughly before reconnecting it.
When to Replace the Hose
Sometimes, cleaning isn’t enough. Here are some signs that it’s time to replace your inner hose:
- Visible Damage: Cracks, tears, or kinks in the hose.
- Loss of Flexibility: The hose feels stiff or brittle.
- Leaks: Air or fluid leaks from the hose, even after cleaning.
- Age: The hose is several years old and showing signs of wear and tear.
Replacing a worn-out hose is a simple and inexpensive way to keep your equipment running smoothly and safely.
Maintaining Your Hose for Longevity
To keep your inner hose in good condition and avoid frequent cleaning, consider these maintenance tips:
- Store Properly: Store hoses in a cool, dry place, away from direct sunlight and extreme temperatures.
- Avoid Kinking: Don’t bend or kink the hose excessively, as this can weaken the material.
- Regular Inspections: Check the hose regularly for signs of wear and tear.
- Use Filters: If your equipment uses filters, clean or replace them regularly to prevent debris from entering the hose.
Air Compressor Maintenance
Don’t forget that your air compressor needs some love, too! Here are a few tips for maintaining your air compressor:
- Drain Moisture: Regularly drain the moisture from the air compressor tank.
- Clean the Air Filter: Clean or replace the air filter to ensure proper airflow.
- Check for Leaks: Inspect the compressor for any air leaks and repair them promptly.
- Oil the Compressor: If your compressor requires oil, check the oil level regularly and add oil as needed.
Troubleshooting Common Issues
Even with careful cleaning and maintenance, you might encounter some common issues. Here’s how to troubleshoot them:
| Issue | Possible Cause | Solution |
|---|---|---|
| Reduced Airflow | Clogged hose or filter | Clean the hose and filter |
| Air Leaks | Loose connections or damaged hose | Tighten connections or replace the hose |
| Equipment Not Working | Blockage preventing proper function | Thoroughly clean the hose and check other components |
Recommended Products
Here’s a quick list of highly recommended products to keep your hoses and equipment in top shape:
- Goodyear Rubber Air Hose: Durable and flexible for various applications.
- Milton Industries Air Compressor Regulator: For precise air pressure control.
- BOA Flexible Inspection Camera: To visually inspect the inside of hoses.
- WD-40 Specialist Silicone Lubricant: For lubricating hose connections.
FAQ: Cleaning Inner Hoses with Compressed Air
Can I use too much air pressure and damage the hose?
Yes, excessive air pressure can damage or even burst the hose. Start with a lower pressure (30-40 PSI) and gradually increase it if needed, but never exceed the hose’s maximum pressure rating.
How often should I clean my inner hose?
The frequency depends on how often you use the equipment and the environment it’s used in. As a general rule, clean it every 3-6 months, or more often if you notice a decrease in performance.
What if I don’t have an air compressor?
If you don’t have an air compressor, you can try using a can of compressed air (like the kind used for cleaning electronics). However, an air compressor provides more consistent and powerful airflow.
Can I use water to clean the hose instead of air?
Yes, you can use water, but make sure to dry the hose completely afterward to prevent mold and bacteria growth. Compressed air is more effective at removing moisture.
What kind of safety glasses should I use?
Any ANSI-rated safety glasses will provide adequate protection. Look for glasses that fit snugly and cover your eyes completely.
Is it safe to use compressed air on all types of hoses?
Compressed air is generally safe for most types of hoses, but always check the manufacturer’s recommendations first. Avoid using high pressure on delicate or thin-walled hoses.
What should I do if the hose is still clogged after cleaning?
If the hose is still clogged after cleaning, try using a flexible wire to break up the blockage. If that doesn’t work, it might be time to replace the hose.
Conclusion
Cleaning your inner hose with compressed air is a simple yet effective way to maintain your equipment and keep it running smoothly. By following these steps and tips, you can prolong the life of your hoses, improve performance, and avoid costly repairs. So grab your safety glasses, fire up that air compressor, and give your hoses the TLC they deserve!


