
How to Find Small Leaks in Hose: Easy Fixes!
Finding small leaks in hoses can be tricky, but it’s crucial for keeping your bike running smoothly. Here’s how: First, clean and dry the hose. Next, inspect it closely, listening for hisses or feeling for moisture. If needed, use soapy water to spot tiny leaks. Repairing or replacing the hose promptly will prevent bigger problems down the road.
Dealing with a leaky hose on your bike can be a real headache. Whether it’s a brake hose, hydraulic line, or even a tire inflator hose, those tiny leaks can lead to big problems. You might notice a loss of pressure, reduced braking power, or just the frustration of constantly topping things off. But don’t worry! Finding these sneaky leaks doesn’t have to be a mystery. With a few simple steps and some keen observation, you can pinpoint the problem and get back to enjoying your ride. We’ll walk through everything you need to know, from a basic visual check to using soapy water to reveal the tiniest of pinholes. Let’s get started and keep those hoses in top shape!
Tools You’ll Need
Before we dive into the how-to, let’s gather the necessary tools. Having these on hand will make the process smoother and more efficient.
- Clean Cloth or Rag: For wiping down the hose to get a clear view.
- Bucket of Water: To mix with soap for leak detection.
- Mild Soap or Dish Soap: Creates bubbles to reveal leaks.
- Spray Bottle (Optional): For easy application of soapy water.
- Flashlight or Work Light: Helps to see in dimly lit areas.
- Safety Glasses: Protects your eyes from splashes.
Step-by-Step Guide to Finding Small Leaks
Now, let’s get into the detailed steps for finding those pesky leaks. Follow these instructions carefully to ensure you don’t miss anything.
Step 1: Prepare the Hose
The first step is to clean the hose thoroughly. Dirt and grime can hide small leaks, so a clean surface is essential.
- Wipe Down the Hose: Use a clean, dry cloth to wipe down the entire length of the hose. Remove any visible dirt, oil, or debris.
- Dry the Hose: Make sure the hose is completely dry. Water droplets can mimic leaks, so a dry surface is crucial.
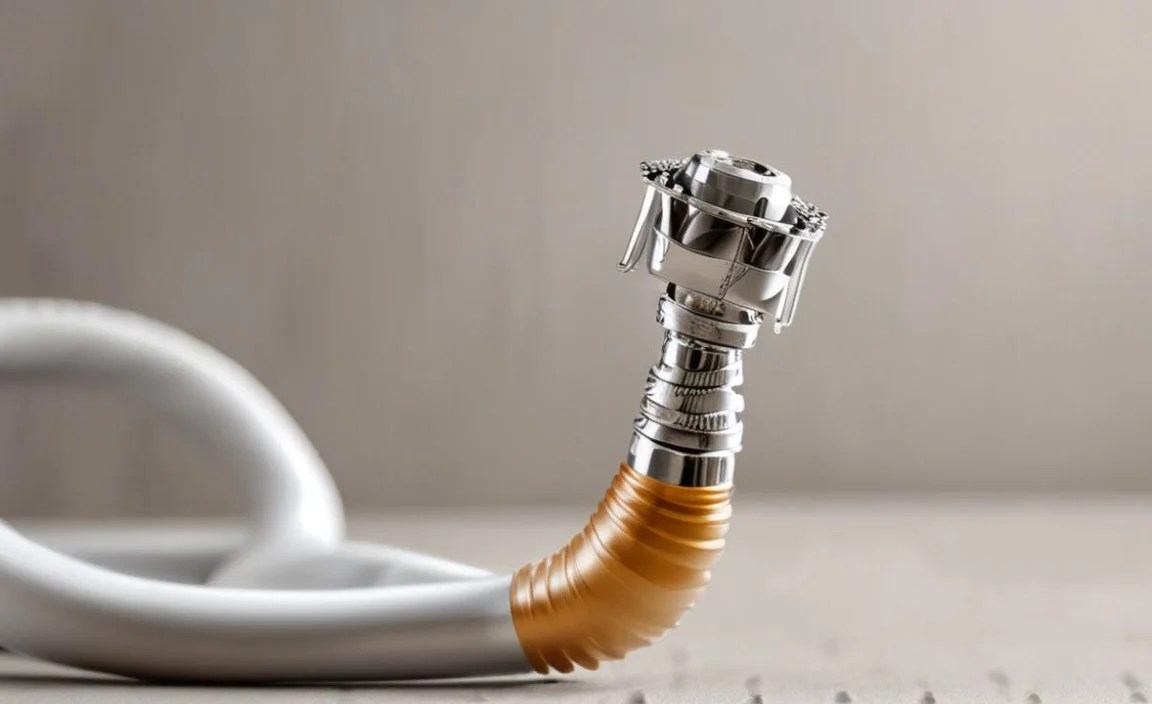
Step 2: Visual Inspection
Next, perform a detailed visual inspection of the hose. Look for any signs of damage or wear.
- Check for Cracks: Look closely for any cracks, especially near fittings and connections. Use a flashlight to illuminate hard-to-see areas.
- Inspect for Bulges: Bulges can indicate a weakening of the hose material, which can lead to leaks.
- Look for Wear and Tear: Check for any signs of abrasion, cuts, or general wear. Pay attention to areas where the hose might rub against other parts of the bike.
Step 3: Listen Carefully
Sometimes, you can hear a leak before you see it. Listen closely for any hissing sounds near the hose.
- Quiet Environment: Perform this step in a quiet environment to better hear any subtle hissing noises.
- Listen Near Connections: Pay particular attention to the areas where the hose connects to other components, as these are common leak points.
Step 4: The Soapy Water Test
The soapy water test is one of the most effective methods for finding small leaks. The soap bubbles will reveal even the tiniest of holes.
- Mix Soapy Water: In a bucket, mix a small amount of mild soap with water. A ratio of about 1 part soap to 5 parts water is usually sufficient.
- Apply Soapy Water: Use a spray bottle or a cloth to apply the soapy water to the hose. Make sure to cover the entire surface, including fittings and connections.
- Observe for Bubbles: Watch closely for the formation of bubbles. Even small bubbles indicate a leak.
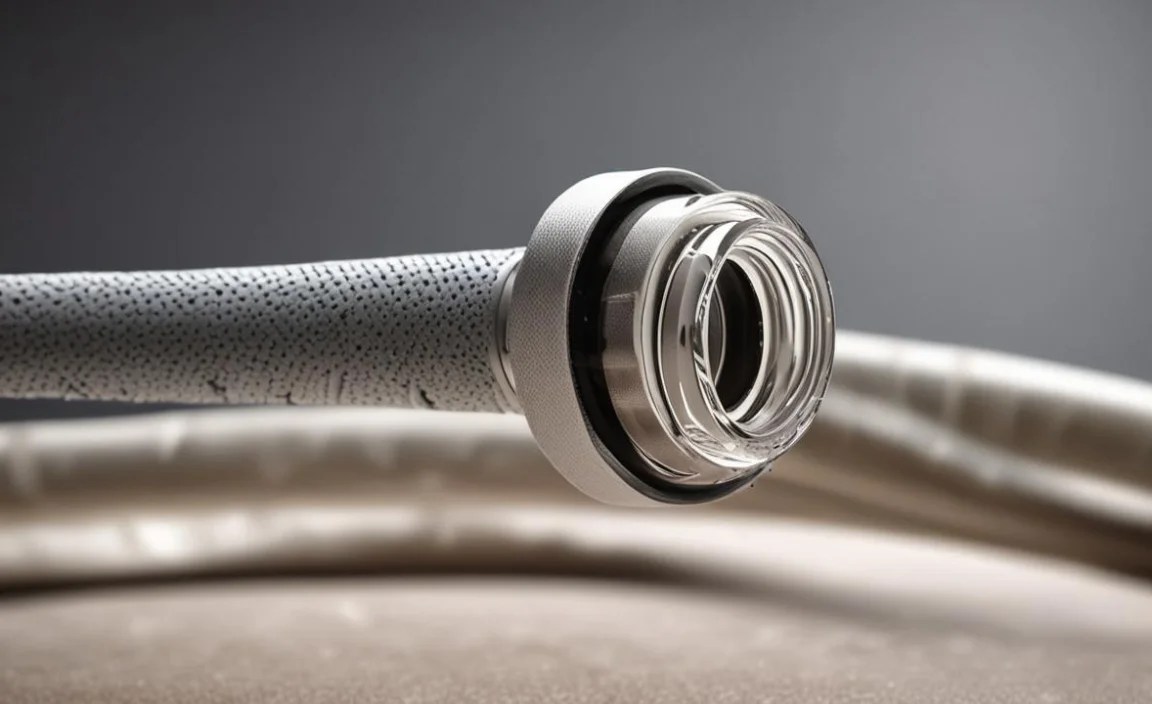
Step 5: Check Connections and Fittings
Connections and fittings are common areas for leaks. Make sure these are properly tightened and in good condition.
- Tighten Fittings: Use the appropriate wrench to gently tighten any loose fittings. Be careful not to overtighten, as this can damage the fitting or hose.
- Inspect for Damage: Check the fittings for any signs of damage, such as cracks or corrosion. Replace any damaged fittings.
- Check for Proper Sealing: Ensure that the fittings are properly sealed. If necessary, use Teflon tape or sealant to create a better seal.
Step 6: Pressurize the System (If Applicable)
If you’re working with a system that can be pressurized, such as a hydraulic brake system or an air suspension system, pressurizing it can help reveal leaks.
- Pressurize the System: Carefully pressurize the system to its normal operating pressure.
- Reapply Soapy Water: Apply soapy water to the hose and connections while the system is pressurized.
- Observe for Leaks: Watch for the formation of bubbles. The increased pressure will make leaks more apparent.
- Safety First: Always follow the manufacturer’s instructions for pressurizing the system. Use appropriate safety precautions to avoid injury.
Step 7: Inspect the Hose Internally (If Possible)
Sometimes, leaks can occur from the inside out. If possible, inspect the inside of the hose for any signs of damage.
- Disconnect the Hose: Disconnect the hose from the system.
- Inspect the Interior: Use a flashlight to inspect the interior of the hose. Look for any cracks, delamination, or other signs of damage.
- Replace if Necessary: If you find any damage, replace the hose.
Common Leak Locations
Knowing where leaks commonly occur can help you focus your search and save time.
- Fittings and Connections: The points where the hose connects to other components are prime spots for leaks.
- Areas of Bending or Flexing: Hoses are more likely to leak in areas where they are bent or flexed frequently.
- Points of Abrasion: Areas where the hose rubs against other parts of the bike can wear down and develop leaks.
- Near Clamps or Fasteners: Clamps and fasteners can sometimes damage the hose, leading to leaks.
Repair vs. Replace
Once you’ve found a leak, you’ll need to decide whether to repair or replace the hose. Here’s a quick guide to help you make the right choice.
| Condition | Repair | Replace |
|---|---|---|
| Small Pinhole Leak | Temporary fix with sealant or tape | Recommended for long-term reliability |
| Crack or Cut | Not recommended; unreliable | Essential for safety and performance |
| Damaged Fitting | Replace fitting if possible | Replace entire hose if fitting is not replaceable |
| General Wear and Tear | Not recommended | Best option to prevent future leaks |
Repair Options
If you decide to repair the hose, here are a few options to consider.
- Hose Clamps: Can be used to tighten a loose connection or seal a small leak.
- Sealant: Special sealants designed for hoses can be used to plug small leaks.
- Hose Repair Tape: Self-fusing silicone tape can provide a temporary fix for small leaks.
Replacement Options
Replacing the hose is often the best long-term solution. Here’s what to consider when choosing a replacement hose.
- OEM Replacement: Using a hose from the original equipment manufacturer ensures a perfect fit and reliable performance.
- Aftermarket Options: High-quality aftermarket hoses can be a good alternative, but make sure they meet or exceed the specifications of the original hose.
- Hose Material: Choose a hose made from a durable material that is resistant to wear, chemicals, and UV exposure.
Preventative Maintenance
Preventing leaks is always better than dealing with them. Here are some tips for keeping your hoses in good condition.
- Regular Inspection: Inspect your hoses regularly for any signs of wear, damage, or leaks.
- Proper Cleaning: Keep your hoses clean and free of dirt and grime.
- Avoid Abrasion: Make sure your hoses are not rubbing against other parts of the bike. Use cable ties or other methods to secure them.
- Proper Storage: Store your bike in a cool, dry place to prevent the hoses from deteriorating.
Troubleshooting Common Issues
Sometimes, finding the leak can be more challenging than expected. Here are some common issues and how to troubleshoot them.
- Can’t Find the Leak: If you’re having trouble finding the leak, try pressurizing the system and reapply the soapy water. Also, check in dimly lit areas using a flashlight.
- Multiple Leaks: If you find multiple leaks, it’s best to replace the entire hose.
- Leak Only Appears Under Pressure: Some leaks only appear when the system is under pressure. Make sure to pressurize the system when testing.
Advanced Techniques for Leak Detection
For those hard-to-find leaks, here are some advanced techniques that might help.
- UV Dye: Add UV dye to the system and use a UV light to find leaks. The dye will glow under the UV light, making leaks easier to spot.
- Electronic Leak Detectors: These devices can detect even the smallest leaks by sensing changes in pressure or flow.
- Professional Inspection: If you’re still unable to find the leak, consider taking your bike to a professional mechanic for inspection.
Safety Precautions
When working with hoses and pressurized systems, it’s important to take safety precautions.
- Wear Safety Glasses: Protect your eyes from splashes of fluid or debris.
- Depressurize the System: Before disconnecting any hoses, make sure to depressurize the system to avoid injury.
- Use Proper Tools: Use the correct tools for the job to avoid damaging the hose or fittings.
- Follow Manufacturer’s Instructions: Always follow the manufacturer’s instructions for working on your bike.
Why Finding Leaks Matters
Addressing even small hose leaks is crucial for a few key reasons:
- Performance: Leaks reduce the efficiency and performance of your bike’s systems, whether it’s braking, suspension, or tire inflation.
- Safety: A leaky brake hose can compromise your braking power, putting you at risk.
- Cost Savings: Catching and fixing leaks early can prevent more serious damage and costly repairs down the road.
- Environmental Impact: Leaks can release harmful fluids into the environment.
External Resources
For additional information and resources, check out these helpful links:
FAQ
What causes small leaks in hoses?
Small leaks in hoses are often caused by wear and tear, age, abrasion, or damage to fittings. Over time, the hose material can degrade, leading to cracks or pinholes. Improper installation or overtightening of fittings can also cause leaks.
Can I use any type of soap for the soapy water test?
It’s best to use mild soap or dish soap for the soapy water test. Avoid using harsh chemicals or solvents, as these can damage the hose material. Gentle soap will create the bubbles needed to detect leaks without causing harm.
How often should I inspect my bike’s hoses for leaks?
You should inspect your bike’s hoses for leaks regularly, ideally before each ride or at least once a month. Regular inspections can help you catch small leaks early, before they become bigger problems.
Is it safe to ride my bike with a small leak in a hose?
Riding your bike with a leak in a hose can be unsafe, especially if it’s a brake hose. A leak can compromise the performance of your bike’s systems, potentially leading to accidents. It’s best to repair or replace the hose before riding.
Can I repair a hose with duct tape?
Duct tape is not a reliable solution for repairing a hose. While it may provide a temporary fix, it’s not designed to withstand the pressure and conditions that hoses are exposed to. It’s best to use proper repair methods or replace the hose.
What type of sealant should I use to repair a hose?
Use a sealant specifically designed for hoses. These sealants are formulated to bond to the hose material and withstand pressure. Avoid using generic sealants, as they may not provide a reliable seal and could damage the hose.
How do I know if a fitting is too tight?
A fitting is too tight if it’s difficult to turn or if you feel resistance. Overtightening can damage the fitting or hose, leading to leaks. Tighten fittings gently and only until they are snug. If a fitting is damaged, replace it.
Conclusion
Finding and fixing small leaks in your bike’s hoses is a crucial part of maintaining your ride and ensuring your safety. By following these step-by-step instructions, you can identify leaks early and take the appropriate action, whether it’s a simple repair or a full replacement. Regular inspection and preventative maintenance will keep your hoses in top condition, so you can enjoy smooth, worry-free rides. So grab your tools, get to work, and keep those wheels turning!


