
How to Check Hose for Internal Blockage? Easy Guide
Quick Summary:
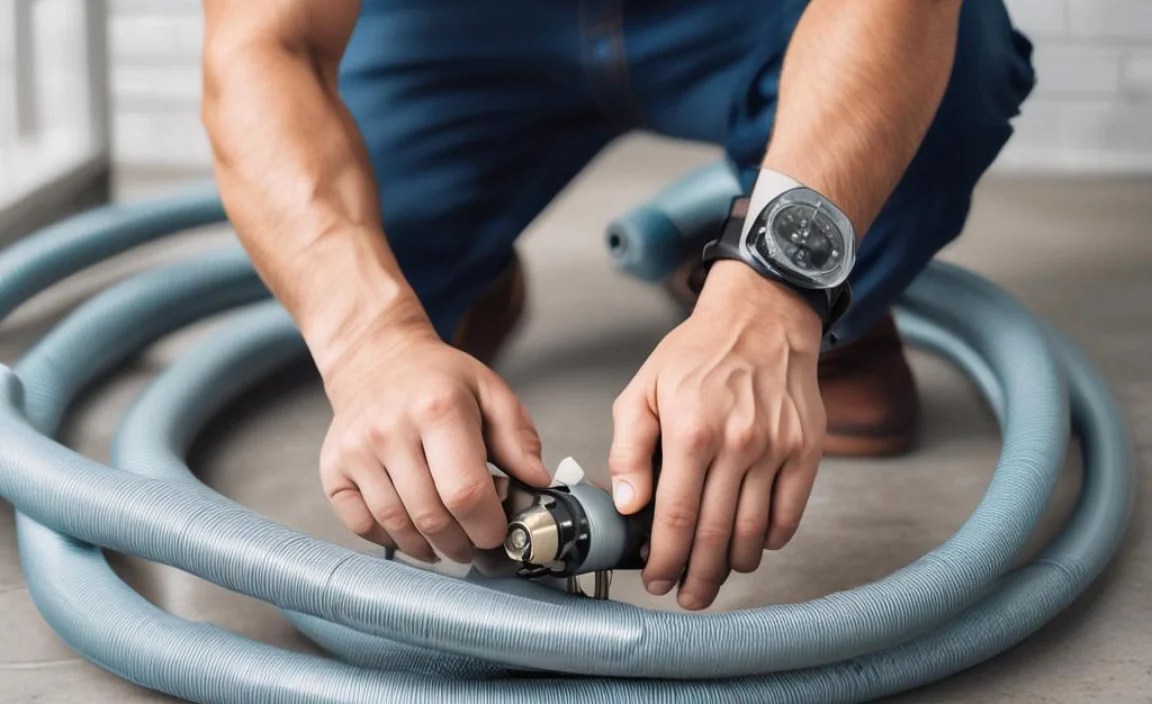
To check a hose for an internal blockage, start by visually inspecting the hose for kinks, cracks, or bulges. Disconnect the hose and try blowing air through it. If air doesn’t pass freely, use a flexible wire or a hose brush to dislodge any obstructions. Flush the hose with water to remove remaining debris, and then retest the airflow.
Dealing with a blocked hose can be super frustrating, whether it’s on your bike pump, garden hose, or even part of a larger system. A blockage stops everything in its tracks, and you’re left wondering why things aren’t working as they should. The good news is that checking for and clearing these blockages is usually pretty straightforward. I’ll walk you through the steps, so you can get your gear back in working order quickly and easily.
In this guide, you’ll learn how to identify the signs of a blocked hose, the simple tools you can use to clear it, and some handy tips to prevent future blockages. Let’s get started and get that hose flowing freely again!
Identifying a Blocked Hose: Common Signs
Before you start poking around, it’s good to know what to look for. Here are some common signs that your hose might have an internal blockage:
- Reduced Flow: This is the most obvious sign. If the water or air flow is significantly weaker than usual, there’s likely a blockage.
- No Flow At All: Sometimes, a blockage can completely stop the flow.
- Bulges or Kinks: These can indicate a buildup of pressure due to a blockage, or a physical obstruction.
- Unusual Noises: Gurgling or whistling sounds might mean air or liquid is struggling to get past an obstruction.
Tools You’ll Need

Gathering the right tools makes the job much easier. Here’s what I recommend having on hand:
- Hose Brush or Flexible Wire: To dislodge and push out the blockage. A speedometer cable for bikes works great!
- Water Source: A tap or hose to flush out debris.
- Bucket: To catch the flushed-out water and debris.
- Safety Glasses: To protect your eyes from splashing water or debris.
- Gloves: To keep your hands clean and protected.
Step-by-Step Guide: How to Check for and Clear a Hose Blockage

Follow these steps to diagnose and fix a blocked hose.
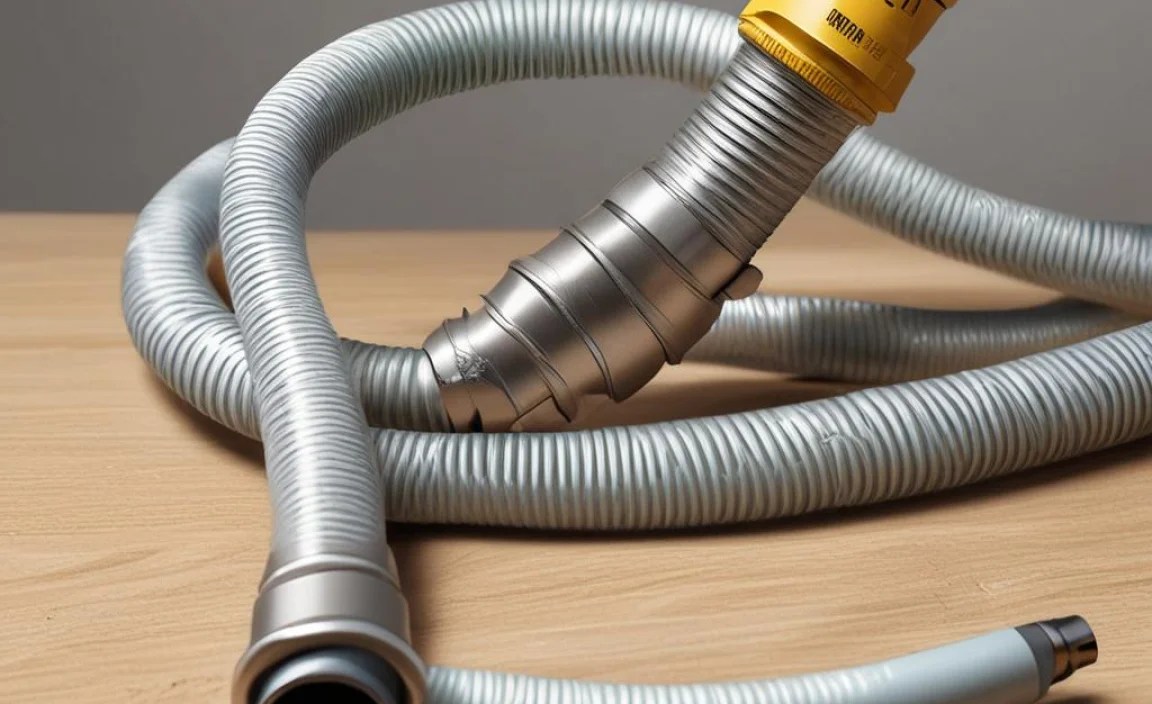
Step 1: Visual Inspection
Start by giving the hose a good look. Check for:
- Kinks: Straighten out any kinks you find. Sometimes, this is all it takes to restore flow.
- Cracks or Wear: Cracks can weaken the hose and lead to blockages. Replace the hose if it’s damaged.
- Bulges: These indicate a potential blockage causing pressure buildup.
Step 2: Disconnect the Hose
Disconnect the hose from its connections. This allows you to inspect it more closely and clear the blockage without affecting other components. Make sure any pressure is released before disconnecting to avoid injury.
Step 3: The Blow Test
Try blowing air through the hose. If you can’t blow air through or if it’s difficult, there’s definitely a blockage.
Step 4: Use a Hose Brush or Flexible Wire
This is where you’ll try to dislodge the blockage.
- Insert the Brush or Wire: Gently insert the hose brush or flexible wire into one end of the hose.
- Push and Twist: Carefully push the brush or wire through the hose, twisting it as you go. This helps to break up and dislodge any debris.
- Work it Through: Continue working the brush or wire through the entire length of the hose until it comes out the other end.
Step 5: Flush with Water
After using the brush or wire, flush the hose with water to remove any remaining debris.
- Connect to Water Source: Attach one end of the hose to a tap or water source.
- Flush: Turn on the water and let it run through the hose for several minutes. Observe the water coming out the other end to see if any debris is being flushed out.
- Repeat: Repeat the flushing process from both ends of the hose to ensure all debris is removed.
Step 6: Re-Test Airflow
After flushing, try the blow test again to see if the blockage is cleared. If air flows freely, you’ve likely solved the problem.
Step 7: Reconnect and Test
Reconnect the hose to its connections and test the system to ensure everything is working properly. If the flow is still weak or non-existent, repeat the above steps or consider replacing the hose.
Advanced Techniques for Stubborn Blockages
Sometimes, a simple brush and flush won’t do the trick. Here are some advanced techniques for more stubborn blockages.
Using a Hose Cleaning Tool
A specialized hose cleaning tool can be very effective. These tools often have a nozzle that directs a high-pressure stream of water to blast away blockages.
- Attach the Tool: Connect the hose cleaning tool to your water source.
- Insert and Blast: Insert the tool into the hose and activate the high-pressure stream.
- Move Along the Hose: Slowly move the tool along the length of the hose to clear any stubborn debris.
Soaking in Vinegar or Warm Soapy Water
Soaking the hose can help to loosen mineral deposits or other buildup.
- Prepare the Solution: Mix equal parts of white vinegar and water, or use warm water with a mild soap.
- Soak the Hose: Submerge the hose in the solution and let it soak for several hours or overnight.
- Flush Thoroughly: After soaking, flush the hose thoroughly with clean water to remove any remaining debris and the cleaning solution.
Using Compressed Air
Compressed air can be used to force out stubborn blockages. However, use this method with caution, as high pressure can damage the hose.
- Connect Air Compressor: Attach an air compressor to one end of the hose.
- Apply Short Bursts: Use short bursts of air to dislodge the blockage.
- Monitor Hose Condition: Check the hose for any signs of damage during the process.
Preventing Future Blockages
Prevention is always better than cure. Here are some tips to keep your hoses clear and prevent future blockages.
- Regular Flushing: Periodically flush your hoses with water to remove any buildup of debris.
- Proper Storage: Store hoses properly to avoid kinks and damage. Coil them neatly or use a hose reel.
- Use Filters: Install filters to prevent debris from entering the hose system.
- Avoid Extreme Temperatures: Protect hoses from extreme temperatures, which can cause them to deteriorate and develop cracks.
When to Replace the Hose
Sometimes, a hose is beyond saving. Here are signs that it’s time for a replacement:
- Cracks and Wear: If the hose has multiple cracks or shows signs of significant wear, it’s time to replace it.
- Permanent Kinks: Kinks that can’t be straightened out can restrict flow and weaken the hose.
- Bulges: Bulges indicate that the hose has weakened and is at risk of bursting.
- Repeated Blockages: If you’re constantly dealing with blockages despite regular maintenance, the hose may be deteriorating internally.
Types of Hoses and Their Specific Needs
Different types of hoses have different uses and require specific care. Here’s a quick guide:
| Hose Type | Common Use | Maintenance Tips |
|---|---|---|
| Garden Hose | Watering plants, washing cars | Store out of direct sunlight, drain after each use, check for cracks regularly. |
| Bike Pump Hose | Inflating tires | Avoid over-bending, check for wear at the pump head connection, replace if cracked. |
| Air Compressor Hose | Powering tools, inflating tires | Drain moisture after each use, inspect for kinks and cuts, store properly coiled. |
| Fuel Hose | Transferring fuel | Use only with compatible fuels, check for leaks and deterioration, replace if swollen or cracked. |
Troubleshooting Common Issues
Here are some common problems you might encounter and how to troubleshoot them:
- Hose Kinks Easily:
- Problem: Hose material is too flexible or low quality.
- Solution: Replace with a higher quality, kink-resistant hose.
- Blockages Keep Recurring:
- Problem: Debris is constantly entering the system.
- Solution: Install a filter to catch debris before it enters the hose.
- Low Water Pressure:
- Problem: Blockage is only partially cleared.
- Solution: Repeat the cleaning process or use a stronger cleaning method, like a hose cleaning tool.
Hose Materials: Pros and Cons
Understanding the materials your hose is made from can help you choose the right one and maintain it properly.
| Material | Pros | Cons |
|---|---|---|
| Rubber | Durable, flexible, resistant to cracking | Can be heavy, may degrade in sunlight |
| Vinyl | Lightweight, inexpensive | Less durable, prone to kinking and cracking |
| Reinforced PVC | Strong, resists bursting, good flexibility | Can be more expensive than vinyl |
| Polyurethane | Very flexible, lightweight, resistant to chemicals | Can be more expensive, may be less durable than rubber |
FAQ
What causes hoses to get blocked?
Hoses get blocked by debris like dirt, mineral deposits, algae, or small objects that get inside. Over time, these accumulate and restrict or completely block the flow.
Can I use a pressure washer to clear a blocked hose?
Yes, but with caution. Use a low-pressure setting and be careful not to damage the hose. A pressure washer can be effective for dislodging stubborn blockages, but always start with the lowest pressure setting.
How often should I check my hoses for blockages?
Check your hoses at least every few months, or more often if you notice reduced flow or other signs of a blockage. Regular checks can prevent minor issues from becoming major problems.
Is it safe to use chemical drain cleaners in hoses?
No, it’s generally not safe. Chemical drain cleaners can damage the hose material and may not effectively clear the blockage. Stick to physical methods like brushes and flushing with water.
How do I store my hoses to prevent blockages?
Store hoses neatly coiled or on a hose reel, away from direct sunlight and extreme temperatures. Make sure to drain the hose completely before storing it to prevent debris from settling inside.
Can temperature affect hose blockages?
Yes, extreme temperatures can cause hoses to expand and contract, which can loosen debris and cause blockages. Cold temperatures can also make hoses more brittle and prone to cracking.
What’s the best way to remove mineral buildup from a hose?
Soaking the hose in a solution of equal parts white vinegar and water is an effective way to remove mineral buildup. Let it soak for several hours or overnight, then flush thoroughly with clean water.
Conclusion
Checking a hose for internal blockages doesn’t have to be a daunting task. With a few simple tools and these step-by-step instructions, you can quickly diagnose and clear most blockages, keeping your equipment running smoothly. Regular maintenance and proper storage will go a long way in preventing future issues. So, grab your tools, give your hoses a check, and enjoy the satisfaction of a job well done. Happy cycling and pumping!


