
How to Upgrade Old Pump Hose to Modern Connector: Easy!
Quick Summary: Upgrading your old bike pump hose to a modern connector is easy! You’ll need a new hose with a compatible connector, a sharp knife or hose cutter, and possibly some heat to soften the old hose. Simply remove the old hose, prepare the new one, and securely attach it to your pump. This upgrade will improve your pump’s performance and make inflating tires much easier.
Is your old bike pump hose cracked, stiff, or just plain frustrating to use? You’re not alone! Many older pumps have hoses that are difficult to connect to modern valve types. The good news is, upgrading to a new hose with a modern connector is a simple and affordable way to breathe new life into your trusty pump. This guide will walk you through each step, so you can enjoy easier and more efficient inflation in no time. We’ll cover everything from choosing the right hose to securely attaching it to your pump.
Why Upgrade Your Bike Pump Hose?

Before we dive into the how-to, let’s quickly cover why this upgrade is worth your time.
- Improved Connection: Modern pump connectors are designed to work seamlessly with both Presta and Schrader valves, often without needing to switch any parts.
- Better Seal: A new hose and connector will create a tighter seal, minimizing air leakage and making inflation faster and more efficient.
- Increased Durability: Modern hoses are typically made from more durable materials that are less prone to cracking and splitting.
- Enhanced Convenience: Many new connectors feature ergonomic designs that are easier to grip and use, especially in cold or wet conditions.
Choosing the Right Replacement Hose and Connector

Selecting the correct replacement hose and connector is crucial for a successful upgrade. Here’s what to consider:
Hose Material and Length
The hose material affects its flexibility, durability, and resistance to wear and tear. Common materials include:
- Rubber: Traditional and flexible, but can degrade over time.
- Reinforced PVC: More durable and resistant to cracking than rubber.
- Braided Steel: Offers maximum durability and a professional look.
Consider the length of your existing hose when choosing a replacement. A hose that is too short will be difficult to use, while one that is too long can be cumbersome.
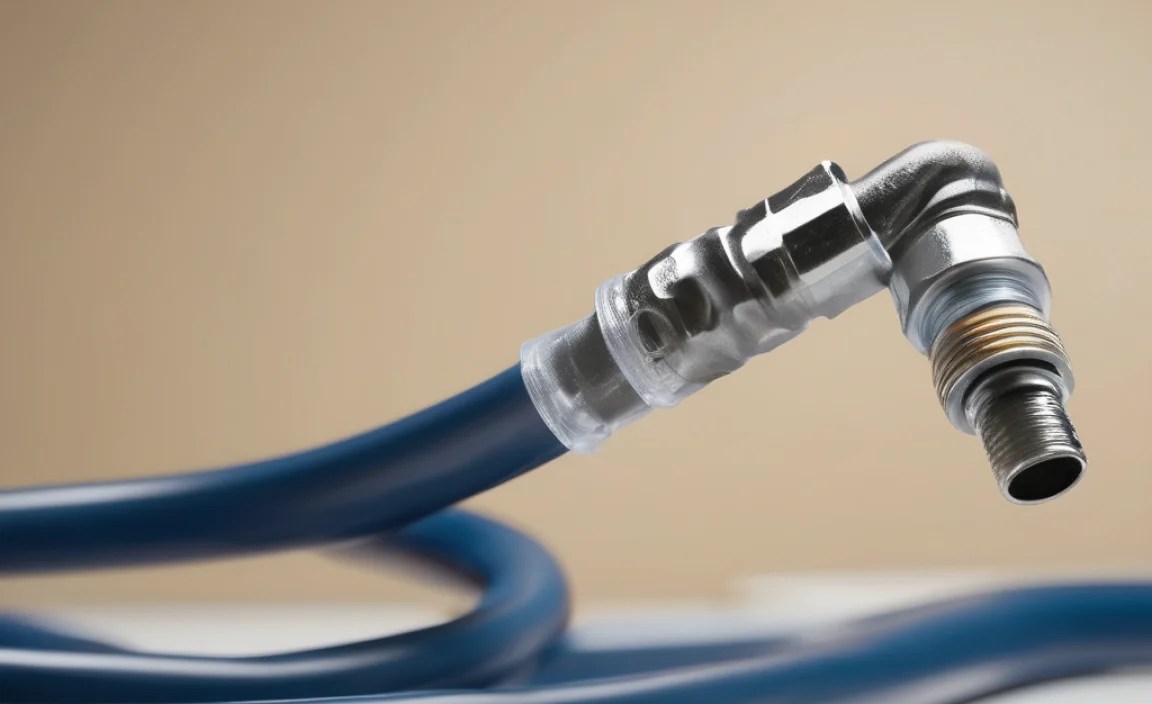
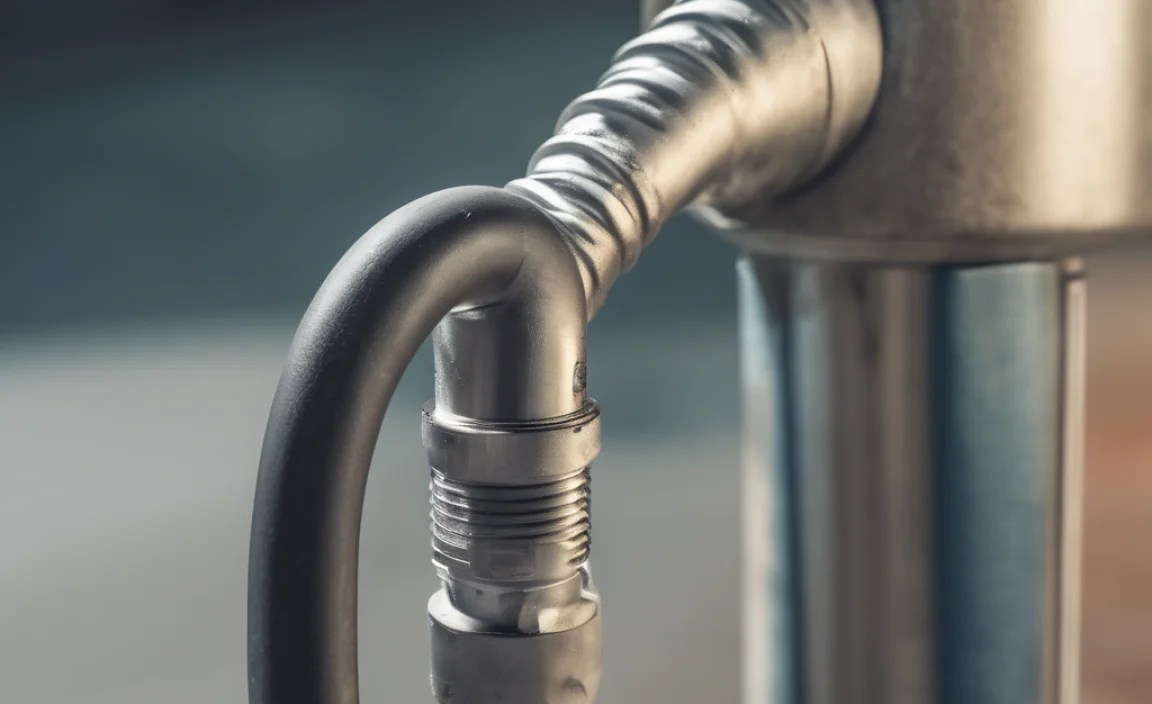
Connector Type
The connector is the part that attaches to the valve on your bike’s inner tube. There are several types of connectors available, each with its own advantages and disadvantages.
- Dual Head: These connectors have two separate openings, one for Presta valves and one for Schrader valves. You simply choose the appropriate opening for your valve type.
- Auto-Select: These connectors automatically detect the valve type and adjust accordingly, making them very convenient to use.
- Thread-On: These connectors screw onto the valve, providing a secure and leak-free connection. They are often preferred by cyclists who demand the highest level of precision.
- Lever-Lock: These connectors use a lever to clamp onto the valve. They are easy to use and provide a good seal.
Compatibility
Make sure that the hose and connector you choose are compatible with your pump. Check the pump’s specifications or consult the manufacturer’s website to determine the correct size and type of fittings.
Consider these points when shopping for your new hose:
| Feature | Considerations |
|---|---|
| Hose Length | Match the original length or slightly longer for easier use. |
| Connector Type | Dual-head or auto-select for versatility; thread-on for secure seal. |
| Hose Material | Reinforced PVC or braided steel for durability. |
| Fitting Size | Match your pump’s outlet size for a secure connection. |
Tools and Materials You’ll Need

Before you start, gather the following tools and materials:
- New Pump Hose and Connector: Choose a hose and connector that are compatible with your pump and your bike’s valve types.
- Sharp Knife or Hose Cutter: For cutting the old hose and preparing the new one. A utility knife or a specialized hose cutter will work.
- Heat Source (Optional): A heat gun or hair dryer can be used to soften the old hose, making it easier to remove.
- Screwdriver or Wrench: Depending on how your old hose is attached, you may need a screwdriver or wrench to loosen the clamp or fitting.
- Soap and Water: To clean the pump’s outlet before attaching the new hose.
- Clamps or Zip Ties (Optional): To secure the hose to the pump, if needed.
Step-by-Step Guide: Upgrading Your Pump Hose
Now that you have everything you need, let’s get started!
Step 1: Disconnect the Old Hose
The first step is to remove the old hose from your pump. This may involve loosening a clamp, unscrewing a fitting, or simply pulling the hose off the pump’s outlet.
- Locate the Hose Connection: Find where the hose attaches to the pump body.
- Loosen the Clamp (If Applicable): Use a screwdriver to loosen any clamps securing the hose.
- Remove the Hose: Gently twist and pull the hose to remove it. If it’s stuck, try using a heat gun or hair dryer to soften the rubber.
Step 2: Prepare the Pump Outlet
Once the old hose is removed, clean the pump’s outlet to remove any dirt or debris. This will ensure a good seal with the new hose.
- Clean the Outlet: Use a clean cloth and some soap and water to wipe down the pump’s outlet.
- Dry the Outlet: Make sure the outlet is completely dry before proceeding.
Step 3: Prepare the New Hose
Before attaching the new hose, you may need to cut it to the correct length or prepare the end for attachment.
- Measure the Hose: Compare the length of the new hose to the old one. Cut it to the same length, or slightly longer if desired.
- Prepare the End: If necessary, use a sharp knife or hose cutter to trim the end of the hose so that it is clean and even.
Step 4: Attach the New Hose
Now it’s time to attach the new hose to your pump.
- Insert the Hose: Push the end of the hose onto the pump’s outlet. Make sure it is seated securely.
- Secure the Hose: If necessary, use a clamp or zip tie to secure the hose to the pump. Tighten the clamp or zip tie until the hose is held firmly in place.
Step 5: Test the Connection
After attaching the new hose, test the connection to make sure it is airtight.
- Attach the Connector to a Valve: Connect the new hose’s connector to a valve on your bike’s inner tube.
- Pump Up the Tire: Inflate the tire to the desired pressure.
- Check for Leaks: Listen for any hissing sounds or feel for air escaping from the connection between the hose and the pump, or between the connector and the valve. If you detect any leaks, tighten the clamp or fitting, or try repositioning the hose.
Troubleshooting Common Issues
Sometimes, even with the best instructions, you might run into a snag. Here are a few common problems and how to solve them:
- Hose Won’t Fit: If the new hose is too small to fit over the pump outlet, try warming it up with a heat gun or hair dryer to make it more pliable. If it’s too large, you may need to use a smaller hose or add a sleeve to the outlet to increase its diameter.
- Connector Leaks: If the connector is leaking, make sure it is properly seated on the valve. Try tightening the connector or replacing the O-rings inside it.
- Hose Kinks: If the hose is kinking, try using a more flexible hose or adding a hose spring to prevent it from bending too sharply.
Maintaining Your Upgraded Pump Hose
To keep your upgraded pump hose in good condition, follow these tips:
- Store the Pump Properly: When not in use, store the pump in a cool, dry place away from direct sunlight. This will help prevent the hose from drying out and cracking.
- Inspect the Hose Regularly: Check the hose for any signs of wear and tear, such as cracks, splits, or kinks. Replace the hose if you notice any damage.
- Lubricate the Connector: Periodically lubricate the connector with a silicone-based lubricant to keep it working smoothly.
Alternative Upgrade Options
While replacing the hose is a common upgrade, here are a few other options to consider:
- Replace the Entire Pump Head: If your pump head is worn out or incompatible with modern valve types, you can replace it with a new one. This is a more involved repair than simply replacing the hose, but it can significantly improve your pump’s performance.
- Add a Pressure Gauge: If your pump doesn’t have a pressure gauge, you can add one to monitor the tire pressure more accurately. This is especially useful for high-pressure tires, where even small variations in pressure can affect performance.
- Convert to Tubeless: If you’re running tubeless tires, you may want to upgrade your pump with a tubeless inflator head. These heads are designed to deliver a large volume of air quickly, which is essential for seating tubeless tires.
Advanced Tips for Pump Hose Upgrades
Ready to take your pump upgrade to the next level? Here are some advanced tips:
- Use a Swivel Connector: A swivel connector allows the hose to rotate freely, preventing it from kinking or twisting. This can make it easier to inflate tires, especially in tight spaces.
- Install a Quick-Release Connector: A quick-release connector allows you to quickly disconnect the hose from the valve without losing any air. This is useful for making small adjustments to tire pressure.
- Upgrade to a Digital Gauge: A digital gauge provides a more accurate and easier-to-read pressure reading than an analog gauge. This is especially useful for cyclists who demand the highest level of precision.
Understanding Valve Types: Presta vs. Schrader
Knowing the difference between Presta and Schrader valves is essential for any cyclist. Here’s a quick overview:
| Valve Type | Description | Common Usage | Advantages | Disadvantages |
|---|---|---|---|---|
| Presta | Narrower, with a locking nut at the tip. | Road bikes, high-performance bikes. | Holds higher pressure, lighter. | More fragile, requires adapter for some pumps. |
| Schrader | Wider, similar to car tire valves. | Mountain bikes, hybrid bikes, car tires. | More durable, easier to inflate at gas stations. | Can be less accurate at high pressures. |
FAQ: Upgrading Your Bike Pump Hose
Q: Can I use any hose for my bike pump?
A: Not just any hose. You need one that’s designed for high pressure and compatible with your pump’s fittings. Check the specifications before buying.
Q: How do I know what size hose to buy?
A: Measure the inner diameter of your old hose and match it. If unsure, check your pump’s manual or the manufacturer’s website.
Q: What if the new hose is too tight to fit on the pump?
A: Gently warm the end of the hose with a hairdryer. This makes it more pliable and easier to slip onto the pump fitting.
Q: Do I need special tools to upgrade the hose?
A: A sharp knife or hose cutter is essential. You might also need a screwdriver or wrench to remove the old hose clamp.
Q: How do I prevent leaks after installing the new hose?
A: Make sure the hose is securely clamped or zip-tied to the pump. Also, check that the connector is properly seated on the valve.
Q: What type of connector should I choose?
A: A dual-head or auto-select connector is versatile. Thread-on connectors provide a very secure seal, but take more time.
Q: How often should I replace my pump hose?
A: Inspect it regularly and replace it when you see cracks, stiffness, or leaks. A well-maintained hose lasts for several years.
Conclusion
Upgrading your old bike pump hose to a modern connector is a straightforward project that can significantly improve your cycling experience. By following these steps and tips, you’ll be able to enjoy easier, more efficient inflation and keep your tires properly inflated for optimal performance. Don’t let an old, worn-out hose hold you back – upgrade today and enjoy the ride!


