
How to Add Inline Gauge to Hose: Easy Install!
Quick Summary: Adding an inline gauge to your hose is simple! First, gather the necessary tools: a hose cutter, the inline gauge, and hose clamps. Cut the hose where you want to install the gauge, ensuring a clean, straight cut. Next, attach the gauge to both cut ends of the hose. Secure it tightly with hose clamps. That’s it! Now you can easily monitor pressure directly from your hose.
Ever struggled to get the perfect tire pressure, only to find it’s off when you check again? Or maybe you’re tired of guessing if your suspension pump is delivering the right amount of air? Many cyclists face these frustrations, but there’s a simple solution: adding an inline gauge to your hose. This handy upgrade gives you real-time pressure readings, right at your fingertips.
In this guide, I’ll walk you through the process step-by-step. You’ll learn what tools you need, how to safely cut your hose, and how to securely attach the inline gauge. By the end, you’ll have a precise and reliable way to monitor pressure, making your rides safer and more enjoyable. Let’s get started!
Why Add an Inline Gauge to Your Hose?

Before we dive into the “how,” let’s cover the “why.” An inline gauge offers several benefits that can improve your cycling experience. Understanding these advantages will make the installation process even more worthwhile.
Improved Accuracy
Traditional pressure gauges, especially those on older pumps, can lose accuracy over time. An inline gauge provides a direct and immediate reading, minimizing errors. This is particularly useful for fine-tuning tire pressure for different terrains or riding conditions.
Real-Time Monitoring
With an inline gauge, you can see the pressure as you inflate. This real-time feedback helps you avoid over- or under-inflating your tires or suspension. It’s like having a live pressure update right in your hands!
Versatility
Inline gauges aren’t just for tires. They can be used with suspension pumps, CO2 inflators, and even some hydraulic brake bleeding kits. This versatility makes them a valuable addition to any cyclist’s toolkit.
Convenience
No more stopping to check pressure with a separate gauge. The inline gauge is always there, giving you instant access to pressure readings. This is especially handy during longer rides or when making quick adjustments on the trail.
Cost-Effective
Investing in an inline gauge can save you money in the long run. By maintaining optimal tire pressure, you can reduce wear and tear on your tires and improve your bike’s overall performance. Plus, it’s often cheaper than replacing an entire pump with a built-in gauge.
Tools and Materials You’ll Need

To successfully install an inline gauge, you’ll need a few essential tools and materials. Gathering everything beforehand will make the process smoother and more efficient.
- Inline Gauge: Choose a gauge that matches the pressure range you need (e.g., for tires or suspension).
- Hose Cutter or Sharp Knife: For making clean, precise cuts on the hose. A hose cutter is recommended for the cleanest cut.
- Hose Clamps (2): To securely attach the gauge to the hose. Make sure they are the correct size for your hose.
- Screwdriver or Nut Driver: To tighten the hose clamps. Choose the type that matches the clamp screws (usually flathead or Phillips).
- Safety Glasses: To protect your eyes from debris.
- Work Gloves: To protect your hands and provide a better grip.
- Clean Rags: For wiping up any spills or debris.
Step-by-Step Guide: Adding an Inline Gauge
Now, let’s get to the heart of the matter. Follow these steps carefully to add an inline gauge to your hose. Remember to work in a well-lit area and take your time.
Step 1: Prepare Your Workspace
Clear your work area and lay down a clean rag or mat. This will protect your surfaces and make it easier to find small parts. Gather all your tools and materials within easy reach.
Step 2: Measure and Mark the Hose
Decide where you want to install the inline gauge on your hose. A good spot is usually near the end that connects to the tire or suspension valve. Use a marker to indicate where you’ll make the cut. Ensure you have enough slack in the hose to accommodate the gauge without straining the connections.
Step 3: Cut the Hose
Put on your safety glasses and work gloves. Using the hose cutter or sharp knife, carefully cut the hose at the marked location. Aim for a clean, straight cut to ensure a good seal with the gauge. If using a knife, roll the hose as you cut to create a smooth edge.
Step 4: Attach the Inline Gauge
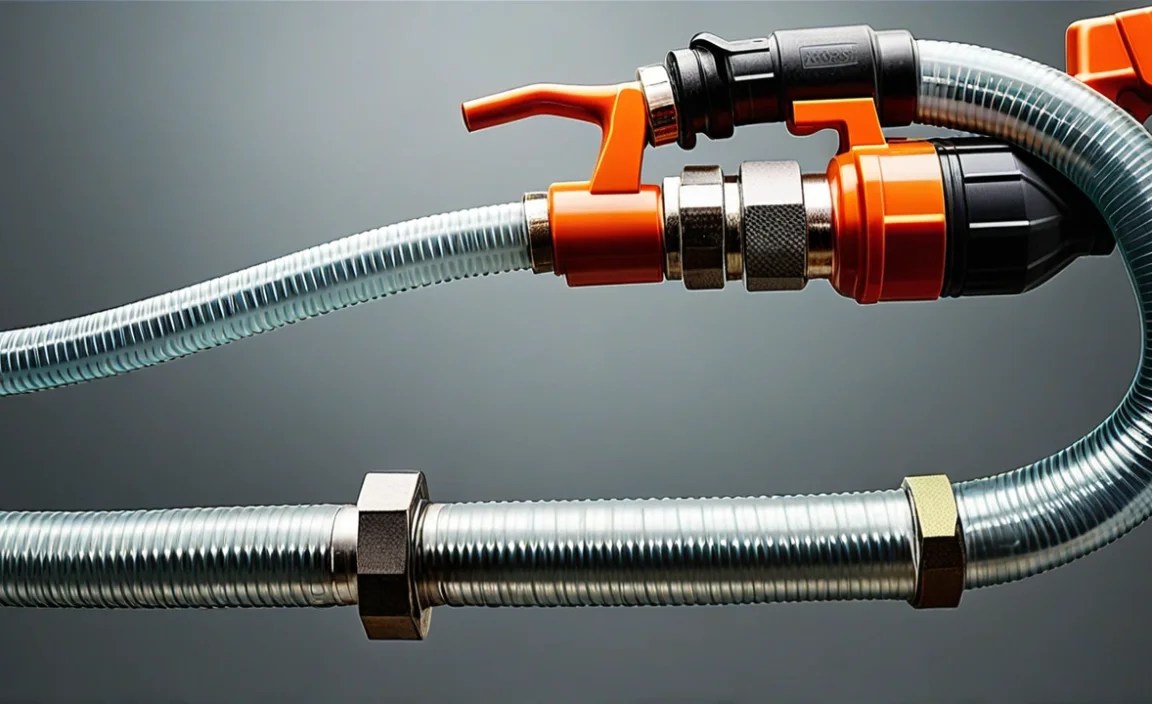
Slide a hose clamp onto each cut end of the hose. Then, firmly insert the ends of the hose onto the corresponding barbs of the inline gauge. Make sure the hose is fully seated on the barbs.
Step 5: Secure the Hose Clamps
Position the hose clamps over the barbs of the gauge, ensuring they are snug against the hose. Use the screwdriver or nut driver to tighten the clamps. Tighten them evenly until they are secure, but be careful not to overtighten and damage the hose. A snug fit is key to preventing leaks.
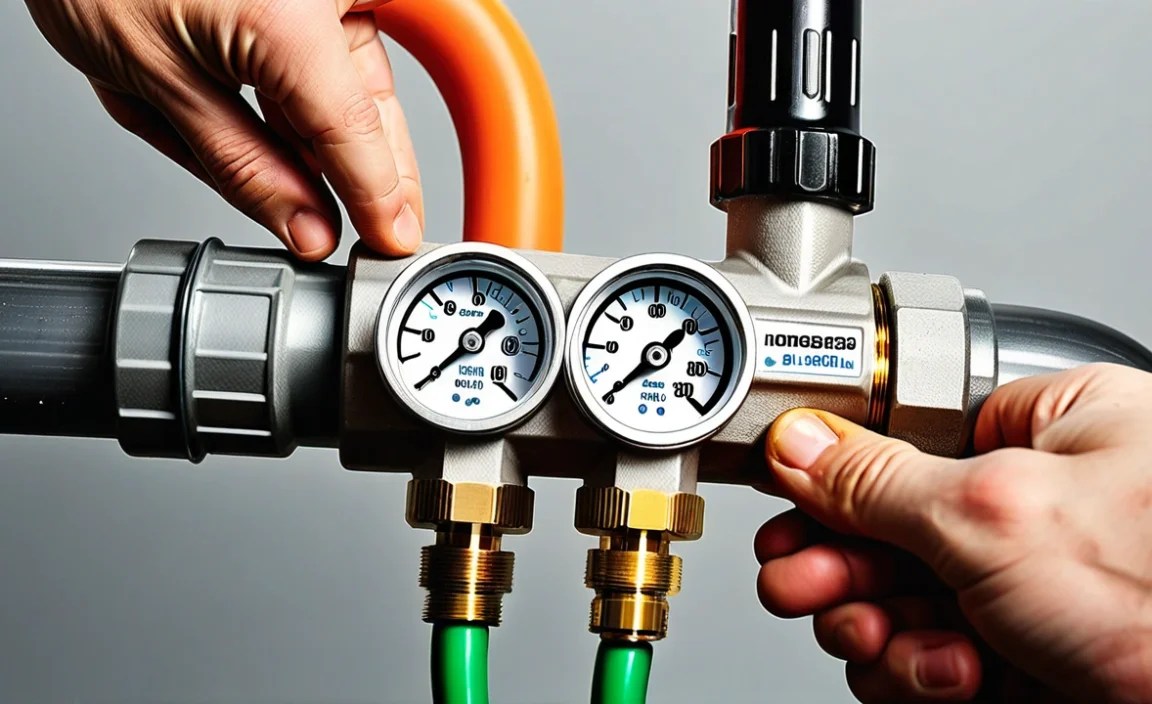
Step 6: Test the Connection
Connect the hose to your pump and inflate a tire or suspension component. Watch the inline gauge to ensure it registers the pressure accurately. Check for any leaks around the gauge connections. If you see bubbles or hear hissing, tighten the hose clamps further. If the problem persists, double-check that the hose is fully seated on the gauge barbs and that the clamps are properly positioned.
Step 7: Final Adjustments
Once you’re confident that the gauge is working correctly and there are no leaks, make any final adjustments to the hose position. Ensure the gauge is easy to read and doesn’t interfere with the pump’s operation. Congratulations, you’ve successfully added an inline gauge to your hose!
Choosing the Right Inline Gauge
Selecting the right inline gauge is crucial for accurate and reliable pressure readings. Here are some factors to consider when making your choice:
Pressure Range
Consider the types of equipment you’ll be using the gauge with. Tire gauges typically have a lower pressure range (e.g., 0-100 PSI), while suspension gauges need a higher range (e.g., 0-300 PSI). Choose a gauge that covers the pressure range you need without being excessively high, as accuracy can decrease at the lower end of the scale.
Display Type
Inline gauges come with either analog or digital displays. Analog gauges are simple and reliable, while digital gauges offer more precise readings and sometimes additional features like pressure memory or multiple units (PSI, Bar, kPa). Consider your preference and budget when choosing between the two.
Accuracy
Look for gauges with a stated accuracy of +/- 1-2%. This ensures that the readings are close to the actual pressure. Higher accuracy is especially important for suspension tuning, where small pressure changes can significantly affect performance.
Build Quality
Choose a gauge made from durable materials like brass or aluminum. The gauge should be able to withstand the rigors of regular use and exposure to the elements. Check for solid construction and well-sealed connections to prevent leaks.
Compatibility
Ensure the gauge is compatible with your hose size and fitting type. Most inline gauges come with standard barbs that fit common hose sizes, but it’s always a good idea to double-check. If necessary, you can use adapters to make the gauge compatible with your existing setup.
Troubleshooting Common Issues
Even with careful installation, you might encounter a few issues. Here are some common problems and how to solve them:
Leaks at the Connections
If you notice leaks around the gauge connections, first try tightening the hose clamps. Make sure the clamps are properly positioned over the barbs of the gauge. If the leaks persist, remove the hose and check for any damage or debris on the barbs or inside the hose. Re-cut the hose if necessary and re-attach it to the gauge, ensuring a tight seal.
Inaccurate Readings
If the gauge readings seem inaccurate, compare them to a known good gauge. If the inline gauge consistently reads high or low, it may be faulty and need to be replaced. Also, make sure the gauge is properly calibrated if it has a calibration feature.
Gauge Not Registering Pressure
If the gauge isn’t registering any pressure, check that the hose is not kinked or blocked. Also, ensure that the gauge is properly connected to the hose and that the hose is securely attached to the pump and valve. If the problem persists, the gauge may be damaged internally.
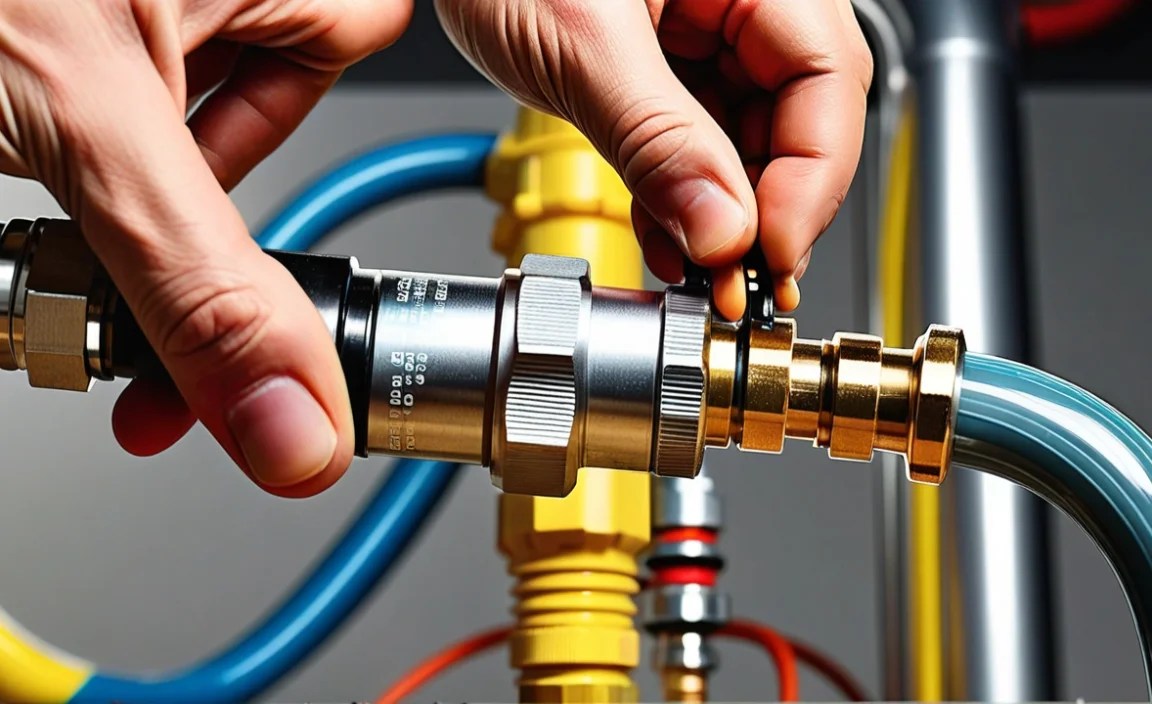
Difficulty Attaching the Hose
If you’re having trouble attaching the hose to the gauge barbs, try warming the hose with a hairdryer or hot water. This will make it more pliable and easier to slide onto the barbs. Be careful not to overheat the hose, as this could damage it.
Maintenance Tips for Your Inline Gauge
To keep your inline gauge working accurately and reliably, follow these simple maintenance tips:
- Regularly Inspect: Check the gauge and hose connections for any signs of wear, damage, or leaks.
- Clean the Gauge: Wipe the gauge with a clean, damp cloth to remove dirt and grime. Avoid using harsh chemicals or solvents.
- Store Properly: When not in use, store the gauge in a clean, dry place away from direct sunlight and extreme temperatures.
- Replace Worn Parts: If you notice any cracks, leaks, or other damage to the hose or gauge, replace the affected parts immediately.
- Calibrate Periodically: If your gauge has a calibration feature, calibrate it periodically to ensure accurate readings.
Alternative Methods for Measuring Pressure
While inline gauges offer many advantages, there are other ways to measure pressure. Here’s a quick comparison:
| Method | Pros | Cons | Best For |
|---|---|---|---|
| Built-in Pump Gauge | Convenient, all-in-one solution | Can be inaccurate, not always real-time | General tire inflation |
| Separate Handheld Gauge | More accurate than some pump gauges, portable | Requires disconnecting the pump, can lose air | Precise pressure checks |
| Inline Gauge | Real-time readings, versatile, can improve accuracy | Requires installation, can be bulky | Fine-tuning pressure, suspension adjustments |
| Digital Pressure Gauge | Highly accurate, easy-to-read display | Can be expensive, requires batteries | Professional use, critical applications |
FAQ: Adding an Inline Gauge to a Hose
Q: What size inline gauge do I need for my bike pump?
A: Most bike pumps use a standard hose size, so a gauge with a standard barb fitting should work. Check the specifications of your pump and gauge to ensure compatibility.
Q: Can I use an inline gauge for both tires and suspension?
A: Yes, but choose a gauge with a pressure range that covers both. A gauge with a range of 0-300 PSI should work for most tires and suspension systems.
Q: How do I know if my inline gauge is accurate?
A: Compare the readings to a known good gauge. If the readings are consistently off, the gauge may need to be replaced or calibrated.
Q: Is it difficult to install an inline gauge?
A: No, the installation is straightforward and requires only a few basic tools. Just follow the steps in this guide, and you’ll be fine!
Q: What if I can’t get the hose to seal properly?
A: Make sure the hose is fully seated on the gauge barbs and that the hose clamps are tightened securely. If the problem persists, try using a new hose or different hose clamps.
Q: Where is the best place to install the inline gauge on my hose?
A: The best place is usually near the end that connects to the tire or suspension valve, where it’s easy to read and doesn’t interfere with the pump’s operation.
Q: Can I use an inline gauge with a CO2 inflator?
A: Yes, but make sure the gauge is rated for the pressure of the CO2 cartridge. Also, be aware that CO2 can sometimes cause the gauge to read slightly differently than air.
Conclusion
Adding an inline gauge to your hose is a simple yet effective upgrade that can significantly improve your cycling experience. By providing real-time, accurate pressure readings, it allows you to fine-tune your tire and suspension settings for optimal performance and comfort. With the step-by-step guide and troubleshooting tips provided in this article, you can confidently install and maintain your inline gauge, ensuring it remains a valuable tool in your cycling arsenal for years to come. So, go ahead and take control of your pressure, and enjoy the ride!


