
How to Carry Hose in Saddle Bag: The Smart Way
Quick Summary: Carrying a hose in your saddle bag is simple! First, choose a lightweight, flexible hose that fits your bike’s needs. Next, neatly coil the hose and secure it with Velcro straps or zip ties. Finally, pack the coiled hose into your saddle bag, ensuring it doesn’t interfere with other essentials. With a little preparation, you’ll have a convenient water source on your rides!
Ever been miles from home on a scorching day, wishing you had a way to rinse off or refill your water bottle? Carrying a hose can be a game-changer for long rides, offering a quick solution for cleaning, hydration, or even a bit of trailside bike maintenance. It might sound unusual, but with the right hose and packing technique, it’s surprisingly easy to carry a hose in your saddle bag. This guide will show you how to do it without adding extra bulk or hassle to your ride. Let’s get started!
Choosing the Right Hose
The first step in carrying a hose in your saddle bag is picking the right one. Not just any hose will do; you need something lightweight, flexible, and compact. Here’s what to consider:
Hose Material
Different materials offer different advantages. Here’s a quick breakdown:
- Silicone: Silicone hoses are very flexible and lightweight, making them easy to coil and pack. They’re also resistant to temperature changes, so they won’t get stiff in cold weather.
- Polyurethane (PU): PU hoses are abrasion-resistant and offer good flexibility. They are a durable option that can withstand being packed and unpacked frequently.
- PVC: PVC hoses are generally more affordable but can be stiffer and heavier than silicone or PU. They might not be the best choice for a compact saddle bag.
Hose Diameter and Length
The diameter and length of the hose will affect its packability. Consider these points:
- Diameter: A smaller diameter hose will be easier to coil tightly. Look for hoses with an inner diameter of 1/4 inch to 3/8 inch.
- Length: Think about how you’ll use the hose. For simple tasks like rinsing or refilling bottles, a 6-foot hose might be enough. For more versatile use, consider a 10-foot hose.
Here’s a table summarizing the key features to consider when choosing a hose:
| Feature | Silicone | Polyurethane (PU) | PVC |
|---|---|---|---|
| Weight | Lightweight | Moderate | Heavy |
| Flexibility | Excellent | Good | Fair |
| Durability | Moderate | Excellent | Good |
| Temperature Resistance | Excellent | Good | Fair |
| Cost | Moderate to High | Moderate | Low |
Recommended Hose
Based on the criteria above, I recommend a silicone hose with a 1/4 inch diameter and a length of 6-10 feet. This combination offers a good balance of weight, flexibility, and functionality.
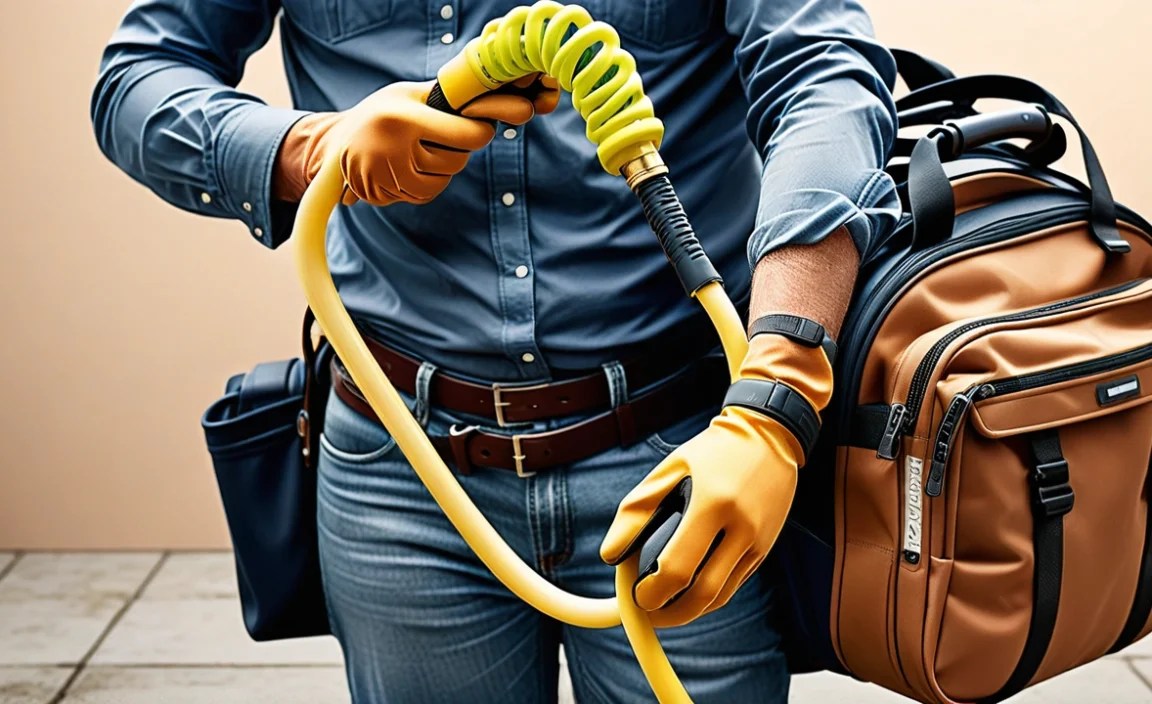
Preparing the Hose for Packing

Once you’ve chosen the right hose, you need to prepare it for packing. This involves coiling it neatly and securing it so it stays compact in your saddle bag.
Step 1: Coiling the Hose
The way you coil the hose can make a big difference in how much space it takes up. Follow these steps:
- Start with a small loop: Begin by making a loop about 6 inches in diameter.
- Continue coiling: Continue coiling the hose around the initial loop, keeping the loops uniform in size.
- Maintain tightness: Keep the coil snug but not overly tight. You want the hose to be compact without being stressed.
- Secure the coil: Once you’ve coiled the entire hose, it’s time to secure it.
Step 2: Securing the Coil
Securing the coil is crucial to prevent it from unraveling in your saddle bag. Here are a few options:
- Velcro Straps: Velcro straps are reusable and adjustable, making them a great choice. Wrap a strap around the coil in a few places to hold it together.
- Zip Ties: Zip ties are a more permanent solution. Use a few zip ties to secure the coil, but don’t overtighten them, as this can damage the hose. Trim the excess tie length for a cleaner look.
- Rubber Bands: Heavy-duty rubber bands can also work, but they may degrade over time, especially in hot weather.
Here’s a comparison of the different securing methods:
| Method | Pros | Cons |
|---|---|---|
| Velcro Straps | Reusable, adjustable, easy to use | Can be bulky |
| Zip Ties | Secure, low profile | Not reusable, can damage hose if overtightened |
| Rubber Bands | Simple, inexpensive | Degrade over time, less secure |
Step 3: Testing the Coil
Before packing the hose in your saddle bag, test the coil to make sure it’s secure. Give it a gentle shake to see if any loops come loose. If they do, add another strap or zip tie to reinforce the coil.
Packing the Hose in Your Saddle Bag
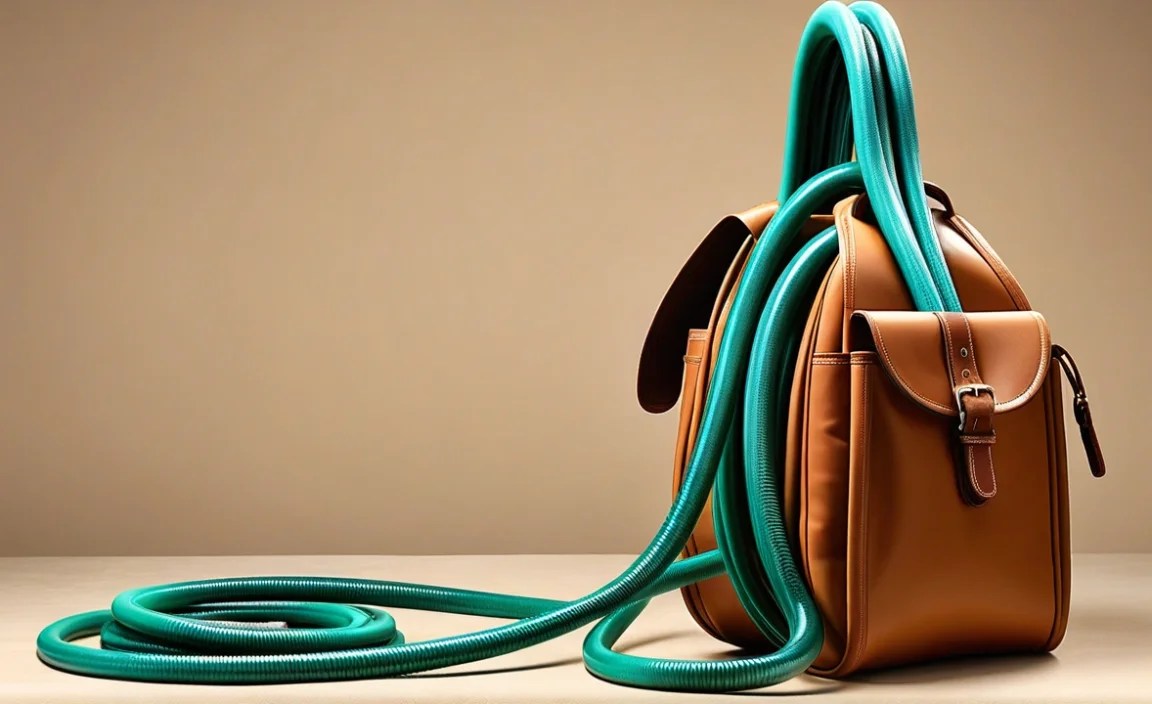
Now that your hose is coiled and secured, it’s time to pack it in your saddle bag. Proper packing ensures that the hose doesn’t take up too much space or interfere with other essentials.
Choosing the Right Saddle Bag
The size of your saddle bag will determine how easily you can carry the hose. Consider these factors:
- Size: Look for a saddle bag with enough volume to accommodate the coiled hose plus your other essential items like a multi-tool, spare tube, and tire levers. A bag with a volume of 0.5 to 1 liter should be sufficient.
- Shape: A saddle bag with a rectangular or cylindrical shape is generally better for packing bulky items like a coiled hose.
- Mounting System: Ensure that the saddle bag has a secure mounting system that won’t come loose during rides. Velcro straps or quick-release buckles are common options.
Packing the Essentials
Before adding the hose, organize your other essential items:
- Multi-Tool: A compact multi-tool is a must-have for roadside repairs.
- Spare Tube: Make sure you have a spare tube that matches your tire size.
- Tire Levers: Tire levers are essential for removing and installing tires.
- Patch Kit: A patch kit can be a lifesaver for minor punctures.
- CO2 Inflator or Mini Pump: Choose a reliable inflation device for quickly inflating your tires.
Step 1: Positioning the Hose
Place the coiled hose at the bottom or against the back of the saddle bag. This helps distribute the weight evenly and prevents the hose from pressing against your body while riding.
Step 2: Arranging Other Items
Arrange your other items around the hose, filling in any gaps. Place heavier items like the multi-tool at the bottom of the bag to keep the center of gravity low.
Step 3: Securing Everything
Use any internal straps or compartments in the saddle bag to secure your items. This prevents them from shifting around during your ride.
Step 4: Checking for Fit
Before closing the saddle bag, make sure everything fits comfortably without being overly compressed. The bag should close easily without straining the zipper or straps.
Alternative Carrying Methods
If a saddle bag isn’t ideal for your needs, here are a few alternative ways to carry a hose on your bike:
- Frame Mount: You can attach the coiled hose to your bike frame using Velcro straps or hose clamps. This keeps the hose easily accessible.
- Backpack: If you already carry a backpack, you can simply pack the hose inside. This is a good option for longer rides where you need to carry extra gear.
- Handlebar Bag: A small handlebar bag can also accommodate a coiled hose, along with other small items like snacks and sunscreen.
Here’s a quick comparison of these methods:
| Method | Pros | Cons |
|---|---|---|
| Saddle Bag | Compact, keeps weight off your body | Limited space |
| Frame Mount | Easily accessible, doesn’t take up storage space | Can be exposed to the elements |
| Backpack | Versatile, can carry a lot of gear | Adds weight to your back |
| Handlebar Bag | Convenient, easy to access while riding | Can affect steering |
Tips for Using the Hose on the Road
Now that you know how to carry a hose, here are some tips for using it effectively during your rides:
- Practice: Before relying on the hose during a long ride, practice using it at home. This will help you get familiar with the setup and troubleshoot any issues.
- Keep it Clean: After each use, rinse the hose with clean water and allow it to dry completely before packing it away. This prevents the buildup of dirt and bacteria.
- Inspect Regularly: Check the hose for any signs of wear or damage, such as cracks or leaks. Replace the hose if necessary.
- Consider a Nozzle: Adding a small nozzle to the end of the hose can make it more versatile. Look for a lightweight nozzle with adjustable spray patterns.
- Use for Bike Maintenance: A hose can be handy for rinsing off your bike after a muddy ride or for cleaning components like the chain and derailleurs.
FAQ: Carrying a Hose in Your Saddle Bag
1. What size saddle bag do I need to carry a hose?
A saddle bag with a volume of 0.5 to 1 liter should be sufficient for carrying a coiled hose along with your other essential items.
2. What’s the best way to coil a hose for packing?
Start with a small loop and continue coiling the hose around the initial loop, keeping the loops uniform in size. Secure the coil with Velcro straps or zip ties.
3. Can I carry a garden hose in my saddle bag?
Garden hoses are generally too bulky and heavy to carry in a saddle bag. Opt for a lightweight, flexible hose made of silicone or polyurethane.
4. How do I prevent the hose from getting dirty in my saddle bag?
Rinse the hose with clean water after each use and allow it to dry completely before packing it away. This prevents the buildup of dirt and bacteria.
5. What other items should I carry in my saddle bag?
In addition to the hose, carry essential items like a multi-tool, spare tube, tire levers, patch kit, and CO2 inflator or mini pump.
6. Is it safe to drink water from a hose that’s been stored in a saddle bag?
It’s best to avoid drinking directly from the hose, as it may harbor bacteria. Use the hose to rinse off or to refill a water bottle that you can then drink from.
7. Can I use a hose to inflate my tires?
While you can’t directly inflate your tires with a hose, you can use it to clean the valve stem before inflating your tires with a pump or CO2 inflator.
Conclusion
Carrying a hose in your saddle bag is a simple yet effective way to enhance your cycling experience. By choosing the right hose, preparing it properly, and packing it carefully, you can enjoy the convenience of having a water source and cleaning tool on the go. Whether you’re rinsing off after a muddy trail or refilling your water bottle on a hot day, a hose can be a valuable addition to your cycling gear. So, gear up and enjoy the ride, knowing you’re prepared for whatever comes your way!


