
How to Use Digital Bike Pressure Gauge: Easy Guide
Did you know your bike tires need the right air? Too little air makes it hard to pedal. Too much air can cause a flat tire! That is why you need to know how to use digital bike pressure gauge. It helps you get the perfect amount of air.
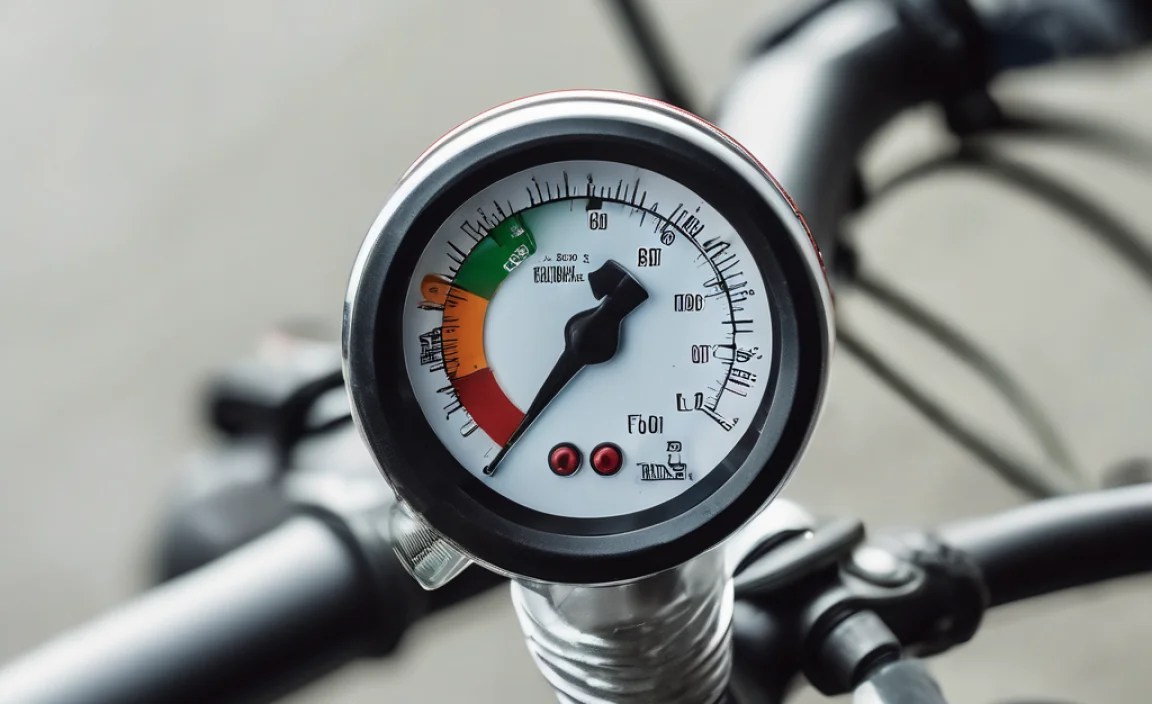
A digital bike pressure gauge is easy to use. It shows you the air pressure number on a screen. This helps you ride your bike safely and have more fun. Let’s learn how to use one!
Key Takeaways
- Using a digital bike pressure gauge ensures optimal tire pressure for every ride.
- Regularly checking your tire pressure improves bike handling and safety.
- How to use digital bike pressure gauge is simple and takes only a few minutes.
- Correct tire pressure extends the life of your bike tires, saving you money.
- Digital gauges provide accurate readings, unlike many traditional hand pumps.
Why Use a Digital Bike Pressure Gauge?

Have you ever ridden a bike with flat tires? It feels like you are pedaling through mud. It is hard work! The right tire pressure makes biking easier. It also makes it safer. When your tires have the right amount of air, you have better control. You can stop faster and turn more easily. A digital bike pressure gauge helps you get the pressure just right. It gives you an exact number, so you know your tires are safe. This tool also helps your tires last longer. Tires that are always too low or too high can wear out quickly. Using a gauge regularly saves you money in the long run. Learning how to use digital bike pressure gauge is a simple way to improve your rides and take care of your bike.
- Right pressure makes biking easier.
- It improves bike handling and safety.
- Tires last longer with correct pressure.
- Digital gauges give exact readings.
- It saves you money in the long run.
Imagine you’re about to race your friend. You check your tires with a digital gauge. You see they’re perfect! You know you’ll have a faster, safer ride. This confidence is one of the best reasons to use a gauge. It takes away the guesswork. You’re not just squeezing your tires and hoping they feel right. You have a number that tells you exactly what you need to know. This is especially helpful if you ride on different surfaces. You might want higher pressure for smooth roads and lower pressure for bumpy trails. A digital gauge makes these adjustments easy. Knowing how to use digital bike pressure gauge is like having a superpower for your bike!
Fun Fact or Stat: Studies show that properly inflated tires can improve your cycling efficiency by up to 10%!
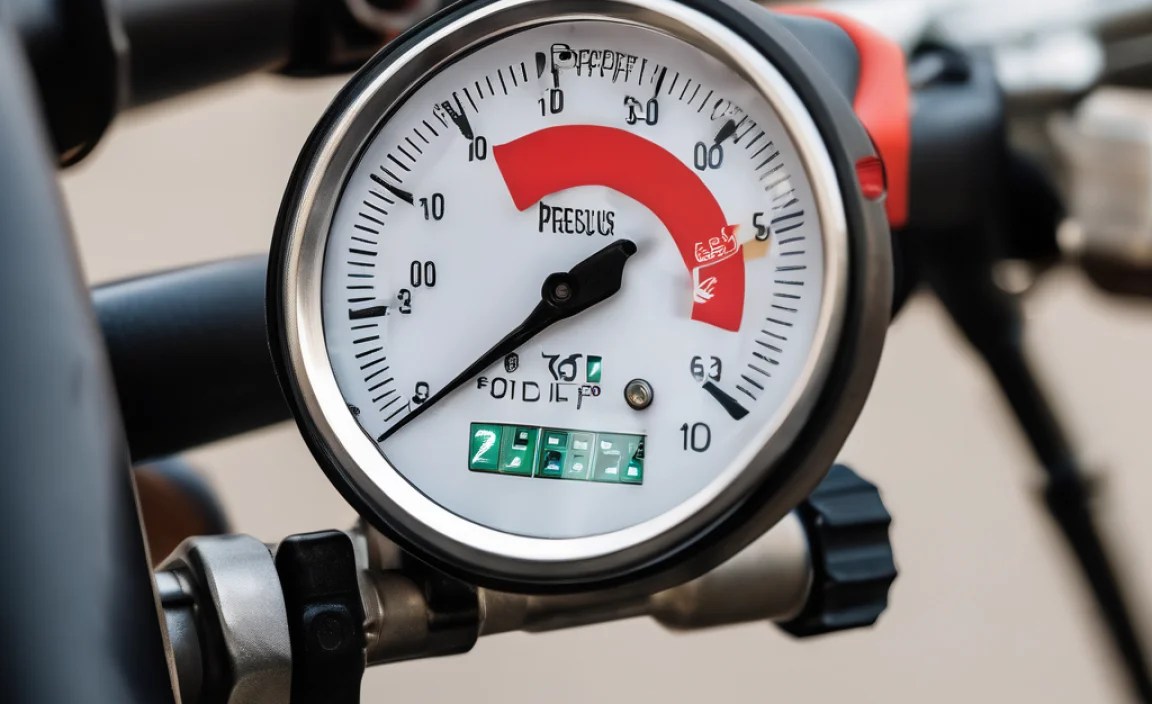
Why Digital is Better?
Have you ever tried to guess how much water is in a bottle? It’s hard to be exact, right? Regular tire pumps often have gauges, but they can be hard to read. The numbers are small, and the needle can be wobbly. Digital gauges are much easier. They show you the pressure in big, clear numbers. There’s no guessing involved. This is important because even a little bit of pressure can make a difference. Too much or too little air can affect how your bike handles. Digital gauges are also more accurate. They give you a precise reading, so you can be sure your tires are just right. This is why many serious bikers use digital gauges. They want the best performance and the safest ride possible.
Simple Steps for Accurate Readings
Getting an accurate reading is key to using your digital gauge well. First, make sure the gauge is clean. Dirt or mud can mess up the reading. Next, press the gauge firmly onto the tire valve. You should hear a slight hissing sound. This means the gauge is making a good seal. Hold it steady until the number on the screen stops changing. Read the number carefully. That’s your tire pressure! If it’s too low, add air. If it’s too high, let some air out. Check the pressure again after each adjustment. This will help you get it just right. Learning these simple steps ensures you get the most accurate readings every time. How to use digital bike pressure gauge also means knowing how to hold it right!
Troubleshooting Common Issues
Sometimes, things don’t go as planned. What if your digital gauge shows a weird number? Or what if it doesn’t turn on at all? Don’t worry! There are usually simple solutions. First, check the batteries. A low battery can cause strange readings. Replace the batteries and try again. Next, make sure the gauge is clean and the valve is clear. Dirt can block the air and give you a false reading. If the gauge still doesn’t work, check the instructions. There might be a reset button or a special trick. Most digital gauges are easy to fix with a little troubleshooting. Knowing these tips can save you time and frustration. Remember, even the best tools need a little care sometimes. Learning how to use digital bike pressure gauge also means knowing how to fix simple problems.
Fun Fact or Stat: Digital bike pressure gauges are so accurate, they’re often used in professional cycling races to ensure consistent tire pressure for all riders!
Understanding Tire Pressure Numbers

Have you ever seen numbers on the side of your bike tire? These numbers tell you the right amount of air to put in your tires. It’s like a secret code! The numbers are usually shown as a range, like “30-50 PSI.” PSI stands for “pounds per square inch.” It’s how we measure air pressure. The range tells you the lowest and highest amount of air that’s safe for your tire. You should always stay within this range. Too little air can cause a flat. Too much air can make the tire explode! Using a digital bike pressure gauge helps you stay within the safe range. It shows you exactly how much air is in your tires. This makes it easy to keep your tires in good shape and ride safely. Always check the numbers on your tires before you pump them up.
- Tire numbers show safe air range.
- PSI means “pounds per square inch.”
- Stay within the recommended PSI range.
- Too little or too much air is bad.
- Digital gauge helps stay in range.
- Check tire numbers before pumping.
Imagine you’re going on a long bike ride. You check your tires and see the range is 40-60 PSI. You use your digital gauge and find your tires are at 35 PSI. You know you need to add more air. You pump them up to 50 PSI, right in the middle of the range. Now you’re ready to go! Knowing how to read these numbers and use your gauge is like having a map for your tires. It helps you navigate the world of air pressure and keep your bike running smoothly. This knowledge also makes you a more responsible biker. You’re not just riding; you’re taking care of your equipment and ensuring your own safety. How to use digital bike pressure gauge is also about reading those numbers!
Fun Fact or Stat: The ideal tire pressure can change depending on the weather! Warmer weather may require slightly lower pressure, while colder weather may need a bit more.
Finding the Right PSI for Your Bike
Every bike is different. A mountain bike needs different tire pressure than a road bike. Mountain bikes usually have lower pressure. This helps them grip the dirt trails. Road bikes need higher pressure. This makes them roll faster on smooth roads. How do you find the right PSI for your bike? Check the side of your tires. The numbers printed there are your guide. You can also ask a bike shop expert. They can help you choose the best pressure for your riding style. Remember, it’s always better to start with a little less air. You can always add more if you need to. Using a digital bike pressure gauge makes it easy to experiment and find what works best for you. This helps you have the most comfortable and efficient ride possible.
Understanding Different Units of Measurement
PSI isn’t the only way to measure tire pressure. Some gauges use other units, like BAR or kPa. BAR is common in Europe. kPa stands for kilopascals. Don’t worry if these numbers look different. They all measure the same thing: air pressure. Most digital gauges let you switch between units. You can choose the one you understand best. If you’re not sure, stick with PSI. It’s the most common unit in the United States. Just remember that different units exist. If you see a gauge with a different number, it might just be using a different unit. Understanding this can prevent confusion and help you get the right pressure every time. Knowing how to use digital bike pressure gauge also means knowing which units it uses.
How Tire Width Affects Pressure
Did you know that wider tires need less air pressure than narrow tires? It’s true! A wider tire has more contact with the ground. This means it can handle bumps and rough surfaces better with less air. A narrow tire needs more air to prevent it from hitting the rim. The rim is the metal part of the wheel. If the tire hits the rim, it can cause a flat. So, if you have wide tires, don’t pump them up as much. Check the recommended PSI range on the tire. It will usually be lower for wider tires. Using a digital bike pressure gauge helps you make these adjustments. It lets you fine-tune your tire pressure for the best ride. This is especially important if you switch between different types of tires.
Fun Fact or Stat: Many professional cyclists adjust their tire pressure by as little as 1 PSI to optimize their performance on different road surfaces!
Step-by-Step Guide: Using the Gauge
Okay, let’s get down to it. Here’s how to use digital bike pressure gauge. First, find the valve on your tire. It’s usually covered by a small cap. Take off the cap and put it somewhere safe. You don’t want to lose it! Next, turn on your digital gauge. Most gauges have a button to turn them on. Now, press the gauge firmly onto the valve. Make sure it’s straight and snug. You should hear a slight hissing sound. Hold the gauge steady until the number on the screen stops changing. Read the number. If the pressure is too low, use a pump to add air. If it’s too high, press the valve to let some air out. Check the pressure again after each adjustment. When you’re done, take off the gauge and put the cap back on the valve. That’s it! You’ve successfully used a digital bike pressure gauge.
- Remove the valve cap from tire.
- Turn on the digital pressure gauge.
- Press gauge firmly onto the valve.
- Hold steady and read the number.
- Adjust air pressure as needed.
- Replace the valve cap when done.
Imagine you’re teaching your friend how to use a digital gauge. You show them each step carefully. You explain why it’s important to hold the gauge steady. You show them how to read the number on the screen. You watch them try it themselves. They’re a little nervous at first, but they quickly get the hang of it. Soon, they’re checking their own tires like a pro! Teaching someone else is a great way to learn. It helps you understand the process even better. It also makes you feel good to share your knowledge. How to use digital bike pressure gauge is easy when you break it down into simple steps.
Fun Fact or Stat: Some high-end digital gauges can even store your preferred tire pressure settings for different bikes, making the process even faster!
Preparing Your Bike for Measurement
Before you start checking your tire pressure, make sure your bike is ready. Park it on a flat surface. This will give you a more accurate reading. Remove any bags or accessories that might be weighing down the tires. Check the tire valves to make sure they’re clean. Dirt or mud can block the air and give you a false reading. If the valves are dirty, wipe them off with a clean cloth. Make sure you have your digital gauge and a pump nearby. You’ll need them to adjust the air pressure. Having everything ready will make the process smoother and faster. Taking these simple steps ensures you get the most accurate reading possible. Learning how to use digital bike pressure gauge also means preparing your bike properly.
Connecting the Gauge to the Valve Correctly
Connecting the gauge to the valve is a key step. If you don’t do it right, you won’t get an accurate reading. Make sure the gauge is aligned straight with the valve. Press it firmly and evenly. You should hear a slight hissing sound. This means the gauge is making a good seal. If you don’t hear a hiss, try adjusting the angle of the gauge. Sometimes, the valve can be a little bent. Wiggling the gauge slightly can help it connect properly. Hold the gauge steady until the number on the screen stops changing. Don’t move it around while you’re taking the reading. This can cause the number to fluctuate. Practicing this step will help you get accurate readings every time. Knowing how to use digital bike pressure gauge also means knowing how to connect it right!
Reading and Interpreting the Display
Once the gauge is connected, it will show you the tire pressure on the screen. The number is usually displayed in PSI. Read the number carefully. Pay attention to the decimal point. Even a small difference in pressure can affect your ride. Compare the number to the recommended PSI range on your tire. Is the pressure too high, too low, or just right? If it’s too high or too low, adjust the air pressure accordingly. Some digital gauges have a backlight. This makes it easier to read the display in low light. If your gauge has a backlight, turn it on for better visibility. Understanding how to read and interpret the display is crucial. This ensures you get the right tire pressure for a safe and comfortable ride. Learning how to use digital bike pressure gauge also means knowing how to read its display.
Fun Fact or Stat: Some digital gauges have a feature that automatically saves your last reading, so you can easily compare it to your next measurement!
Maintaining Your Digital Gauge
Taking care of your digital gauge will help it last longer. Keep it clean and dry. Wipe it off with a soft cloth after each use. Store it in a safe place where it won’t get damaged. Avoid dropping it or exposing it to extreme temperatures. Check the batteries regularly. Replace them when they get low. Low batteries can cause inaccurate readings. Don’t leave the gauge in direct sunlight for long periods. This can damage the screen and the internal components. If you’re not using the gauge for a while, remove the batteries. This will prevent them from leaking and corroding the gauge. Following these simple tips will help you keep your digital gauge in good working order for years to come. Learning how to use digital bike pressure gauge also means knowing how to maintain it.
- Keep gauge clean and dry always.
- Store it in a safe place too.
- Check and replace batteries often.
- Avoid direct sunlight exposure.
- Remove batteries when not in use.
Imagine your digital gauge is like a favorite toy. You want to take good care of it so it lasts a long time. You wouldn’t leave it outside in the rain, would you? You wouldn’t throw it around or let it get covered in dirt. You’d keep it clean and store it in a safe place. It’s the same with your digital gauge. Treat it with respect, and it will serve you well for many years. Regular maintenance is a small price to pay for accurate readings and a longer lifespan. Remember, a well-maintained gauge is a reliable tool. How to use digital bike pressure gauge also means taking care of it.
Fun Fact or Stat: Some digital gauges come with a protective case to help prevent damage during storage and transport!
Cleaning and Storage Tips
Keeping your digital gauge clean is important. Dirt and grime can interfere with its accuracy. After each use, wipe it down with a soft, dry cloth. Pay special attention to the valve connector. This is where dirt can easily accumulate. If there’s stubborn dirt, use a slightly damp cloth. Be careful not to get water inside the gauge. Store your gauge in a cool, dry place. Avoid storing it in direct sunlight or extreme temperatures. A toolbox or drawer is a good option. Consider using a padded case to protect it from bumps and scratches. Proper cleaning and storage will help your gauge last longer and provide accurate readings. Learning how to use digital bike pressure gauge also means knowing how to clean it and store it.
Battery Replacement Guidelines
Most digital gauges use small batteries. These batteries need to be replaced periodically. When the battery gets low, the display might dim or show inaccurate readings. Check your gauge’s instructions for the correct type of battery. Usually, it’s a CR2032 or similar button-cell battery. To replace the battery, open the battery compartment. This is usually located on the back of the gauge. Remove the old battery and insert the new one. Make sure the positive (+) and negative (-) sides are facing the right way. Close the battery compartment securely. Test the gauge to make sure it’s working properly. Keep spare batteries on hand so you’re always prepared. Knowing how to replace the battery is essential for maintaining your gauge. Learning how to use digital bike pressure gauge also means knowing how to change its battery.
Protecting from Environmental Damage
Your digital gauge is sensitive to environmental factors. Extreme temperatures, humidity, and direct sunlight can damage it. Avoid leaving your gauge in a hot car or a freezing garage. Keep it away from water and other liquids. If it gets wet, dry it off immediately. Store it in a dry place to prevent corrosion. Consider using a waterproof case if you’re riding in wet conditions. Protect the screen from scratches and impacts. Use a screen protector or store the gauge in a padded case. Taking these precautions will help protect your gauge from environmental damage. This will ensure it continues to provide accurate readings for years to come. Learning how to use digital bike pressure gauge also means protecting it from damage.
Fun Fact or Stat: Some digital gauges are now designed with rugged, water-resistant housings to better withstand harsh environmental conditions!
Troubleshooting Gauge Problems
Even with good care, your digital gauge might have problems. The display might not turn on. The readings might be inaccurate. The gauge might not connect to the valve properly. Don’t panic! There are usually simple solutions. First, check the batteries. A low battery is the most common cause of problems. Replace the batteries and try again. Next, make sure the gauge is clean. Dirt can block the valve and cause inaccurate readings. Clean the valve connector with a soft cloth. If the gauge still doesn’t work, check the instructions. There might be a reset button or other troubleshooting tips. If you can’t fix the problem yourself, contact the manufacturer or a bike shop for help. Learning how to use digital bike pressure gauge also means knowing how to troubleshoot common problems.
| Problem | Possible Cause | Solution |
|---|---|---|
| Display doesn’t turn on | Low battery | Replace batteries |
| Inaccurate readings | Dirty valve or gauge | Clean valve and gauge |
| Gauge won’t connect | Bent valve stem | Try different angle |
| Display is dim | Low battery | Replace batteries |
| Erratic readings | Loose connection | Press firmly, hold steady |
Imagine you’re on a bike trip and your digital gauge stops working. You’re miles from home and you need to check your tire pressure. What do you do? You remember the troubleshooting tips you learned. You check the batteries. You clean the valve. You try a different angle. Finally, you get the gauge working again! You feel proud of yourself for solving the problem. Knowing how to troubleshoot common issues can save you time and frustration. It can also help you stay safe on the road. Remember, even the best tools can have problems. Being prepared can make all the difference. How to use digital bike pressure gauge also means knowing how to fix it when it breaks.
Fun Fact or Stat: Some advanced digital gauges have built-in error codes that can help you diagnose the problem more quickly!
Common Error Codes and Solutions
Some digital gauges display error codes when something goes wrong. These codes can help you identify the problem. Check your gauge’s instructions for a list of error codes and their meanings. Common error codes might indicate a low battery, a faulty sensor, or a connection problem. If you see an error code, try the recommended solution. This might involve replacing the batteries, cleaning the gauge, or resetting the device. If the error code persists, contact the manufacturer for assistance. Understanding error codes can help you troubleshoot problems more efficiently. It can also save you time and money by avoiding unnecessary repairs. Learning how to use digital bike pressure gauge also means understanding its error codes.
When to Replace Your Gauge
Even with good care, your digital gauge might eventually wear out. The screen might fade. The readings might become consistently inaccurate. The buttons might stop working. When this happens, it’s time to replace your gauge. Don’t try to fix it yourself unless you’re experienced with electronics. It’s usually more cost-effective to buy a new gauge. Choose a high-quality gauge from a reputable brand. Read reviews to see what other users have to say. Consider features like a backlight, a wide pressure range, and a durable construction. Replacing your gauge ensures you continue to get accurate tire pressure readings. This helps you ride safely and efficiently. Learning how to use digital bike pressure gauge also means knowing when to replace it.
Seeking Professional Assistance
Sometimes, you might need help from a professional. If you’ve tried all the troubleshooting steps and your gauge still doesn’t work, consider taking it to a bike shop. A qualified mechanic can diagnose the problem and recommend a solution. They might be able to repair the gauge or suggest a replacement. If you’re not comfortable working on your bike yourself, a bike shop can also help you check your tire pressure and adjust it properly. Seeking professional assistance can give you peace of mind. It ensures your bike is in good working order and that you’re riding safely. Learning how to use digital bike pressure gauge doesn’t mean you have to do everything yourself.
Fun Fact or Stat: Many bike shops offer free tire pressure checks, so you can always get a professional opinion if you’re unsure!
Summary
Using a digital bike pressure gauge is easy and important. It helps you keep your tires at the right pressure. Right pressure makes biking safer and more fun. You can read the numbers on the gauge and compare them to the numbers on your tires. Then you add or let out air as needed. Remember to take care of your gauge. Clean it, store it safely, and replace the batteries. If you have problems, try the troubleshooting tips. If you can’t fix it, ask a bike shop for help. With a little practice, you’ll be a pro at using your digital gauge!
Conclusion
Knowing how to use digital bike pressure gauge is a great skill. It makes you a more responsible biker. You can keep your tires in good shape and ride safely. A digital gauge gives you accurate readings. This helps you get the perfect tire pressure every time. So grab your gauge and start checking your tires. Happy riding!
Frequently Asked Questions
Question No 1: Why is it important to check my bike tire pressure?
Answer: Checking your bike tire pressure is very important for several reasons. First, it ensures your safety. Tires with the right pressure grip the road better. This helps you control your bike and stop quickly. Second, it makes your ride more comfortable. Tires that are too low make it harder to pedal. Tires that are too high can make the ride bumpy. Third, it helps your tires last longer. Riding on tires that are too low or too high can wear them out quickly. Using a digital bike pressure gauge regularly helps you avoid these problems and enjoy your rides more.
Question No 2: How often should I check my bike tire pressure?
Answer: You should check your bike tire pressure at least once a week. If you ride your bike every day, you should check it more often. Before each ride, give your tires a quick squeeze. If they feel soft, it’s time to check the pressure. Temperature changes can also affect tire pressure. In colder weather, the pressure might drop. In warmer weather, it might rise. So, it’s a good idea to check your tires more frequently during changes in temperature. Using a digital bike pressure gauge makes it quick and easy to check your tire pressure. This simple habit can help you stay safe and enjoy your rides more.
Question No 3: What does PSI mean on my bike tire?
Answer: PSI stands for “pounds per square inch.” It’s a way to measure air pressure. The numbers on the side of your bike tire tell you the recommended PSI range. This range tells you how much air to put in your tires. For example, if the range is 40-60 PSI, you should pump your tires up to somewhere between 40 and 60 PSI. Too little air can cause a flat tire. Too much air can make the tire explode. Using a digital bike pressure gauge helps you stay within the safe PSI range. This ensures your tires are properly inflated for a safe and comfortable ride. Always check the PSI range on your tires before you pump them up.
Question No 4: Can I use any air pump with my digital bike pressure gauge?
Answer: Yes, you can use any air pump with your digital bike pressure gauge. The gauge measures the air pressure in your tires. It doesn’t matter what kind of pump you use. However, some pumps have built-in gauges. These gauges might not be as accurate as a digital gauge. That’s why it’s a good idea to use a separate digital gauge to check the pressure. This ensures you get an accurate reading. You can use a hand pump, a floor pump, or even an air compressor. Just make sure the pump is compatible with your tire valves. Knowing how to use digital bike pressure gauge will help you no matter which pump you use.
Question No 5: What if my digital gauge shows a different reading than my pump’s gauge?
Answer: It’s common for digital gauges to show different readings than pump gauges. Pump gauges are often less accurate. They might be off by a few PSI. That’s why it’s always best to trust your digital gauge. Digital gauges are designed to be more precise. If you see a difference between the two readings, use the reading from your digital gauge. Adjust the air pressure until the digital gauge shows the correct number. This will ensure your tires are properly inflated. Always rely on the most accurate tool you have. Learning how to use digital bike pressure gauge also means trusting its accuracy.
Question No 6: How do I know if my digital gauge needs new batteries?
Answer: There are several signs that your digital gauge needs new batteries. The display might be dim or hard to read. The readings might be inaccurate or inconsistent. The gauge might not turn on at all. Some gauges have a low battery indicator. This is a symbol that appears on the screen when the batteries are getting low. If you see any of these signs, it’s time to replace the batteries. Check your gauge’s instructions for the correct type of battery. Keep spare batteries on hand so you’re always prepared. Replacing the batteries will ensure your gauge continues to provide accurate readings. Knowing how to use digital bike pressure gauge also means knowing when to change its batteries.


