
Easy: How to Connect a Bicycle Pump Hose Right
Quick Summary:
Connecting your bicycle pump hose correctly is essential for easy and effective tire inflation. To connect, ensure the pump head is compatible with your valve type (Presta or Schrader). Firmly press the pump head onto the valve, and then engage the locking lever to create an airtight seal. Now you’re ready to pump!
Ever struggled to get your bike tires inflated? It’s a common frustration! A loose or improperly connected pump hose can make even a simple task feel impossible. You pump and pump, but the tire stays soft. It’s a waste of energy and can be incredibly annoying, especially when you’re eager to hit the road or trail.
The good news is, properly connecting a bicycle pump hose is easy once you know the steps. This guide will walk you through everything you need to know, from identifying your valve type to achieving a secure, airtight connection. Soon you’ll be inflating your tires quickly and efficiently, getting you back to enjoying your ride!
Understanding Bicycle Valves
Before connecting your pump hose, it’s vital to know which type of valve your bike uses. The two most common types are Presta and Schrader. Knowing the difference will save you a lot of frustration.
Presta Valves
Presta valves are typically found on road bikes and high-performance bicycles. They are narrower and have a locking nut at the tip.
- Appearance: Slimmer, with a threaded tip.
- Usage: Common on road bikes.
- Operation: Unscrew the locking nut before inflation, press the valve tip to loosen it, and remember to tighten the nut afterward.
Schrader Valves
Schrader valves are wider and more robust, similar to those found on car tires. They have a spring-loaded pin in the center.
- Appearance: Wider, similar to car tire valves.
- Usage: Common on mountain bikes, hybrid bikes, and some kids’ bikes.
- Operation: Simply press the pump head onto the valve to inflate.
Identifying your valve type is the first step to a successful inflation. Now, let’s look at the different types of pump heads and how they connect to each valve.
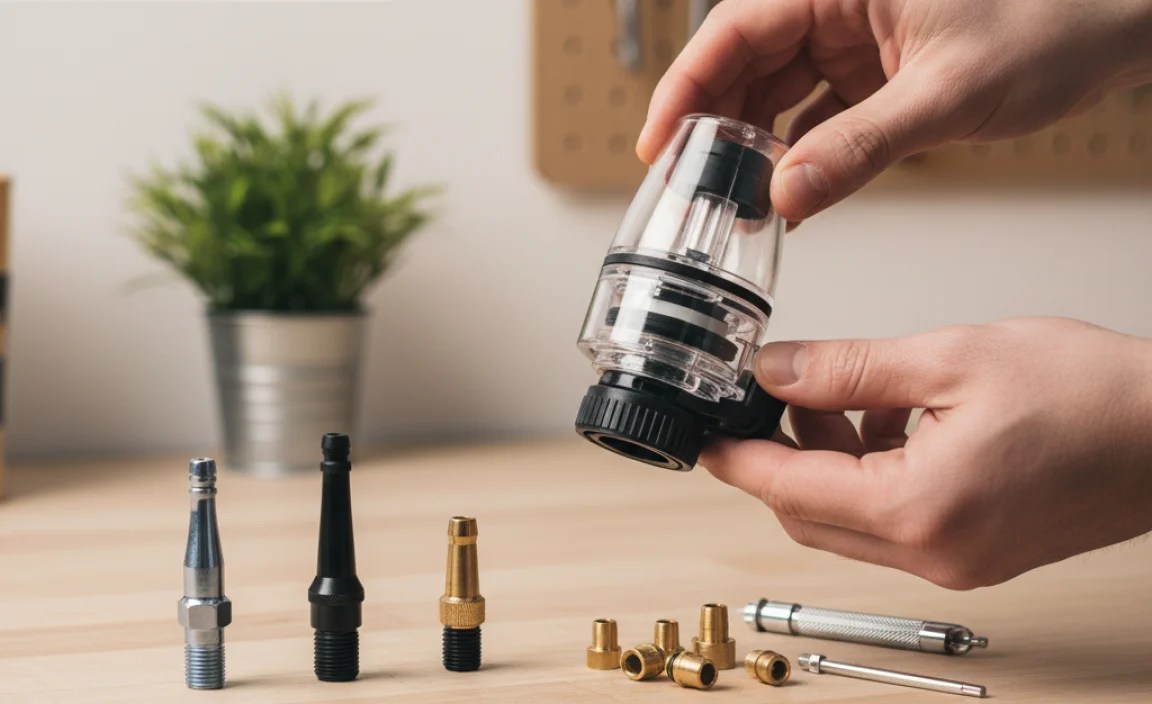
Types of Bicycle Pump Heads

Different pumps come with different heads, but most fall into two categories: dual-head pumps and switchable pumps. Understanding these will help you choose the right one for your needs.
Dual-Head Pumps
Dual-head pumps have two separate openings – one for Presta valves and one for Schrader valves. Each opening is specifically sized for its respective valve.
- Pros: Simple to use, no adjustments needed.
- Cons: Can be bulkier than switchable pumps.
Switchable Pump Heads
Switchable pump heads can be adjusted to fit either Presta or Schrader valves. They often involve rotating a part of the pump head or removing and flipping an internal component.
- Pros: Versatile, compact design.
- Cons: Requires adjustment, which can sometimes be fiddly.
Choosing the right pump head depends on your preference and the types of bikes you own. Once you have the correct pump head, connecting it properly is the next crucial step.
Step-by-Step Guide to Connecting a Bicycle Pump Hose

Here’s a detailed guide to connecting your bicycle pump hose to both Presta and Schrader valves. Follow these steps for a secure and effective connection.
Connecting to a Schrader Valve
- Remove the Valve Cap: Unscrew the plastic or metal cap from the Schrader valve and set it aside.
- Position the Pump Head: Place the pump head directly over the valve.
- Press Firmly: Push the pump head straight onto the valve, ensuring a snug fit. You should feel it engage.
- Engage the Lever (if applicable): Some pump heads have a lever to create a tighter seal. Flip the lever to lock the pump head in place.
- Check the Connection: Ensure there are no air leaks. If you hear hissing, readjust the pump head and lever.
Connecting to a Presta Valve
- Unscrew the Valve Nut: Rotate the small nut at the top of the Presta valve counter-clockwise until it’s loose.
- Press the Valve Tip: Gently press the valve tip to release a small amount of air. This ensures the valve isn’t stuck.
- Position the Pump Head: Place the pump head over the Presta valve.
- Press Firmly: Push the pump head straight onto the valve.
- Engage the Lever (if applicable): Flip the lever to lock the pump head in place.
- Check the Connection: Listen for air leaks. Readjust the pump head and lever if necessary.
- Remember to tighten: After inflating, remember to tighten the valve nut.
By following these steps, you can ensure a secure connection every time, making tire inflation a breeze.
Troubleshooting Common Connection Issues
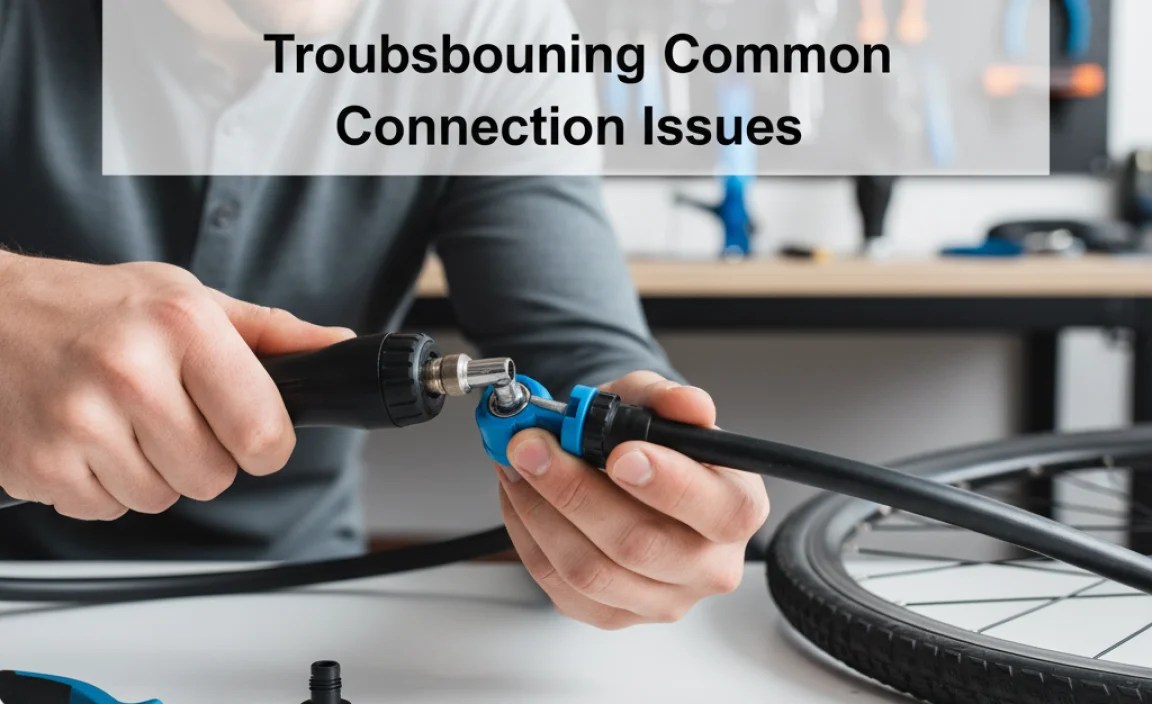
Sometimes, even with the best intentions, things can go wrong. Here are some common issues and how to resolve them.
Air Leaks
Air leaks are a frequent problem. Here’s how to address them:
- Problem: Hissing sound during pumping.
- Solution:
- Readjust the Pump Head: Make sure it’s firmly seated on the valve.
- Check the Lever: Ensure the lever is fully engaged.
- Inspect the Valve: Look for damage or debris on the valve.
Pump Head Won’t Attach
If the pump head refuses to attach, consider these fixes:
- Problem: Pump head won’t fit onto the valve.
- Solution:
- Verify Valve Type: Ensure you’re using the correct opening on a dual-head pump or the correct setting on a switchable pump.
- Check for Obstructions: Look for dirt or debris inside the pump head or on the valve.
Valve Damage
A damaged valve can cause persistent issues. Here’s what to do:
- Problem: Bent or broken valve.
- Solution:
- Replace the Valve: If the valve is severely damaged, it may need to be replaced. This usually requires a new inner tube.
Addressing these common issues will keep your tires properly inflated and your rides enjoyable.
Maintaining Your Bicycle Pump Hose

Proper maintenance extends the life of your pump and ensures reliable performance. Here’s how to keep your pump hose in top condition.
Regular Cleaning
Keep your pump hose clean to prevent debris from causing leaks or blockages.
- How to Clean: Wipe down the hose and pump head with a clean cloth. Use a small brush to remove dirt from the pump head openings.
- Frequency: Clean your pump monthly or more often if you frequently use it in dirty conditions.
Inspecting for Damage
Regularly inspect the hose for cracks, kinks, or wear.
- What to Look For: Cracks, kinks, or abrasions on the hose.
- What to Do: Replace the hose if you find any damage.
Storing Your Pump Properly
Proper storage prevents damage and extends the life of your pump.
- Best Practices: Store your pump in a dry, protected area. Avoid leaving it in direct sunlight or extreme temperatures.
By following these maintenance tips, you’ll keep your bicycle pump in excellent working condition for years to come.
Choosing the Right Bicycle Pump
Selecting the right pump can make a big difference in your cycling experience. Here are some factors to consider when choosing a pump.
Floor Pumps
Floor pumps are ideal for home use. They provide more leverage and allow you to inflate tires quickly and easily.
- Pros: High volume, easy to use, stable.
- Cons: Not portable.
- Recommendation: A floor pump is essential for home maintenance and pre-ride inflation.
Hand Pumps
Hand pumps are compact and portable, perfect for on-the-go inflation.
- Pros: Portable, lightweight.
- Cons: Requires more effort, lower volume.
- Recommendation: Carry a hand pump on your rides for emergency inflation.
CO2 Inflators
CO2 inflators use cartridges of compressed carbon dioxide to quickly inflate tires.
- Pros: Very fast inflation, compact.
- Cons: Requires CO2 cartridges, can be wasteful.
- Recommendation: Useful for races or situations where speed is critical.
Consider your riding style and needs when choosing a pump. Having the right tool for the job makes all the difference.
Bike Pump Recommendation Table
| Pump Type | Pros | Cons | Ideal For |
|---|---|---|---|
| Floor Pump | High volume, easy to use, stable | Not portable | Home maintenance, pre-ride inflation |
| Hand Pump | Portable, lightweight | Requires more effort, lower volume | Emergency on-the-go inflation |
| CO2 Inflator | Very fast inflation, compact | Requires cartridges, can be wasteful | Races, quick inflation needs |
Valve Compatibility Table
| Valve Type | Description | Commonly Found On | Pump Head Compatibility |
|---|---|---|---|
| Presta | Narrow valve with a locking nut at the tip | Road bikes, high-performance bicycles | Presta-specific or switchable pump head |
| Schrader | Wider valve similar to car tires | Mountain bikes, hybrid bikes, some kids’ bikes | Schrader-specific or switchable pump head |
FAQ: Connecting a Bicycle Pump Hose
Why is my pump not inflating my tire?
If your pump isn’t inflating your tire, the most common cause is an improper connection between the pump head and the valve. Make sure the pump head is firmly seated on the valve and the locking lever (if present) is fully engaged. Also, check that you’re using the correct pump head opening for your valve type (Presta or Schrader).
How do I know if my pump head is compatible with my valve?
Look at your pump head. Dual-head pumps have two openings, one for Presta and one for Schrader valves. Switchable pump heads can be adjusted to fit either type. Match the correct opening or setting to your valve type.
What should I do if I hear air leaking while pumping?
Air leaks usually mean the connection isn’t airtight. Try readjusting the pump head on the valve and ensure the locking lever is engaged. If the leak persists, inspect the valve for damage or debris.
Can I use a car tire pump on my bicycle?
Yes, if your bike has Schrader valves, you can use a car tire pump. However, car pumps often deliver high pressure quickly, so be careful not to overinflate your tires. For Presta valves, you’ll need an adapter.
How often should I maintain my bicycle pump?
Ideally, clean your pump monthly or more often if you use it frequently in dirty conditions. Regularly inspect the hose for cracks or damage and store the pump in a dry, protected area.
What is the difference between a Presta and Schrader valve?
Presta valves are narrow with a locking nut at the tip, commonly found on road bikes. Schrader valves are wider, similar to car tires, and are common on mountain and hybrid bikes.
Do I need to replace my pump hose if it has a small crack?
Yes, if your pump hose has a crack, it should be replaced. Even a small crack can cause air leaks and reduce the pump’s efficiency. Replacement hoses are often available for purchase.
External Resources for Further Learning
- Park Tool Repair Help: Offers detailed repair guides and videos.
- BikeRadar’s Best Bike Pump Guide: Reviews and recommendations for various bike pumps.
Connecting a bicycle pump hose doesn’t have to be a frustrating experience. By understanding your valve type, choosing the right pump head, and following the steps outlined in this guide, you can ensure a secure and efficient connection every time. Regular maintenance and prompt troubleshooting will keep your tires properly inflated and your rides smooth and enjoyable.
So, next time you reach for your pump, remember these tips. With a little practice, you’ll become a pro at inflating your tires, leaving you more time to enjoy the open road or rugged trail. Happy cycling!


