
How to Pump a Cycle Tyre: A Beginner’s Guide
Quick Summary: Pumping a cycle tyre is simple! First, identify your tyre’s valve type (Presta or Schrader). Connect the correct pump head, ensuring a secure fit. Open the pump lever (if applicable), and pump until you reach the recommended PSI (printed on your tyre sidewall). Close the lever, disconnect, and you’re ready to ride!
Flat tyres happen. It’s a cyclist’s reality. But don’t let a little air loss sideline your ride! Knowing how to properly inflate your tyres is a basic, but essential skill. It keeps you rolling smoothly, safely, and efficiently. Many cyclists are intimidated by the process, but it’s actually quite straightforward. This guide will break down the steps, explain different valve types, and get you pumping like a pro in no time. We’ll cover everything from choosing the right pump to understanding PSI. So, let’s get started and keep those tyres inflated!
Understanding Your Tyre and Pump

Before you start pumping, it’s important to understand the basics of your tyre and your pump. This includes identifying the valve type, knowing the recommended tyre pressure, and choosing the right pump for the job.
Identifying Your Valve Type
There are two main types of valves you’ll find on bicycle tyres: Presta and Schrader. Knowing the difference is crucial for using the correct pump and avoiding damage to your inner tube.
- Presta Valves: These are commonly found on road bikes and higher-end bicycles. They are narrower and have a small locking nut at the top that you need to unscrew before inflating.
- Schrader Valves: These are the same type of valve you find on car tyres. They are wider and more robust, and are commonly found on mountain bikes, hybrid bikes, and some lower-end bicycles.
Take a close look at your tyre valve. Is it thin with a little nut, or wider like a car tyre valve? That will tell you what you’re working with.
Understanding Tyre Pressure (PSI)
PSI stands for “pounds per square inch” and it’s the unit used to measure tyre pressure. The correct PSI for your tyres is crucial for optimal performance, comfort, and safety. Overinflating can lead to a harsh ride and increased risk of punctures, while underinflating can cause sluggish handling and potential damage to your rims.
You’ll find the recommended PSI range printed on the sidewall of your tyre. It will usually be listed as something like “80-130 PSI” or “40-65 PSI.” Pay attention to these numbers!
Important Note: The recommended PSI is a range, not a fixed number. You can adjust the pressure within this range based on your weight, riding conditions, and personal preference. Heavier riders might prefer higher pressures, while lighter riders might prefer lower pressures. Also, riding on rough terrain might warrant slightly lower pressures for better grip and comfort.
Choosing the Right Pump
There are several types of bicycle pumps available, each with its own advantages and disadvantages. Here’s a quick overview:
- Floor Pumps: These are the most common type of pump for home use. They are stable, efficient, and allow you to inflate your tyres quickly and easily. Look for one with a built-in pressure gauge for accurate inflation.
- Hand Pumps: These are portable and designed for on-the-go inflation. They are smaller and lighter than floor pumps, making them ideal for carrying on rides. However, they require more effort to use and are less accurate.
- CO2 Inflators: These use compressed carbon dioxide cartridges to quickly inflate your tyres. They are very lightweight and convenient for emergencies, but they can be wasteful and require you to carry spare cartridges.
For regular home use, a floor pump is highly recommended. For carrying on rides, a hand pump or CO2 inflator is a good choice.
Step-by-Step Guide to Pumping Your Cycle Tyre

Now that you understand the basics, let’s get down to the actual pumping process. Follow these steps for both Presta and Schrader valves:
Step 1: Prepare Your Tyre
Before you connect the pump, make sure your tyre is properly seated on the rim. Run your finger along the tyre sidewall to ensure it’s evenly seated all the way around. This will help prevent pinch flats (snakebites) when you inflate the tyre.
Step 2: Prepare the Valve (Presta Only)
If you have a Presta valve, you need to unscrew the small locking nut at the top of the valve. Unscrew it completely, but don’t remove it. Then, gently push down on the valve to release a small amount of air. This helps to ensure the valve is open and ready to accept air from the pump.
Step 3: Connect the Pump Head
Now, connect the pump head to the valve. The pump head should have two openings: one for Presta valves and one for Schrader valves. Make sure you select the correct opening for your valve type.
- For Presta valves: Press the pump head firmly onto the valve, making sure it’s fully seated. You may need to wiggle it slightly to get a good connection.
- For Schrader valves: Simply press the pump head onto the valve. It should click into place.
Once the pump head is connected, make sure it’s secure. If it’s loose, air will leak out when you start pumping.
Step 4: Lock the Pump Head (If Applicable)
Many floor pumps have a lever that you need to flip to lock the pump head onto the valve. This creates a tighter seal and prevents air from leaking out. If your pump has a lever, flip it to the locked position.
Step 5: Start Pumping
Now, it’s time to start pumping! Use a smooth, steady motion. Keep your eye on the pressure gauge (if your pump has one) to monitor the pressure. Refer to the recommended PSI range on your tyre sidewall and stop pumping when you reach the desired pressure.
If you’re using a hand pump, it will require more effort to reach the desired pressure. Take breaks as needed and be patient.
Step 6: Disconnect the Pump Head
Once you’ve reached the desired pressure, disconnect the pump head. Flip the lever back to the unlocked position (if applicable) and gently pull the pump head off the valve.
A small amount of air will escape when you disconnect the pump head. This is normal. Don’t worry about it.
Step 7: Tighten the Valve (Presta Only)
If you have a Presta valve, tighten the small locking nut at the top of the valve. This will prevent air from leaking out over time.
Step 8: Check the Tyre Pressure
Finally, double-check the tyre pressure to make sure it’s within the recommended range. You can use a separate tyre pressure gauge for this, or rely on the gauge on your pump (if it has one). It’s always a good idea to double-check, especially if you’re using a hand pump or CO2 inflator, which can be less accurate.
Troubleshooting Common Pumping Problems
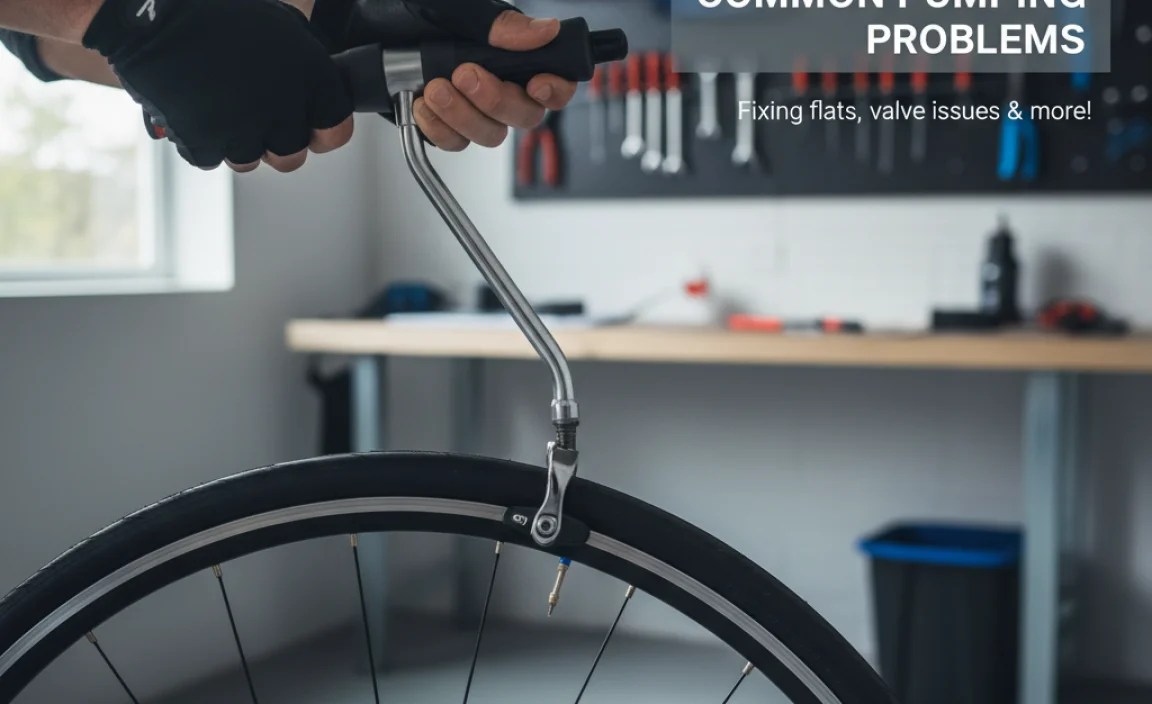
Sometimes, things don’t go according to plan. Here are some common pumping problems and how to fix them:
- Air Leaking Around the Pump Head: This usually means the pump head isn’t properly connected to the valve. Make sure you’re using the correct opening for your valve type, and that the pump head is fully seated. If your pump has a lever, make sure it’s flipped to the locked position.
- Pump Not Inflating the Tyre: This could be due to a few reasons. First, make sure the valve is open (especially if you have a Presta valve). Second, check the pump head for any blockages. Third, make sure the pump is working properly.
- Tyre Pressure Gauge Not Working: If your pump’s pressure gauge isn’t working, try using a separate tyre pressure gauge to check the pressure. If the gauge is consistently inaccurate, it may need to be replaced.
- Pinch Flats (Snakebites): These occur when the inner tube gets pinched between the tyre and the rim. They are often caused by underinflated tyres or hitting a sharp object. To prevent pinch flats, make sure your tyres are properly inflated and avoid riding on rough terrain.
Choosing the Right Pump: A Comparison Table

Selecting the best pump depends on your budget, riding style, and storage capacity. Here’s a comparison table to help you decide which type suits your needs:
| Pump Type | Pros | Cons | Best For |
|---|---|---|---|
| Floor Pump | Efficient, accurate, easy to use, durable | Less portable, requires storage space | Home use, accurate inflation |
| Hand Pump | Portable, lightweight | Requires more effort, less accurate | On-the-go inflation, emergencies |
| CO2 Inflator | Very fast, lightweight | Requires cartridges, can be wasteful | Emergencies, racing |
Maintaining Your Pump for Longevity
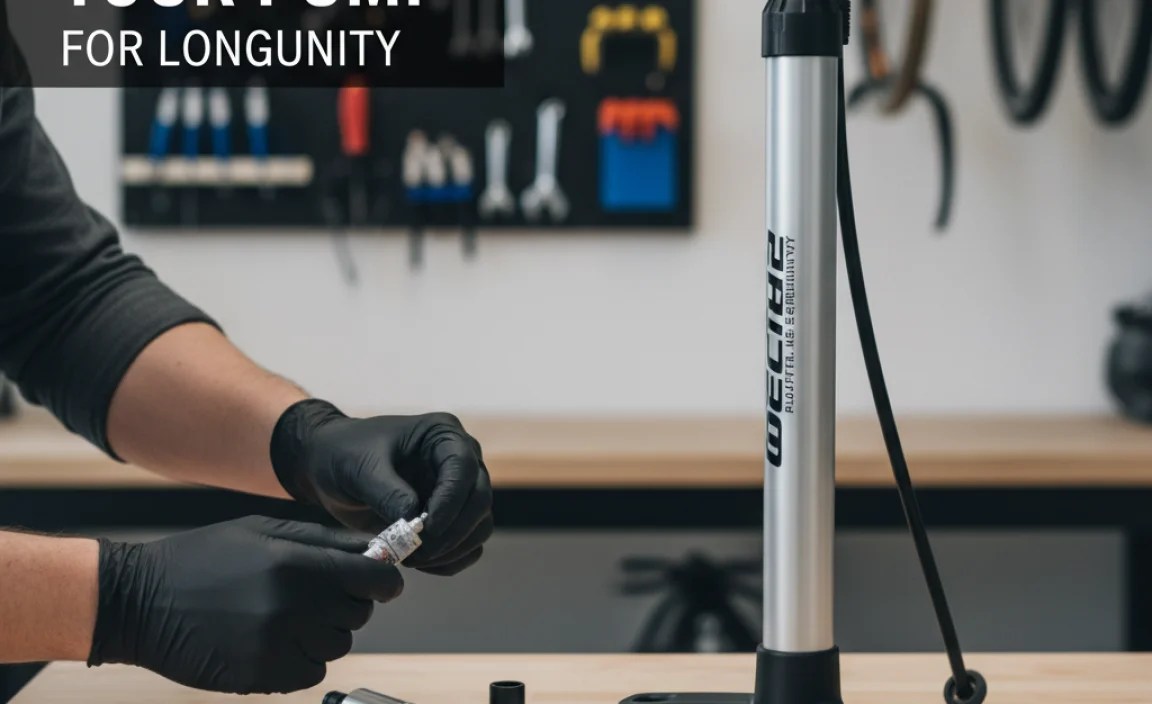
To keep your pump working smoothly and efficiently, regular maintenance is essential. Here are a few simple steps you can take:
- Clean the Pump Head: Over time, dirt and debris can accumulate in the pump head, affecting its performance. Clean the pump head regularly with a soft cloth or brush.
- Lubricate the Piston: The piston is the part of the pump that moves up and down to create air pressure. Lubricate the piston regularly with a light oil or silicone spray.
- Check for Leaks: Inspect the pump for any leaks. If you find any leaks, try tightening the connections or replacing worn-out seals.
- Store Properly: When not in use, store your pump in a dry, clean place. This will help to prevent rust and corrosion.
Understanding PSI and Tyre Performance
Maintaining the correct tyre pressure does more than just prevent flats. It also significantly impacts your bike’s performance and your overall riding experience. Here’s a deeper look into how PSI affects your ride:
Rolling Resistance
Tyre pressure affects rolling resistance, which is the force required to keep your tyres rolling. Higher pressure generally reduces rolling resistance on smooth surfaces, making you faster and more efficient. However, on rough surfaces, lower pressure can actually reduce rolling resistance by allowing the tyre to conform to the terrain.
A study published in the journal “Bicycle Quarterly” found that lower tyre pressures can actually reduce rolling resistance on rough surfaces. This is because the tyre absorbs more of the vibrations, reducing energy loss.
Grip and Handling
Tyre pressure also affects grip and handling. Lower pressure increases the contact patch between the tyre and the road, providing more grip. This is especially important when riding on wet or slippery surfaces. However, lower pressure can also make the bike feel sluggish and less responsive.
Higher pressure reduces the contact patch, providing less grip but also making the bike feel more responsive. This is often preferred for racing and fast riding on smooth surfaces.
Comfort
Tyre pressure has a direct impact on comfort. Higher pressure results in a harsher ride, as the tyre transmits more of the bumps and vibrations to the rider. Lower pressure provides a smoother, more comfortable ride by absorbing more of the vibrations.
If you’re riding on rough roads or trails, lowering your tyre pressure can significantly improve your comfort. However, be careful not to go too low, as this can increase the risk of pinch flats.
Adjusting for Different Conditions
The ideal tyre pressure depends on a variety of factors, including your weight, riding style, and the terrain you’re riding on. Here are some general guidelines:
- Heavier Riders: Heavier riders typically need higher tyre pressures to prevent pinch flats and maintain good handling.
- Lighter Riders: Lighter riders can typically use lower tyre pressures for a more comfortable ride and better grip.
- Smooth Roads: On smooth roads, higher tyre pressures can reduce rolling resistance and improve efficiency.
- Rough Roads: On rough roads, lower tyre pressures can improve comfort and grip.
- Wet Conditions: In wet conditions, lower tyre pressures can increase grip and improve handling.
Experiment with different tyre pressures to find what works best for you. Start with the recommended PSI range on your tyre sidewall and adjust from there.
Advanced Tips for Tyre Inflation
Once you’ve mastered the basics of tyre inflation, here are a few advanced tips to take your skills to the next level:
- Use a Digital Tyre Pressure Gauge: For the most accurate readings, use a digital tyre pressure gauge. These gauges are more precise than analog gauges and can help you fine-tune your tyre pressure for optimal performance.
- Consider Tubeless Tyres: Tubeless tyres offer several advantages over traditional tube-type tyres, including lower rolling resistance, better puncture resistance, and the ability to run lower pressures.
- Learn to Feel the Tyre Pressure: With practice, you can learn to estimate tyre pressure by feel. This can be helpful when you don’t have a pressure gauge handy.
FAQ: Common Questions About Pumping Cycle Tyres
Here are some frequently asked questions to help clarify any remaining doubts:
- Q: How often should I pump my cycle tyres?
- A: Ideally, check and inflate your tyres before every ride. Tyres lose pressure over time, so regular maintenance is key.
- Q: Can I use a car tyre pump on my bicycle tyres?
- A: Yes, if you have Schrader valves. However, car pumps often deliver too much air too quickly, so be careful not to overinflate.
- Q: What happens if I overinflate my tyres?
- A: Overinflating can lead to a harsh ride and increases the risk of tyre blowouts. Always stay within the recommended PSI range.
- Q: What happens if I underinflate my tyres?
- A: Underinflating can cause sluggish handling, increase the risk of pinch flats, and potentially damage your rims.
- Q: Why does my tyre keep losing air?
- A: This could be due to a slow leak in the inner tube, a faulty valve, or a poor seal between the tyre and the rim. Inspect your tyre and tube for any damage.
- Q: Can I use CO2 inflators for regular tyre inflation?
- A: While convenient for emergencies, CO2 cartridges are expensive and not ideal for regular use. Use a floor or hand pump for routine inflation.
- Q: How do I know if my tyre is properly seated on the rim?
- A: Look for a consistent gap between the tyre and the rim all the way around. If you see bulges or dips, the tyre isn’t seated properly.
Conclusion
Pumping a cycle tyre is a fundamental skill that every cyclist should master. By understanding your tyre and pump, following the step-by-step instructions, and troubleshooting common problems, you can keep your tyres properly inflated and enjoy a smooth, safe, and efficient ride. Remember to check your tyre pressure regularly and adjust it based on your weight, riding conditions, and personal preference. With a little practice, you’ll be pumping like a pro in no time! So, grab your pump, inflate those tyres, and get ready to roll!
“`


