
Easy How to Fit Hose Onto Shock Pump: A Quick Guide
Quick Summary: Fitting the hose onto your shock pump is usually straightforward. First, check that the hose and pump threads match. Then, gently screw the hose onto the pump’s valve until it’s snug. Avoid overtightening, which can damage the threads. Finally, give it a little tug to make sure it’s secure before pumping. If it leaks, try again, ensuring it’s straight and properly aligned.
Ever struggled to attach the hose to your shock pump? It’s a common frustration, especially when you’re eager to dial in your suspension for that perfect ride. A loose or improperly fitted hose can lead to leaks, inaccurate pressure readings, and wasted effort. Don’t worry, it’s usually a simple fix! This guide walks you through each step, ensuring a secure and airtight connection every time. We’ll cover everything from identifying the right threads to troubleshooting common issues. Get ready to pump with confidence!
Understanding Your Shock Pump and Hose

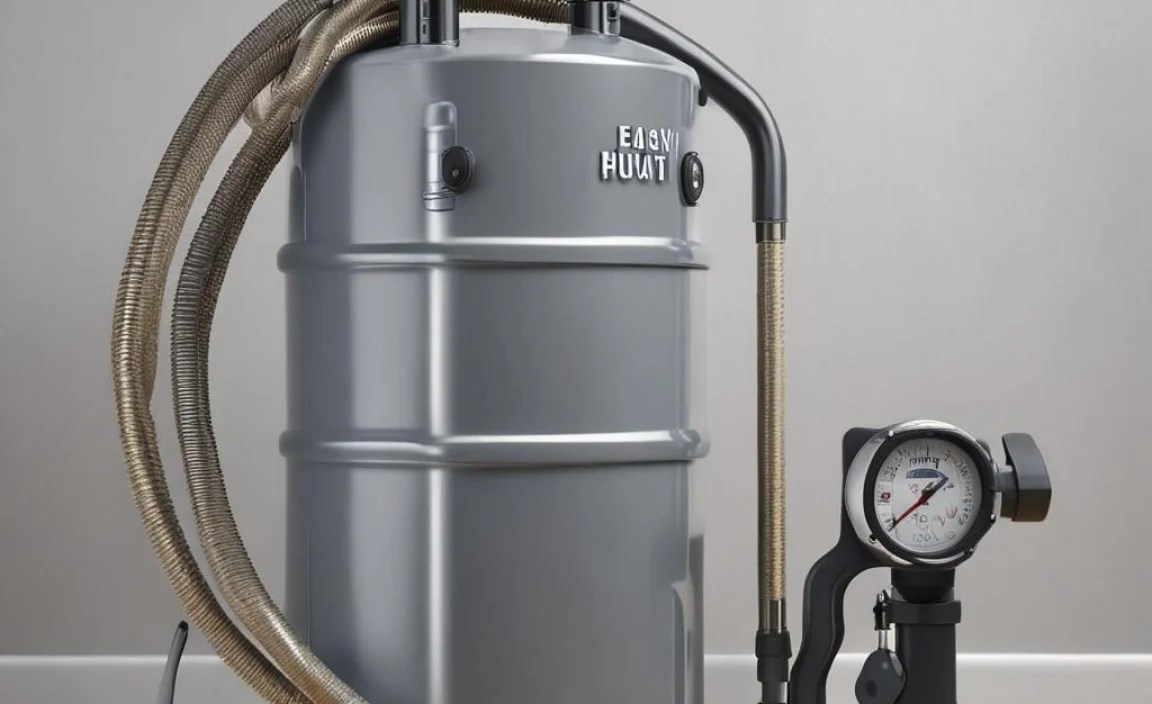
Before diving in, let’s get familiar with the parts we’re working with. A shock pump is a specialized hand pump designed to inflate air shocks and forks on bikes. The hose is the flexible tube that connects the pump to the valve on your suspension. Understanding these components is key to a successful connection.
Key Components
- Pump Body: The main part of the pump, containing the gauge and handle.
- Hose: The flexible tube that carries air from the pump to the shock.
- Valve Connector: The end of the hose that attaches to the shock or fork valve.
- Threads: The spiral ridges on the pump and hose that allow them to screw together.
Types of Hoses and Connectors
While most shock pumps use a standard thread size, it’s good to be aware of variations. Some hoses have swivel connectors for easier access to tight spaces, while others may have a built-in pressure release button.
Step-by-Step Guide: Fitting the Hose
Here’s a detailed guide to ensure your hose is properly fitted to your shock pump:
Step 1: Inspect the Threads
Before you even try to screw anything together, take a close look at the threads on both the pump and the hose. Make sure they are clean and free of any debris or damage. Dirty or damaged threads can prevent a secure connection and cause leaks.
- Check for Dirt: Use a clean, dry cloth to wipe away any dirt or grit.
- Inspect for Damage: Look for any signs of wear, such as flattened or crossed threads. If the threads are damaged, you may need to replace the hose or pump.
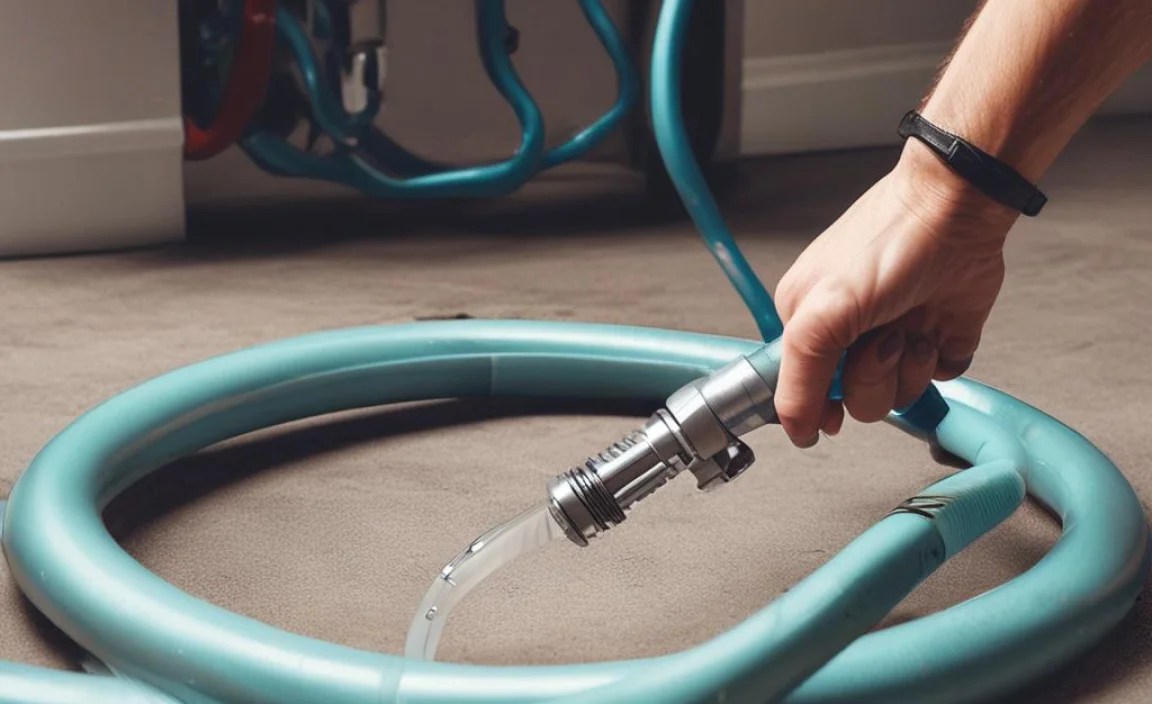
Step 2: Align the Hose and Pump
Proper alignment is crucial for a smooth connection. Hold the hose and pump so that the threads line up perfectly. Avoid forcing the connection, as this can damage the threads.
- Start Straight: Ensure the hose is straight and not at an angle to the pump.
- Gentle Pressure: Apply gentle pressure as you begin to thread the hose onto the pump.
Step 3: Thread the Hose onto the Pump
Now, carefully screw the hose onto the pump. Turn the hose clockwise until you feel resistance. Be patient and avoid cross-threading, which can ruin the threads.
- Turn Clockwise: Rotate the hose clockwise to tighten it.
- Feel for Resistance: Stop tightening when you feel a firm resistance.
Step 4: Tighten the Connection
Once the hose is threaded onto the pump, tighten it snugly. You want the connection to be secure, but don’t overtighten it. Overtightening can damage the threads or the seals inside the pump.
- Snug Fit: Tighten the hose until it’s snug, but not excessively tight.
- Avoid Overtightening: Be careful not to use too much force, which can damage the components.
Step 5: Test the Connection
Before you start pumping, it’s a good idea to test the connection for leaks. Attach the pump to your shock or fork and apply a small amount of pressure. Listen for any hissing sounds, which could indicate a leak.
- Attach to Shock: Connect the pump to your shock or fork valve.
- Apply Pressure: Pump a small amount of air into the shock.
- Listen for Leaks: Check for any hissing sounds around the hose connection.
Troubleshooting Common Issues
Sometimes, even with the best intentions, things don’t go as planned. Here are some common issues you might encounter and how to fix them.
Issue: Leaks at the Connection
If you hear a hissing sound or feel air escaping from the connection, there’s likely a leak. Here’s what to do:
- Retighten the Hose: Try tightening the hose a little more.
- Check the O-ring: Inspect the O-ring inside the hose connector. If it’s damaged, replace it.
- Use Teflon Tape: Wrap Teflon tape around the threads to create a tighter seal.
Issue: Hose Won’t Thread
If you’re having trouble threading the hose onto the pump, the threads may be damaged or misaligned. Here’s how to address it:
- Clean the Threads: Use a thread cleaning tool or a small brush to clean the threads.
- Realign the Hose: Make sure the hose is perfectly aligned with the pump before attempting to thread it.
- Check for Damage: Inspect the threads for any signs of damage. If necessary, replace the hose or pump.
Issue: Stripped Threads
Stripped threads are a common problem, especially if you’ve overtightened the hose in the past. Unfortunately, there’s no easy fix for stripped threads. You’ll likely need to replace the hose or pump.
- Replace the Hose: If the threads on the hose are stripped, replace the hose.
- Replace the Pump: If the threads on the pump are stripped, you may need to replace the entire pump.
Essential Tools for the Job

While fitting a hose onto a shock pump is usually a simple task, having the right tools on hand can make the job easier and more efficient.
- Clean Cloth: For wiping away dirt and debris.
- O-ring Replacement Kit: For replacing worn or damaged O-rings.
- Teflon Tape: For creating a tighter seal.
- Thread Cleaning Tool: For cleaning dirty or damaged threads.
Maintaining Your Shock Pump and Hose

Proper maintenance can extend the life of your shock pump and hose, ensuring they perform reliably for years to come.
Cleaning
Regularly clean your shock pump and hose to remove dirt and debris. Use a clean, dry cloth to wipe down the exterior of the pump and hose. For stubborn dirt, you can use a mild soap and water solution.
Storage
Store your shock pump in a clean, dry place away from direct sunlight and extreme temperatures. This will help prevent the hose from drying out and cracking.
Inspection
Periodically inspect your shock pump and hose for signs of wear or damage. Check the threads for damage, the hose for cracks, and the O-rings for wear. Replace any worn or damaged parts as needed.
Choosing the Right Shock Pump
Not all shock pumps are created equal. When choosing a shock pump, consider the following factors:
- Pressure Range: Make sure the pump has a pressure range that matches your suspension.
- Gauge Accuracy: Look for a pump with an accurate gauge.
- Build Quality: Choose a pump that’s made from durable materials.
- Features: Consider features like a swivel hose, pressure release button, and ergonomic handle.
| Feature | Description | Benefit |
|---|---|---|
| Pressure Range | The range of pressure the pump can deliver (e.g., 0-300 PSI). | Ensures compatibility with your specific suspension system. |
| Gauge Accuracy | How accurately the gauge displays the pressure. | Provides precise pressure readings for optimal suspension setup. |
| Build Quality | The materials and construction of the pump. | Determines the pump’s durability and longevity. |
| Swivel Hose | A hose that can rotate for easier access to valves. | Simplifies connecting to hard-to-reach valves. |
| Pressure Release Button | A button that allows you to release small amounts of pressure. | Enables fine-tuning of pressure for optimal performance. |
Alternative Methods for a Secure Connection
While properly threading the hose onto the pump is the standard method, here are a couple of alternative techniques that can help ensure a secure connection.
Using Teflon Tape
Teflon tape, also known as plumber’s tape, can be used to create a tighter seal between the hose and the pump. Simply wrap a few layers of Teflon tape around the threads of the hose before threading it onto the pump.
Replacing the O-ring
The O-ring inside the hose connector is responsible for creating an airtight seal. If the O-ring is worn or damaged, it can cause leaks. Replacing the O-ring can often solve this problem.
Advanced Techniques for Optimal Performance
For riders who are serious about suspension performance, here are some advanced techniques to consider.
Dynamic Pressure Testing
Dynamic pressure testing involves measuring the pressure in your suspension while you’re riding. This can help you fine-tune your suspension settings for optimal performance on the trail.
Professional Suspension Tuning
If you’re struggling to get your suspension dialed in, consider seeking the help of a professional suspension tuner. A professional tuner can help you optimize your suspension settings for your riding style and terrain.
Safety Tips
Working with pressurized systems can be dangerous if you’re not careful. Here are some safety tips to keep in mind:
- Wear Safety Glasses: Protect your eyes from flying debris.
- Release Pressure Slowly: When disconnecting the pump, release the pressure slowly to avoid damaging the valve.
- Don’t Overtighten: Overtightening can damage the threads and cause leaks.
- Inspect Regularly: Check your pump and hose for wear or damage before each use.
FAQ: Fitting Hose onto Shock Pump
Q: Why is my shock pump hose leaking?
A: A leaking hose is often due to a loose connection, damaged O-ring, or dirty threads. Try tightening the hose, inspecting the O-ring for damage, and cleaning the threads.
Q: How tight should I make the hose connection?
A: Tighten the hose until it’s snug, but avoid overtightening. You should feel a firm resistance, but don’t force it beyond that.
Q: Can I use Teflon tape on the threads?
A: Yes, Teflon tape can help create a tighter seal. Wrap a few layers around the hose threads before connecting.
Q: What if the threads are stripped?
A: If the threads are stripped, you’ll likely need to replace the hose or the entire pump, depending on which part is damaged.
Q: How often should I inspect my shock pump hose?
A: Inspect your hose before each use for signs of wear, cracks, or damage to ensure a safe and effective connection.
Q: What type of shock pump is best for my bike?
A: Choose a shock pump with a pressure range that matches your suspension, an accurate gauge, and durable construction. Consider features like a swivel hose and pressure release button.
Q: Can I use a regular tire pump for my shocks?
A: No, regular tire pumps deliver too much air volume and not enough pressure control. Shock pumps are specifically designed for the low-volume, high-pressure needs of suspension systems.
Conclusion
Fitting the hose onto your shock pump doesn’t have to be a headache. By following these simple steps and troubleshooting tips, you can ensure a secure and airtight connection every time. Remember to inspect your equipment regularly, maintain it properly, and choose the right tools for the job. With a little practice, you’ll be able to dial in your suspension like a pro and enjoy a smoother, more controlled ride. Now get out there and pump it up!


