
How to Fit Chuck with Quick Release Fitting: Easy Guide
Fitting a chuck with a quick release fitting is easier than you might think! You’ll need a few tools, like adjustable wrenches and Teflon tape. First, disassemble the old chuck. Then, wrap the threads of the quick release fitting with Teflon tape. Finally, tighten the chuck onto the fitting. This will let you swap tools quickly and easily.
Ever struggled to switch between different tools on your air compressor? It can be a real pain, especially when you’re in the middle of a project. Fiddling with wrenches and trying to get a tight seal wastes time and can be frustrating. But what if there was a simple way to swap your air tools in seconds?
That’s where quick release fittings come in. They let you change your chuck or other attachments on your air compressor with minimal effort. In this guide, I’ll walk you through the process step-by-step. By the end, you’ll be able to fit a chuck with a quick release fitting, making your work faster and more efficient. Let’s get started!
What You’ll Need
Before we jump into the steps, let’s gather all the necessary tools and materials. Having everything ready will make the process smooth and efficient.
- New Quick Release Fitting: Choose one that matches your air compressor’s thread size.
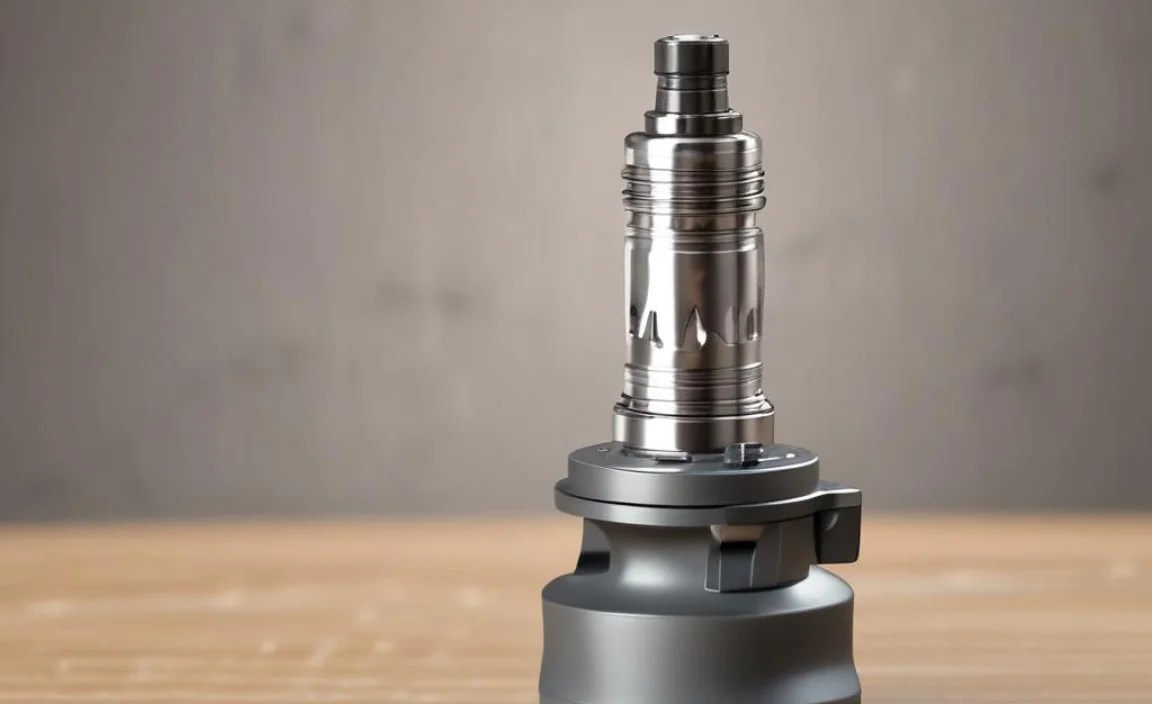
- Chuck: The air chuck you want to connect.
- Adjustable Wrenches: Two wrenches will help you tighten and loosen connections.
- Teflon Tape (Thread Seal Tape): To ensure an airtight seal.
- Safety Glasses: Protect your eyes from debris.
- Gloves: To protect your hands.
Step-by-Step Guide to Fitting a Chuck with a Quick Release Fitting

Follow these steps to quickly and easily fit your chuck with a quick release fitting. I’ll walk you through each stage, providing clear instructions to make the process straightforward.
Step 1: Preparing Your Work Area
Before you start, ensure you have a clean and well-lit workspace. This will help you see what you’re doing and prevent accidents.
- Clear the Area: Remove any unnecessary items from your workbench.
- Good Lighting: Make sure you have enough light to see clearly.
- Safety First: Wear your safety glasses and gloves.
Step 2: Disconnecting the Old Chuck (If Applicable)
If you’re replacing an old chuck, you’ll need to remove it first. This might involve loosening some fittings.
- Disconnect Air Supply: Ensure your air compressor is turned off and disconnected from the power source. Bleed any remaining air from the tank.
- Loosen the Old Fitting: Use an adjustable wrench to loosen the fitting connecting the old chuck.
- Remove the Old Chuck: Unscrew the old chuck completely. If it’s stuck, apply some penetrating oil and wait a few minutes before trying again.
Step 3: Preparing the Quick Release Fitting
Now, prepare the quick release fitting for installation. This involves wrapping the threads with Teflon tape to ensure a good seal.
- Clean the Threads: Ensure the threads on the quick release fitting are clean and free from debris.
- Apply Teflon Tape: Wrap Teflon tape clockwise around the threads two or three times. This helps create an airtight seal and prevents leaks.
- Smooth the Tape: Press the tape firmly into the threads to ensure it adheres well.
Step 4: Attaching the Quick Release Fitting to the Chuck
Next, you’ll attach the quick release fitting to the chuck. Make sure it’s properly aligned before tightening.
- Align the Fitting: Carefully align the quick release fitting with the chuck’s threads.
- Hand-Tighten: Screw the fitting onto the chuck by hand until it’s snug.
- Use Wrenches: Use two adjustable wrenches to tighten the fitting. Place one wrench on the chuck and the other on the quick release fitting. Tighten until secure, but avoid over-tightening to prevent damage.
Step 5: Connecting the Chuck to the Air Hose
Now that the quick release fitting is attached to the chuck, connect it to your air hose.
- Attach the Coupler: Ensure your air hose has a compatible quick release coupler.
- Connect the Chuck: Slide the chuck’s quick release fitting into the coupler on the air hose. It should click into place.
- Test the Connection: Gently tug on the chuck to ensure it’s securely connected.
Step 6: Testing for Leaks
After connecting everything, it’s crucial to test for leaks to ensure the connection is airtight.
- Turn on the Air Compressor: Turn on your air compressor and let it build pressure.
- Listen for Leaks: Listen for any hissing sounds around the connection points.
- Apply Soapy Water: If you suspect a leak, mix some soap with water and apply it to the connection. Bubbles will form if there’s a leak.
- Tighten if Necessary: If you find a leak, turn off the compressor, release the air, and tighten the fitting slightly. Repeat the test until the leak is gone.
Benefits of Using Quick Release Fittings

Quick release fittings offer several advantages that can make your work more efficient and enjoyable. Here are some key benefits:
- Increased Efficiency: Quickly swap between different air tools without needing wrenches.
- Time Savings: Save time on projects by reducing tool changeover time.
- Ease of Use: Simple to connect and disconnect tools, even with gloves on.
- Versatility: Compatible with a wide range of air tools and accessories.
- Reduced Wear and Tear: Minimizes wear on threads compared to constantly screwing and unscrewing fittings.
Troubleshooting Common Issues
Sometimes, you might encounter issues when fitting a chuck with a quick release fitting. Here are some common problems and how to solve them:
| Issue | Possible Cause | Solution |
|---|---|---|
| Air Leak | Insufficient Teflon tape, loose connection | Apply more Teflon tape, tighten the fitting |
| Fitting Won’t Connect | Incorrect fitting size, debris in the coupler | Check fitting compatibility, clean the coupler |
| Difficult to Disconnect | Pressure in the line, damaged coupler | Release air pressure, replace the coupler |
| Threads Stripped | Over-tightening the fitting | Replace the fitting and avoid over-tightening |
Different Types of Quick Release Fittings

There are several types of quick release fittings available, each designed for specific applications. Understanding the differences can help you choose the right one for your needs.
- Industrial Interchange: The most common type, compatible with many air tools and accessories.
- Automotive Interchange: Similar to industrial but with slightly different dimensions.
- ARO Interchange: Another common type, often used in manufacturing and assembly.
- High-Flow Fittings: Designed for tools that require a high volume of air, such as impact wrenches.
Maintenance Tips for Quick Release Fittings
Proper maintenance can extend the life of your quick release fittings and ensure they function correctly. Here are some tips to keep them in good condition:
- Regular Cleaning: Clean the fittings regularly to remove dirt and debris. Use a clean cloth or compressed air.
- Lubrication: Apply a small amount of air tool oil to the moving parts to keep them lubricated.
- Inspect for Damage: Regularly inspect the fittings for signs of wear or damage, such as cracks or corrosion.
- Replace Worn Parts: Replace any worn or damaged parts promptly to prevent leaks or connection failures.
Safety Precautions
Safety should always be a top priority when working with air compressors and tools. Here are some safety precautions to keep in mind:
- Wear Safety Glasses: Protect your eyes from flying debris.
- Use Gloves: Protect your hands from sharp edges and rough surfaces.
- Disconnect Air Supply: Always disconnect the air supply before performing maintenance or changing tools.
- Release Air Pressure: Release air pressure from the tank before disconnecting fittings.
- Avoid Over-Tightening: Over-tightening fittings can damage the threads and cause leaks.
FAQ Section
What is a quick release fitting?
A quick release fitting is a connector that allows you to quickly and easily attach and detach air tools from your air compressor without needing to use wrenches.
Why should I use quick release fittings?
Quick release fittings save time, increase efficiency, and make it easier to switch between different air tools, making your work faster and more convenient.
What size quick release fitting do I need?
The size of the quick release fitting depends on the thread size of your air compressor and air tools. Common sizes include 1/4 inch and 3/8 inch NPT (National Pipe Thread). Check your equipment’s specifications to ensure compatibility. Here is a helpful guide on NPT threads.
How do I prevent leaks in my quick release fittings?
To prevent leaks, use Teflon tape on the threads, ensure the fittings are properly tightened, and regularly inspect them for wear and damage. Replace any worn or damaged parts promptly.
Can I use quick release fittings with any air tool?
Yes, quick release fittings are compatible with a wide range of air tools, as long as the thread sizes match. Ensure you choose the correct type and size of fitting for each tool.
How often should I maintain my quick release fittings?
You should inspect and clean your quick release fittings regularly, ideally every few months, or more frequently if you use them heavily. Lubricate the moving parts as needed to keep them functioning smoothly.
What tools do I need to install a quick release fitting?
You’ll typically need adjustable wrenches, Teflon tape, safety glasses, and gloves. These tools will help you safely and effectively install and maintain your quick release fittings.
Recommended Products
Choosing the right products can make a big difference in the performance and longevity of your air compressor setup. Here are some recommended quick release fittings and accessories:
- Milton Industries S-217 1/4″ NPT V-Style Quick Connect Coupler: A durable and reliable option for general use.
- Astro Pneumatic Tool 4007 Quick Change Air Tool Connector Kit: Includes a variety of fittings for different air tools.
- Goodyear Air Hose with Quick Connect Fittings: A high-quality air hose with pre-installed quick connect fittings for convenience.
Conclusion
Fitting a chuck with a quick release fitting is a simple upgrade that can significantly improve your efficiency and convenience when working with air tools. By following these steps, you can easily install a quick release fitting and enjoy the benefits of quick tool changes and reduced downtime. Remember to prioritize safety, use the right tools, and perform regular maintenance to keep your fittings in good condition. With these tips, you’ll be able to tackle any project with ease and confidence. Happy inflating!


