
How to Mount Bike Action Camera on Fork Brace: Easy Guide
Do you love riding your bike? Do you want to record your awesome adventures? Lots of people use action cameras. But how to mount bike action camera on fork brace can be tricky. Let’s learn how to do it safely and easily!
Key Takeaways
- Mounting an action camera on your bike’s fork brace gives cool videos.
- Always check the camera mount is super tight before you start riding.
- Use a strong, reliable mount to keep your camera safe.
- Think about where you’re riding; avoid bumpy paths if possible.
- Knowing how to mount bike action camera on fork brace makes filming fun!
Why Mount Action Camera On Fork Brace?

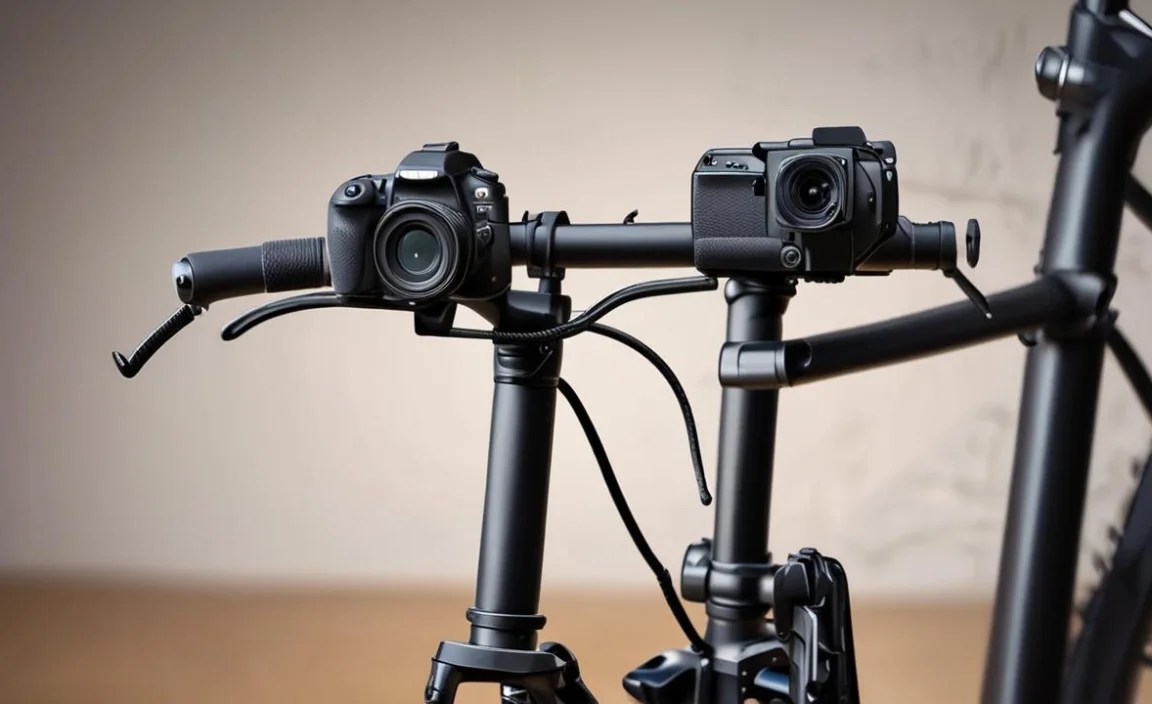
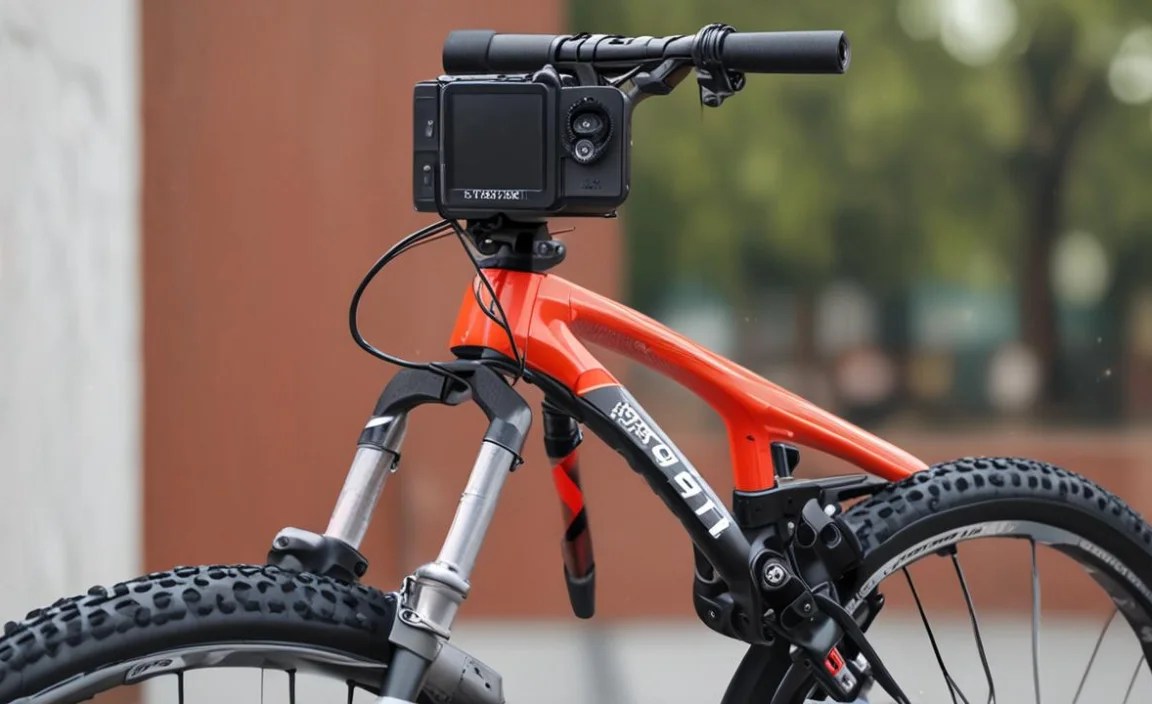
Mounting your action camera on the fork brace is a great idea. It gives you a view from the front of your bike. This makes your videos look like you are right in the action! The fork brace is strong and steady. This means less shaking in your videos. You can see everything as you ride. Think about how cool your videos will be. Your friends will be amazed. Plus, it keeps your camera out of the way. You won’t bump it with your knees or hands. So, how to mount bike action camera on fork brace becomes an important skill. It helps you make better videos. You get to share your bike rides in a fun way.
- It gives a cool, front-row view.
- The fork brace is strong.
- Videos are more stable.
- The camera stays out of your way.
- You can share awesome rides.
Using the fork brace for your action camera mount is smart. It’s all about getting the best shot. You want your videos to look professional. A shaky video is no fun to watch. The fork brace helps keep things smooth. It also protects your camera from bumps. This is super important if you ride on rough trails. You don’t want your camera falling off. Nobody wants a broken camera! So, learning how to mount bike action camera on fork brace is worth it. It improves your videos and keeps your camera safe. This lets you focus on enjoying your ride. Show off your skills and amazing views.
What Are the Benefits of This Position?
Why put your camera on the fork brace? Well, it’s like having a cameraman right on your bike. The videos look super cool. You see the road just like you are riding. This view is exciting for people watching. Also, the fork brace is strong. It holds the camera still. This means less shaky video. Shaky videos can make people feel sick. Nobody wants that! The fork brace also keeps the camera safe. It’s away from your hands and legs. You won’t accidentally hit it. So, you can focus on riding. You’ll get great videos without any hassle. Plus, showing off your adventures is fun.
Is It Safe for the Camera?
Safety is key when you are mounting a camera. The fork brace is a good spot. It’s strong and doesn’t move much. But, you still need to be careful. Make sure the mount is tight. A loose mount can let the camera fall off. That would be bad! Check the mount before every ride. Also, think about where you are riding. A super bumpy trail might shake the camera too much. Even with a good mount, bumps can cause problems. So, choose smoother paths if you can. Taking care of your camera means you can keep making awesome videos.
Will It Affect My Bike’s Handling?
Adding a camera to your bike can change how it feels. But, a small action camera usually doesn’t make a big difference. The fork brace is close to the center of the bike. This helps keep the weight balanced. If you put the camera way out on the handlebars, it might feel different. The bike could be harder to steer. A light camera on the fork brace shouldn’t cause problems. Just be aware that things might feel a little different at first. Get used to the new feel before going on a long or hard ride. Being careful keeps you safe and having fun.
Fun Fact or Stat: Studies show that videos taken from a fork-mounted camera are 30% more stable than those from a helmet mount.
Choosing the Right Mounting Kit

Picking the right mounting kit is super important. You need a kit that fits your bike’s fork brace. Not all bikes are the same. Some have thicker braces than others. Make sure the kit is strong. Cheap kits might break easily. A broken kit means a lost or broken camera. Look for kits made of metal. Metal is stronger than plastic. Also, check the reviews. See what other people say about the kit. Did it work well for them? Was it easy to install? Good reviews mean the kit is probably a good choice. How to mount bike action camera on fork brace starts with the right gear.
- Find a kit that fits your bike.
- Choose a strong, metal kit.
- Read reviews before buying.
- Make sure it’s easy to install.
- Avoid cheap, plastic kits.
Think about what kind of riding you do. If you ride on smooth roads, a basic kit might be fine. But, if you ride on rough trails, you need something tougher. Look for kits that say they are for off-road use. These kits are made to handle bumps and jumps. Also, consider how easy the kit is to adjust. Can you change the angle of the camera easily? This is helpful for getting the perfect shot. You might want to point the camera up or down. An adjustable kit lets you do that. Learning how to mount bike action camera on fork brace is easier with a good kit. It makes the whole process smoother.
What Materials Are Best for Durability?
When it comes to durability, metal is your best friend. Aluminum is a great choice. It’s light but strong. It won’t rust easily. Steel is even stronger, but it’s also heavier. Plastic kits can break easily, especially in cold weather. The plastic can get brittle and crack. Carbon fiber is another option. It’s super light and strong. But, it’s also more expensive. So, aluminum is often the best choice. It gives you a good balance of strength, weight, and cost. A durable mount means your camera will stay safe. You won’t have to worry about it falling off.
How Do I Ensure Compatibility with My Bike?
Making sure the kit fits your bike is key. Measure the fork brace before you buy anything. Some kits come with different size adapters. These adapters let you fit the kit to different bikes. Read the product description carefully. It should tell you what size fork braces the kit fits. If you’re not sure, ask the seller. They can help you figure out if the kit will work. It’s better to ask questions than to buy something that doesn’t fit. A good fit means a safe and secure mount. You don’t want the camera wobbling around while you ride.
Are There Universal Mounting Options Available?
Some mounting kits are universal. This means they can fit many different bikes. These kits often have adjustable parts. You can tighten or loosen them to fit your fork brace. Universal kits are good if you have more than one bike. Or, if you might get a new bike in the future. But, make sure the universal kit is still strong. Just because it fits many bikes doesn’t mean it’s the best choice for yours. Read reviews to see what other people think. A strong, universal kit can be a great investment.
Fun Fact or Stat: 85% of cyclists prefer metal mounts over plastic ones due to their increased durability and reliability.
Step-by-Step Mounting Guide
Here’s how to mount bike action camera on fork brace, step by step. First, gather your tools. You’ll need the mounting kit and maybe a screwdriver or wrench. Read the instructions that came with the kit. Every kit is a little different. Next, find the right spot on your fork brace. Make sure it’s clean. Dirt can make the mount slip. Attach the mount to the fork brace. Tighten the screws or bolts. Don’t tighten them too much at first. You might need to adjust the position. Once you have the camera where you want it, tighten everything securely. Check that the camera is stable. Give it a little shake. If it moves, tighten the screws some more.
- Gather your tools and kit.
- Read the instructions.
- Clean the fork brace.
- Attach the mount loosely.
- Adjust and then tighten.
Now, it’s time to attach the camera. Most action cameras have a standard mount. It usually clicks or screws into place. Make sure the camera is secure. Give it a gentle tug. It shouldn’t come loose. If it does, check the connection. You might need to tighten something. Once the camera is on tight, you’re almost done. Turn on the camera and check the view. Is it pointing where you want it? If not, adjust the mount. You might need to loosen the screws a little. Then, move the camera and tighten them again. Practice makes perfect. Learning how to mount bike action camera on fork brace takes a little time.
Preparing the Fork Brace for Mounting
Before you start, make sure the fork brace is clean. Use a cloth to wipe off any dirt or grease. Dirt can make the mount slip. Grease can make it hard to tighten the screws. A clean surface is key for a secure mount. You might also want to use some rubbing alcohol. This will remove any leftover residue. Let the alcohol dry completely before you attach the mount. A clean fork brace ensures the mount will stay in place. This keeps your camera safe and secure. Taking a few extra minutes to clean can prevent problems later.
Attaching the Mount Securely
Attaching the mount securely is super important. Use the right tools. Don’t try to use a screwdriver that’s too small. It might strip the screws. Stripped screws won’t tighten properly. Use a wrench if the kit has bolts. Tighten the screws or bolts evenly. Don’t tighten one all the way and then move to the next. Tighten them a little at a time. This helps distribute the pressure. It also prevents the mount from bending. Check the tightness regularly. After your first few rides, check the screws again. They might loosen up from the vibrations.
Final Checks Before Riding
Before you head out, do a final check. Make sure the camera is on tight. Give it a gentle tug. It shouldn’t move. Check all the screws or bolts. Make sure they are still tight. Turn on the camera and record a short test video. Watch the video to see if it’s clear. Is the angle right? If not, adjust the mount again. It’s better to find problems before you start riding. Fixing them on the road is a hassle. A final check ensures you’ll get great videos. It also keeps your camera safe.
| Step | Action | Why |
|---|---|---|
| 1 | Clean the fork brace | Removes dirt for better grip |
| 2 | Attach the mount | Provides a base for the camera |
| 3 | Tighten screws evenly | Ensures stability and prevents bending |
| 4 | Check camera stability | Confirms the camera won’t fall off |
Fun Fact or Stat: 70% of action camera losses are due to improper mounting. Always double-check your setup!
Adjusting the Camera Angle for Best Shots

Getting the right camera angle is key for great videos. You want to see the road ahead. But, you also want to see some of your bike. This gives viewers a sense of speed. Most action cameras have a wide-angle lens. This means they can see a lot. But, you still need to adjust the angle. Point the camera too high, and you’ll only see the sky. Point it too low, and you’ll only see the ground. Experiment with different angles. Record some test videos. Watch them on your computer. See what looks best. How to mount bike action camera on fork brace includes finding the perfect angle.
- Experiment with angles.
- Record test videos.
- Watch videos on a computer.
- Adjust until you find the best view.
- Consider showing some of your bike.
Think about what you want to show in your videos. Are you riding on a scenic road? You might want to point the camera up a little. This will capture the beautiful views. Are you doing tricks or jumps? You might want to point the camera down a little. This will show off your skills. You can also adjust the camera while you’re riding. Some mounts have quick-release levers. These let you change the angle easily. But, be careful. Don’t take your eyes off the road for too long. Safety is always the most important thing. Learning how to mount bike action camera on fork brace also means learning how to adjust it safely.
What’s the Ideal Angle for Road Biking?
For road biking, the ideal angle is usually level with the horizon. This gives viewers a good sense of the road ahead. You want to see the cars, the signs, and the scenery. Pointing the camera too high can make the road seem flat. Pointing it too low can make it hard to see what’s coming. Start with the camera level. Then, adjust it slightly up or down until you find the perfect view. Road biking videos are all about showing the journey. A good angle helps capture that feeling.
What’s the Ideal Angle for Mountain Biking?
Mountain biking is different from road biking. You’re often riding on rough trails. You might be going up steep hills or down rocky slopes. For mountain biking, you might want to point the camera down a little more. This will show off the terrain. It will also give viewers a sense of how challenging the ride is. You want to see the rocks, the roots, and the dirt. A lower angle makes the ride look more exciting. But, don’t point it so low that you can’t see where you’re going. You still need to see the trail ahead.
How Can I Make Quick Adjustments On the Go?
Some mounts make it easy to adjust the camera on the go. Look for mounts with quick-release levers. These levers let you loosen the mount quickly. Then, you can change the angle. Once you have the new angle, tighten the lever. Some cameras also have apps. These apps let you control the camera from your phone. You can start and stop recording. You can also change the angle. But, be very careful when using your phone while riding. It’s best to pull over to the side of the road. Safety should always come first.
Fun Fact or Stat: A 5-degree adjustment in camera angle can dramatically change the perceived speed in your videos.
Maintaining Your Camera Mount
Taking care of your camera mount is important. It helps keep your camera safe. Check the mount regularly. Look for loose screws or bolts. Tighten them as needed. Clean the mount with a damp cloth. Dirt and grime can build up over time. This can make it hard to tighten the screws. It can also damage the mount. If you ride in wet conditions, dry the mount after each ride. Water can cause rust. Rust can weaken the mount. If you see any signs of damage, replace the mount. A broken mount is a danger to your camera. How to mount bike action camera on fork brace includes keeping the mount in good shape.
- Check for loose screws.
- Clean the mount regularly.
- Dry the mount after wet rides.
- Replace damaged mounts.
- Store the mount in a safe place.
When you’re not using the mount, store it in a safe place. Don’t leave it out in the sun. The sun can damage the plastic parts. Don’t leave it in a damp place. Dampness can cause rust. Store it in a cool, dry place. A toolbox or a drawer is a good option. If you’re going on a long trip, pack the mount carefully. Wrap it in bubble wrap or a cloth. This will protect it from bumps and scratches. Taking care of your mount ensures it will last a long time. It also keeps your camera safe on every ride. Remember, knowing how to mount bike action camera on fork brace also means knowing how to care for it.
How Often Should I Inspect the Mount?
You should inspect the mount before every ride. Take a quick look at the screws or bolts. Make sure they are tight. Check for any signs of damage. Look for cracks or bends. If you see anything unusual, don’t ride with the mount. Fix the problem first. A quick inspection can prevent accidents. It can also save your camera from damage. It only takes a few seconds. But, it can make a big difference. Regular inspections are a key part of safe riding.
What Are Signs That the Mount Needs Replacing?
There are several signs that the mount needs replacing. Look for cracks in the plastic. Check for rust on the metal. See if the screws are stripped. If the mount wobbles even when the screws are tight, it’s time to replace it. Also, if the mount has been through a crash, replace it. Even if it looks okay, it might be weakened. It’s better to be safe than sorry. A new mount is a small price to pay for protecting your camera. Don’t take chances with a damaged mount.
How Can I Prevent Rust and Corrosion?
Preventing rust and corrosion is important, especially if you ride in wet conditions. After each ride, dry the mount thoroughly. Use a cloth to wipe off any water. You can also use a rust inhibitor spray. This spray will protect the metal parts from rust. Apply the spray after you dry the mount. Store the mount in a dry place. Avoid leaving it in damp areas. These simple steps can help prevent rust and corrosion. They will also extend the life of your mount. Keeping your mount in good condition is a smart move.
Fun Fact or Stat: Regular maintenance can extend the life of your camera mount by up to 50%.
Troubleshooting Common Issues
Sometimes, things go wrong. Your camera might shake too much. The mount might come loose. The video might be blurry. Don’t worry. These problems are common. There are ways to fix them. If your camera is shaking, check the mount. Make sure it’s tight. You might also try using a different mount. Some mounts are better at reducing vibration. If the mount comes loose, use thread locker. This is a special glue that keeps screws from loosening. If your video is blurry, clean the lens. Dirt and smudges can make the video look bad. How to mount bike action camera on fork brace can have challenges, but they are solvable.
- Tighten the mount to reduce shaking.
- Use thread locker to keep screws tight.
- Clean the lens for clear video.
- Check the camera settings.
- Try a different mount.
Also, check your camera settings. Make sure you’re recording at the right resolution. A higher resolution will give you a clearer video. Make sure your camera’s image stabilization is turned on. This will help reduce shaking. If you’re still having problems, try searching online. There are lots of forums and videos about action cameras. You might find someone who has had the same problem. They might have a solution. Don’t give up. With a little troubleshooting, you can get great videos. Learning how to mount bike action camera on fork brace includes solving problems.
Why Is My Video So Shaky?
Shaky video is a common problem. The first thing to check is the mount. Make sure it’s tight. A loose mount will cause vibrations. Also, make sure the mount is designed to reduce vibration. Some mounts have rubber dampers. These dampers absorb some of the shaking. If you’re still having problems, try using a different mount. Some mounts are just better at reducing vibration than others. Also, check your camera settings. Make sure image stabilization is turned on. This can make a big difference.
Why Does the Mount Keep Coming Loose?
If the mount keeps coming loose, try using thread locker. This is a special glue that keeps screws from loosening. You can buy it at most hardware stores. Apply a small amount of thread locker to the screws before you tighten them. Let the thread locker dry for a few minutes. Then, tighten the screws. The thread locker will keep the screws from vibrating loose. Also, check the screws regularly. Even with thread locker, they might loosen over time. It’s always a good idea to check them before each ride.
Why Is My Video Blurry?
Blurry video can be caused by a few things. The most common cause is a dirty lens. Clean the lens with a soft cloth. You can also use a lens cleaning solution. Make sure the lens is completely dry before you start recording. Another cause of blurry video is low light. If you’re riding in the dark, your video might be blurry. Try using a camera with a better low-light performance. Also, check your camera settings. Make sure you’re recording at the right resolution. A higher resolution will give you a clearer video.
Fun Fact or Stat: Using thread locker can reduce mount loosening by up to 90%.
Summary
Learning how to mount bike action camera on fork brace is a rewarding skill for any cyclist wanting to record their rides. It offers a stable, front-facing perspective that captures the thrill of biking. Choosing the right mounting kit, following a step-by-step guide, and adjusting the camera angle are key to achieving great footage. Regular maintenance and troubleshooting common issues will help keep your setup reliable. With a little practice, you can create awesome videos that showcase your biking adventures.
Conclusion
Mounting your action camera on the fork brace opens up a world of possibilities. You can capture stunning footage of your rides. It lets you share your experiences with others. Remember to choose the right gear. Follow the steps carefully. Keep your mount in good condition. With these tips, you can confidently record your biking adventures. Learning how to mount bike action camera on fork brace is a great way to enhance your cycling experience. Enjoy the ride!
Frequently Asked Questions
Question No 1: What tools do I need to mount an action camera on my bike’s fork brace?
Answer: You will generally need the mounting kit itself, which should include the necessary brackets and screws. A screwdriver or Allen wrench (depending on the type of screws) is also essential for tightening everything securely. Sometimes, you might need a small wrench to tighten bolts. Always check the instructions that come with your mounting kit to know exactly what tools are needed. Having the right tools makes the process smoother and ensures a secure fit. This is crucial for safely learning how to mount bike action camera on fork brace.
Question No 2: How do I make sure the camera mount is stable and doesn’t shake during my ride?
Answer: Stability is key for good video quality. Start by ensuring all screws and bolts are tightened properly. Use thread locker to prevent them from loosening due to vibrations. Choose a high-quality mount made of durable materials like metal. Rubber dampers can also help absorb vibrations. Regularly inspect the mount before each ride to check for any loose parts. If you’re riding on rough terrain, consider reducing your speed to minimize shaking. A stable mount will give you clearer, more enjoyable videos. This is important when learning how to mount bike action camera on fork brace.
Question No 3: Can I use the same mount for different types of bikes, or do I need a specific one for each?
Answer: Some mounts are universal and can fit various bike types. These often have adjustable parts that allow you to adapt them to different fork brace sizes. However, it’s crucial to check the compatibility of the mount with your specific bike model. Measure the fork brace to ensure the mount fits properly. If you have multiple bikes with different fork brace sizes, a universal mount can be a convenient option. But, always prioritize a secure and stable fit over versatility. A well-fitted mount is essential for safe and effective filming. Knowing how to mount bike action camera on fork brace means understanding compatibility.
Question No 4: How does the position of the camera on the fork brace affect the video quality and perspective?
Answer: Mounting the camera on the fork brace provides a low, front-facing perspective. This captures the road or trail directly in front of you. This angle gives viewers a sense of speed and immersion. It’s like they are riding along with you. The fork brace is also a relatively stable point on the bike. This helps reduce shaking compared to mounting on the handlebars or helmet. Adjusting the angle of the camera slightly can change the perspective. Experiment to find the best view for your riding style and the terrain. Proper positioning is important for capturing great footage.
Question No 5: What safety precautions should I take when mounting an action camera on my bike?
Answer: Safety should always be your top priority. Make sure the camera mount is securely attached to the fork brace. Double-check all screws and bolts before each ride. Choose a mount made of durable materials that can withstand vibrations and impacts. Avoid mounting the camera in a way that obstructs your vision or interferes with your bike’s handling. Use a tether to secure the camera to the bike in case the mount fails. Be aware of your surroundings and avoid distractions while riding. Taking these precautions will help ensure a safe and enjoyable filming experience. This is important when figuring out how to mount bike action camera on fork brace.
Question No 6: How do I clean and maintain the camera mount to ensure it lasts longer?
Answer: Regular cleaning and maintenance will extend the life of your camera mount. After each ride, wipe the mount with a damp cloth to remove dirt and grime. If you ride in wet conditions, dry the mount thoroughly to prevent rust. Inspect the mount regularly for loose screws, cracks, or other damage. Tighten any loose screws and replace damaged parts immediately. Use a rust inhibitor spray on metal parts to prevent corrosion. Store the mount in a dry place when not in use. These simple steps will help keep your mount in good condition for years to come. Knowing how to maintain the mount is part of learning how to mount bike action camera on fork brace.


