
How To Fix Hose Leaking At Valve End: Easy Guide
Quick Summary: A leaky hose at the valve end is usually due to a loose connection, worn-out washer, or damaged hose. First, try tightening the connection. If that doesn’t work, replace the washer. Still leaking? Inspect the hose for cracks or damage; you might need to trim the end or replace the entire hose.
Is your bike pump hose leaking where it connects to the valve? It’s a common problem that can make inflating your tires frustrating and inefficient. You pump and pump, but the tire never seems to get fully inflated. Don’t worry, you’re not alone, and it’s often an easy fix! A simple loose connection or worn-out part is usually the culprit.
This guide walks you through simple steps to diagnose and fix the leak. We’ll cover everything from tightening connections to replacing washers, so you can get back to riding with properly inflated tires in no time.
Identifying the Leak Source
Before you start wrenching, take a close look at where the leak is coming from. Pinpointing the exact spot saves you time and effort.
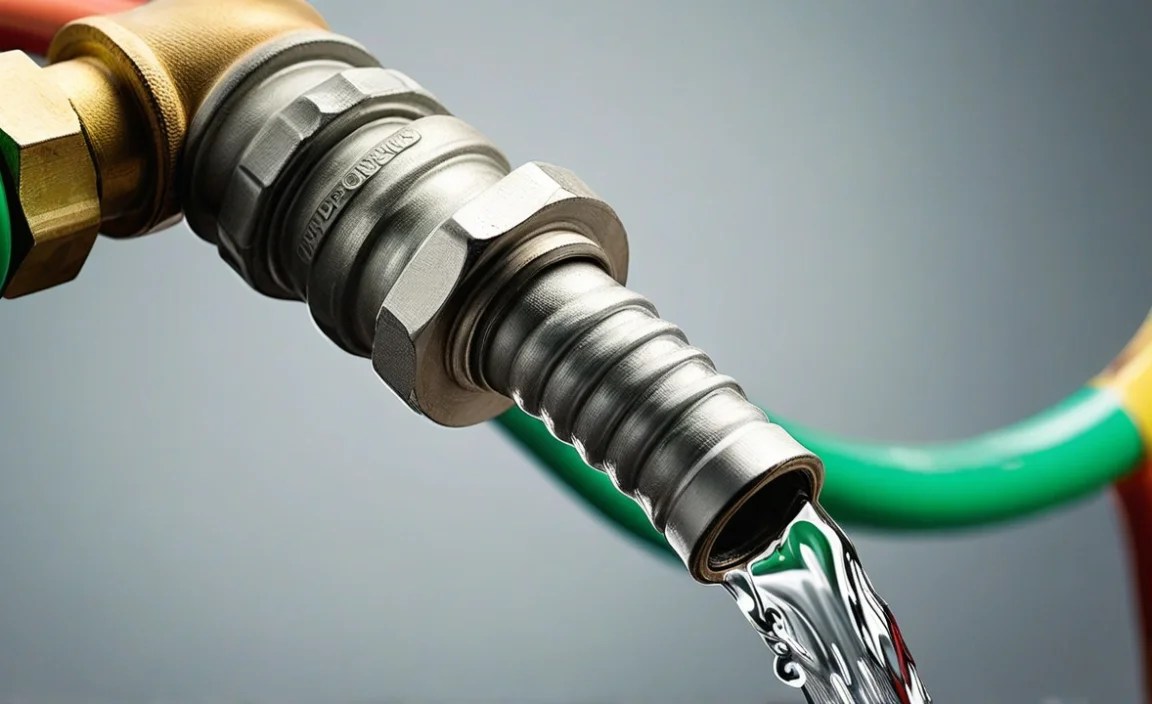
Visual Inspection
Carefully examine the area where the hose connects to the valve. Look for:
- Visible cracks in the hose near the connection
- Loose connections or gaps
- Damaged or missing washers
- Signs of wear and tear on the hose or valve fitting
The Water Test
If the leak isn’t obvious, try this:
- Connect the pump to a tire valve.
- Apply a small amount of soapy water to the connection point.
- Pump a little air into the tire.
- Watch for bubbles to form where the leak is.
The bubbles will show you exactly where the air is escaping, making it easier to target the problem area.
Tools You’ll Need
Having the right tools makes the job much easier. Here’s a basic list:
- Wrench or Pliers: For tightening connections. Adjustable wrenches work well.
- Screwdrivers: Depending on the pump model, you might need a flathead or Phillips head.
- Replacement Washers: Have a few different sizes on hand.
- Hose Cutter or Sharp Knife: To trim the hose if needed.
- Lubricant (optional): Silicone grease can help with sealing.
Step-by-Step Guide to Fixing the Leak

Follow these steps to address the most common causes of hose leaks at the valve end.
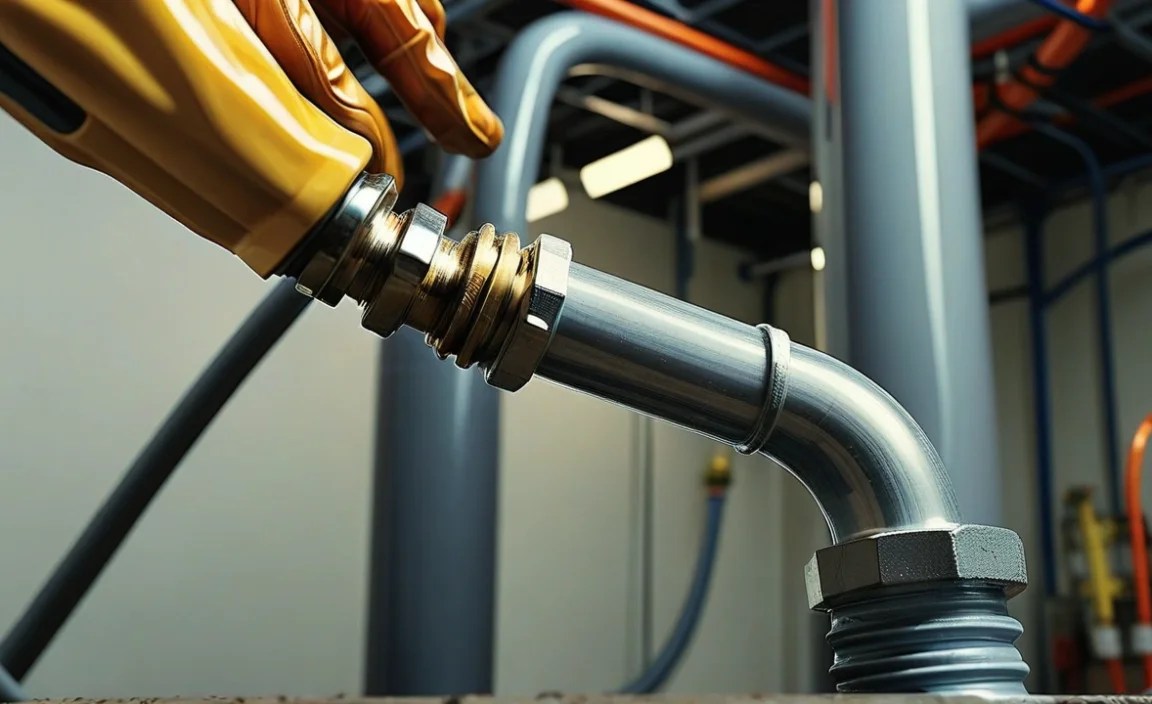
Step 1: Tighten the Connection
Often, the simplest solution is the best. A loose connection is a common cause of leaks.
- Identify the Connection: Locate the point where the hose screws or attaches to the valve fitting.
- Tighten Carefully: Use a wrench or pliers to gently tighten the connection. Be careful not to overtighten, as this can damage the threads.
- Test: Reconnect the pump to the tire valve and check for leaks using the water test described earlier.
Step 2: Replace the Washer
If tightening doesn’t solve the problem, the washer might be worn or damaged.
- Disconnect: Unscrew the hose from the valve fitting.
- Locate the Washer: Look for a small rubber or plastic washer inside the fitting.
- Remove the Old Washer: Use a small screwdriver or pick to carefully remove the old washer.
- Install the New Washer: Insert a new washer of the correct size into the fitting.
- Reconnect and Test: Reattach the hose to the valve fitting, tighten it, and test for leaks.
Step 3: Trim the Hose (If Damaged)
If the hose is cracked or damaged near the end, trimming it can provide a fresh, leak-free surface.
- Inspect the Hose: Look closely for cracks, cuts, or other damage near the end of the hose.
- Cut the Hose: Use a hose cutter or sharp knife to carefully cut off the damaged section. Make sure the cut is clean and straight.
- Reattach: Reattach the hose to the valve fitting, ensuring a secure connection. You might need a new clamp or fitting if the hose is too short after trimming.
- Test: Check for leaks after reattaching.
Step 4: Check the Valve Core
Sometimes the leak isn’t in the hose itself, but in the valve core of your bicycle tube. A loose or damaged valve core can cause air to leak around the valve stem. Here’s how to check and address that:
- Tools Needed: You’ll need a valve core tool. These are inexpensive and widely available at bike shops.
- Tighten the Valve Core: Insert the valve core tool into the valve stem and gently tighten the valve core. Be careful not to overtighten, as this can damage the core.
- Test for Leaks: Inflate the tire and listen for leaks around the valve stem. You can also use the soapy water test to check for bubbles.
- Replace the Valve Core: If tightening doesn’t stop the leak, the valve core may be damaged. Use the valve core tool to remove the old core and install a new one.
Pro Tip: A tiny amount of valve core sealant can help ensure an airtight seal.
Step 5: Replace the Hose (If Necessary)
If none of the above steps work, the hose might be too damaged to repair. Replacing the entire hose is often the best solution.
- Purchase a Replacement Hose: Buy a new hose that is compatible with your pump. Check the manufacturer’s website or a local bike shop.
- Remove the Old Hose: Disconnect the old hose from both the pump and the valve fitting.
- Install the New Hose: Attach the new hose to the pump and the valve fitting, ensuring secure connections.
- Test: Inflate a tire and check for leaks.
Maintaining Your Bike Pump
Regular maintenance can prevent leaks and keep your pump in good working condition.
- Inspect Regularly: Check the hose, connections, and washers periodically for signs of wear and tear.
- Lubricate: Apply a small amount of silicone grease to the valve fitting and hose connections to help maintain a good seal.
- Store Properly: Store your pump in a clean, dry place to protect it from damage.
Troubleshooting Specific Issues
Here are some specific scenarios and how to address them:
Hose Leaking Only When Pumping
This usually indicates a problem with the seal under pressure. Tighten the connections and replace the washer. If that doesn’t work, the hose itself might be expanding under pressure due to damage, requiring replacement.
Hose Leaking Constantly
A constant leak often points to a cracked hose or a completely worn-out washer. Inspect the hose carefully and replace the washer. If the hose is damaged, replace it.
Hose Difficult to Attach to Valve
If you’re struggling to attach the hose to the valve, the fitting might be damaged or the valve core might be clogged. Clean the valve core and inspect the fitting for damage. A little lubricant can also help.
When to Consult a Professional
If you’ve tried all the steps above and still can’t fix the leak, it might be time to consult a professional bike mechanic. They have specialized tools and expertise to diagnose and repair more complex pump issues.
Cost Considerations
Fixing a leaky hose is usually inexpensive. Replacement washers cost only a few dollars, and a new hose typically ranges from $10 to $30. Consulting a professional mechanic might cost more, depending on the extent of the repair.
| Repair | Estimated Cost | DIY Difficulty |
|---|---|---|
| Replace Washer | $1 – $5 | Easy |
| Trim Hose | $0 (if you have a cutter) | Easy |
| Replace Hose | $10 – $30 | Medium |
| Professional Repair | $20 – $50+ | N/A |
Choosing the Right Replacement Parts
When replacing washers or hoses, make sure to choose parts that are compatible with your pump. Check the pump manufacturer’s website or consult a local bike shop for recommendations.
Washer Materials
Washers are typically made of rubber, plastic, or sometimes metal. Rubber washers provide a good seal but can wear out over time. Plastic washers are more durable but might not seal as well. Metal washers are used in high-pressure applications.
Hose Materials
Hoses are usually made of rubber or reinforced plastic. Rubber hoses are flexible but can crack over time. Reinforced plastic hoses are more durable and resistant to damage.
Hose Leaking at Valve End: Common Causes Table
Here’s a quick reference table summarizing the common causes of hose leaks at the valve end:
| Cause | Symptoms | Solution |
|---|---|---|
| Loose Connection | Air leaking at the connection point | Tighten the connection |
| Worn Washer | Air leaking around the fitting | Replace the washer |
| Damaged Hose | Cracks or cuts in the hose | Trim or replace the hose |
| Damaged Valve Core | Air leaking from the valve stem. | Replace the valve core. |
Advanced Techniques
For more advanced repairs, consider these techniques:
- Using Sealant: Applying a small amount of thread sealant to the hose connections can help create a better seal.
- Replacing Fittings: If the valve fitting is damaged, you can replace it with a new one.
- Upgrading the Hose: Consider upgrading to a higher-quality hose for improved durability and performance.
External Resources
- Park Tool Repair Help – A comprehensive resource for bike repairs.
- BikeRadar Workshop – Guides and advice for bike maintenance.
FAQ: Fixing a Leaky Bike Pump Hose
Here are some frequently asked questions about fixing a leaky bike pump hose:
Why is my bike pump hose leaking at the valve end?
A leak is usually caused by a loose connection, a worn-out washer, or damage to the hose itself. Sometimes a damaged valve core in your bicycle tube can also be the culprit.
How do I know if the washer is the problem?
If you see air leaking around the fitting, even after tightening the connection, the washer is likely worn out and needs to be replaced.
Can I use any washer as a replacement?
No, you need to use a washer that is the correct size and material for your pump. Check the pump manufacturer’s specifications or consult a local bike shop.
Is it easy to replace the hose on a bike pump?
Yes, replacing the hose is usually a straightforward process that can be done with basic tools. Make sure to purchase a compatible replacement hose.
What type of lubricant should I use on the hose connections?
Silicone grease is a good choice because it is safe for rubber and plastic and helps create a good seal.
How often should I maintain my bike pump?
Inspect your pump regularly, especially the hose, connections, and washers. Lubricate the connections periodically to keep everything in good working order.
When should I replace my bike pump instead of repairing it?
If the pump is old, heavily damaged, or requires multiple repairs, it might be more cost-effective to replace it with a new one.
Conclusion
Fixing a leaky hose at the valve end is a common bike maintenance task that you can easily handle at home. By following these steps, you can identify the source of the leak, make the necessary repairs, and keep your pump in good working condition. Remember to inspect your pump regularly and maintain it properly to prevent future leaks. With a little effort, you can keep your tires properly inflated and enjoy smooth, hassle-free rides. Now get out there and pump it up!


