
Cycle Pump Spare Parts: Find Easy Fixes!
Quick Summary
Need to fix your bike pump? Don’t toss it! Most pumps can be repaired with simple replacement parts like new hoses, seals, or valve adapters. This guide shows you how to identify the parts you need, where to find them, and how to install them, saving you money and keeping your tires inflated.
Hey there, Raymond Ammons from BicyclePumper.com here. Ever had your bike pump give out right when you needed it most? It’s frustrating, I know. Before you rush out to buy a new one, did you know that most pump problems are easily fixed with a few simple spare parts?
Bike pumps are essential for keeping our tires inflated and our rides smooth, but they’re not immune to wear and tear. Over time, parts like the hose, seals, or pump head can degrade, leading to leaks or a complete loss of pressure. The good news is that replacing these parts is usually a straightforward process that anyone can do with a few basic tools. We’ll walk through how to identify the parts you need, where to find them, and how to install them. Let’s get started!
Understanding Common Cycle Pump Problems
Before diving into spare parts, let’s identify common issues that might require them.
Loss of Pressure
If your pump isn’t building pressure, or the pressure quickly leaks away, here’s what to check:
- Worn Seals: Seals inside the pump cylinder are crucial for maintaining pressure. Over time, they can dry out, crack, or wear down.
- Leaky Hose: Cracks or pinholes in the hose will cause air to escape.
- Valve Issues: Problems with the valve adapter (the part that connects to your tire) can also lead to leaks.
Difficulty Pumping
If it’s hard to push the pump handle down, consider these possibilities:
- Dry Cylinder: The cylinder might need lubrication.
- Damaged Piston Ring: The ring around the piston helps create a tight seal. If it’s damaged, it will increase resistance.
Broken or Damaged Parts
Sometimes, the problem is obvious:
- Cracked Base: A cracked base can make the pump unstable and unsafe to use.
- Broken Handle: A broken handle makes pumping impossible.
- Damaged Gauge: A broken gauge means you can’t accurately inflate your tires.
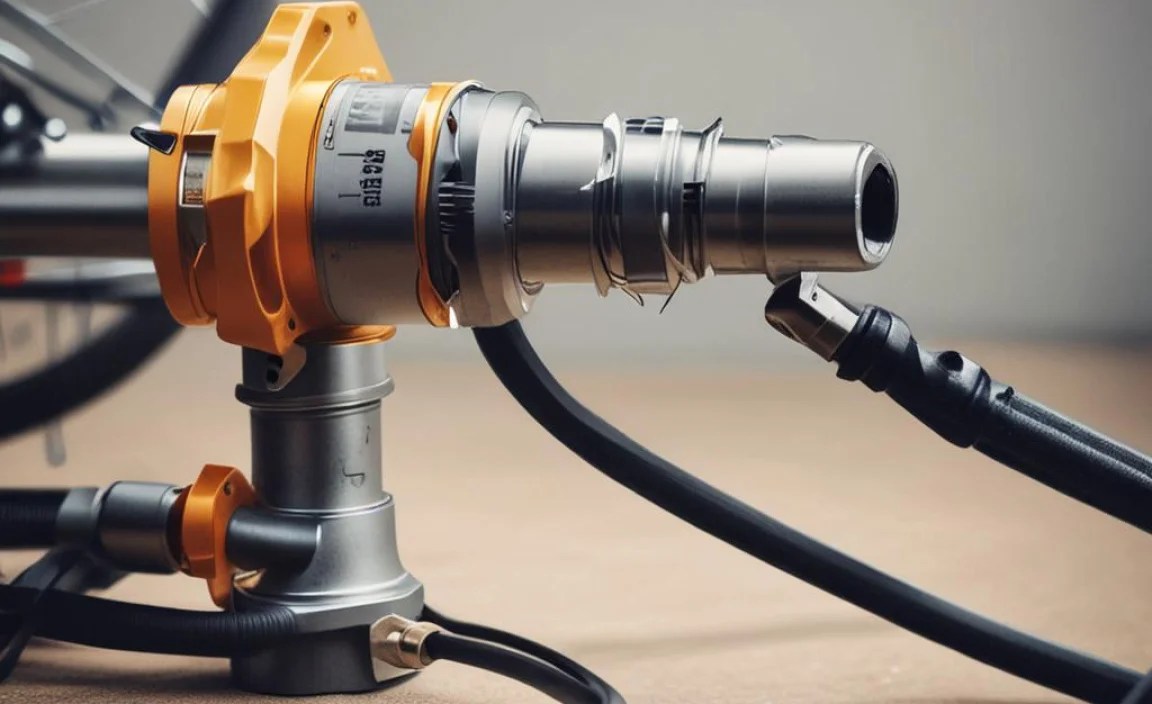
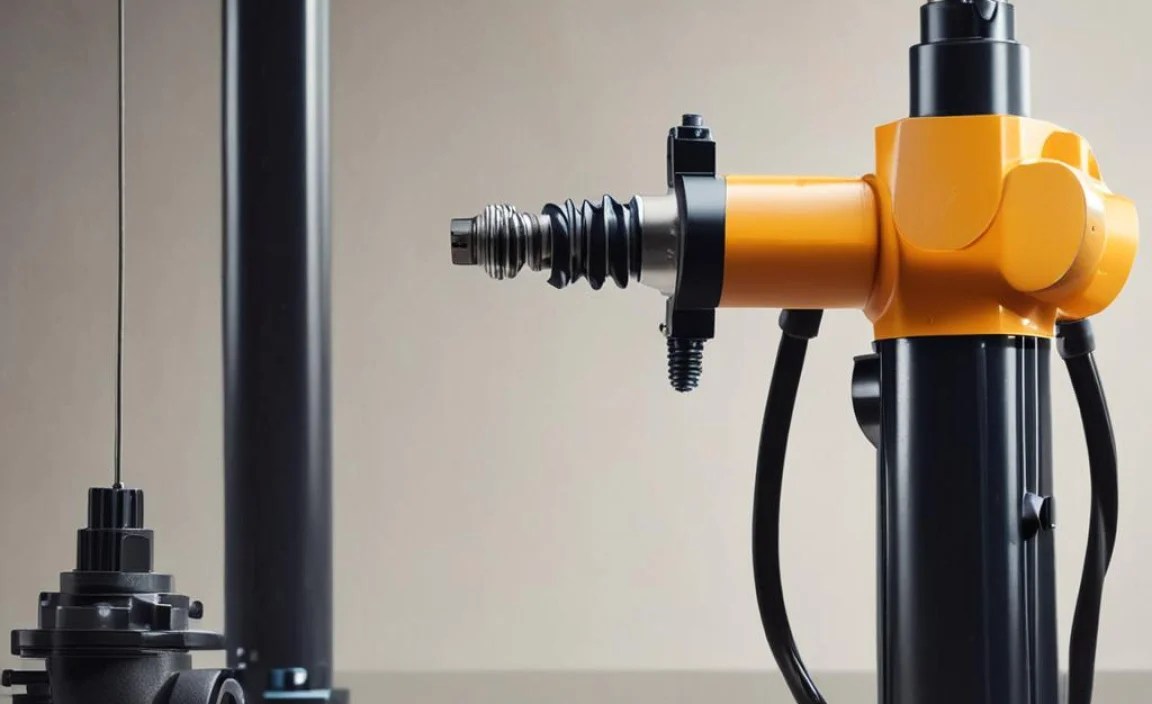
Essential Cycle Pump Spare Parts

Now that we know the common problems, let’s look at the spare parts you might need.
Hoses
The hose connects the pump to the tire valve. Replacements are readily available, and often come with new connectors.
- Material: Look for durable materials like reinforced rubber or braided nylon.
- Length: Ensure the replacement hose is the correct length for your pump.
- Connectors: Check if the connectors are compatible with your pump and valve types (Presta, Schrader, Dunlop).
Seals and O-Rings
These small rubber rings create airtight seals within the pump. They’re essential for maintaining pressure.
- Material: Nitrile rubber is a common and durable material for seals.
- Size: You’ll need to know the correct size for your pump model. Many manufacturers offer seal kits specific to their pumps.
Valve Adapters (Pump Heads)
The valve adapter connects to the tire valve. Some pumps have adapters that can switch between Presta and Schrader valves.
- Type: Choose an adapter compatible with your valve types.
- Material: Look for durable materials like metal or reinforced plastic.
- Lever Mechanism: The lever that locks the adapter onto the valve should be smooth and secure.
Piston Rings and Cups
The piston ring (or cup) seals the piston within the cylinder, allowing the pump to build pressure.
- Material: Leather, rubber, or synthetic materials are common.
- Size: You’ll need to know the correct size for your pump model.
Handles and Bases
If the handle or base is broken, you can often find replacements.
- Material: Look for durable materials like aluminum or reinforced plastic.
- Compatibility: Ensure the replacement handle or base is compatible with your pump model.
Pressure Gauges
A pressure gauge tells you how much air is in your tire. If it’s broken, you’ll need a replacement.
- Accuracy: Look for a gauge that is accurate and easy to read.
- Range: Choose a gauge with a range that matches the pressure you typically use.
- Mounting: Ensure the gauge has the correct mounting style for your pump.
Where to Find Cycle Pump Spare Parts
Finding the right spare parts can be easier than you think. Here’s where to look:
Online Retailers
Websites like Amazon, eBay, and specialized cycling retailers offer a wide range of spare parts.
- Pros: Large selection, competitive prices, convenient shopping.
- Cons: Can be difficult to ensure compatibility, may need to wait for shipping.
Local Bike Shops
Your local bike shop is a great resource for spare parts and expert advice.
- Pros: Expert advice, can physically inspect parts, supports local business.
- Cons: May have a limited selection, potentially higher prices.
Manufacturer Websites
Many pump manufacturers sell spare parts directly on their websites.
- Pros: Guaranteed compatibility, access to specific parts for your pump model.
- Cons: May be more expensive, potentially slower shipping.
Spare Parts Kits
Some companies offer spare parts kits that include a variety of common replacement parts.
- Pros: Convenient, includes multiple parts, good value.
- Cons: May include parts you don’t need, may not have specific parts for your pump model.
Tools You’ll Need

Before you start replacing parts, gather these essential tools:
- Screwdrivers: Both Phillips head and flathead screwdrivers.
- Pliers: For gripping and removing parts.
- Allen Wrenches: For loosening and tightening bolts.
- Adjustable Wrench: For larger nuts and bolts.
- Grease: To lubricate seals and moving parts.
- Rag: For cleaning.
Step-by-Step Guide to Replacing Common Parts
Let’s walk through replacing some common parts.
Replacing a Hose
- Disconnect the Old Hose: Use pliers or an adjustable wrench to loosen the connectors at both ends of the hose.
- Remove the Old Hose: Carefully unscrew the connectors and remove the old hose.
- Install the New Hose: Screw the new connectors onto the new hose.
- Connect the New Hose: Attach the hose to the pump and the valve adapter, tightening the connectors securely.
- Test the Pump: Inflate a tire to ensure there are no leaks.
Replacing Seals and O-Rings
- Disassemble the Pump: Follow the manufacturer’s instructions to disassemble the pump and access the seals.
- Remove the Old Seals: Use a small screwdriver or pick to carefully remove the old seals.
- Clean the Area: Clean the area where the seals sit with a rag.
- Install the New Seals: Apply a small amount of grease to the new seals and carefully install them in their proper locations.
- Reassemble the Pump: Follow the manufacturer’s instructions to reassemble the pump.
- Test the Pump: Inflate a tire to ensure there are no leaks.
Replacing a Valve Adapter
- Remove the Old Adapter: Unscrew the old adapter from the hose.
- Install the New Adapter: Screw the new adapter onto the hose, tightening it securely.
- Test the Pump: Connect the adapter to a tire valve and inflate the tire to ensure it works properly.
Replacing a Piston Ring or Cup
- Disassemble the Pump: Follow the manufacturer’s instructions to disassemble the pump and access the piston.
- Remove the Old Ring/Cup: Use a small screwdriver or pick to carefully remove the old ring or cup.
- Clean the Piston: Clean the piston with a rag.
- Install the New Ring/Cup: Apply a small amount of grease to the new ring or cup and carefully install it on the piston.
- Reassemble the Pump: Follow the manufacturer’s instructions to reassemble the pump.
- Test the Pump: Inflate a tire to ensure the pump builds pressure properly.
Troubleshooting Tips
Sometimes, even with new parts, you might encounter problems. Here are some tips:
- Leaks: If you have leaks, double-check the connections and seals. Make sure everything is tightened securely.
- Difficulty Pumping: If the pump is hard to push, make sure the cylinder is lubricated.
- No Pressure: If the pump isn’t building pressure, check the piston ring or cup. It might not be sealing properly.
Maintaining Your Cycle Pump
Proper maintenance can extend the life of your pump and prevent problems.
- Lubricate Regularly: Apply a small amount of grease to the cylinder and seals periodically.
- Store Properly: Store your pump in a clean, dry place.
- Inspect Regularly: Check the hose, seals, and valve adapter for wear and tear.
Benefits of Repairing Your Cycle Pump
Repairing your cycle pump instead of replacing it has several benefits:
- Cost Savings: Spare parts are often much cheaper than a new pump.
- Environmental Impact: Repairing reduces waste and conserves resources.
- Convenience: You can fix your pump at home, without having to go to a store.
Choosing the Right Pump for Your Needs
When the time comes to get a new pump, here are some factors to consider:
Type of Pump
- Floor Pumps: Best for home use, provide high pressure and volume.
- Mini Pumps: Portable, for on-the-go inflation.
- CO2 Inflators: Quick and easy, but require CO2 cartridges.
Valve Compatibility
Ensure the pump is compatible with your valve types (Presta, Schrader, Dunlop).
Pressure Range
Choose a pump with a pressure range that matches your tire requirements.
Build Quality
Look for a pump with durable construction and high-quality materials.
Cycle Pump Spare Parts: Price Comparison
Here’s a table comparing the typical prices of common cycle pump spare parts.
| Spare Part | Typical Price Range | Notes |
|---|---|---|
| Hose | $10 – $20 | Price varies by material and length. |
| Seal Kit | $5 – $15 | Specific to pump model. |
| Valve Adapter | $8 – $25 | Price varies by type and material. |
| Piston Ring | $3 – $10 | Specific to pump model. |
| Handle | $15 – $30 | Price varies by material and design. |
| Gauge | $12 – $35 | Price depends on accuracy and features. |
Cycle Pump Brands and Their Spare Parts Availability
The availability of spare parts can vary by brand. Here’s a look at some popular brands and their spare parts support:
| Brand | Spare Parts Availability | Notes |
|---|---|---|
| Lezyne | Excellent | Wide range of spare parts available online and in bike shops. |
| Topeak | Good | Good selection of spare parts, often available in kits. |
| Park Tool | Very Good | Known for quality and spare parts support. |
| Serfas | Fair | Some spare parts available, but selection may be limited. |
| Blackburn | Good | Decent availability of spare parts, especially for newer models. |
FAQ About Cycle Pump Spare Parts
Q: How do I know what spare parts I need for my bike pump?
A: Start by identifying the problem. Is it leaking? Is it hard to pump? Once you know the issue, inspect the pump to see which part is damaged. Check your pump’s manual or the manufacturer’s website for part diagrams and model-specific information.
Q: Can I use generic spare parts for my bike pump?
A: While some generic parts might work, it’s best to use parts specifically designed for your pump model. This ensures proper fit and function. Using the wrong parts can damage your pump or create safety issues.
Q: Where is the best place to buy bike pump spare parts?
A: Online retailers, local bike shops, and manufacturer websites are all good options. Online retailers offer a wide selection, while local bike shops provide expert advice. Manufacturer websites guarantee compatibility.
Q: How often should I maintain my bike pump?
A: You should lubricate your pump every few months and inspect it regularly for wear and tear. Replace parts as needed to keep your pump in good working condition.
Q: Is it worth repairing a bike pump, or should I just buy a new one?
A: It’s often worth repairing a bike pump, especially if it’s a high-quality model. Spare parts are usually much cheaper than a new pump, and repairing reduces waste. However, if your pump is old or heavily damaged, it might be more cost-effective to replace it.
Q: How do I disassemble my bike pump to replace parts?
A: Disassembly instructions vary by pump model. Check your pump’s manual or the manufacturer’s website for specific instructions. Generally, you’ll need to remove screws or clips to access the internal components.
Q: What type of grease should I use to lubricate my bike pump?
A: Use a silicone-based grease or a light mineral oil. Avoid using petroleum-based grease, as it can damage rubber seals.
Conclusion
Don’t let a broken bike pump ruin your ride. By understanding common problems, identifying the right spare parts, and following a few simple steps, you can easily repair your pump and keep your tires inflated. Remember to maintain your pump regularly to extend its life and prevent future issues. With a little effort, you’ll save money, reduce waste, and enjoy many more miles on your bike. Now get out there and ride!


