
Bicycle Pump Spare Parts: Find Yours Easy!
Need to fix your bike pump instead of buying a new one? You can! Most pumps use standard parts like O-rings, washers, and hoses that wear out. Finding the right bicycle pump spare parts is easy if you know your pump’s brand and model. Common repairs include replacing the head, piston, or seals. With a few simple tools and the right parts, you’ll be back to easily inflating your tires in no time!
Is your trusty bike pump not working as well as it used to? Don’t worry, you probably don’t need a new one! Like any tool, bike pumps have parts that can wear out over time. Things like seals dry out, hoses crack, and sometimes the pump head just gives up. Replacing these parts is often much cheaper and easier than replacing the entire pump. This guide will show you how to identify the parts you need, where to find them, and how to get your pump working like new again.
We’ll cover the most common bicycle pump spare parts, how to diagnose pump problems, and give you step-by-step instructions to get you back on the road (or trail!) faster.
Understanding Your Bike Pump

Before you start ordering parts, it’s helpful to understand the basic anatomy of your bike pump. Most pumps, whether floor pumps or hand pumps, share similar components.
Common Pump Types
- Floor Pumps (Track Pumps): These are the big pumps you usually keep in your garage or shed. They have a gauge, a long hose, and a sturdy base.
- Hand Pumps: Smaller and more portable, hand pumps are great for taking on rides. They come in various sizes and some attach to your bike frame.
- Mini Pumps: Extra compact for minimal weight and storage, offering convenience for quick inflation on the go.
- CO2 Inflators: These use cartridges of compressed CO2 for rapid tire inflation.
Key Components
Here’s a breakdown of the main parts you’ll find in most bike pumps:
- Pump Head: This attaches to the tire valve (Presta or Schrader).
- Hose: Connects the pump head to the pump body.
- Piston: The internal part that moves up and down to compress air.
- Seals/O-rings: These create an airtight seal inside the pump.
- Base (Floor Pumps): Provides stability while pumping.
- Handle: Used to operate the pump.
- Gauge (Floor Pumps): Shows the tire pressure.
Diagnosing Pump Problems
Figuring out what’s wrong with your pump is the first step to fixing it. Here are some common problems and their likely causes:
- Pump isn’t inflating the tire: This could be a problem with the pump head, hose, or piston seals.
- Air leaking from the pump head: Usually indicates a worn-out seal in the pump head.
- Hard to pump: Could be a dry or damaged piston seal.
- Gauge isn’t working (floor pumps): The gauge itself might be broken, or there could be a leak in the hose or gauge connection.
- Hose is cracked or leaking: The hose has simply worn out over time.
Finding the Right Spare Parts

Once you know what’s broken, you need to find the right replacement parts. Here’s how:
Identify Your Pump’s Brand and Model
This is crucial! Different pumps use different parts. Look for a label on the pump body or base. Common brands include:
- Topeak
- Lezyne
- Park Tool
- Specialized
- Blackburn
Check the Manufacturer’s Website
Many manufacturers sell spare parts directly on their websites. This is often the best place to find exactly what you need. For example, Topeak has a dedicated spare parts section for all of their pumps. Check out their website here.
Local Bike Shops
Your local bike shop can be a great resource. They may have common spare parts in stock, and they can often order parts for you. Plus, they can offer advice on diagnosing the problem and installing the new parts.
Online Retailers
Websites like Amazon, eBay, and specialized cycling retailers often carry a wide variety of bicycle pump spare parts. Be sure to check the product descriptions carefully to make sure the parts are compatible with your pump.
Common Spare Parts and Where to Find Them
Here’s a quick guide to common parts and where you might find them:
| Spare Part | Common Sources | Notes |
|---|---|---|
| Pump Head | Manufacturer’s website, online retailers, bike shops | Ensure it matches your valve type (Presta/Schrader). |
| O-rings/Seals | Manufacturer’s website, hardware stores (for generic sizes), online retailers | Measure the old O-ring for the correct size. |
| Hose | Manufacturer’s website, online retailers, some bike shops | Check the hose length and connector type. |
| Piston | Manufacturer’s website, specialized online retailers | Less commonly needed but essential for pump function. |
| Gauge | Manufacturer’s website, specialized online retailers | Ensure it’s compatible with your pump model. |
Step-by-Step Repair Guides

Now that you have your spare parts, let’s get to the repair process. Here are some common repairs you can do yourself:
Replacing a Pump Head
This is one of the easiest repairs. Here’s how:
- Remove the old pump head: Most pump heads are screwed onto the hose. Unscrew it carefully.
- Attach the new pump head: Screw the new pump head onto the hose, making sure it’s securely tightened.
- Test the pump: Inflate a tire to make sure the new pump head is working properly.
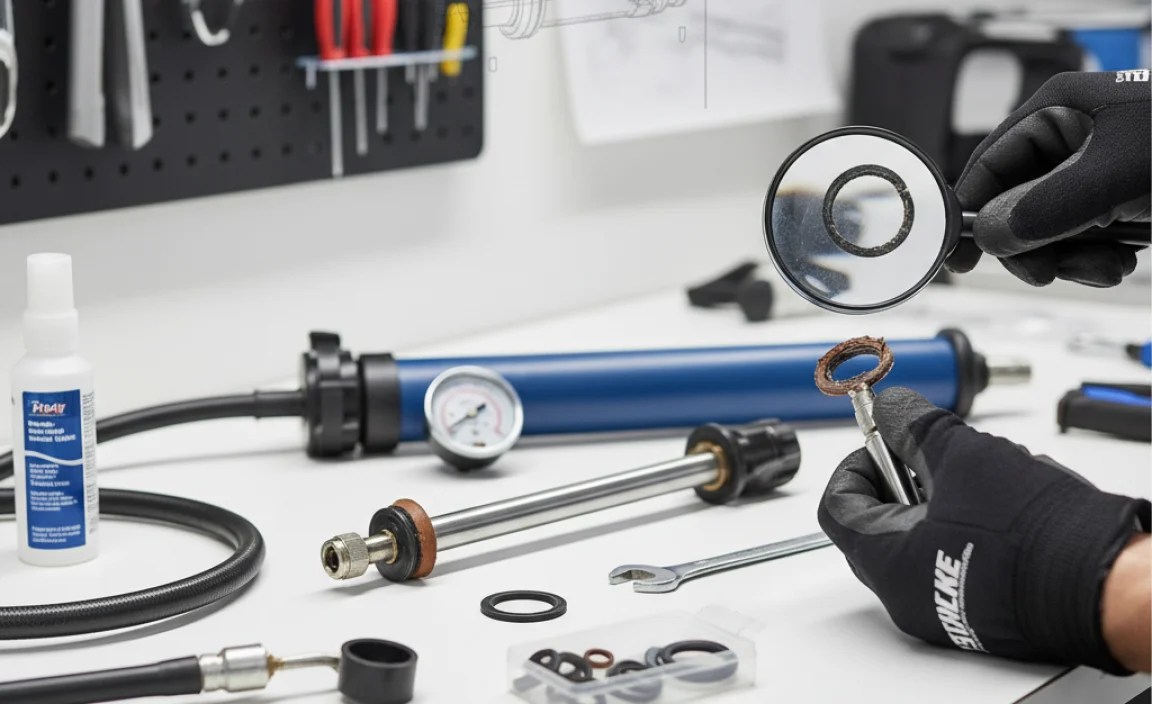
Replacing O-Rings/Seals
This requires a bit more disassembly, but it’s still manageable:
- Disassemble the pump: Consult your pump’s manual or search online for instructions on how to disassemble it. Usually, this involves removing the handle and the piston.
- Locate the O-rings: The O-rings are usually located on the piston and inside the pump body.
- Remove the old O-rings: Use a small pick or screwdriver to carefully remove the old O-rings. Be careful not to scratch the surrounding surfaces.
- Install the new O-rings: Lubricate the new O-rings with a small amount of grease (silicone grease is best) and carefully install them in their grooves.
- Reassemble the pump: Follow the disassembly instructions in reverse to reassemble the pump.
- Test the pump: Inflate a tire to make sure the new O-rings are sealing properly.
Replacing a Hose
A cracked or leaky hose can render your pump useless. Here’s how to replace it:
- Remove the old hose: Most hoses are attached with hose clamps or threaded fittings. Loosen the clamps or unscrew the fittings to remove the old hose.
- Attach the new hose: Connect the new hose to the pump body and the pump head, using the same clamps or fittings. Make sure the connections are secure.
- Test the pump: Inflate a tire to make sure the new hose isn’t leaking.
Replacing the Piston
This is a more involved repair, but still doable with the right tools and instructions:
- Disassemble the pump: As with replacing O-rings, you’ll need to disassemble the pump.
- Remove the old piston: The piston is usually held in place by a nut or screw. Remove the fastener and slide the old piston out.
- Install the new piston: Slide the new piston into place and secure it with the nut or screw.
- Reassemble the pump: Reassemble the pump, making sure all parts are properly aligned.
- Test the pump: Inflate a tire to make sure the new piston is working smoothly.
Essential Tools for Pump Repair
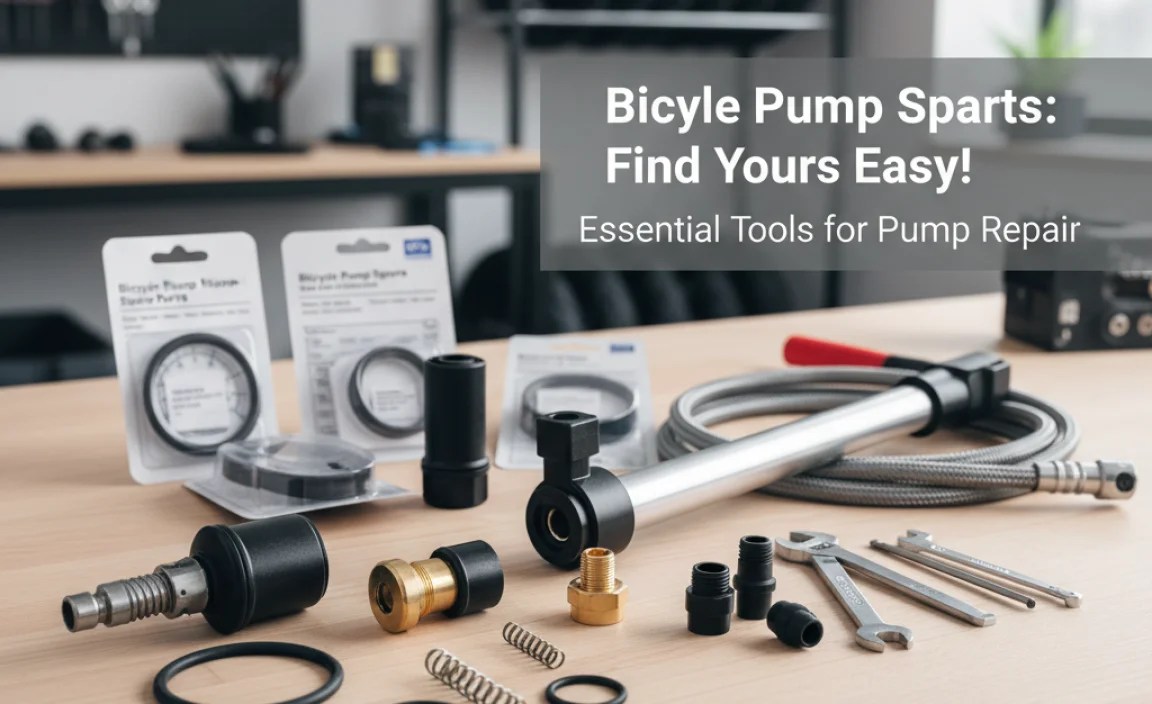
Having the right tools will make your pump repair much easier. Here are some essentials:
- Screwdrivers: A set of screwdrivers in various sizes.
- Pliers: For gripping and pulling.
- Wrench: For tightening nuts and bolts.
- Allen Wrenches (Hex Keys): Many bike parts use Allen bolts.
- Pick or Small Screwdriver: For removing O-rings.
- Grease (Silicone Grease): For lubricating O-rings and other moving parts.
- Hose Clamps: For securing hoses.
Tips for Preventing Pump Problems
A little maintenance can go a long way in preventing pump problems. Here are some tips:
- Store your pump in a dry place: This will prevent the seals from drying out.
- Lubricate the piston regularly: Apply a small amount of silicone grease to the piston every few months.
- Inspect the hose regularly: Look for cracks or damage.
- Replace worn-out parts promptly: Don’t wait until your pump completely fails.
Troubleshooting Common Issues
Even with new parts, you might encounter some issues. Here’s how to troubleshoot them:
| Issue | Possible Cause | Solution |
|---|---|---|
| Pump still doesn’t inflate | Incorrectly installed parts, wrong part size | Double-check installation, verify part compatibility. |
| Air leaking from connections | Loose fittings, damaged hose | Tighten fittings, replace the hose if damaged. |
| Pumping is still hard | Insufficient lubrication, piston installed too tightly | Apply more grease, loosen piston slightly. |
Advanced Tips and Tricks
Want to take your pump repair skills to the next level? Here are some advanced tips:
- Use Teflon tape on threaded fittings: This will help create a tighter seal.
- Soak O-rings in warm water before installing: This will make them more pliable.
- Consider upgrading your pump head: Some aftermarket pump heads are more durable and easier to use than the stock ones.
Cost Considerations
Repairing your pump is almost always cheaper than buying a new one, but it’s still worth considering the cost. Here’s a general idea of what you can expect to pay for common spare parts:
| Part | Approximate Cost |
|---|---|
| Pump Head | $10 – $30 |
| O-rings/Seals | $5 – $15 (for a set) |
| Hose | $10 – $25 |
| Piston | $15 – $40 |
| Gauge | $20 – $50 |
When to Replace vs. Repair
While repairing your pump is usually a good option, there are times when it’s better to replace it. Consider these factors:
- Cost of repairs: If the cost of spare parts is approaching the cost of a new pump, it might be better to buy a new one.
- Pump age: An old, worn-out pump might not be worth repairing.
- Availability of parts: If you can’t find the parts you need, you’ll have to buy a new pump.
FAQ: Bicycle Pump Spare Parts
Q: My pump isn’t inflating my tires. What’s likely the problem?
A: The most common causes are a faulty pump head, a leak in the hose, or worn-out piston seals. Check these parts first.
Q: How do I know what size O-ring to buy?
A: The best way is to measure the old O-ring. If that’s not possible, check your pump’s manual or contact the manufacturer for specifications.
Q: Can I use any grease on my pump’s O-rings?
A: No, use silicone grease. Other types of grease can damage the rubber seals.
Q: Where can I find spare parts for my pump?
A: Start with the pump manufacturer’s website, then check online retailers and your local bike shop.
Q: Is it hard to replace a pump hose?
A: Not usually. It typically involves loosening clamps or unscrewing fittings. Just make sure the new hose is securely attached.
Q: My floor pump gauge isn’t working. Can I fix it?
A: Yes, you can often replace the gauge itself. Make sure to get a compatible gauge for your pump model.
Q: How often should I lubricate my bike pump?
A: Lubricate the piston every few months, or whenever you notice the pump becoming harder to use.
Conclusion
Fixing your bike pump with bicycle pump spare parts is a great way to save money and keep your equipment in top shape. By understanding the basic components of your pump, diagnosing problems, and following these step-by-step repair guides, you can keep your tires properly inflated for years to come. Don’t be afraid to get your hands dirty and give it a try – you might be surprised at how easy it is! And remember, a well-maintained pump means more enjoyable and safer bike rides. Now get out there and pump it up!


