
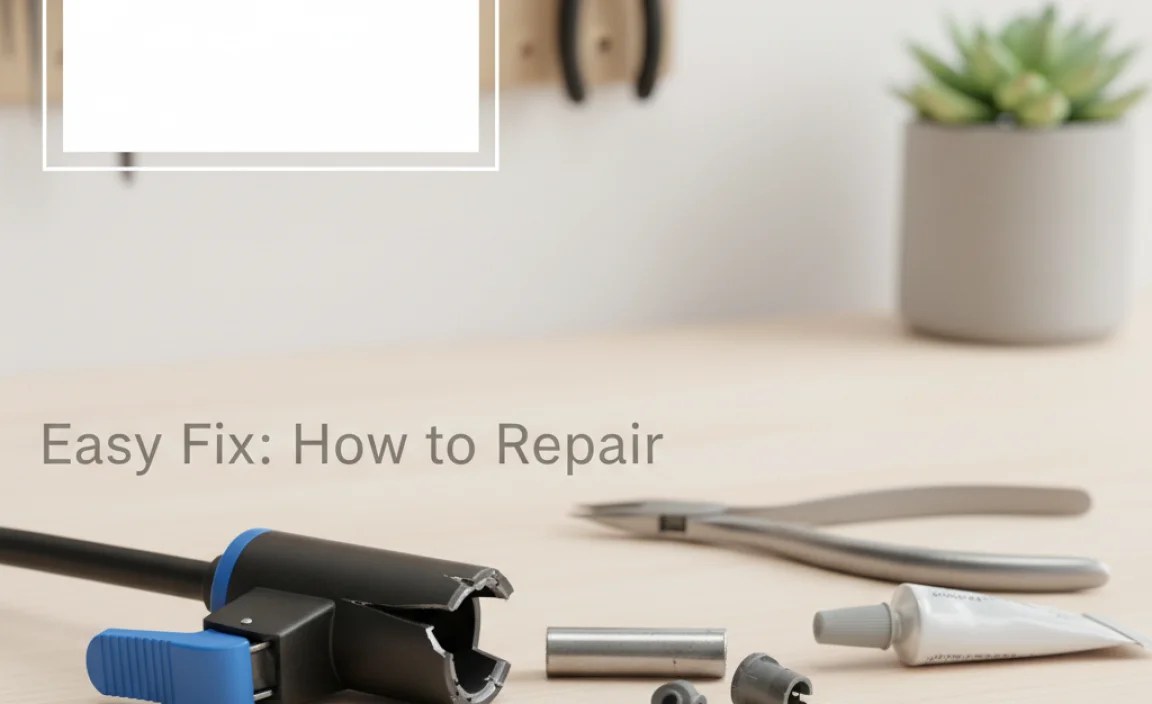
Easy Fix: How to Repair a Broken Mini Bike Pump Nozzle
Quick Summary
Fixing a broken mini bike pump nozzle is easier than you think! First, figure out what’s broken – is it cracked, bent, or clogged? Then, grab the right tools like pliers, a small screwdriver, and maybe some sandpaper. You might be able to clean it, reshape it, or replace a part. If it’s totally busted, replacing the whole nozzle head is your best bet. With a little patience, you’ll be back on the road in no time!
Introduction
Ever been ready for a ride, only to find your mini bike pump nozzle is busted? It’s a super common problem that can be a real pain. A broken nozzle means you can’t inflate your tires, and that puts a stop to your cycling fun. Don’t worry, though! Most of the time, you don’t need to buy a whole new pump. You can often fix the nozzle yourself with a few simple steps.
This guide will walk you through how to diagnose the problem, gather the right tools, and repair or replace your mini bike pump nozzle. We’ll cover everything from cleaning a clogged nozzle to swapping out a completely broken one. By the end, you’ll have the skills to keep your pump working smoothly, so you’re always ready to ride.
Understanding Mini Bike Pump Nozzles

Before you start fixing anything, it’s good to know the basics of mini bike pump nozzles. Knowing the different types and how they work helps you figure out what’s wrong and how to fix it.
Types of Nozzles
Mini bike pumps usually have two main types of nozzles:
- Presta: These are slim nozzles with a locking nut at the tip, mostly found on road bikes and some high-end mountain bikes.
- Schrader: These are wider and sturdier, like the ones on car tires. You’ll find them on mountain bikes, hybrid bikes, and kids’ bikes.
How Nozzles Work
Both types of nozzles work by creating a tight seal around the valve stem. When you push air into the tire, the nozzle allows air to flow in but prevents it from escaping. Over time, dirt, wear, and tear can mess up this seal, leading to problems.
Common Nozzle Problems
Here are some of the most common issues you might run into:
- Cracks or Breaks: Plastic parts can become brittle and crack, especially after being exposed to sunlight or rough handling.
- Clogs: Dirt and debris can get stuck inside the nozzle, blocking airflow.
- Bent or Warped Parts: If you accidentally bend the nozzle, it won’t fit properly onto the valve.
- Worn-Out Seals: The rubber or plastic seals inside the nozzle can wear out, causing leaks.
Tools You’ll Need
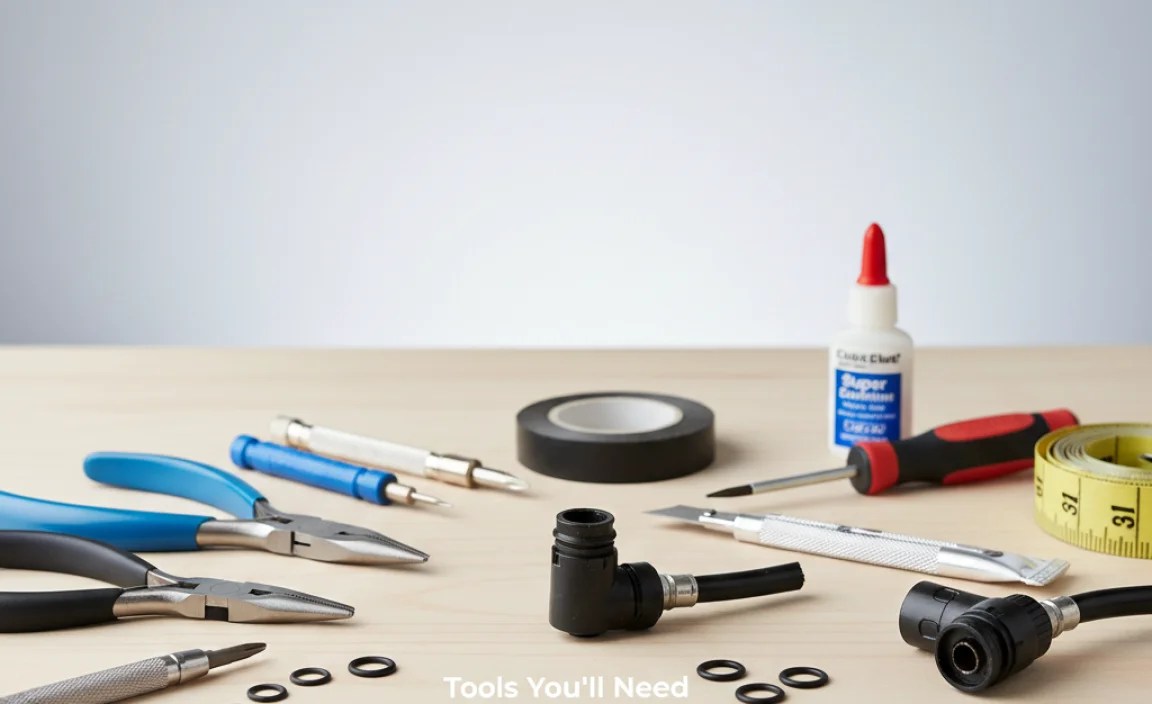
Having the right tools makes the repair process way easier. Here’s a list of what you’ll likely need:
- Small Screwdrivers: Both flathead and Phillips head screwdrivers can be useful for taking apart the nozzle.
- Pliers: Needle-nose pliers are great for gripping small parts and removing debris.
- Utility Knife: For trimming or cutting away damaged pieces. Be careful!
- Sandpaper: Fine-grit sandpaper can help smooth out rough edges or remove corrosion.
- Cleaning Supplies: A small brush, soapy water, and rubbing alcohol can help clean the nozzle.
- Replacement Parts: Depending on the damage, you might need new O-rings, seals, or even a whole new nozzle head.
Step-by-Step Guide to Repairing a Broken Nozzle

Now, let’s get into the actual repair. Follow these steps to fix your mini bike pump nozzle:
Step 1: Diagnose the Problem
First, figure out exactly what’s wrong with the nozzle. Look closely for cracks, breaks, or clogs. Try attaching the nozzle to a valve stem to see if air leaks out or if it doesn’t fit properly.
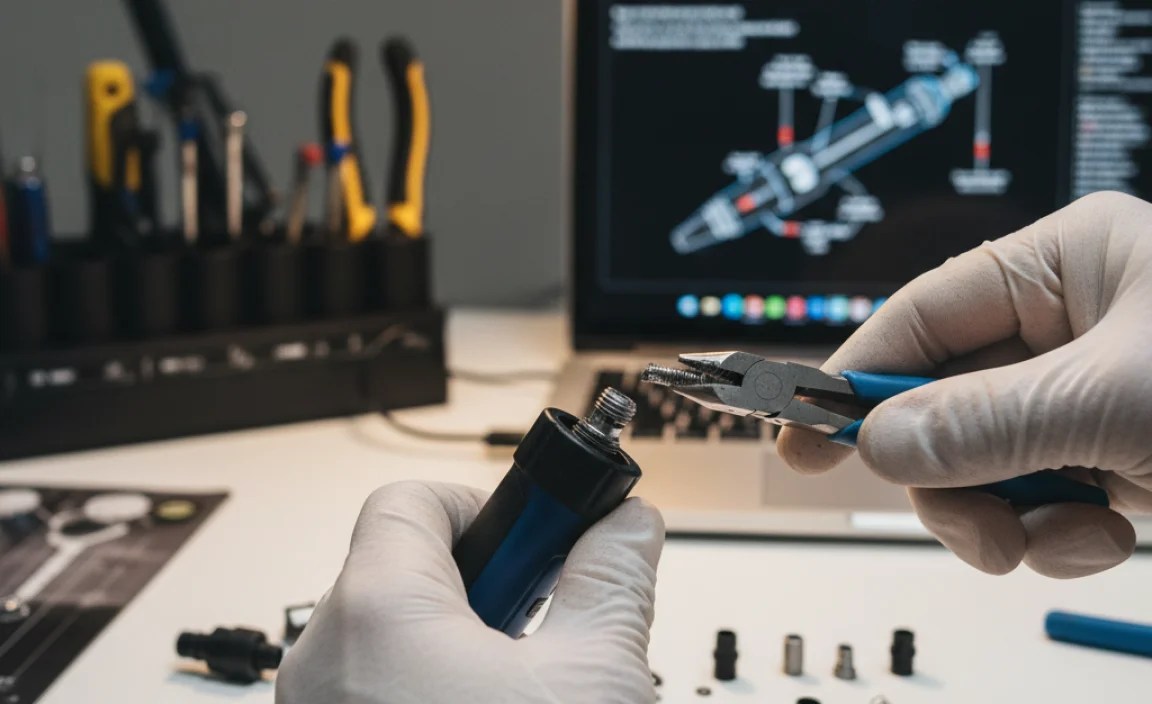
Step 2: Disassemble the Nozzle
Carefully take the nozzle apart. Most nozzles have screws or snap-fit parts. Use your screwdrivers to remove any screws. If it’s a snap-fit design, gently pry the pieces apart with a small screwdriver or knife. Be careful not to break anything!
Step 3: Clean the Components
Once the nozzle is apart, clean all the pieces. Use a small brush and soapy water to remove dirt and debris. For stubborn clogs, try using rubbing alcohol. Make sure everything is completely dry before moving on.
Step 4: Repair or Replace Damaged Parts
Now, it’s time to fix or replace the damaged parts. Here are some common repairs:
- Cracks: If the plastic is cracked but not completely broken, you might be able to use a small amount of epoxy to glue it back together. Make sure the epoxy is fully cured before using the pump again.
- Bent Parts: If a part is bent, try gently bending it back into shape with pliers. Be careful not to break it!
- Worn-Out Seals: Replace any worn-out O-rings or seals. You can usually find replacement kits online or at your local bike shop.
- Clogs: Use a needle or small wire to clear any clogs in the nozzle. Be careful not to damage the nozzle itself.
Step 5: Reassemble the Nozzle
Put the nozzle back together, making sure all the parts fit snugly. Tighten any screws, but don’t overtighten them. If it’s a snap-fit design, make sure all the pieces are securely snapped together.
Step 6: Test the Repair
Attach the repaired nozzle to a valve stem and try inflating a tire. Check for leaks and make sure the nozzle fits properly. If everything works, you’re good to go! If not, go back and check your work, or consider replacing the entire nozzle head.
Dealing with Specific Nozzle Problems
Let’s dive deeper into how to handle some specific issues you might encounter.
Fixing a Leaky Nozzle
A leaky nozzle is a common problem. Here’s how to address it:
- Check the O-rings: These small rubber rings create a seal. If they’re worn or cracked, replace them.
- Tighten Connections: Make sure all parts of the nozzle are tightly connected.
- Clean the Valve Stem: Sometimes, the valve stem itself is dirty or damaged. Clean it with a brush and soapy water.
Unclogging a Nozzle
A clogged nozzle can prevent air from flowing. Here’s how to clear it:
- Use a Needle or Wire: Gently poke around inside the nozzle to dislodge any debris.
- Flush with Water: Rinse the nozzle with water to remove any remaining particles.
- Use Compressed Air: If you have access to compressed air, use it to blow out the nozzle.
Replacing a Damaged Nozzle Head
Sometimes, the nozzle is too damaged to repair. In this case, you’ll need to replace the entire nozzle head.
- Find a Replacement: Look for a compatible nozzle head online or at your local bike shop.
- Remove the Old Nozzle: Unscrew or detach the old nozzle from the pump.
- Install the New Nozzle: Attach the new nozzle to the pump, making sure it’s securely fastened.
Preventative Maintenance Tips
To keep your mini bike pump nozzle in good shape, follow these tips:
- Keep It Clean: Regularly clean the nozzle to remove dirt and debris.
- Store It Properly: Store your pump in a dry place away from direct sunlight.
- Handle with Care: Avoid dropping or mishandling the pump.
- Check Regularly: Inspect the nozzle regularly for signs of wear and tear.
Choosing the Right Replacement Parts
When you need to replace parts, it’s important to choose the right ones. Here’s what to consider:
- Compatibility: Make sure the replacement parts are compatible with your pump model.
- Quality: Choose high-quality parts that will last.
- Reviews: Read reviews to see what other cyclists recommend.
Troubleshooting Common Issues
Even after repairing your nozzle, you might still run into problems. Here are some troubleshooting tips:
| Problem | Possible Cause | Solution |
|---|---|---|
| No Airflow | Clogged nozzle | Clean the nozzle with a needle or wire. |
| Leaking Air | Worn O-rings | Replace the O-rings. |
| Nozzle Won’t Attach | Bent or damaged nozzle | Try to reshape the nozzle or replace it. |
| Pump is Hard to Use | Internal blockage | Disassemble and clean the whole pump. |
Advanced Repair Techniques
If you’re comfortable with more advanced repairs, here are some techniques to try:
Using Sealants
For small cracks or leaks, you can use a sealant to create a temporary fix. Apply a small amount of sealant to the affected area and let it dry completely before using the pump.
Customizing Nozzles
Some cyclists like to customize their nozzles for better performance. You can modify the nozzle to improve airflow or make it easier to use with different valve types. Check out some online tutorials before attempting any modifications.
3D Printing Replacement Parts
If you have access to a 3D printer, you can create your own replacement parts. This is a great way to get custom parts that are hard to find elsewhere.
When to Replace the Entire Pump
Sometimes, the damage is too extensive to repair, and it’s better to replace the entire pump. Here are some signs that it’s time for a new pump:
- The pump body is cracked or broken.
- The internal parts are severely damaged.
- The pump is very old and worn out.
- You’ve tried multiple repairs without success.
Mini Bike Pump Recommendations
If you do need to replace your pump, here are a few highly-rated mini bike pumps to consider:
- Lezyne Micro Floor Drive: This pump is compact and efficient, with a footpad for easy use. Learn more about Lezyne pumps.
- Topeak RaceRocket HP: This pump is lightweight and powerful, with a built-in pressure gauge. Explore Topeak mini pumps.
- Crankbrothers Sterling S: This pump is affordable and reliable, with a dual-valve head for Presta and Schrader valves. See Crankbrothers pump options.
Safety Precautions
When repairing your mini bike pump nozzle, keep these safety tips in mind:
- Wear Safety Glasses: Protect your eyes from flying debris.
- Use Caution with Sharp Tools: Be careful when using knives or screwdrivers.
- Work in a Well-Ventilated Area: If you’re using chemicals like epoxy or sealant, work in a well-ventilated area.
- Disconnect the Pump: Always disconnect the pump from the valve stem before working on it.
FAQ
What causes a mini bike pump nozzle to break?
Mini bike pump nozzles often break due to wear and tear, exposure to sunlight, rough handling, or dirt and debris buildup. Plastic parts can become brittle over time, leading to cracks and breaks.
Can I use a regular bike pump nozzle on a mini bike pump?
It depends. Some regular bike pump nozzles are compatible with mini bike pumps, but others aren’t. Check the size and fitting to make sure it matches your mini pump.
How do I know if my nozzle is clogged?
If you’re having trouble inflating your tires and air isn’t flowing through the nozzle, it’s likely clogged. You can try cleaning it with a needle or small wire to remove any blockages.
Where can I buy replacement parts for my mini bike pump?
You can buy replacement parts online from sites like Amazon or directly from the pump manufacturer’s website. Local bike shops also often carry replacement parts for common pump models.
Is it worth repairing a mini bike pump nozzle, or should I just buy a new pump?
It depends on the extent of the damage. If the nozzle has a simple crack or clog, it’s worth trying to repair it. However, if the damage is severe or the pump is very old, it might be better to buy a new pump.
How often should I clean my mini bike pump nozzle?
You should clean your mini bike pump nozzle every few months, or more often if you ride in dusty or dirty conditions. Regular cleaning helps prevent clogs and keeps the pump working smoothly.
What type of lubricant should I use on my mini bike pump?
Use a silicone-based lubricant on your mini bike pump. Avoid oil-based lubricants, as they can attract dirt and damage the pump’s internal components.
Conclusion
Repairing a broken mini bike pump nozzle might seem tricky at first, but with the right tools and a bit of patience, it’s totally doable. By understanding the different types of nozzles, knowing how to diagnose common problems, and following the step-by-step guides, you can keep your pump in great shape and avoid being stranded with a flat tire. Remember to clean your pump regularly, choose quality replacement parts when needed, and always prioritize safety. Now get back out there and enjoy the ride, knowing you’ve got the skills to handle any pump mishaps along the way!


