
Chuck Rubber Seal Damaged? Easy Fix Here!
Quick Summary:
A damaged chuck rubber seal on your bike pump can cause air leaks, making it hard to inflate tires. To fix it, first inspect the seal for cracks or wear. Then, try cleaning it. If that doesn’t work, replace the seal. You can usually find replacement seals online or at a local bike shop. A little maintenance can save you a lot of pumping effort!
Ever tried pumping up your bike tire only to feel like you’re fighting a losing battle against escaping air? A damaged chuck rubber seal is often the sneaky culprit. It’s a common issue that can turn a simple task into a frustrating workout. But don’t worry, fixing it is usually straightforward.
In this guide, we’ll walk you through identifying, troubleshooting, and replacing that pesky rubber seal. We’ll cover everything from simple cleaning to finding the right replacement parts. Get ready to breathe new life into your bike pump and make your next ride a breeze!
Why a Damaged Chuck Rubber Seal Matters

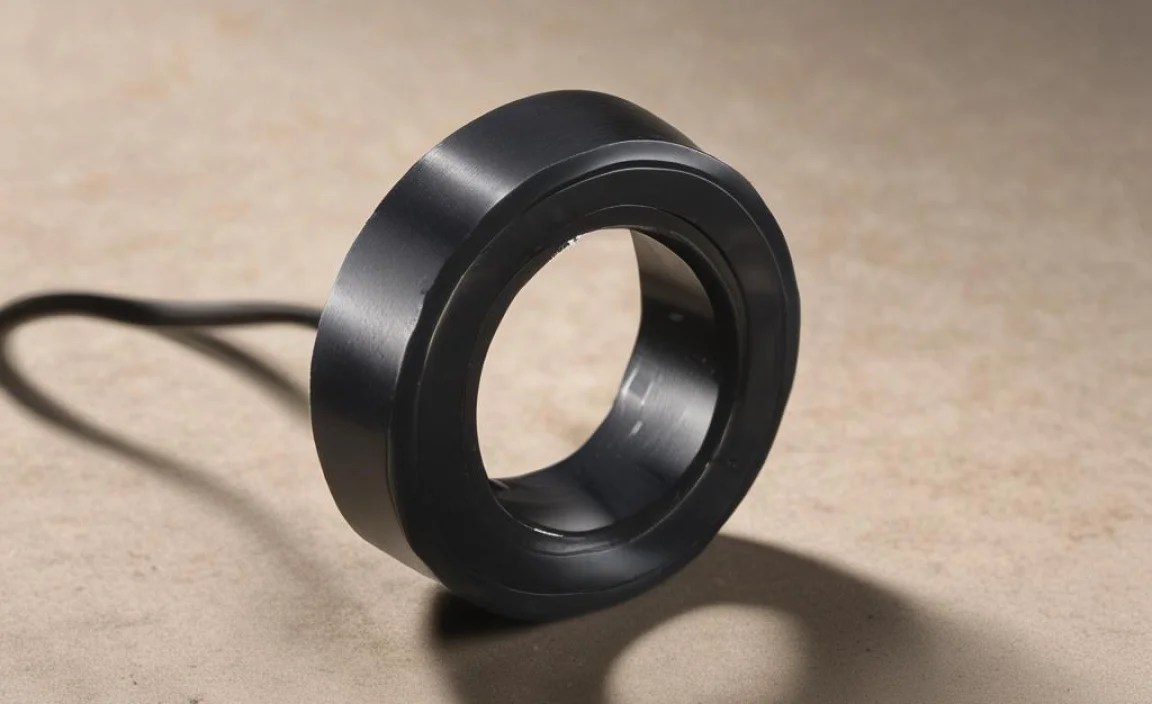
The chuck rubber seal is a small but mighty component of your bike pump. It’s the part that creates an airtight connection between the pump head and the tire valve. When this seal is damaged, air leaks out, making it difficult, if not impossible, to inflate your tires properly. Here’s why addressing this issue is important:
- Efficient Inflation: A good seal means fewer strokes and less effort to reach the desired tire pressure.
- Accurate Pressure: Leaks can lead to inaccurate pressure readings, affecting your ride quality and safety.
- Pump Longevity: A damaged seal can put extra strain on the pump, potentially shortening its lifespan.
- Ride Enjoyment: Nobody wants to struggle with a flat tire on the road. A reliable pump is essential for a smooth ride.
Identifying the Problem: Is Your Chuck Rubber Seal Damaged?

Before diving into repairs, it’s crucial to confirm that the chuck rubber seal is indeed the problem. Here’s how to diagnose:
- Visual Inspection: Look closely at the seal for any visible cracks, tears, or deformities.
- Listen for Leaks: Attach the pump to the tire valve and listen for hissing sounds, indicating escaping air.
- Feel for Air: With the pump attached, feel around the connection point for any escaping air.
- Pressure Test: Try inflating the tire. If it takes excessive effort or you can’t reach the desired pressure, the seal is likely compromised.
Tools and Materials You’ll Need

Before you start, gather these essential tools and materials:
- Replacement Chuck Rubber Seal: Make sure it’s compatible with your pump model.
- Small Screwdriver or Pick: For removing the old seal.
- Clean Cloth: For wiping down the pump head.
- Silicone Grease (Optional): To lubricate the new seal for easier installation and better performance.
- Work Gloves (Optional): To protect your hands.
Step-by-Step Guide to Replacing the Chuck Rubber Seal

Follow these steps to replace your damaged chuck rubber seal and get your pump working like new:
Step 1: Prepare the Pump
Detach the pump from any tire or valve. This ensures safety and makes the replacement process easier.
Step 2: Access the Chuck Rubber Seal
Depending on your pump model, you may need to disassemble the pump head to access the seal. Here’s how:
- Unscrew the Pump Head: Some pump heads can be unscrewed directly.
- Remove Retaining Clips or Rings: Other models may have clips or rings holding the seal in place. Use a small screwdriver or pick to gently remove them.
Step 3: Remove the Old Seal
Carefully remove the old, damaged rubber seal. Use a small screwdriver or pick to gently pry it out. Be careful not to scratch or damage the surrounding pump head.
Step 4: Clean the Area
Use a clean cloth to wipe down the area where the seal sits. Remove any dirt, debris, or old grease. A clean surface ensures a better fit and seal for the new rubber.
Step 5: Install the New Seal
Insert the new rubber seal into the pump head. Make sure it sits flush and is properly aligned. If desired, apply a small amount of silicone grease to the seal for easier installation and improved performance.
Step 6: Reassemble the Pump Head
Reassemble the pump head, securing any retaining clips or rings. If you unscrewed the pump head, screw it back on tightly.
Step 7: Test the Pump
Attach the pump to a tire valve and test it. Check for any air leaks around the chuck. If you hear or feel any leaks, double-check that the seal is properly installed and seated correctly.
Troubleshooting Common Issues
Even with careful installation, you might encounter some issues. Here’s how to troubleshoot them:
- Air Leaks Persist:
- Check Seal Size: Ensure the replacement seal is the correct size for your pump model.
- Inspect for Damage: Examine the new seal for any defects or damage.
- Tighten Connections: Make sure all connections are tight and secure.
- Seal Won’t Seat Properly:
- Lubricate: Apply a small amount of silicone grease to help the seal slide into place.
- Check Alignment: Ensure the seal is properly aligned with the pump head.
- Pump Head Won’t Reassemble:
- Review Instructions: Refer to your pump’s manual or online resources for reassembly instructions.
- Check for Obstructions: Make sure no debris is blocking the reassembly process.
Choosing the Right Replacement Seal
Finding the right replacement seal is crucial for a successful repair. Here’s what to consider:
- Pump Model: The most important factor is compatibility with your pump model. Check your pump’s manual or the manufacturer’s website for the correct part number.
- Seal Material: Rubber seals come in different materials, such as natural rubber, silicone, and Viton. Silicone seals are generally more durable and resistant to wear and tear.
- Seal Size: Ensure the replacement seal has the same dimensions as the original. An incorrectly sized seal will not create a proper seal.
- Brand Reputation: Opt for seals from reputable brands known for quality and reliability.
Preventive Maintenance Tips
To prolong the life of your chuck rubber seal and keep your pump in top condition, follow these preventive maintenance tips:
- Regular Cleaning: Wipe down the pump head and seal regularly to remove dirt and debris.
- Lubrication: Apply a small amount of silicone grease to the seal periodically to keep it supple and prevent cracking.
- Proper Storage: Store your pump in a clean, dry place to protect it from the elements.
- Avoid Over-Inflation: Over-inflating tires can put extra strain on the pump and seal, leading to premature wear.
When to Consider a New Pump
While replacing the chuck rubber seal can often revive a failing pump, there are times when it’s more practical to invest in a new one. Consider a new pump if:
- Extensive Damage: The pump has other significant damage, such as a bent shaft or cracked housing.
- Frequent Repairs: You find yourself constantly repairing the pump.
- Outdated Technology: Your pump is old and lacks features found in newer models, such as a built-in pressure gauge or dual-head chuck.
- Cost-Effectiveness: The cost of replacement parts and repairs exceeds the price of a new pump.
Recommended Bike Pumps
If you’re in the market for a new bike pump, here are some top-rated options:
| Pump Type | Model | Features | Price Range |
|---|---|---|---|
| Floor Pump | Lezyne Classic Floor Drive | High-pressure, accurate gauge, durable construction | $70-$90 |
| Floor Pump | Topeak JoeBlow Sport III | Easy to use, stable base, comfortable handle | $50-$70 |
| Mini Pump | Crankbrothers Sterling LG | Compact, lightweight, reversible head for Presta and Schrader valves | $30-$40 |
| Mini Pump | Lezyne Road Drive | High-pressure, efficient, aluminum construction | $50-$60 |
| CO2 Inflator | Genuine Innovations Ultraflate | Compact, easy to use, controlled inflation | $20-$30 |
Alternate Solutions
While replacing the rubber seal is the most common fix, here are a couple of alternate solutions you might consider:
- Use a Temporary Sealant: In a pinch, you can try using a temporary sealant, such as plumber’s tape or electrical tape, to create a tighter seal around the chuck. However, this is only a temporary fix and should be replaced with a new seal as soon as possible.
- Try a Different Pump Head: Some pumps have interchangeable heads. If your pump head is damaged, you might be able to replace just the head instead of the entire pump.
Additional Resources
For more information on bike pump maintenance and repair, check out these helpful resources:
- Park Tool Repair Help: A comprehensive resource for bike repair information.
- YouTube Bike Repair Channels: Many helpful videos demonstrate bike pump repair techniques.
Chuck Rubber Seal Materials Comparison
Different materials offer varying degrees of durability and resistance. Here’s a comparison:
| Material | Pros | Cons | Best Use |
|---|---|---|---|
| Natural Rubber | Good elasticity, low cost | Less durable, prone to cracking | Basic pumps, occasional use |
| Silicone | Excellent durability, heat resistance | Higher cost | High-performance pumps, frequent use |
| Viton | Superior chemical resistance, long lifespan | Highest cost | Professional-grade pumps, demanding environments |
DIY vs. Professional Repair
Deciding whether to tackle the repair yourself or seek professional help depends on your comfort level and the complexity of the issue.
DIY Repair
Pros:
- Cost-effective
- Convenient
- Educational
Cons:
- Requires some mechanical skill
- May require special tools
- Risk of further damage if not done correctly
Professional Repair
Pros:
- Ensures proper repair
- Saves time and effort
- Reduces risk of further damage
Cons:
- More expensive
- Requires taking the pump to a bike shop
Understanding Valve Types: Presta vs. Schrader
Bike tires use two main types of valves: Presta and Schrader. Knowing the difference is important for selecting the right pump and seal.
- Presta Valves: Narrower and typically found on high-performance bikes. They require a pump with a Presta-compatible head or adapter.
- Schrader Valves: Wider and similar to those found on car tires. They are common on mountain bikes, hybrid bikes, and some road bikes.
Many bike pumps have dual-head chucks that can accommodate both Presta and Schrader valves. When replacing the rubber seal, make sure it’s compatible with the valve type you use most often.
Common Bike Pump Problems and Solutions
Besides a damaged chuck rubber seal, here are some other common bike pump problems and their solutions:
| Problem | Possible Cause | Solution |
|---|---|---|
| Pump Won’t Inflate | Blocked valve, damaged hose | Check valve for obstructions, replace hose |
| Low Pressure | Leaky seal, worn piston ring | Replace seal, replace piston ring |
| Stiff Pumping Action | Lack of lubrication | Apply silicone grease to piston and seals |
| Broken Handle | Overuse, material fatigue | Replace handle |
What does the chuck rubber seal do on a bike pump?
The chuck rubber seal creates an airtight connection between the pump and the tire valve, preventing air from leaking out during inflation.
How do I know if my chuck rubber seal is damaged?
Look for cracks, tears, or deformities in the seal. Listen or feel for air leaks around the connection point when pumping.
Can I replace the chuck rubber seal myself?
Yes, replacing the seal is usually a simple DIY task. Just make sure you have the right replacement part and follow the steps outlined in this guide.
Where can I buy a replacement chuck rubber seal?
You can find replacement seals online at cycling retailers or at your local bike shop. Be sure to check compatibility with your pump model.
How often should I replace the chuck rubber seal?
It depends on how often you use your pump and the conditions it’s exposed to. Inspect the seal regularly and replace it as soon as you notice any signs of damage or wear.
Can I use a universal chuck rubber seal?
While some universal seals may work, it’s best to use a seal specifically designed for your pump model to ensure a proper fit and seal.
What type of lubricant should I use on the chuck rubber seal?
Use a small amount of silicone grease to lubricate the seal. Avoid using petroleum-based lubricants, as they can damage the rubber.
Conclusion
A damaged chuck rubber seal doesn’t have to spell the end for your trusty bike pump. By following these simple steps, you can easily replace the seal and restore your pump to its former glory. Regular maintenance and prompt repairs will not only save you money but also ensure that you’re always ready to hit the road with properly inflated tires. So, grab your tools, get to work, and enjoy the smooth ride that comes with a well-maintained bike and pump!


