
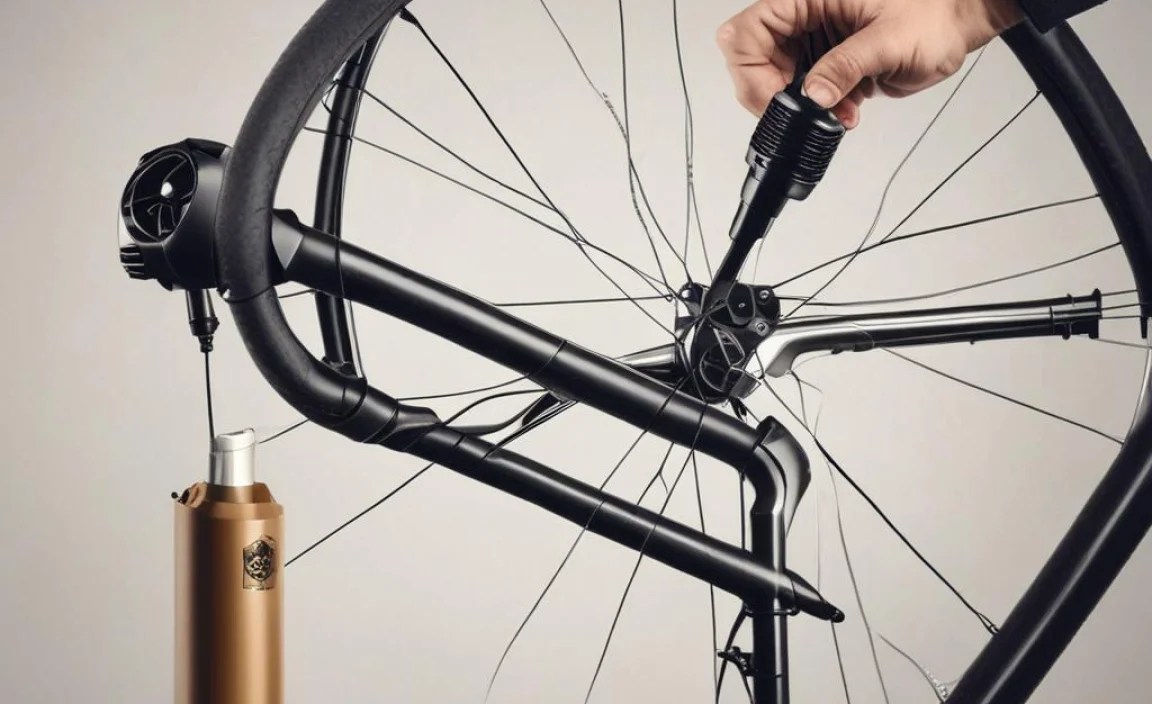
Bicycle Air Pump Parts: Find the Right Ones!
Bicycle air pumps have several key parts that work together to inflate your tires. These include the handle, barrel, base, hose, valve connector (chuck), piston, and seals. Knowing these parts helps you understand how pumps work, maintain them, and troubleshoot problems.
Ever struggled with a bike pump that just wouldn’t inflate your tires properly? It’s a common frustration for cyclists. Understanding the different parts of your bicycle air pump can make all the difference. By knowing the function of each component, you can diagnose problems, perform simple maintenance, and keep your tires properly inflated for a smooth, safe ride.
In this guide, we’ll break down the anatomy of a bicycle air pump, explaining each part in plain language. You’ll learn what each component does, how it works, and how to keep it in good working order. Let’s get started!
Understanding Your Bicycle Air Pump: A Complete Guide to Parts and Functions

Like any tool, a bicycle pump is only useful when it’s in good working order. Knowing the parts of your pump and how they function is the first step in keeping it running smoothly. Let’s explore the essential components of a typical bicycle air pump.
The Main Components of a Bicycle Air Pump
Here’s a breakdown of the key parts you’ll find in most bicycle air pumps:
- Handle: The part you grip and push or pull to operate the pump.
- Barrel: The main cylinder where air is compressed.
- Base: Provides stability and support for the pump.
- Hose: Connects the pump to the tire valve.
- Valve Connector (Chuck): Attaches to the tire valve (Presta or Schrader).
- Piston: Moves inside the barrel to compress air.
- Seals (O-rings): Create airtight seals to prevent air leakage.
Detailed Look at Each Part
Let’s dive deeper into each of these components:
1. Handle
The handle is your primary interface with the pump. It’s designed for comfortable gripping and efficient force transfer. Handles are typically made of wood, plastic, or metal with a rubber or plastic overmold.
Function: Allows you to manually operate the pump, pushing and pulling the piston to compress air.
Common Issues: Handles can become loose, cracked, or uncomfortable over time. A loose handle reduces pumping efficiency.
Maintenance: Check the handle regularly for looseness. Tighten any screws or bolts. If the handle is damaged, consider replacing it.
2. Barrel
The barrel is the heart of the pump. It’s a cylindrical chamber where air is compressed before being forced into the tire.
Function: Houses the piston and provides the space for air compression.
Materials: Typically made of steel, aluminum, or durable plastic. Metal barrels are more durable and efficient at heat dissipation.
Common Issues: The barrel can become scratched or dented, affecting the piston’s movement. Rust can also form inside a steel barrel if it’s not properly maintained.
Maintenance: Keep the barrel clean and dry. Periodically inspect the interior for rust or damage. Lubricate the piston as needed (more on that later).
3. Base
The base provides stability to the pump, allowing you to apply force without the pump tipping over.
Function: Keeps the pump stable during use, especially important for floor pumps.
Materials: Usually made of steel, aluminum, or sturdy plastic. Some bases have rubber feet to prevent slipping.
Common Issues: The base can become loose or detached from the barrel. Rubber feet can wear out or fall off.
Maintenance: Ensure the base is securely attached to the barrel. Replace worn rubber feet to maintain stability.
4. Hose
The hose connects the pump to the tire valve, allowing the compressed air to flow into the inner tube.
Function: Delivers air from the pump to the tire valve.
Materials: Made of flexible rubber or plastic. High-quality hoses are more resistant to cracking and kinking.
Common Issues: Hoses can crack, kink, or become brittle over time, leading to air leaks. The connection points can also loosen.
Maintenance: Inspect the hose regularly for cracks or kinks. Replace the hose if it’s damaged or leaking. Ensure the hose is securely attached to the pump and valve connector.
5. Valve Connector (Chuck)
The valve connector, also known as the chuck, is the part that attaches directly to the tire valve. There are two main types: Presta and Schrader.
Function: Creates an airtight seal with the tire valve, allowing air to flow in without leaking.
Types:
- Presta: A narrow valve with a locking nut at the tip. Common on road bikes and high-performance bikes.
- Schrader: The same type of valve found on car tires. Common on mountain bikes, hybrid bikes, and kids’ bikes.
Many pumps have a dual-head chuck that can accommodate both Presta and Schrader valves. Some have interchangeable parts or require disassembly to switch between valve types.
Common Issues: The rubber seals inside the chuck can wear out, leading to air leaks. The chuck can also become clogged with dirt or debris.
Maintenance: Clean the chuck regularly to remove dirt and debris. Replace the rubber seals if they are worn or damaged. Make sure the chuck is properly aligned and securely attached to the valve.
6. Piston
The piston is the moving part inside the barrel that compresses the air. It’s connected to the handle and slides up and down to draw air in and push it out.
Function: Compresses air inside the barrel.
Materials: Typically made of plastic, rubber, or metal with rubber seals. The piston must fit snugly inside the barrel to create an effective seal.
Common Issues: The piston can become worn or damaged, reducing its ability to compress air. The rubber seals can dry out and crack, leading to air leaks.
Maintenance: Periodically lubricate the piston with a silicone-based lubricant to keep it moving smoothly. Replace the piston or seals if they are worn or damaged.
7. Seals (O-rings)
Seals, often O-rings, are crucial for creating airtight connections throughout the pump. They prevent air from leaking out during compression and inflation.
Function: Create airtight seals between various parts of the pump, such as the piston and barrel, and the hose and valve connector.
Materials: Made of rubber or synthetic materials. The material must be flexible and durable to maintain a tight seal under pressure.
Common Issues: Seals can dry out, crack, or become deformed over time, leading to air leaks. They are often the first parts to fail in a pump.
Maintenance: Regularly inspect the seals for damage. Lubricate them with silicone grease to keep them pliable. Replace any worn or damaged seals to maintain proper pump function.
Other Important Parts
Besides the main components, several other parts contribute to the overall function of a bicycle air pump:
- Check Valve: A one-way valve that allows air to flow into the tire but prevents it from flowing back out.
- Pressure Gauge: Displays the air pressure in the tire, usually measured in PSI (pounds per square inch) or Bar.
- Mounting Brackets: Used to attach the pump to the bike frame for easy transport.
Types of Bicycle Pumps and Their Parts

While the basic principles are the same, different types of bicycle pumps have slightly different designs and parts. Here’s a quick overview:
Floor Pumps (Track Pumps)
Floor pumps are designed for home use and offer high volume and pressure. They are typically more efficient and easier to use than hand pumps.
Key Features:
- Large barrel for high volume
- Stable base
- Long hose
- Pressure gauge
Common Parts to Maintain:
- Hose and valve connector
- Piston and seals
- Check valve
- Pressure gauge
Hand Pumps
Hand pumps are portable and designed for on-the-go use. They are smaller and lighter than floor pumps but require more effort to inflate tires.
Key Features:
- Compact size
- Lightweight
- Mounting bracket (optional)
Common Parts to Maintain:
- Piston and seals
- Valve connector
- Hose (on some models)
CO2 Inflators
CO2 inflators use cartridges of compressed carbon dioxide to quickly inflate tires. They are very compact and lightweight, making them ideal for racing and emergency repairs.
Key Features:
- Small and lightweight
- Quick inflation
- Uses disposable CO2 cartridges
Common Parts to Maintain:
- Inflator head
- Cartridge adapter
- Seals
Troubleshooting Common Pump Problems
Knowing the parts of your bicycle pump can help you diagnose and fix common problems. Here are some troubleshooting tips:
| Problem | Possible Cause | Solution |
|---|---|---|
| Pump won’t inflate tire | Worn or damaged piston seals | Replace the piston seals |
| Air leaking from the valve connector | Dirty or damaged valve connector seals | Clean or replace the valve connector seals |
| Hose is cracked or leaking | Old or damaged hose | Replace the hose |
| Pump is hard to operate | Dry piston or barrel | Lubricate the piston with silicone grease |
| Pressure gauge is inaccurate | Damaged or faulty gauge | Replace the pressure gauge |
Step-by-Step Guide to Replacing Common Pump Parts

Replacing worn or damaged parts can significantly extend the life of your bicycle pump. Here’s a general guide to replacing some common components:
Replacing Piston Seals
Tools Needed:
- Screwdrivers
- Pliers
- New piston seals
- Silicone grease
Steps:
- Disassemble the pump to access the piston. This usually involves removing the handle and barrel.
- Remove the old piston seals. Use a small screwdriver or pick to carefully pry them off.
- Clean the piston and barrel to remove any dirt or debris.
- Apply a small amount of silicone grease to the new piston seals.
- Install the new piston seals onto the piston. Make sure they are properly seated.
- Reassemble the pump.
- Test the pump to ensure it is working properly.
Replacing Valve Connector Seals
Tools Needed:
- Small screwdrivers
- New valve connector seals
Steps:
- Disassemble the valve connector. This usually involves unscrewing the connector head.
- Remove the old valve connector seals.
- Clean the connector to remove any dirt or debris.
- Install the new valve connector seals.
- Reassemble the valve connector.
- Test the pump to ensure the valve connector is sealing properly.
Replacing the Hose
Tools Needed:
- Wrench or pliers
- New hose
Steps:
- Remove the old hose from the pump and valve connector. This usually involves unscrewing or unclamping the hose.
- Install the new hose onto the pump and valve connector. Make sure the connections are secure.
- Test the pump to ensure the hose is not leaking.
Maintaining Your Bicycle Pump for Longevity

Regular maintenance is key to keeping your bicycle pump in good working order and extending its lifespan. Here are some tips:
- Lubricate the piston regularly: Use a silicone-based lubricant to keep the piston moving smoothly.
- Clean the valve connector: Remove dirt and debris from the valve connector to ensure a good seal.
- Inspect the hose: Check the hose for cracks, kinks, or leaks.
- Replace worn seals: Replace any worn or damaged seals to prevent air leaks.
- Store the pump properly: Store the pump in a dry place to prevent rust and corrosion.
FAQ: Common Questions About Bicycle Pump Parts
Here are some frequently asked questions about bicycle pump parts:
- What is the difference between a Presta and Schrader valve?
- A Presta valve is narrow and has a locking nut at the tip, common on road bikes. A Schrader valve is wider and similar to car tire valves, found on mountain and hybrid bikes.
- How often should I lubricate my bicycle pump?
- Lubricate your pump every few months, or whenever you notice it becoming harder to pump. Use a silicone-based lubricant.
- Where can I buy replacement parts for my bicycle pump?
- You can find replacement parts at most local bike shops or online retailers that specialize in bicycle components.
- How do I know if my pump seals are worn out?
- If your pump is losing pressure or requires more effort to inflate tires, it’s likely that the seals are worn out and need replacing.
- Can I use any type of lubricant on my bicycle pump?
- No, it’s best to use a silicone-based lubricant. Other types of lubricants can damage the rubber seals and other components.
- What does a pressure gauge on a bicycle pump measure?
- A pressure gauge measures the air pressure inside the tire, usually in PSI (pounds per square inch) or Bar.
- Why is my pump hose cracking?
- Pump hoses crack due to age, exposure to sunlight, and repeated bending. Regular inspection and replacement when needed can prevent this.
Conclusion
Understanding the different parts of your bicycle air pump is essential for proper maintenance and troubleshooting. By knowing how each component functions, you can keep your pump in good working order and ensure your tires are always properly inflated for a smooth, safe ride. Remember to regularly inspect and maintain your pump, and don’t hesitate to replace worn or damaged parts. With a little care and attention, your bicycle pump will provide years of reliable service. Now get out there and enjoy the ride!


