
Cycle Pump Parts: Find the Perfect Fit!
Quick Summary: Cycle pumps have a few key parts: the barrel, piston, hose, valve head, and handle. Knowing these parts helps you fix a pump if it breaks. Regular maintenance, like cleaning and replacing O-rings, keeps your pump working well. This guide will walk you through each part and how to care for them.
Ever struggled with a bike pump that just won’t inflate your tires? It’s a common problem, and often, the issue isn’t the whole pump, but a single worn-out part. Understanding the different components of your cycle pump can save you money and keep you riding smoothly. In this guide, we’ll break down each part, explain what it does, and show you how to maintain or replace it. Get ready to become a cycle pump pro!
Understanding Your Cycle Pump: A Beginner’s Guide to Parts

A cycle pump might seem simple, but it’s a finely tuned machine with several essential parts working together. Knowing these parts helps you troubleshoot problems and keep your pump in top shape.
The Main Components
Let’s look at the core components of a typical bicycle pump:
- Barrel: The main cylinder that holds air.
- Piston: Moves inside the barrel to compress air.
- Hose: Connects the pump to your tire valve.
- Valve Head: Attaches to the tire valve (Presta or Schrader).
- Handle: What you grip to operate the pump.
Delving Deeper: Key Cycle Pump Parts Explained

Now, let’s explore each part in detail.
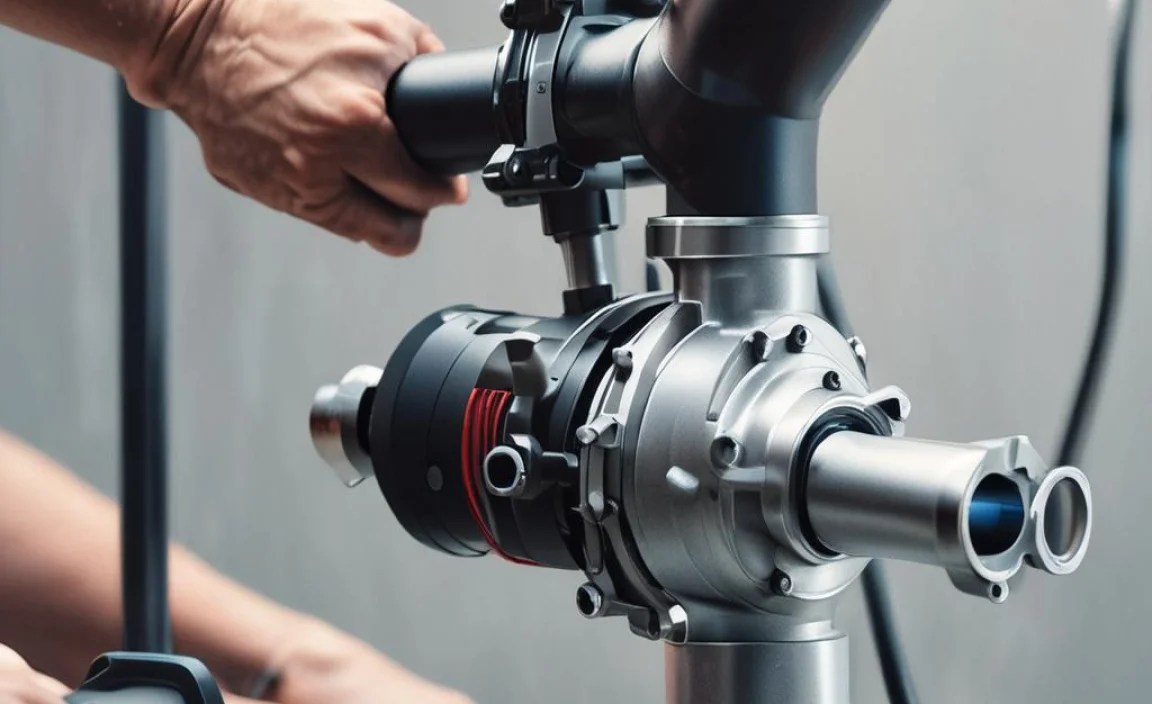
1. The Barrel: The Heart of the Pump
The barrel is the large cylinder that forms the body of the pump. It’s usually made of steel or aluminum. The barrel’s size affects how much air is pumped with each stroke. A larger barrel moves more air but requires more effort.
- Material: Steel barrels are durable but heavier. Aluminum barrels are lighter but can be more prone to dents.
- Size: Larger barrels are better for mountain bike tires or high-volume tires. Smaller barrels are suitable for high-pressure road bike tires.
2. The Piston: Compressing the Air
The piston moves up and down inside the barrel, creating pressure to force air into the tire. It includes a seal (usually an O-ring) to prevent air from leaking past it.
- O-ring: The O-ring is a critical part of the piston. If it’s worn or damaged, the pump will lose pressure.
- Material: Pistons are typically made of plastic, rubber, or metal.
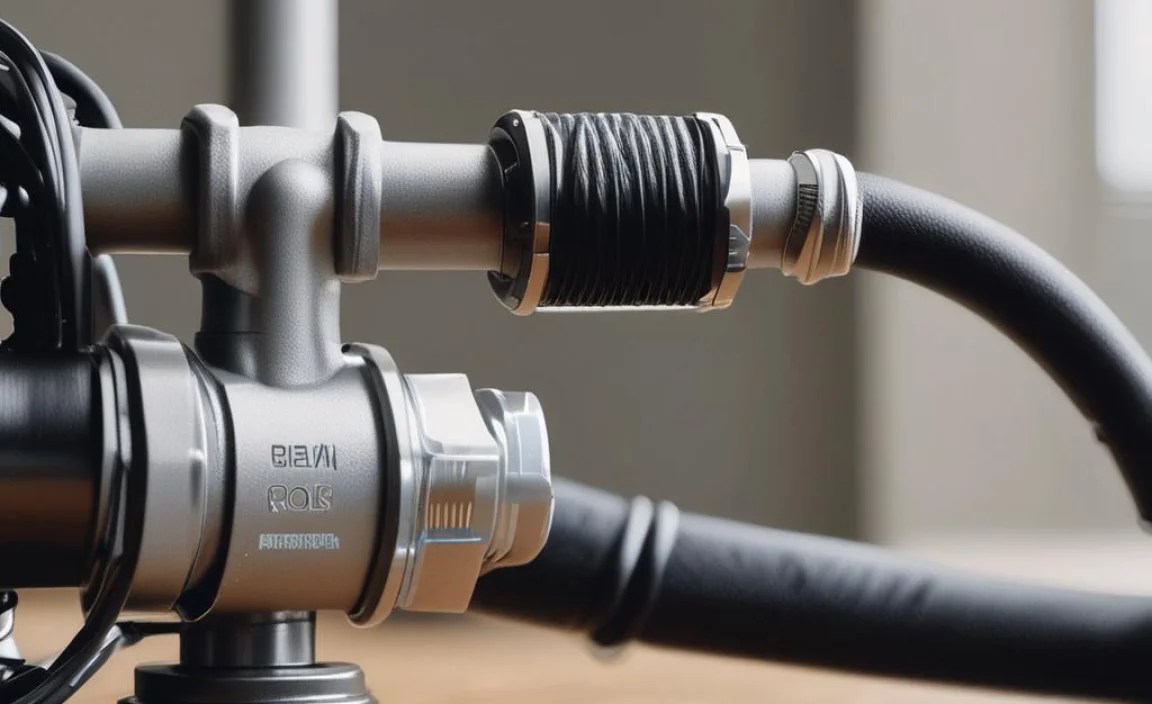
3. The Hose: Connecting to the Tire
The hose connects the pump to the tire valve. It needs to be flexible and durable to withstand repeated use and pressure.
- Material: Hoses are usually made of rubber or reinforced plastic.
- Length: A longer hose can be more convenient, but it can also reduce pumping efficiency.
4. The Valve Head: The Interface
The valve head is the part that attaches to the tire valve. Most pumps have heads that can switch between Presta and Schrader valves.
- Presta Valve: Narrower valve used on many road and high-performance bikes.
- Schrader Valve: Wider valve, like those found on car tires and some mountain bikes.
Some valve heads are designed for only one type of valve, while others are “dual-head” and can handle both.
5. The Handle: Providing the Leverage
The handle is what you grip to operate the pump. It needs to be comfortable and provide good leverage.
- Material: Handles are usually made of wood, plastic, or metal with a rubber grip.
- Shape: Ergonomic handles can reduce hand fatigue during extended pumping.
Cycle Pump Parts Table
Here’s a quick reference table summarizing the cycle pump parts:
| Part | Function | Common Materials | Maintenance Tips |
|---|---|---|---|
| Barrel | Holds and contains air | Steel, Aluminum | Keep clean and inspect for dents |
| Piston | Compresses air within the barrel | Plastic, Rubber, Metal | Replace O-ring when worn |
| Hose | Connects pump to tire valve | Rubber, Reinforced Plastic | Check for cracks and leaks |
| Valve Head | Attaches to Presta or Schrader valves | Plastic, Metal | Keep clean, replace if damaged |
| Handle | Provides grip and leverage | Wood, Plastic, Metal | Ensure a secure and comfortable grip |
Maintaining Your Cycle Pump: Keeping It in Top Shape
Regular maintenance can significantly extend the life of your cycle pump. Here’s how:
1. Cleaning
Keep your pump clean by wiping it down regularly with a damp cloth. This prevents dirt and grime from damaging the internal parts.
2. O-Ring Maintenance
The O-ring on the piston is a critical component. If your pump loses pressure, the O-ring is likely the culprit. Here’s how to maintain it:
- Inspect: Check the O-ring for cracks or wear.
- Lubricate: Apply a small amount of silicone grease to the O-ring to keep it supple.
- Replace: If the O-ring is damaged, replace it with a new one of the correct size.
3. Hose Inspection
Check the hose for cracks or leaks. Replace the hose if you find any damage.
4. Valve Head Maintenance
Keep the valve head clean and free of debris. If it becomes damaged, replace it.
5. Lubrication
Periodically lubricate the moving parts of the pump with a silicone-based lubricant. This will keep it working smoothly.
Step-by-Step: Replacing a Cycle Pump O-Ring
Replacing the O-ring is one of the most common cycle pump repairs. Here’s how to do it:
Tools You’ll Need
- New O-ring (correct size for your pump model)
- Small screwdriver or pick
- Silicone grease
- Clean cloth
Step-by-Step Instructions
- Disassemble the Pump: Consult your pump’s manual for specific disassembly instructions. Generally, this involves removing the handle and internal components to access the piston.
- Remove the Old O-Ring: Use a small screwdriver or pick to carefully remove the old O-ring from the piston. Be careful not to scratch the piston.
- Clean the Piston: Wipe the piston clean with a cloth to remove any dirt or debris.
- Lubricate the New O-Ring: Apply a small amount of silicone grease to the new O-ring.
- Install the New O-Ring: Carefully stretch the new O-ring over the piston and seat it in the groove.
- Reassemble the Pump: Reassemble the pump according to the manufacturer’s instructions.
- Test the Pump: Test the pump to make sure it’s working properly.
Troubleshooting Common Cycle Pump Problems
Here are some common problems and how to fix them:
- Pump Loses Pressure: Usually caused by a worn O-ring. Replace the O-ring.
- Hose Leaks: Replace the hose.
- Valve Head Doesn’t Seal: Clean or replace the valve head.
- Pump is Hard to Operate: Lubricate the moving parts.
Choosing the Right Cycle Pump for Your Needs
There are many types of cycle pumps available, each designed for different purposes.
Floor Pumps
Floor pumps are the most common type of pump for home use. They provide good leverage and can inflate tires quickly.
- Pros: Efficient, stable, and easy to use.
- Cons: Not portable.
Mini Pumps
Mini pumps are small and portable, making them ideal for carrying on rides.
- Pros: Portable and lightweight.
- Cons: Can be less efficient than floor pumps.
CO2 Inflators
CO2 inflators use cartridges of compressed carbon dioxide to inflate tires quickly. They are popular among racers and riders who want a fast and lightweight solution.
- Pros: Very fast inflation, lightweight.
- Cons: Requires CO2 cartridges, can be wasteful.
Electric Pumps
Electric pumps are battery-powered and can inflate tires automatically. They are convenient but can be expensive.
- Pros: Convenient and easy to use.
- Cons: Can be expensive, requires battery charging.
Cycle Pump Types Table
Here’s a quick comparison of different cycle pump types:
| Pump Type | Pros | Cons | Best For |
|---|---|---|---|
| Floor Pump | Efficient, stable, easy to use | Not portable | Home use |
| Mini Pump | Portable, lightweight | Less efficient than floor pumps | On-the-go repairs |
| CO2 Inflator | Very fast inflation, lightweight | Requires cartridges, can be wasteful | Racing, quick repairs |
| Electric Pump | Convenient, easy to use | Expensive, requires charging | Convenience, less manual effort |
Upgrading Your Cycle Pump: Enhancements and Accessories
Consider these upgrades and accessories to improve your pumping experience:
- Digital Pressure Gauge: Provides accurate pressure readings.
- Ergonomic Handle: Reduces hand fatigue.
- Longer Hose: Offers greater flexibility.
- High-Pressure Valve Head: Ensures a secure seal on high-pressure tires.
External Resources for Further Learning
For more in-depth information, check out these resources:
- Park Tool: Repair Help – Offers detailed repair guides and videos.
- REI: Bike Maintenance Tips – Provides comprehensive bike maintenance advice.
FAQ: Cycle Pump Parts and Maintenance
Here are some frequently asked questions about cycle pump parts:
- What is the most common part to fail on a cycle pump?
- The O-ring on the piston is the most common part to wear out. It’s responsible for sealing the air in the barrel, and it degrades over time.
- How often should I lubricate my cycle pump?
- Lubricate your pump every few months, or whenever it starts to feel stiff or difficult to operate. Use a silicone-based lubricant.
- Can I use any O-ring to replace the one in my pump?
- No, you need to use an O-ring that is the correct size and material for your pump. Check your pump’s manual or contact the manufacturer to find the right O-ring.
- How do I know if my valve head is compatible with both Presta and Schrader valves?
- Dual-head valve heads usually have two separate openings, one for each type of valve. Some have a switch or lever to select the valve type.
- What is the difference between a high-volume and a high-pressure pump?
- A high-volume pump moves a large amount of air with each stroke, making it ideal for inflating mountain bike tires or other large-volume tires. A high-pressure pump is designed to inflate tires to high pressures, making it suitable for road bike tires.
- Why is my pump getting harder to use?
- If your pump is getting harder to use, it could be due to a dry or worn O-ring, dirt or debris in the barrel, or lack of lubrication. Try cleaning and lubricating the pump, and replace the O-ring if necessary.
- Where can I buy replacement parts for my cycle pump?
- You can buy replacement parts from your local bike shop, online retailers specializing in bike parts, or directly from the pump manufacturer’s website.
Conclusion
Understanding the different parts of your cycle pump and how to maintain them can save you time and money. By following the tips in this guide, you can keep your pump working smoothly for years to come. So, next time your tire needs a little air, you’ll be ready to tackle the task with confidence and get back on the road quickly. Happy cycling!


