
Bicycle Pump Parts Diagram: Easy Fix Guide!
Quick Summary:
Understanding your bicycle pump is easier than you think! This guide breaks down the anatomy of common bike pumps using a bicycle pump parts diagram. Learn to identify key components like the barrel, piston, hose, and valve, so you can troubleshoot issues, replace parts, and keep your tires inflated for smooth rides. We’ll cover everything from simple hand pumps to floor pumps and even CO2 inflators!
Ever struggled with a flat tire and a bike pump that just won’t cooperate? You’re not alone! Many cyclists face frustrating pump problems, often because they don’t know the basic parts of their pump. But don’t worry, understanding your pump’s anatomy isn’t rocket science.
This article provides a simple, step-by-step guide to understanding your bicycle pump. We’ll explore all the essential parts using a bicycle pump parts diagram, teach you how they work together, and give you the confidence to perform basic maintenance. Soon, you’ll be able to fix common pump problems yourself and keep your tires properly inflated!
Understanding Your Bicycle Pump: A Parts Diagram Breakdown

Let’s dive into the world of bicycle pumps! Knowing the parts of your pump will make maintenance and troubleshooting much easier. We’ll look at a typical floor pump and hand pump, highlighting the key components.
Floor Pump Parts Diagram
Floor pumps are great for home use. They provide more leverage and allow you to inflate tires to higher pressures more easily.
Here’s a breakdown of the main parts you’ll find in a standard floor pump:
- Base: Provides stability. Usually made of steel or durable plastic.
- Barrel: The main cylinder where air is compressed.
- Piston: Moves up and down inside the barrel to compress air.
- Handle: Used to push and pull the piston.
- Hose: Connects the pump to the tire valve.
- Pump Head: Attaches to the valve and allows air to flow into the tire. Can be Presta, Schrader, or dual-head.
- Pressure Gauge: Displays the current tire pressure.
- Internal Valves: Control the direction of airflow within the pump.
Visual Aid: Imagine a floor pump. The base keeps it steady, the barrel is the long tube, the handle is what you grip, the hose connects to your tire, and the gauge tells you the pressure.
Hand Pump Parts Diagram
Hand pumps are portable and perfect for on-the-go inflation.
Here’s a breakdown of the main parts you’ll find in a standard hand pump:
- Body: The main structure of the pump.
- Piston: Compresses the air.
- Handle: Slides in and out to operate the piston.
- Hose (sometimes): Connects to the tire valve. Some pumps have a direct connection.
- Pump Head: Attaches to the valve. Can be Presta, Schrader, or dual-head.
- Locking Lever (sometimes): Secures the pump head to the valve.
- Dust Cap (sometimes): Protects the pump head from dirt and debris.
Visual Aid: Picture a hand pump. It’s smaller than a floor pump, you hold it in your hands, and the handle slides in and out. Some have a short hose, others connect directly to the tire valve.
Detailed Breakdown of Key Pump Parts
Now that we’ve covered the basics, let’s zoom in on some critical components:
The Barrel and Piston
The barrel and piston are the heart of any bicycle pump. The barrel is a cylindrical chamber, and the piston is a component that slides inside the barrel. When you move the handle, you’re moving the piston, which compresses the air within the barrel. This compressed air is then forced into your tire.
Common Issue: If your pump isn’t building pressure, the piston seal might be worn out. Replacing the seal is often an easy fix.
The Pump Head and Valve Compatibility
The pump head is the part that connects to your tire’s valve. There are two main types of valves:
- Presta: Narrower, with a locking nut at the tip. Common on road bikes.
- Schrader: Wider, like those found on car tires. Common on mountain bikes and some hybrid bikes.
Some pump heads are designed to work with both Presta and Schrader valves, while others are specific to one type. Dual-head pumps have two separate openings for each valve type.
Key Tip: Make sure your pump head is compatible with your tire valves! Forcing the wrong type can damage the valve.
The Hose and Connections
The hose connects the pump to the tire valve. A good hose should be flexible and durable. Check the connections regularly for leaks. A loose connection can cause you to lose pressure while pumping.
Internal Valves: The Unsung Heroes
Inside the pump, there are small valves that control the direction of airflow. These valves ensure that air is only pushed into the tire and doesn’t leak back into the pump. These are often simple one-way valves.
Troubleshooting: If your pump is pushing air back out, one of these internal valves might be stuck or damaged.
Troubleshooting Common Pump Problems
Now that you know the parts, let’s tackle some common pump problems.
Problem 1: Pump Won’t Inflate Tire
Possible Causes:
- Incorrect pump head for the valve type
- Loose connection between the pump head and valve
- Worn-out piston seal
- Stuck internal valve
Solutions:
- Ensure the pump head is compatible with your valve.
- Tighten the connection between the pump head and valve.
- Replace the piston seal.
- Clean or replace the internal valves.
Problem 2: Losing Air While Pumping
Possible Causes:
- Leaky hose
- Loose connection at the hose
- Damaged valve on the tire
Solutions:
- Inspect the hose for cracks or leaks. Replace if necessary.
- Tighten the hose connections.
- Check the tire valve for damage.
Problem 3: Pump is Hard to Push
Possible Causes:
- Dry piston seal
- Obstruction in the barrel
Solutions:
- Lubricate the piston seal with a silicone-based lubricant.
- Clean the inside of the barrel.
Essential Tools for Pump Maintenance
Having the right tools makes pump maintenance much easier. Here are a few essentials:
- Screwdrivers: For disassembling the pump.
- Pliers: For gripping and tightening parts.
- Silicone-Based Lubricant: For lubricating the piston seal.
- Replacement Parts: Piston seals, valves, and hoses.
Step-by-Step Guide to Replacing a Piston Seal

A worn-out piston seal is a common cause of pump failure. Here’s how to replace it:
- Disassemble the Pump: Carefully take apart the pump, noting the order of the parts.
- Locate the Piston Seal: It’s usually a rubber or plastic ring around the piston.
- Remove the Old Seal: Use a small tool to carefully pry off the old seal.
- Install the New Seal: Stretch the new seal over the piston and make sure it’s seated properly.
- Lubricate the Seal: Apply a small amount of silicone-based lubricant.
- Reassemble the Pump: Put the pump back together in the correct order.
- Test the Pump: Make sure it’s working properly before using it on your tires.
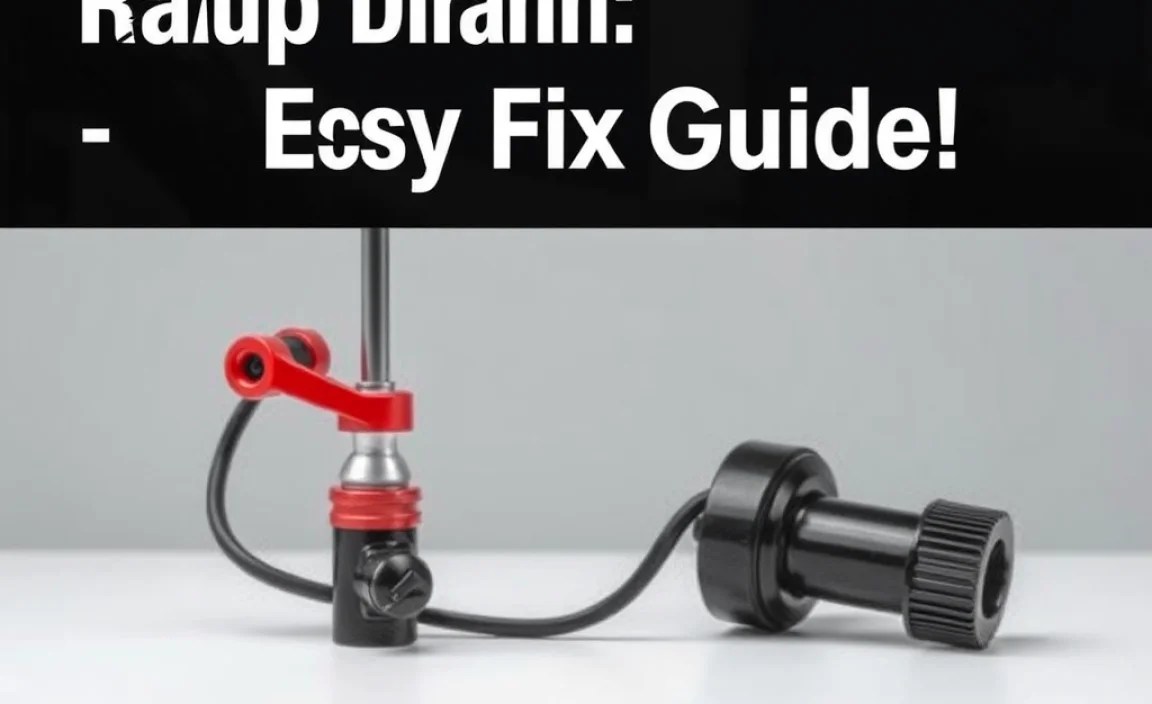
CO2 Inflators: A Quick Look
CO2 inflators are a compact and rapid way to inflate tires on the go. Instead of manually pumping air, they use a cartridge of compressed carbon dioxide to fill the tire almost instantly. Here’s a quick overview:
CO2 Inflator Parts
- Inflator Head: This attaches to the tire valve and controls the release of CO2.
- CO2 Cartridge: A small, disposable cylinder filled with compressed CO2.
- Protective Sleeve (optional): This helps insulate your hand from the cold cartridge during inflation.
How CO2 Inflators Work
- Attach the inflator head to the tire valve.
- Pierce the CO2 cartridge (usually by screwing it into the inflator head).
- Control the flow of CO2 into the tire.
Pros and Cons of CO2 Inflators
| Pros | Cons |
|---|---|
| Fast and convenient | Single-use cartridges |
| Lightweight and compact | Can be wasteful |
| Ideal for emergencies | Requires purchasing cartridges |
Maintaining Your Bicycle Pump: Tips and Tricks

Regular maintenance will keep your pump working smoothly for years. Here are some tips:
- Clean the Pump Regularly: Wipe down the outside of the pump to remove dirt and grime.
- Lubricate Moving Parts: Apply a silicone-based lubricant to the piston seal and other moving parts.
- Inspect the Hose: Check the hose for cracks or leaks.
- Store the Pump Properly: Store the pump in a dry place to prevent rust and corrosion.
Choosing the Right Bicycle Pump
With so many pumps on the market, it can be tough to choose the right one. Here are some factors to consider:
- Type of Bike: Road bikes often require higher pressures than mountain bikes.
- Frequency of Use: If you ride frequently, invest in a durable floor pump.
- Portability: If you need a pump for on-the-go repairs, choose a compact hand pump or CO2 inflator.
- Budget: Prices range from affordable hand pumps to high-end floor pumps.
Advanced Pump Technologies
As you delve deeper into bicycle pumps, you’ll encounter advanced technologies designed to enhance performance and ease of use.
Two-Stage Pumps
Two-stage pumps offer a dual-action system, allowing you to switch between high-volume and high-pressure inflation. In the first stage, the pump delivers a larger volume of air, quickly filling the tire. Once the pressure starts to build, you can switch to the second stage, which focuses on achieving higher pressures with less effort. This is particularly useful for mountain bikers who run lower tire pressures and road cyclists who require high pressures.
Digital Gauges
While analog gauges are common, digital gauges provide a more precise and easy-to-read display of your tire pressure. Some digital gauges also offer features like programmable pressure settings and automatic shut-off, making it easier to achieve the perfect inflation every time.
Ergonomic Handles
Pump handles are not all created equal. Ergonomic handles are designed to provide a more comfortable and efficient grip, reducing hand fatigue during inflation. Look for handles with a non-slip surface and a shape that fits comfortably in your hand.
Bicycle Pump Parts Diagram: Table Summary
Here is a quick reference table summarizing the main parts of bicycle pumps:
| Part | Function | Common Issues |
|---|---|---|
| Barrel | Compresses air | Cracks, dents |
| Piston | Moves within the barrel to compress air | Worn seal, dryness |
| Hose | Connects pump to tire valve | Leaks, cracks |
| Pump Head | Attaches to the tire valve | Incompatibility, damage |
| Internal Valves | Controls the direction of airflow | Sticking, damage |
FAQ About Bicycle Pump Parts
What are the two main types of bicycle tire valves?
The two main types are Presta (narrow, with a locking nut) and Schrader (wider, like car tires). Make sure your pump head matches your valve type.
Why is my pump not inflating my tire?
Check that the pump head is securely attached to the valve and that the pump head is compatible with the valve type. Also, ensure the piston seal isn’t worn.
How often should I lubricate my bicycle pump?
Lubricate the piston seal every few months, or whenever the pump becomes difficult to push. Use a silicone-based lubricant.
Can I use a car tire pump on my bicycle?
Yes, if your bike has Schrader valves. However, car tire pumps often deliver air at a higher volume and lower pressure, which may not be ideal for bicycle tires. Also, be careful not to overinflate.
What is a dual-head pump?
A dual-head pump has two separate openings, one for Presta valves and one for Schrader valves. This eliminates the need to switch or adjust the pump head.
Where can I buy replacement parts for my bicycle pump?
You can find replacement parts at most local bike shops or online retailers that specialize in bicycle components.
Why does my pump feel like it’s pushing air back out?
This usually indicates a problem with the internal valves. They might be stuck or damaged. Try cleaning them, or replace them if necessary.
Conclusion: Master Your Pump, Master Your Ride
Understanding your bicycle pump – armed with your bicycle pump parts diagram – is a game-changer for any cyclist. By knowing the parts, troubleshooting common problems, and performing basic maintenance, you can keep your tires properly inflated and enjoy smoother, safer rides. Whether you’re a casual rider or a seasoned pro, taking the time to learn about your pump is an investment that will pay off in the long run. So, grab your pump, explore its anatomy, and get ready to roll with confidence! And remember, a well-maintained pump is a cyclist’s best friend.


