
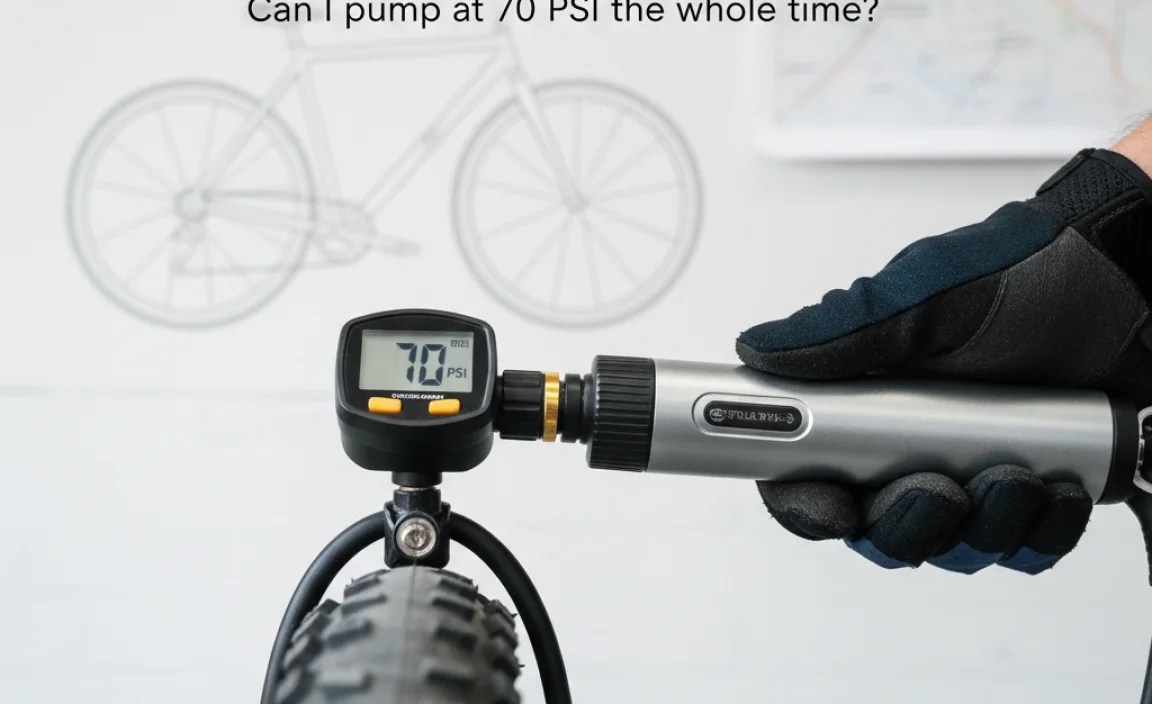
Can I Pump on Cycle 70 the Whole Time? A Cyclist’s Guide
Quick Summary: While you *can* technically use Cycle 70 on your bike pump all the time, it’s often not the best approach. Cycle 70 is usually designed for higher pressures, like those needed for road bike tires. Using it for lower-pressure tires, like mountain bike or hybrid tires, might make it harder to get accurate pressure and could even damage the pump. Choose the cycle setting that best matches your tire pressure needs for the most efficient and accurate pumping experience.
Ever struggled to get your tires to the right pressure? Or felt like you’re working way too hard to inflate them? Many cyclists wonder if they can just stick to one setting on their pump, especially if it has multiple cycles. Understanding how your pump’s cycles work is key to efficient and accurate inflation. Using the wrong cycle can make pumping harder, less accurate, or even damage your pump. This guide will break down when and how to use Cycle 70 (and other settings) on your bike pump, so you can keep your tires perfectly inflated and your rides smooth.
Understanding Bike Pump Cycles
Bike pumps, especially those with multiple settings or “cycles,” are designed to handle different types of tires and pressure ranges. Understanding these cycles is essential for efficient and accurate inflation. Let’s explore what these cycles mean and how they affect your pumping.
What are Bike Pump Cycles?
Bike pump cycles usually refer to different gear ratios or settings that optimize the pump for specific pressure ranges. These cycles are often found on dual-action or high-volume/high-pressure pumps. Each cycle is designed to make it easier to reach the desired pressure for different types of tires.
Think of it like gears on your bike. You wouldn’t use the same gear for climbing a steep hill as you would for cruising on a flat road. Similarly, different pump cycles help you efficiently inflate tires with varying pressure requirements.
Common Bike Pump Cycles and Their Uses
Here’s a breakdown of common bike pump cycles and their typical applications:
- High Volume (HV): Designed to move a large volume of air quickly. Ideal for inflating tires with large air chambers, such as mountain bike tires or fat bike tires. HV cycles get you to a lower pressure quickly.
- High Pressure (HP): Optimized for reaching high pressures with less effort. Best for road bike tires that require pressures of 80-120 PSI. HP cycles move less air but generate more pressure per stroke.
- Dual Action: Some pumps feature a dual-action mode that inflates on both the push and pull strokes. This can be more efficient for certain tire types, but may require more effort.
- Cycle 70 (Example): Cycle 70, as mentioned, is often a high-pressure setting designed for road bike tires needing higher PSI. The specific meaning can vary by pump brand, so refer to your pump’s manual.
Why Different Cycles Matter
Using the correct cycle setting impacts:
- Efficiency: The right cycle makes pumping easier and faster.
- Accuracy: Using the wrong cycle can make it difficult to achieve the precise pressure you need.
- Pump Longevity: Incorrect use can strain the pump mechanism and shorten its lifespan.
When to Use Cycle 70
Cycle 70 (or a similar high-pressure setting) is best suited for specific types of tires and riding conditions. Knowing when to use it can save you effort and ensure your tires are properly inflated.
Ideal Tire Types for Cycle 70
Cycle 70 is typically designed for tires that require high pressure. These usually include:
- Road Bike Tires: Road bikes often require pressures between 80-120 PSI for optimal performance and rolling resistance.
- High-Pressure Hybrid Tires: Some hybrid bikes use tires that need higher pressures, typically in the 60-80 PSI range.
- Certain Gravel Bike Tires: Depending on the rider’s preference and terrain, some gravel bike tires might benefit from higher pressures.
Pressure Ranges Best Suited for Cycle 70
Cycle 70 is most effective when inflating tires within a specific pressure range. This range usually aligns with the needs of road bike tires:
- Optimal Range: 70-120 PSI (or higher, depending on the tire manufacturer’s recommendation)
- Acceptable Range: 60-70 PSI (if Cycle 70 is the only high-pressure option on your pump)
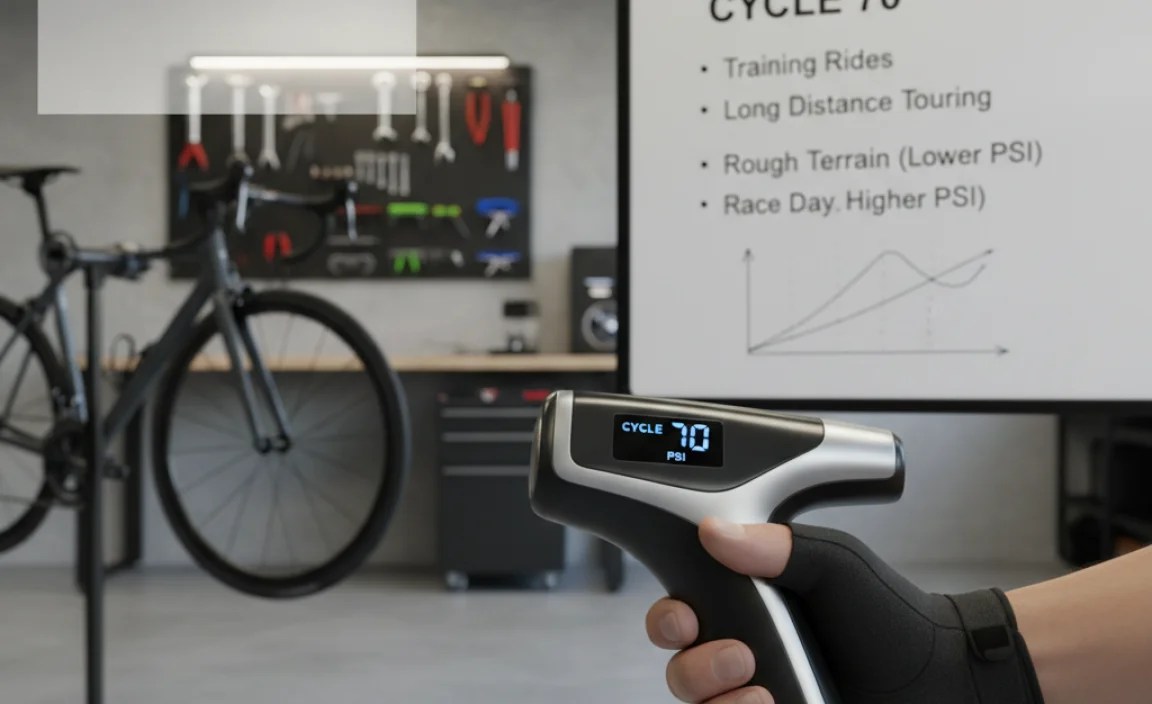
Riding Conditions Where Cycle 70 is Beneficial
High-pressure tires inflated using Cycle 70 can be advantageous in certain riding conditions:
- Smooth Pavement: Higher pressures reduce rolling resistance on smooth surfaces, making you faster and more efficient.
- Racing: Competitive cyclists often use higher pressures to maximize speed and minimize energy loss.
- Heavier Riders: Heavier riders may need higher tire pressures to prevent pinch flats and improve handling.
When *Not* to Use Cycle 70
While Cycle 70 is great for high-pressure tires, it’s not the right choice for every situation. Using it inappropriately can lead to inaccurate inflation and potential damage.
Tire Types to Avoid Using Cycle 70 With
Avoid using Cycle 70 (or a similar high-pressure setting) with:
- Mountain Bike Tires: Mountain bike tires typically require much lower pressures, often in the 25-40 PSI range.
- Hybrid Bike Tires (Low-Pressure): Many hybrid bikes use tires that are designed for comfort and grip, and they usually require lower pressures.
- Fat Bike Tires: Fat bike tires operate at very low pressures, sometimes as low as 5-10 PSI.
Pressure Ranges to Avoid
Do not use Cycle 70 if you need to inflate tires to pressures significantly below its intended range:
- Avoid: Pressures below 50 PSI
- Potential Issues: Inaccurate readings, difficulty achieving the desired pressure, increased effort
Riding Conditions Where Cycle 70 is Not Ideal
High-pressure tires (inflated with Cycle 70) are not suitable for all riding conditions:
- Off-Road Riding: Lower pressures provide better traction and comfort on rough terrain.
- Wet or Slippery Surfaces: Lower pressures increase the contact patch, improving grip in wet conditions.
- Comfort-Oriented Riding: Lower pressures absorb bumps and vibrations, providing a more comfortable ride.
Step-by-Step Guide to Using a Bike Pump with Multiple Cycles
Using a bike pump with multiple cycles might seem daunting, but it’s actually quite straightforward. Follow these steps to get your tires perfectly inflated.
Step 1: Identify Your Tire Type and Recommended Pressure
The first step is to determine the type of tire you have and the recommended pressure range. This information is usually printed on the tire sidewall. Look for a PSI (pounds per square inch) or BAR (metric pressure unit) range.
- Example: “700x25c, Inflate to 80-120 PSI”
- Note: If you’re unsure, consult your bike’s manual or ask a local bike shop.
Step 2: Choose the Appropriate Cycle
Based on your tire type and recommended pressure, select the appropriate cycle on your pump. If you’re using a pump with Cycle 70, refer to the guidelines above to determine if it’s the right choice.
- High-Pressure Tires (80-120 PSI): Use Cycle 70 or a similar high-pressure setting.
- Low-Pressure Tires (25-40 PSI): Use a high-volume setting or a standard pump without specific cycles.
Step 3: Attach the Pump Head to the Valve
Make sure the pump head is securely attached to the tire valve. There are two main types of valves:
- Presta Valve: Unscrew the valve nut before attaching the pump head.
- Schrader Valve: Simply push the pump head onto the valve.
Ensure a tight seal to prevent air leakage during inflation.
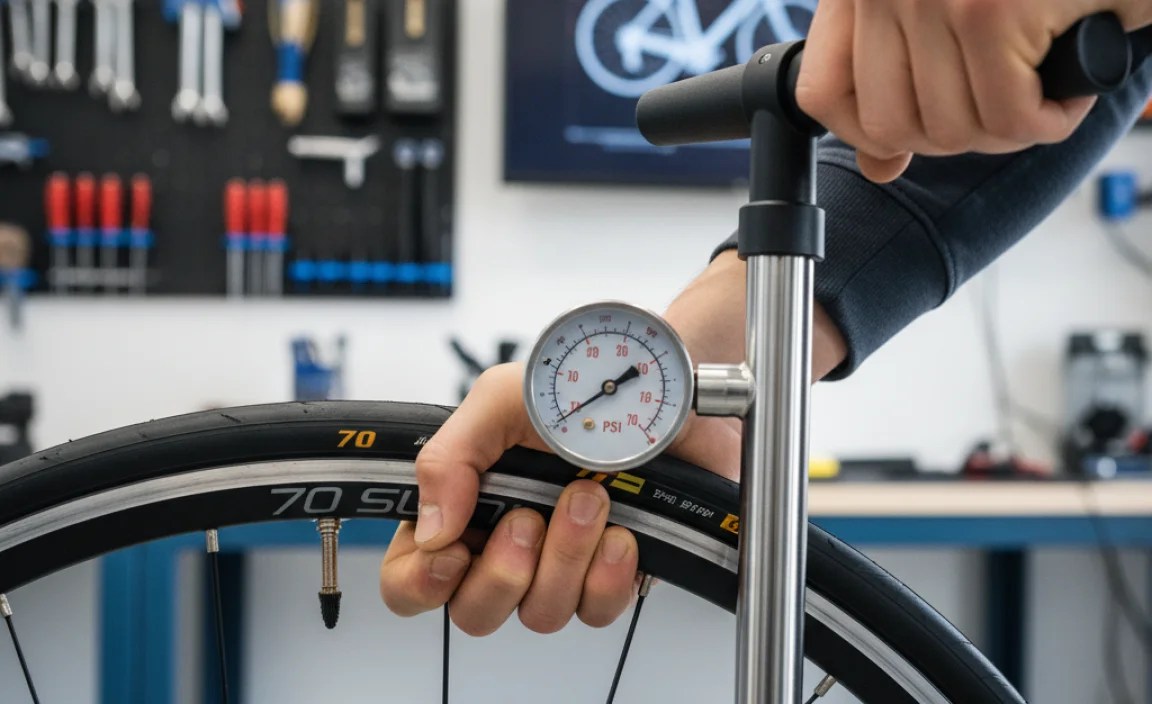
Step 4: Begin Pumping
Start pumping using smooth, consistent strokes. If your pump has a gauge, monitor the pressure as you inflate the tire.
- Using Cycle 70: You might notice it requires more effort per stroke but achieves higher pressures more quickly.
- Using High-Volume: You’ll move more air with each stroke, but it might take longer to reach higher pressures.
Step 5: Monitor the Pressure Gauge
Regularly check the pressure gauge to ensure you’re not over- or under-inflating the tire. Aim for the middle of the recommended pressure range.
- Fine-Tuning: You can adjust the pressure based on your riding preferences and conditions.
- Accuracy: If your pump’s gauge is inaccurate, consider using a separate digital pressure gauge for precise readings.
Step 6: Detach the Pump Head and Secure the Valve
Once you’ve reached the desired pressure, carefully detach the pump head from the valve.
- Presta Valve: Screw the valve nut back down to prevent air leakage.
- Schrader Valve: Ensure the valve pin is not depressed while detaching the pump head.
Troubleshooting Common Pumping Issues
Even with the right technique, you might encounter some common issues while pumping your tires. Here’s how to troubleshoot them.
Air Leaking from the Valve
If you hear or feel air leaking from the valve while pumping, check the following:
- Pump Head Seal: Ensure the pump head is properly sealed against the valve. Try reattaching it.
- Valve Core: The valve core might be loose or damaged. Tighten or replace it.
- Valve Type Compatibility: Make sure your pump head is compatible with the valve type (Presta or Schrader).
Difficulty Reaching High Pressure
If you’re struggling to reach the desired pressure, especially with Cycle 70, consider these factors:
- Pump Condition: Check for worn-out seals or other damage to the pump.
- Tire Condition: Look for punctures or leaks in the tire.
- Technique: Use smooth, consistent strokes and apply your body weight to the pump handle.
Inaccurate Pressure Readings
If you suspect your pump’s gauge is inaccurate, try these solutions:
- Compare with Another Gauge: Use a separate digital pressure gauge to verify the reading.
- Gauge Calibration: Some pumps allow you to calibrate the gauge. Refer to the pump’s manual.
- Replace the Gauge: If the gauge is consistently inaccurate, consider replacing it.
Maintaining Your Bike Pump
Proper maintenance will extend the life of your bike pump and ensure it performs optimally. Here are some essential maintenance tips.
Cleaning and Lubrication
Regularly clean your bike pump to remove dirt and debris. Lubricate the moving parts to ensure smooth operation.
- Cleaning: Wipe down the pump body and hose with a damp cloth.
- Lubrication: Apply a small amount of silicone-based lubricant to the piston and seals.
Checking for Wear and Tear
Inspect your pump regularly for signs of wear and tear.
- Hose: Look for cracks or leaks in the hose.
- Seals: Check the seals for damage or deterioration.
- Pump Head: Ensure the pump head is in good condition and properly seals against the valve.
Replacing Worn Parts
Replace worn parts as needed to maintain your pump’s performance.
- Seals: Replace worn or damaged seals to prevent air leakage.
- Hose: Replace cracked or leaky hoses.
- Pump Head: Replace damaged or incompatible pump heads.
Table: Bike Pump Cycle Guide
| Cycle Type | Ideal Tire Type | Pressure Range (PSI) | Benefits | When to Use |
|---|---|---|---|---|
| High Volume (HV) | Mountain Bike, Fat Bike | 10-40 | Quick inflation at low pressures | Off-road riding, comfort |
| High Pressure (HP) / Cycle 70 | Road Bike, High-Pressure Hybrid | 70-120+ | Efficient inflation at high pressures | Smooth pavement, racing |
| Dual Action | Various | Variable | Inflates on both strokes | General use, efficiency |
Table: Troubleshooting Common Pumping Issues
| Issue | Possible Causes | Solutions |
|---|---|---|
| Air Leaking from Valve | Poor seal, loose valve core, incompatible valve type | Reattach pump head, tighten/replace valve core, use correct pump head |
| Difficulty Reaching High Pressure | Worn pump, tire leak, poor technique | Check pump condition, inspect tire, improve pumping technique |
| Inaccurate Pressure Readings | Faulty gauge | Compare with another gauge, calibrate gauge, replace gauge |
FAQ: Pumping on Cycle 70
Here are some frequently asked questions about using Cycle 70 (or similar high-pressure settings) on your bike pump.
- Q: Can I use Cycle 70 for my mountain bike tires?
- A: No, Cycle 70 is not recommended for mountain bike tires. Mountain bike tires require much lower pressures, and using Cycle 70 could lead to over-inflation or inaccurate readings.
- Q: What happens if I use Cycle 70 on a low-pressure tire?
- A: Using Cycle 70 on a low-pressure tire can make it difficult to achieve the desired pressure accurately. It can also strain the pump mechanism and potentially damage the pump.
- Q: How do I know if my pump has a Cycle 70 setting?
- A: Check your pump’s manual or look for markings on the pump body that indicate different cycle settings. Some pumps use numbers (like 70) to represent pressure ranges, while others use terms like “high pressure” or “low volume.”
- Q: Can I switch between cycles while pumping?
- A: Yes, some pumps allow you to switch between cycles while pumping. This can be useful for fine-tuning the pressure or for initially inflating a tire quickly with a high-volume setting before switching to a high-pressure setting for the final few PSI.
- Q: What should I do if my pump doesn’t have a pressure gauge?
- A: If your pump doesn’t have a pressure gauge, it’s difficult to accurately inflate your tires. Consider purchasing a pump with a gauge or using a separate digital pressure gauge to check the pressure after inflating.
- Q: How often should I check my tire pressure?
- A: It’s a good idea to check your tire pressure before every ride, especially if you’re riding regularly. Tires can lose pressure over time, and maintaining the correct pressure is essential for performance, comfort, and safety.
- Q: Where can I find the recommended tire pressure for my bike?
- A: The recommended tire pressure is usually printed on the sidewall of the tire. Look for a PSI or BAR range. If you’re unsure, consult your bike’s manual or ask a local bike shop.
Conclusion
Understanding when and how to use different cycles on your bike pump, like Cycle 70, is essential for maintaining optimal tire pressure and enjoying a smooth, efficient ride. While Cycle 70 is perfect for high-pressure road bike tires, it’s not suitable for all tire types. By choosing the right cycle for your tire type and riding conditions, you’ll not only make pumping easier but also ensure your tires are properly inflated for the best possible performance. Remember to regularly maintain your pump and troubleshoot any issues to keep it working reliably for years to come. Happy cycling!
“`


