What is Pump Cycle Time? A Beginner’s Guide
Quick Summary: Pump cycle time is the total time it takes for a pump to complete one full pumping action, including both the compression (pushing air) and the return (readying for the next push) strokes. Understanding cycle time helps you gauge pump efficiency, diagnose issues, and optimize your pumping technique for faster, easier tire inflation.
Ever struggled to pump up your bike tires, feeling like it’s taking forever? You might be thinking about pump cycle time without even realizing it! Cycle time is a key factor in how quickly and efficiently you can inflate your tires. A longer cycle time means more effort for the same amount of air. A shorter cycle time, on the other hand, means you’re pumping smarter, not harder. In this guide, we’ll break down what pump cycle time is, why it matters, and how you can optimize it for a smoother, faster pumping experience. Let’s get started!
Understanding Pump Cycle Time
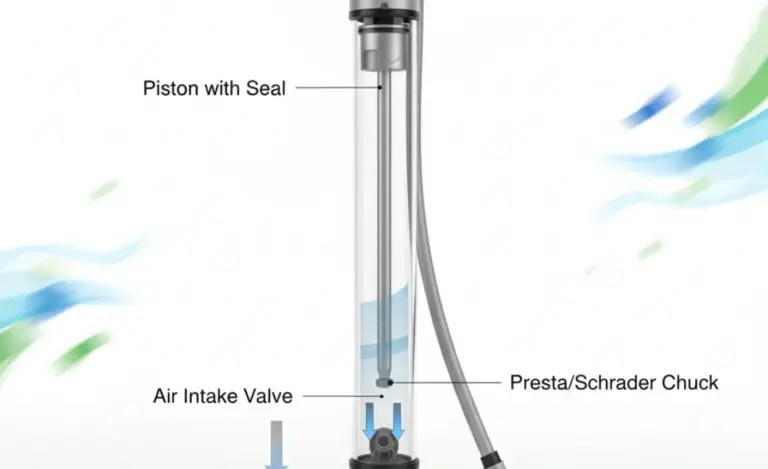
Pump cycle time refers to the duration it takes for a pump to complete one full cycle of operation. This cycle includes the compression stroke (when you’re pushing air into the tire) and the return stroke (when the pump is drawing air in preparation for the next compression). Think of it like pedaling on your bike: one full rotation of the pedals is a cycle.
For bike pumps, cycle time is influenced by several factors, including:
- Pump Volume: The amount of air the pump moves per stroke.
- Pump Efficiency: How well the pump converts your effort into air pressure.
- Tire Pressure: The higher the pressure you’re trying to reach, the longer each cycle might effectively take.
- Your Technique: How smoothly and consistently you pump.
Understanding these factors will help you choose the right pump and refine your pumping technique.
Why Pump Cycle Time Matters
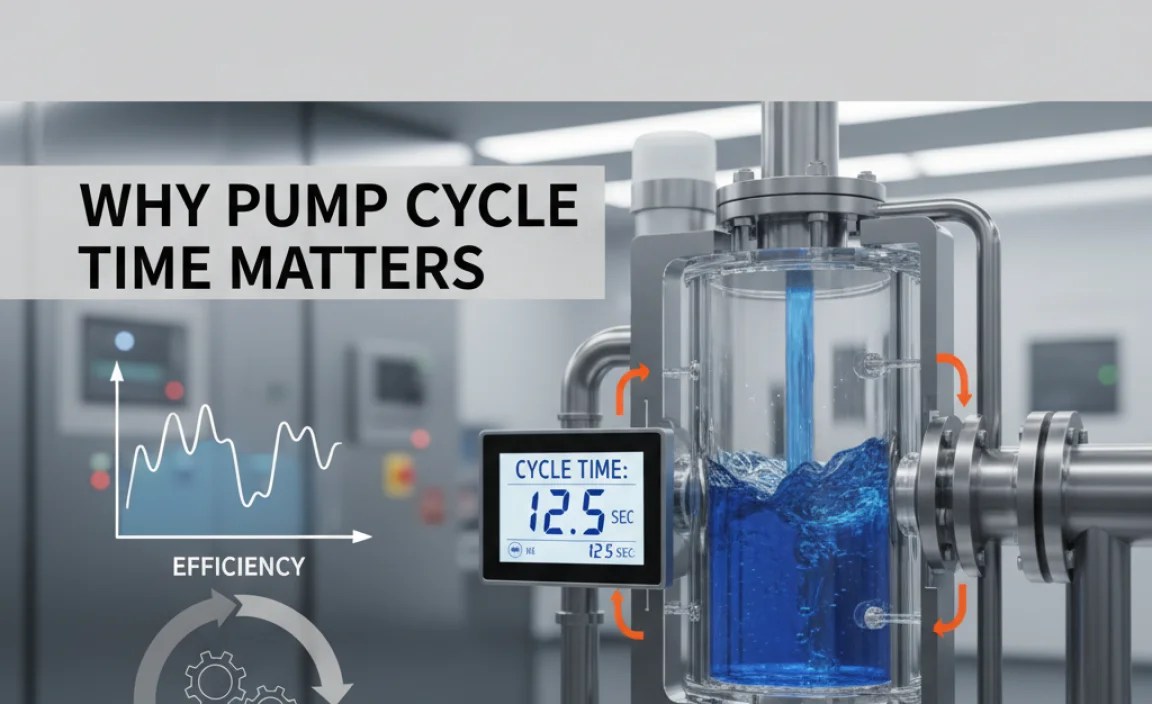
Knowing about pump cycle time isn’t just for the super-geared cyclist. It matters for everyday riders too! Here’s why:
- Efficiency: A shorter cycle time means you’re filling your tires faster with less effort.
- Fatigue: Optimizing your cycle time reduces strain and fatigue, especially when inflating tires to higher pressures.
- Troubleshooting: Changes in cycle time can indicate problems with your pump, such as leaks or worn seals.
- Pump Selection: Understanding cycle time helps you choose a pump that matches your needs and riding style.
Ultimately, understanding and optimizing pump cycle time makes your cycling experience more enjoyable and efficient.
Factors Affecting Pump Cycle Time
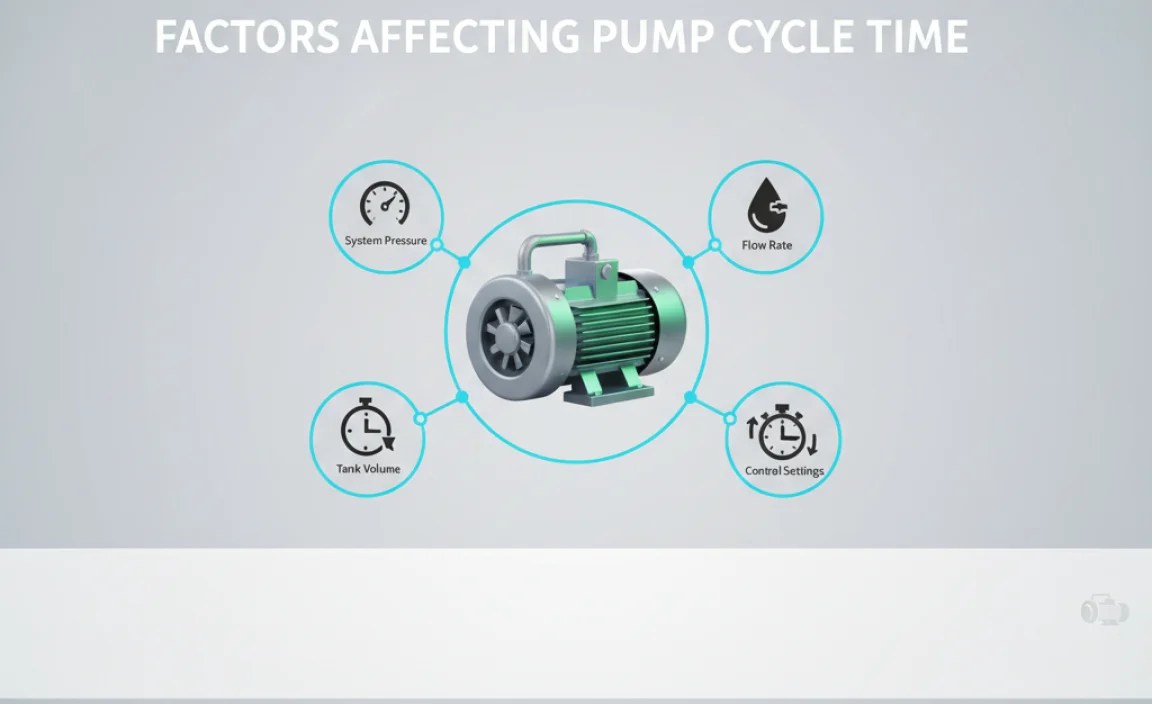
Several factors can influence how long it takes to complete a pump cycle. Let’s dive into each one:
1. Pump Volume
Pump volume refers to the amount of air a pump delivers with each stroke. High-volume pumps are great for quickly inflating larger tires, like those on mountain bikes, while low-volume pumps are better suited for high-pressure tires, like those on road bikes.
High-Volume Pumps:
- Deliver a large amount of air per stroke.
- Ideal for quickly inflating tires with large air chambers.
- Less efficient at reaching high pressures.
Low-Volume Pumps:
- Deliver a smaller amount of air per stroke.
- Ideal for reaching high pressures in smaller tires.
- Require more strokes to fill a tire.
Choosing the right pump volume for your tire type can significantly impact your cycle time.
2. Pump Efficiency
Pump efficiency refers to how effectively the pump converts your effort into air pressure. A more efficient pump will require less effort and fewer strokes to reach the desired pressure.
Factors affecting pump efficiency include:
- Pump Design: Some pumps are simply designed better than others, with tighter tolerances and better seals.
- Materials: High-quality materials ensure durability and minimize air leaks.
- Maintenance: Regular maintenance, such as cleaning and lubricating the pump, can maintain its efficiency.
Investing in a high-quality, well-maintained pump will improve its efficiency and reduce your cycle time.
3. Tire Pressure
The target tire pressure significantly affects cycle time. As the pressure in the tire increases, it becomes harder to pump air in, increasing the time it takes to complete each cycle.
Here’s how tire pressure affects cycle time:
- Low Pressure: Initial strokes are usually quick and easy, with short cycle times.
- Medium Pressure: As the pressure increases, each stroke requires more effort, and the cycle time increases.
- High Pressure: Reaching the final few PSI can be challenging, significantly increasing the cycle time.
Consider using a pump with a pressure gauge to monitor your progress and avoid over-inflating your tires.
4. Pumping Technique
Your pumping technique plays a crucial role in optimizing cycle time. Smooth, consistent strokes are more efficient than jerky, uneven ones.
Here are some tips for improving your pumping technique:
- Use Your Body Weight: Lean into the pump to generate more force with less effort.
- Maintain a Steady Rhythm: Avoid rushing or pausing during the cycle.
- Lock Your Elbows: Keep your arms straight to engage your larger back and shoulder muscles.
- Use a Comfortable Grip: Ensure a firm but relaxed grip on the pump handle.
Practicing these techniques will help you pump more efficiently and reduce your cycle time.
Optimizing Your Pump Cycle Time: A Step-by-Step Guide
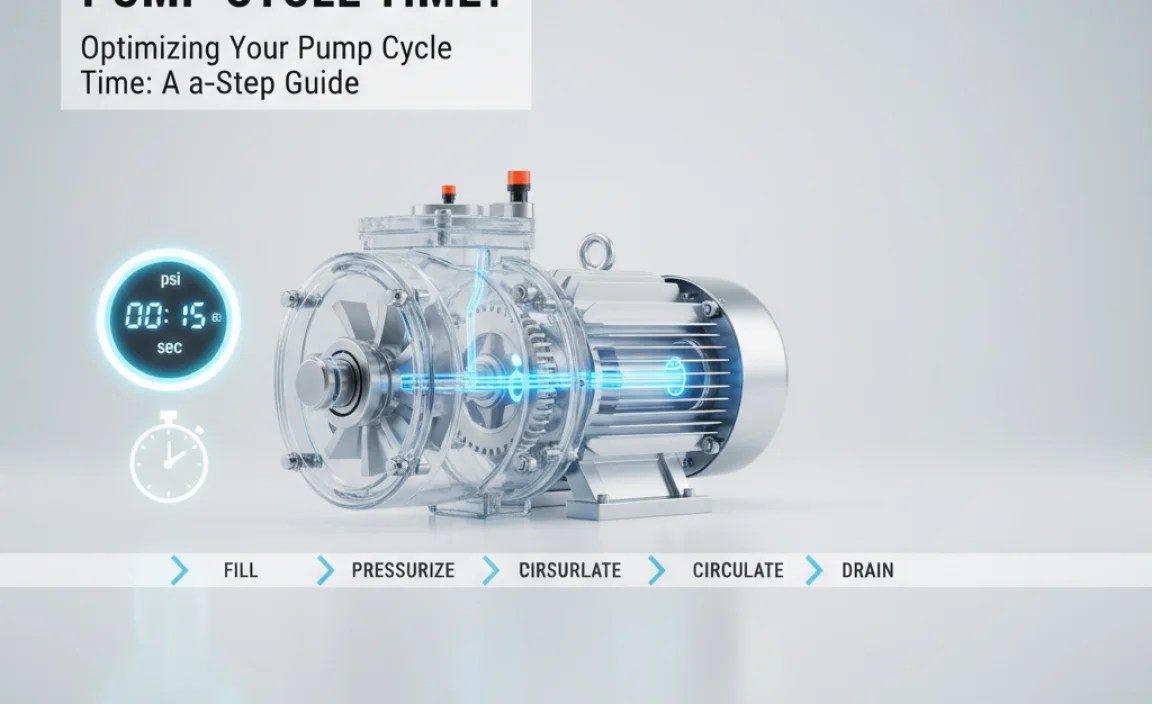
Ready to optimize your pump cycle time? Follow these steps for a smoother, faster pumping experience:
Step 1: Choose the Right Pump
Select a pump that matches your tire type and pressure requirements. Consider a high-volume pump for mountain bike tires and a low-volume pump for road bike tires.
Here’s a quick guide:
| Tire Type | Recommended Pump Type | Reason |
|---|---|---|
| Mountain Bike | High-Volume Pump | Quickly fills large tire volume |
| Road Bike | Low-Volume Pump | Efficiently reaches high pressures |
| Hybrid/Commuter Bike | Hybrid Pump (Mid-Volume) | Balances volume and pressure |
Step 2: Check Your Pump’s Condition
Inspect your pump for any signs of wear or damage, such as leaks, cracks, or worn seals. Replace any damaged parts to maintain optimal performance.
Common pump issues include:
- Leaky Hose: Replace the hose if it’s cracked or damaged.
- Worn Seals: Replace the seals in the pump head to prevent air leaks.
- Clogged Filter: Clean or replace the filter to maintain airflow.
Step 3: Prepare Your Tire and Valve
Ensure your tire and valve are in good condition. Check for any punctures or damage to the tire, and make sure the valve is clean and free of debris.
Follow these steps:
- Inspect the Tire: Look for cuts, bulges, or embedded objects.
- Clean the Valve: Use a cloth to wipe away any dirt or debris.
- Check Valve Core (if applicable): Ensure the valve core is tightened properly.
Step 4: Connect the Pump Securely
Attach the pump head securely to the valve. Ensure a tight seal to prevent air leaks during pumping.
Here’s how to ensure a secure connection:
- Align the Pump Head: Make sure the pump head is properly aligned with the valve.
- Engage the Lever: If your pump has a lever, engage it to lock the pump head in place.
- Check for Leaks: Listen for any hissing sounds, which indicate an air leak.
Step 5: Use Proper Pumping Technique
Employ a smooth, consistent pumping technique, using your body weight to generate force. Maintain a steady rhythm and avoid jerky movements.
Remember these tips:
- Lean into the Pump: Use your body weight to push down on the pump handle.
- Maintain a Steady Pace: Avoid rushing or pausing during the cycle.
- Lock Your Elbows: Keep your arms straight to engage your larger muscles.
Step 6: Monitor Tire Pressure
Use a pressure gauge to monitor the tire pressure as you pump. Avoid over-inflating or under-inflating your tires. Refer to the recommended pressure range printed on the sidewall of your tire.
Key points to remember:
- Check the Sidewall: Find the recommended pressure range on your tire’s sidewall.
- Use a Gauge: Monitor the pressure with a reliable gauge.
- Adjust as Needed: Inflate or deflate to reach the optimal pressure for your riding conditions.
Step 7: Maintain Your Pump Regularly
Clean and lubricate your pump regularly to maintain its efficiency and prolong its lifespan. Follow the manufacturer’s instructions for maintenance.
Here’s a simple maintenance schedule:
- Monthly: Wipe down the pump with a clean cloth.
- Quarterly: Lubricate the moving parts with silicone-based lubricant.
- Annually: Inspect and replace any worn parts, such as seals or hoses.
By following these steps, you can optimize your pump cycle time and enjoy a more efficient and enjoyable pumping experience.
Troubleshooting Pump Cycle Time Issues
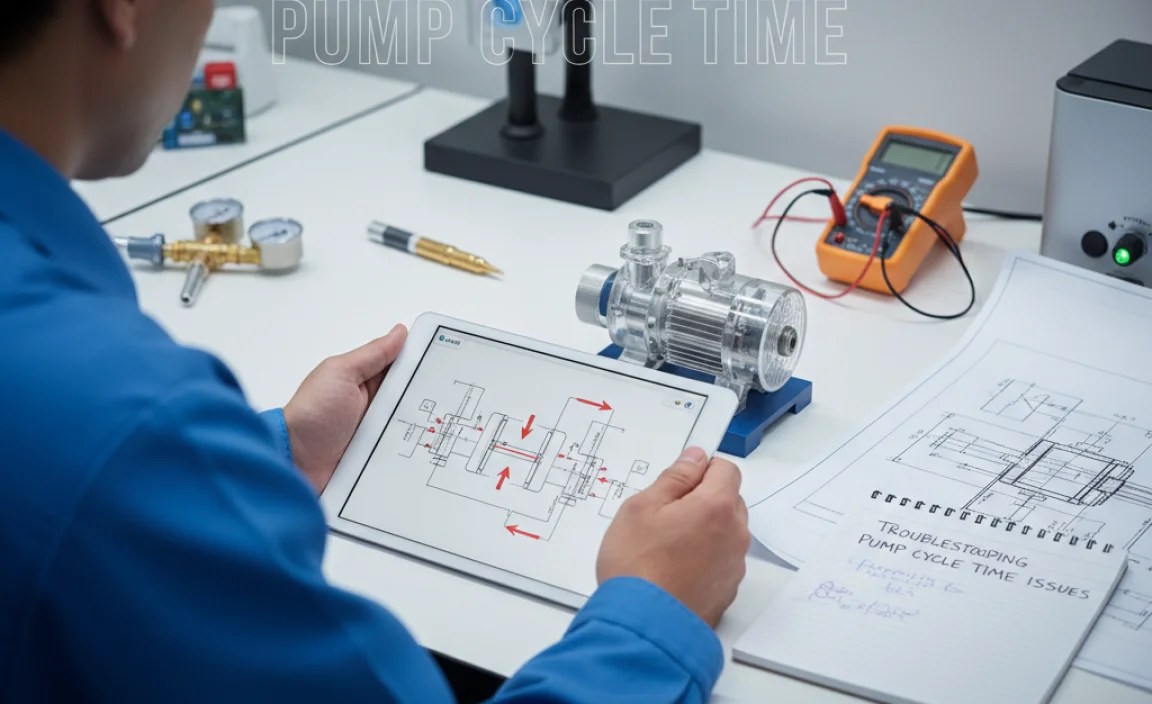
Sometimes, despite your best efforts, you might still encounter issues with pump cycle time. Here are some common problems and how to address them:
1. Slow Pumping
Possible Causes:
- Air Leaks: Check for leaks at the pump head, hose, or valve.
- Worn Seals: Replace the seals in the pump head.
- Low Pump Volume: Consider using a high-volume pump for larger tires.
Solutions:
- Tighten connections and replace any worn or damaged parts.
- Ensure the pump head is securely attached to the valve.
- Use a pump with a higher volume for faster inflation.
2. Excessive Effort
Possible Causes:
- High Tire Pressure: It becomes harder to pump as the pressure increases.
- Inefficient Pump: Some pumps require more effort than others.
- Poor Technique: Inefficient pumping technique can increase effort.
Solutions:
- Use a pump with a pressure gauge to avoid over-inflation.
- Invest in a high-quality, efficient pump.
- Practice proper pumping technique to reduce effort.
3. Inconsistent Pumping
Possible Causes:
- Jerky Movements: Uneven pumping strokes can reduce efficiency.
- Loose Connections: Loose connections can cause inconsistent airflow.
- Valve Issues: A faulty valve can disrupt the pumping cycle.
Solutions:
- Maintain a smooth, consistent pumping rhythm.
- Ensure all connections are tight and secure.
- Inspect and replace the valve if necessary.
FAQ About Pump Cycle Time
Here are some frequently asked questions about pump cycle time:
Q1: What is a good pump cycle time?
A good pump cycle time depends on the tire type and desired pressure. Generally, you should be able to inflate a tire to its recommended pressure in a reasonable amount of time without excessive effort. Aim for smooth, consistent strokes that efficiently increase the pressure.
Q2: How can I measure my pump cycle time?
While you don’t need precise measurements, you can get a sense of your pump cycle time by counting the number of strokes it takes to reach a certain pressure. Compare this to other pumps or techniques to gauge your efficiency.
Q3: Does the type of valve (Presta vs. Schrader) affect pump cycle time?
The valve type itself doesn’t significantly affect pump cycle time, but the pump head must be compatible with the valve type. Ensure a secure connection to avoid air leaks.
Q4: Can I adjust the volume of my pump?
Some pumps have adjustable volume settings. High-volume settings are ideal for quickly filling tires, while low-volume settings are better for reaching high pressures. Check your pump’s manual for instructions.
Q5: How often should I maintain my bike pump?
Regular maintenance, such as cleaning and lubricating the pump, should be performed every few months. Inspect and replace any worn parts annually to maintain optimal performance.
Q6: What tools do I need to maintain my bike pump?
You’ll typically need a clean cloth, silicone-based lubricant, and basic tools like a wrench or screwdriver to disassemble and reassemble the pump. Refer to your pump’s manual for specific instructions.
Q7: Where can I find reliable bike pump recommendations?
Websites like Bicycling.com and consumer cycling blogs often feature in-depth reviews and recommendations for various bike pumps, helping you choose the best option for your needs.
Conclusion
Understanding pump cycle time is essential for efficient and enjoyable bike maintenance. By choosing the right pump, maintaining it properly, and using good pumping technique, you can minimize cycle time and get back on the road (or trail) faster. Remember to consider pump volume, efficiency, tire pressure, and your own technique to optimize your pumping experience. With a little practice and the right tools, you’ll be pumping like a pro in no time!
“`