
Pump Gauge Angled Mount: Find the Perfect Fit!
Quick Summary: Installing an angled mount for your pump gauge makes it easier to read the pressure while you’re pumping up your tires. You’ll need a wrench, some thread sealant, and the angled mount itself. First, remove the old gauge. Then, apply sealant to the new mount’s threads. Finally, screw the new mount into place and reattach your gauge. This simple upgrade improves accuracy and prevents neck strain!
Ever struggled to read the tiny numbers on your bike pump’s gauge while trying to inflate your tires? It’s a common frustration! Bending and squinting can lead to inaccurate readings and a sore neck. The good news is that installing a pump gauge angled mount is a simple, affordable solution. It repositions the gauge, making it much easier to see the pressure as you pump. With just a few basic tools and a little bit of your time, you can upgrade your pump for better accuracy and comfort. Let’s get started!
Why Use an Angled Mount for Your Pump Gauge?

An angled mount for your pump gauge can greatly improve your cycling experience. Here’s why it’s a worthwhile upgrade:
- Improved Visibility: Angled mounts position the gauge so you can easily read it without bending over or straining.
- Enhanced Accuracy: A clear view of the gauge helps you achieve the precise tire pressure for optimal performance and safety.
- Increased Comfort: Say goodbye to neck and back strain while pumping your tires.
- Professional Look: An angled mount gives your pump a more polished, professional appearance.
Tools and Materials You’ll Need

Before you start, gather these essential tools and materials:
- Angled Mount: Choose an angled mount that’s compatible with your pump and gauge.
- Wrench: You’ll need a wrench that fits the base of your pump gauge and the angled mount.
- Thread Sealant: Teflon tape or liquid thread sealant to ensure an airtight connection.
- Clean Cloth: For wiping away excess sealant and keeping things tidy.
- Optional: A vise or clamp to hold the pump steady.
Step-by-Step Guide to Installing Your Pump Gauge Angled Mount

Follow these steps carefully to install your pump gauge angled mount:
Step 1: Prepare Your Work Area
Find a clean, well-lit space to work. If you have a vise or clamp, secure your pump to hold it steady.
Step 2: Remove the Existing Gauge
Using the correct size wrench, carefully loosen the nut connecting the gauge to the pump. Turn the wrench counterclockwise. Once loose, unscrew the gauge by hand. Be gentle to avoid damaging the threads.
Step 3: Clean the Threads
Use a clean cloth to wipe away any dirt, debris, or old sealant from the threads on both the pump and the gauge. A clean surface ensures a good seal.
Step 4: Apply Thread Sealant
Apply thread sealant to the threads of the angled mount that will screw into the pump. If using Teflon tape, wrap it around the threads in the direction they will be screwed in. Overlap the tape slightly as you wrap. If using liquid thread sealant, apply a thin, even coat around the threads.
Step 5: Install the Angled Mount
Carefully screw the angled mount into the pump. Use the wrench to tighten it snugly, but avoid over-tightening, which could damage the threads. The mount should be secure and airtight.
Step 6: Attach the Gauge to the Angled Mount
Apply thread sealant to the threads of the gauge. Then, screw the gauge into the angled mount. Use the wrench to tighten it securely. Position the gauge so that it’s easy to read from your typical pumping position.
Step 7: Test for Leaks
Pump up your tire and check for any air leaks around the connections. If you detect a leak, tighten the connections slightly. If the leak persists, disassemble the connection, apply more thread sealant, and reassemble.
Choosing the Right Angled Mount
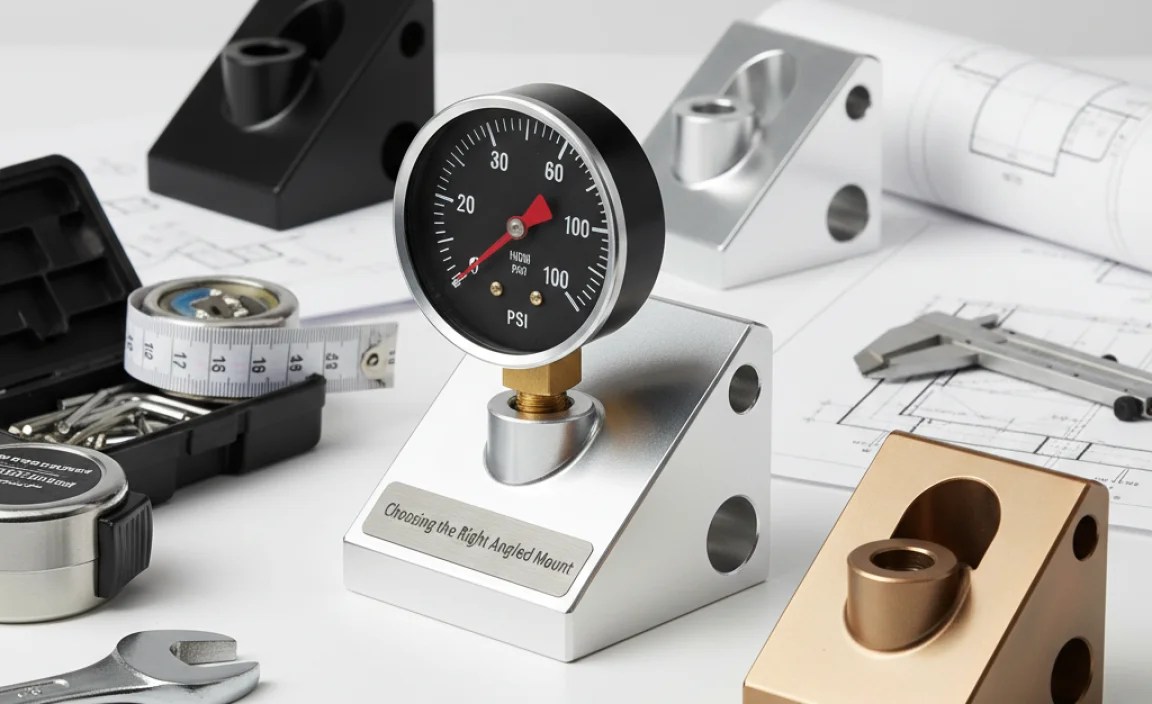
Selecting the right angled mount is crucial for a successful upgrade. Here are some factors to consider:
- Compatibility: Ensure the mount is compatible with your specific pump and gauge. Check the thread size and type.
- Angle: Choose an angle that provides the best visibility for your pumping style. Some mounts offer adjustable angles.
- Material: Look for mounts made from durable materials like brass or aluminum for long-lasting performance.
- Quality: Read reviews and choose a reputable brand known for quality and reliability.
Troubleshooting Common Issues

Even with careful installation, you might encounter a few issues. Here’s how to troubleshoot them:
- Leaks: If you have leaks, double-check the tightness of the connections. Add more thread sealant if necessary. Make sure the threads are clean and free of damage.
- Gauge Doesn’t Read Correctly: Ensure the gauge is properly attached to the angled mount. If the gauge is still inaccurate, it may be faulty and need replacement.
- Mount Doesn’t Fit: If the angled mount doesn’t fit your pump or gauge, double-check the thread size and compatibility. You may need to purchase a different mount.
- Stripped Threads: Avoid over-tightening the connections, as this can strip the threads. If you strip the threads, you may need to replace the pump or gauge.
Maintaining Your Pump and Angled Mount
Proper maintenance will keep your pump and angled mount in top condition. Follow these tips:
- Regular Cleaning: Clean the pump and mount regularly with a damp cloth to remove dirt and grime.
- Check for Leaks: Periodically check for air leaks around the connections and tighten as needed.
- Lubricate Moving Parts: Lubricate any moving parts on the pump to ensure smooth operation.
- Store Properly: Store your pump in a dry place to prevent corrosion and damage.
Types of Thread Sealants
Choosing the right thread sealant is important for an airtight connection. Here’s a comparison of common options:
| Thread Sealant | Pros | Cons | Best Use |
|---|---|---|---|
| Teflon Tape | Easy to apply, inexpensive, clean | Can be messy, may require multiple wraps | General use, especially for beginners |
| Liquid Thread Sealant | Provides a strong seal, fills gaps | Can be messy, requires careful application | High-pressure applications, damaged threads |
| Pipe Dope | Resistant to chemicals, good for extreme conditions | Can be difficult to apply, may dry out over time | Industrial or specialized applications |
The Benefits of a Well-Maintained Bike Pump
A well-maintained bike pump is essential for every cyclist. Here are some key benefits:
- Optimal Tire Pressure: Correct tire pressure improves rolling resistance, handling, and comfort.
- Reduced Risk of Flats: Proper inflation reduces the likelihood of pinch flats.
- Longer Tire Life: Maintaining the correct pressure prevents premature tire wear.
- Improved Performance: Correctly inflated tires enhance your speed and efficiency.
- Safety: Properly inflated tires provide better grip and control, improving your safety.
Alternatives to Angled Mounts
While angled mounts are a great solution, here are some alternatives you might consider:
- Digital Gauges: Some pumps come with digital gauges that are easier to read.
- Floor Pumps with High Gauges: Floor pumps with gauges positioned higher up can improve visibility.
- Separate Pressure Gauges: You can use a separate digital pressure gauge to check your tire pressure after inflating.
Cost Considerations
Here’s a breakdown of the costs associated with installing a pump gauge angled mount:
| Item | Estimated Cost |
|---|---|
| Angled Mount | $5 – $20 |
| Thread Sealant | $3 – $10 |
| Wrench (if needed) | $10 – $20 |
| Total | $18 – $50 |
As you can see, installing an angled mount is an affordable upgrade that offers significant benefits.
Where to Buy Angled Mounts
You can find angled mounts at various retailers:
- Local Bike Shops: Support your local bike shop and get expert advice.
- Online Retailers: Amazon, eBay, and other online retailers offer a wide selection.
- Cycling Specialty Stores: Stores like REI and specialized cycling shops carry high-quality mounts.
Additional Tips for Success
Here are some extra tips to ensure a smooth and successful installation:
- Read the Instructions: Always read the instructions that come with your angled mount.
- Don’t Over-Tighten: Over-tightening can damage the threads. Tighten snugly, but avoid excessive force.
- Use the Right Tools: Using the correct size wrench will prevent damage to the nuts and bolts.
- Take Your Time: Rushing can lead to mistakes. Take your time and work carefully.
- Ask for Help: If you’re unsure about any step, don’t hesitate to ask a friend or a local bike shop for help.
Understanding Tire Pressure
Knowing the correct tire pressure for your bike is crucial for performance and safety. Here’s what you need to know:
- Tire Pressure Range: Check the sidewall of your tires for the recommended pressure range.
- Riding Conditions: Adjust your tire pressure based on riding conditions. Lower pressure for wet or rough surfaces, higher pressure for smooth, dry roads.
- Rider Weight: Heavier riders may need to increase tire pressure.
- Tire Type: Different tire types (e.g., road, mountain, gravel) require different pressures.
The Importance of Regular Bike Maintenance
Maintaining your bike regularly will keep it running smoothly and safely. Here are some key maintenance tasks:
- Clean Your Bike: Regularly clean your bike to remove dirt and grime.
- Lubricate the Chain: Keep your chain lubricated for smooth shifting and reduced wear.
- Check Brakes: Inspect your brakes regularly and replace worn pads.
- Inspect Tires: Check your tires for cuts, wear, and proper inflation.
- Adjust Gears: Keep your gears properly adjusted for smooth shifting.
FAQ About Pump Gauge Angled Mounts
What is a pump gauge angled mount?
It’s an adapter that changes the angle of your bike pump’s gauge, making it easier to read while you’re inflating your tires. This helps you achieve more accurate pressure readings.
Why should I use an angled mount?
An angled mount improves visibility, reduces neck strain, and helps you get more accurate tire pressure readings for better performance and safety.
Are angled mounts universal?
No, angled mounts are not always universal. You need to check the thread size and compatibility with your specific pump and gauge before purchasing.
How do I install an angled mount?
First, remove your old gauge. Then, apply thread sealant to the new mount and screw it into the pump. Finally, attach the gauge to the angled mount and test for leaks.
What kind of thread sealant should I use?
Teflon tape or liquid thread sealant are both good options. Teflon tape is easier for beginners, while liquid sealant provides a stronger seal.
Can I over-tighten the angled mount?
Yes, over-tightening can damage the threads. Tighten the mount snugly, but avoid using excessive force.
Where can I buy an angled mount?
You can buy angled mounts at local bike shops, online retailers like Amazon, and cycling specialty stores.
Conclusion
Installing a pump gauge angled mount is a simple yet effective upgrade that can significantly improve your cycling experience. By enhancing visibility and reducing strain, it helps you achieve accurate tire pressure, leading to better performance and safety on the road or trail. With the right tools, a little patience, and this step-by-step guide, you can easily install an angled mount and enjoy the benefits of a more comfortable and precise pumping experience. So go ahead, give it a try, and get ready to ride with confidence!


