
Pump Gauge External: Powerful Accuracy Tips
Having trouble getting an accurate tire pressure reading? An external pump gauge can help! It connects to your bike pump, giving you a precise measurement of the air pressure in your tires. This guide shows you how to choose, connect, and use an external pump gauge to keep your tires properly inflated for a smoother, safer ride.
Getting the right tire pressure is super important for biking. Too low, and you risk a flat. Too high, and the ride is bumpy and unsafe. Most bike pumps have built-in gauges, but they can be hard to read or not very accurate. An external pump gauge solves this problem. It’s easy to connect, provides a clear reading, and helps you dial in the perfect pressure every time. This guide will walk you through everything you need to know to use one.
Ready to get started? We’ll cover how to choose the right gauge, how to connect it to your pump, and tips for getting the most accurate readings. Let’s get those tires pumped just right!
Why Use an External Pump Gauge?
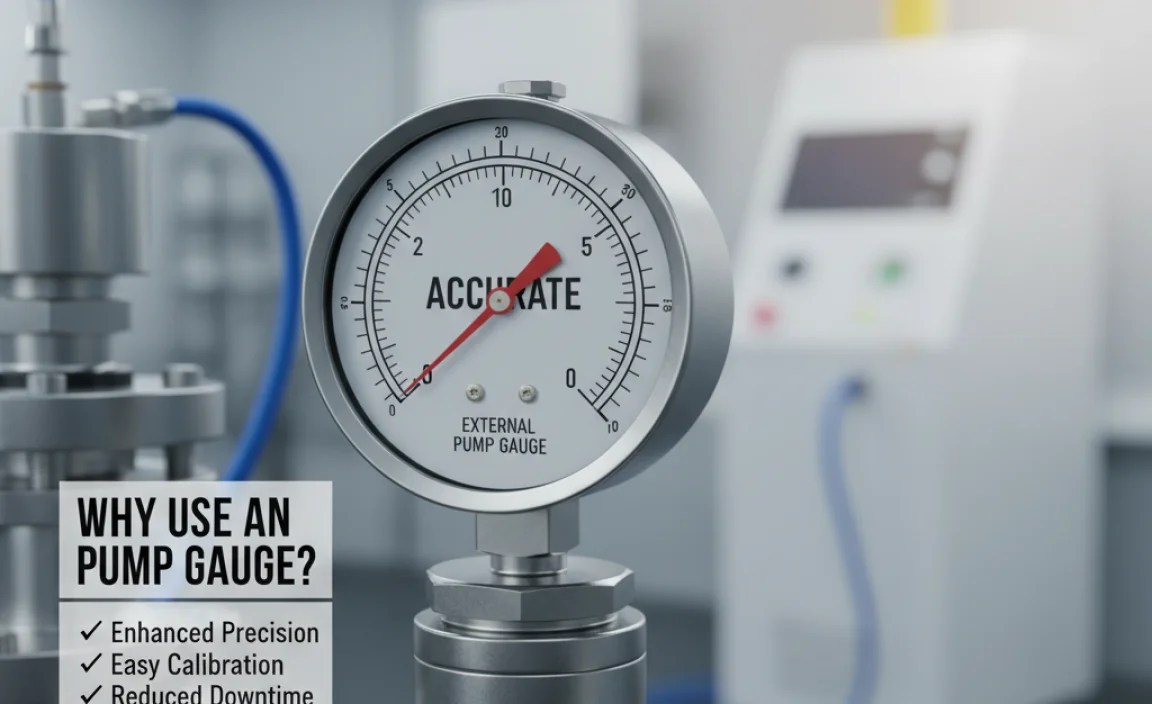
You might be wondering, “Why do I even need an external pump gauge?” Here are a few good reasons:
- Accuracy: External gauges are generally more accurate than the ones built into many floor pumps.
- Easy to Read: They often have larger, clearer displays.
- Versatility: You can use them with different pumps.
- Precision: Get precise pressure adjustments, especially important for road and gravel bikes.
Think of it like this: the built-in gauge is good for a general idea, but the external gauge is for fine-tuning. If you’re serious about your ride quality and performance, an external gauge is a worthwhile investment.
Choosing the Right External Pump Gauge

Not all external pump gauges are created equal. Here’s what to look for when choosing one:
1. Gauge Type: Digital vs. Analog
You’ll find two main types: digital and analog.
- Digital Gauges: These offer precise readings and are easy to read. They often have features like backlight and the ability to switch between PSI and BAR.
- Analog Gauges: These are more traditional, using a needle to display the pressure. They are generally less expensive and don’t require batteries.
Here’s a quick comparison:
| Feature | Digital Gauge | Analog Gauge |
|---|---|---|
| Accuracy | High | Moderate |
| Readability | Excellent | Good |
| Durability | Moderate (electronics can be sensitive) | High |
| Price | Higher | Lower |
| Battery Required | Yes | No |
2. Pressure Range
Make sure the gauge’s pressure range matches the types of tires you’ll be inflating. Most gauges go up to at least 100 PSI, which is fine for road bikes. If you ride mountain bikes with low-pressure tires, a gauge with a lower range might be more accurate for those small pressure adjustments.
3. Compatibility
Check if the gauge is compatible with your pump’s hose and valve types (Presta or Schrader). Some gauges come with adapters for different valve types. Most external gauges connect between the pump hose and the valve on your tire. Look for compatibility with both Presta and Schrader valves.
4. Build Quality and Durability
A gauge that feels solid and well-built will likely last longer and provide more consistent readings. Look for gauges with metal bodies and robust connectors. Read reviews to see what other cyclists say about the durability of different models.
5. Display Size and Backlight
A larger display is easier to read, especially in bright sunlight or low light conditions. If you often pump up your tires in the garage or at night, a backlight is a great feature to have.
Tools and Materials You’ll Need

Before you start, make sure you have these items:
- External Pump Gauge: The star of the show!
- Bike Pump: Your existing floor or hand pump.
- Bike Tire: The tire you’ll be inflating.
- Valve Adapters (if needed): For compatibility with Presta or Schrader valves.
- Rag or Cloth: To wipe off any dirt or grime.
Step-by-Step Guide: Using an External Pump Gauge
Here’s how to use an external pump gauge to get the perfect tire pressure:
Step 1: Prepare Your Bike and Pump
First, make sure your bike is stable. If you have a bike stand, now is a good time to use it. Otherwise, lean the bike against a wall or another stable object.
Next, inspect your pump. Make sure the hose is in good condition and the pump head is clean. A quick wipe with a rag can remove any dirt that might interfere with the connection.
Step 2: Connect the External Gauge
This is where the external gauge comes into play. Most gauges connect between the pump hose and the tire valve. Here’s how:
- Locate the Connection Point: Find the end of your pump’s hose that connects to the tire valve.
- Attach the Gauge: Connect the external gauge to the end of the pump hose. Make sure the connection is secure but not overly tight.
- Check the Connection: Give a gentle tug to ensure the gauge is firmly attached to the hose.
Some gauges might have a specific orientation, so check the instructions that came with your gauge.
Step 3: Connect to the Tire Valve
Now, connect the gauge to your tire valve. The process is similar to connecting the pump directly to the valve.
- Prepare the Valve: For Presta valves, unscrew the valve nut. For Schrader valves, remove the valve cap.
- Attach the Gauge Head: Press the gauge head onto the valve. Make sure it’s fully seated to create a good seal.
- Engage the Lever (if applicable): Some gauge heads have a lever to lock them onto the valve. Engage the lever to secure the connection.
A secure connection is crucial for accurate readings. If you hear air leaking, readjust the gauge head until the leak stops.
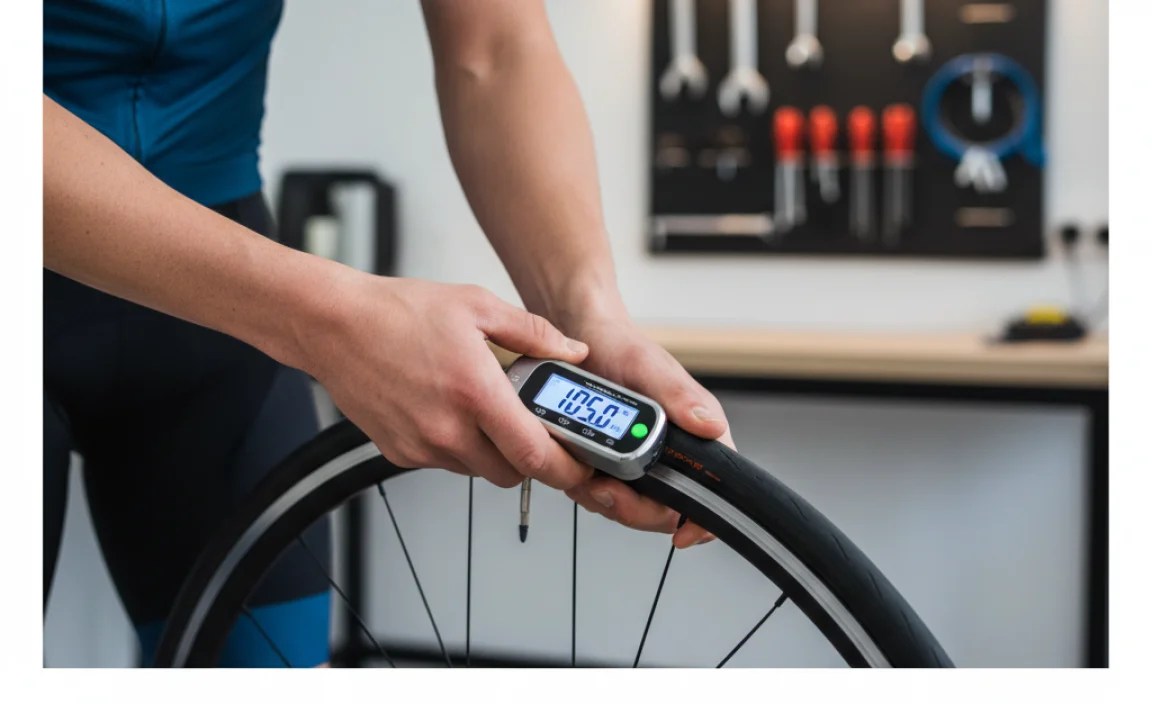
Step 4: Inflate the Tire
With the gauge connected, you can now start inflating the tire. Use smooth, steady strokes on the pump.
- Start Pumping: Begin pumping air into the tire. Watch the gauge as you pump.
- Monitor the Pressure: Keep an eye on the gauge to see the pressure increase.
- Pause and Check: Stop pumping periodically to check the pressure reading. This gives the gauge time to stabilize and provide an accurate measurement.
Step 5: Achieve the Desired Pressure
Refer to the recommended tire pressure printed on the sidewall of your tire. This is usually a range, such as “80-100 PSI.”
- Inflate to Target: Pump the tire until the gauge reads your desired pressure. For example, if the recommended range is 80-100 PSI and you want a firmer ride, aim for 100 PSI.
- Fine-Tune: If you accidentally overinflate, gently press the valve core to release a small amount of air until you reach the correct pressure.
- Check Again: After making adjustments, double-check the pressure to ensure it’s exactly where you want it.
Achieving the right pressure might take a few tries, but with practice, you’ll get the hang of it.
Step 6: Disconnect and Secure
Once you’ve reached the desired pressure, it’s time to disconnect the gauge and secure the valve.
- Release the Lever (if applicable): If your gauge head has a lever, disengage it.
- Remove the Gauge Head: Gently pull the gauge head straight off the valve.
- Secure the Valve: For Presta valves, tighten the valve nut. For Schrader valves, replace the valve cap.
Securing the valve prevents air from leaking out and keeps dirt from getting in.
Step 7: Repeat for the Other Tire
Now, repeat the process for the other tire. Consistency is key to a balanced and comfortable ride. Make sure both tires are inflated to the same pressure, or adjust them according to your preference (some riders prefer slightly lower pressure in the front tire for better handling).
Tips for Accurate Readings
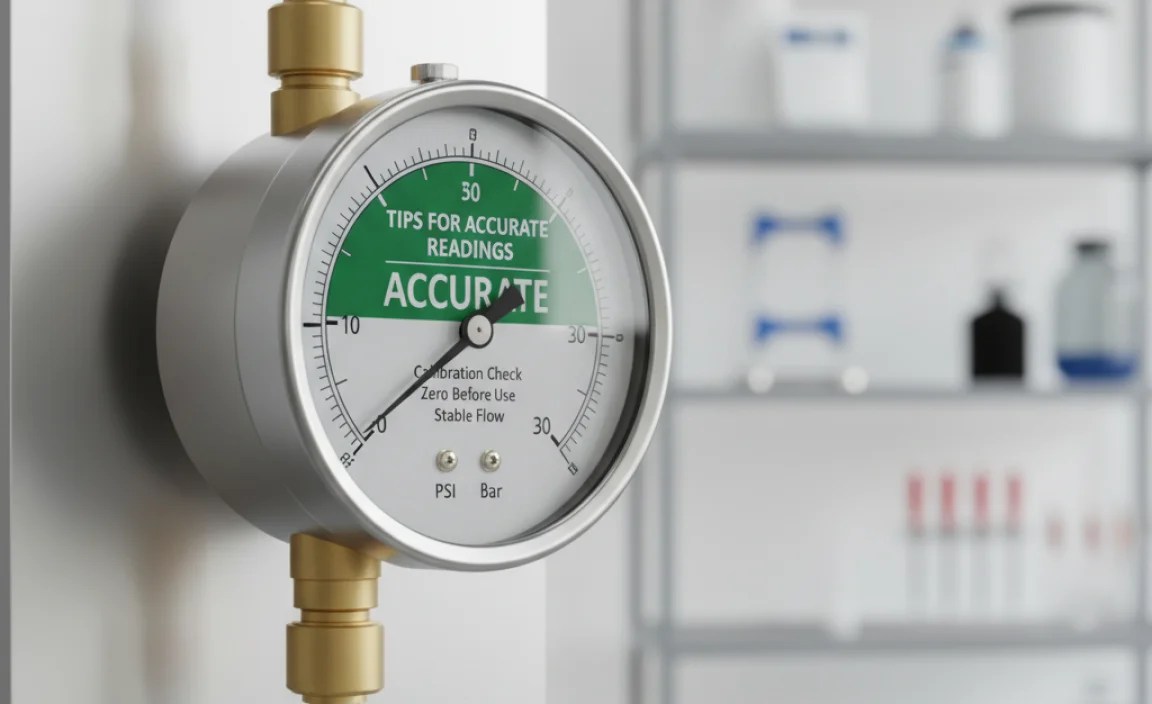
Here are some tips to ensure you get the most accurate readings from your external pump gauge:
- Check Regularly: Tire pressure can decrease over time, so check your tires before each ride or at least once a week.
- Use a Consistent Gauge: Stick with the same gauge for all your pressure checks to minimize variations.
- Avoid Direct Sunlight: Direct sunlight can heat up the tire and affect the pressure reading. Check your tires in the shade if possible.
- Calibrate Your Gauge: Some gauges can be calibrated to ensure accuracy. Check the manufacturer’s instructions for calibration procedures.
- Replace Worn Parts: If you notice leaks or inconsistencies, replace worn parts like O-rings or valve adapters.
Following these tips will help you maintain optimal tire pressure and enjoy a smoother, safer ride.
Troubleshooting Common Issues
Sometimes, things don’t go as planned. Here are some common issues you might encounter and how to fix them:
- Gauge Not Reading:
- Check Connections: Make sure all connections are secure.
- Check Battery (Digital Gauges): Replace the battery if it’s low.
- Check Valve: Ensure the tire valve is not clogged or damaged.
- Air Leaking:
- Adjust Gauge Head: Readjust the gauge head on the valve until the leak stops.
- Check O-Rings: Replace worn or damaged O-rings in the gauge head.
- Tighten Connections: Make sure all connections are tight but not over-tightened.
- Inconsistent Readings:
- Use a Consistent Gauge: Stick with the same gauge for all your pressure checks.
- Calibrate Gauge: Calibrate the gauge according to the manufacturer’s instructions.
- Check Tire Temperature: Avoid checking tire pressure in direct sunlight.
By addressing these common issues, you can keep your external pump gauge working properly and get accurate readings every time.
FAQ: External Pump Gauges
1. What is the ideal tire pressure for my bike?
The ideal tire pressure depends on your tire type, riding conditions, and personal preference. Check the sidewall of your tire for the recommended pressure range. As a general rule, narrower tires (like those on road bikes) require higher pressure, while wider tires (like those on mountain bikes) use lower pressure.
2. Can I use an external gauge with any bike pump?
Most external gauges are designed to be compatible with a wide range of bike pumps. However, it’s always a good idea to check the gauge’s specifications to ensure it fits your pump’s hose and valve types (Presta or Schrader). Some gauges come with adapters for added versatility.
3. How often should I check my tire pressure?
It’s best to check your tire pressure before each ride or at least once a week. Tire pressure can decrease over time due to small leaks or temperature changes. Regular checks will help you maintain optimal performance and prevent flats.
4. Are digital gauges better than analog gauges?
Both digital and analog gauges have their pros and cons. Digital gauges offer precise readings and are easy to read, but they require batteries and can be more expensive. Analog gauges are generally more durable and don’t need batteries, but they may not be as accurate or easy to read. The best choice depends on your budget and preferences.
5. What does PSI and BAR mean?
PSI stands for pounds per square inch, and BAR is a metric unit of pressure. Both are used to measure tire pressure. Most gauges display pressure in both PSI and BAR, so you can use whichever unit you prefer. 1 BAR is approximately equal to 14.5 PSI.
6. Can I use an external gauge for tubeless tires?
Yes, you can use an external gauge for tubeless tires. In fact, precise pressure control is even more important for tubeless setups, as running the wrong pressure can lead to burping (air loss) or rim damage. An external gauge can help you dial in the perfect pressure for your tubeless tires.
7. Where can I buy an external pump gauge?
You can find external pump gauges at most bike shops, online retailers, and sporting goods stores. Some popular brands include Topeak, SKS, and Park Tool. Read reviews and compare prices to find the best gauge for your needs.
Conclusion
Using an external pump gauge is a simple yet effective way to improve your cycling experience. By providing accurate and easy-to-read pressure measurements, these gauges help you maintain optimal tire pressure for a smoother, safer, and more enjoyable ride. Whether you’re a casual rider or a serious cyclist, investing in an external pump gauge is a worthwhile upgrade.
So, grab an external gauge, follow the steps outlined in this guide, and start enjoying the benefits of perfectly inflated tires. Happy riding!


