
Pump Gauge 0-160 PSI: The Ultimate Guide
Quick Summary: A pump gauge reading 0-160 psi tells you the air pressure your pump can deliver. This range is perfect for most bike tires! Use a pump with a gauge to accurately inflate your tires for better performance and safety. Knowing your target PSI and reading the gauge correctly are key.
Ever tried pumping up your bike tires only to guess if they have enough air? It’s a common problem! Under-inflated tires can make riding harder and increase the risk of flats. Over-inflated tires can be dangerous and uncomfortable. A pump with a 0-160 psi gauge takes the guesswork out of the process. This guide will show you how to use it like a pro, so you can enjoy smoother, safer rides.
Understanding Your Pump Gauge (0-160 PSI)

Your pump gauge is your best friend when it comes to getting your tires inflated just right. Let’s break down what that “0-160 psi” range means.
What Does PSI Mean?
PSI stands for “pounds per square inch.” It’s the unit we use to measure air pressure. The number on your gauge tells you how much force the air inside your tire is exerting on each square inch of the tire.
Why 0-160 PSI?
This range is ideal for most bicycle tires. Here’s why:
- Lower Range (0-40 PSI): Perfect for wider tires, like those on mountain bikes or some hybrid bikes. These tires need lower pressure for better grip and comfort on rough terrain.
- Mid-Range (40-80 PSI): Great for hybrid bikes, touring bikes, and some road bikes. This range offers a good balance between speed and comfort.
- Higher Range (80-130 PSI): Typically used for road bike tires. Higher pressure reduces rolling resistance, making you faster on smooth surfaces.
- Upper Range (130-160 PSI): Some high-performance road tires may require pressures in this range. Always check the maximum PSI rating on your tire sidewall!
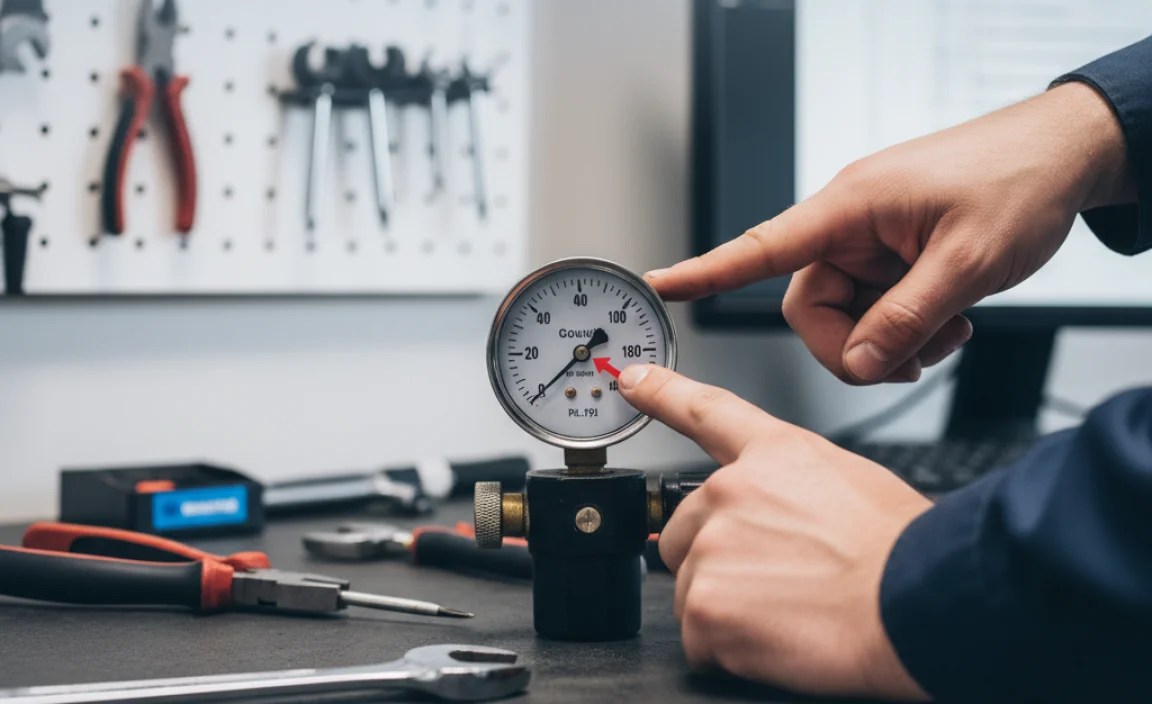
Reading the Gauge
Most pump gauges have two scales: PSI and Bar (another unit of pressure). Focus on the PSI scale for this guide. The gauge needle points to the current pressure in your tire. As you pump, the needle moves higher. Stop when you reach your desired PSI.
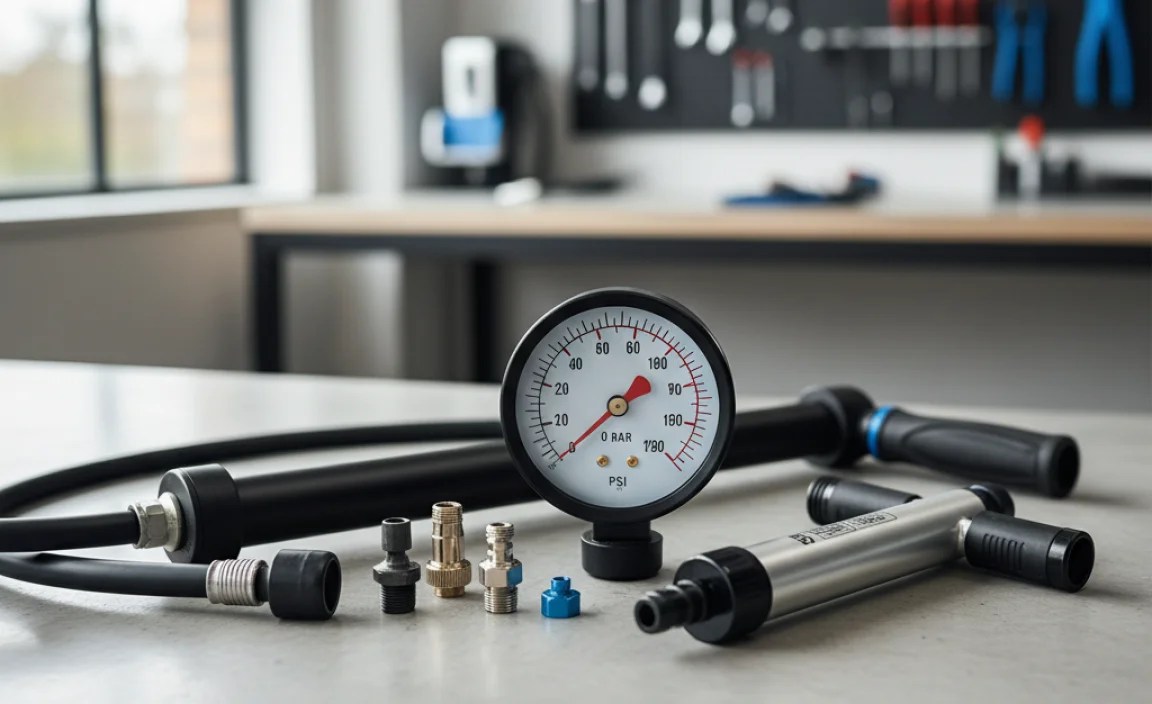
Tools You’ll Need

Before you start, gather these simple tools:
- Bike Pump with 0-160 PSI Gauge: Make sure it’s in good working order!
- Your Bike: With tires that need inflating, of course.
- Tire Pressure Chart (Optional): A handy reference guide for recommended tire pressures (more on this later).
- Rag or Cloth: To wipe off any dirt from the valve.
Step-by-Step Guide to Inflating Your Tires

Ready to inflate? Follow these simple steps:
Step 1: Find the Recommended Tire Pressure
Look for the PSI range printed on the sidewall of your tire. It usually says something like “Inflate to 80-130 PSI.” This is the safe operating range for your tire. Don’t exceed the maximum PSI!
Consider these factors when choosing a pressure within that range:
- Your Weight: Heavier riders need higher pressure.
- Road Conditions: Rough roads benefit from lower pressure for comfort and grip. Smooth roads allow for higher pressure for speed.
- Tire Width: Wider tires generally need lower pressure.
Here’s a general guideline:
| Tire Width | Rider Weight (lbs) | Recommended PSI |
|---|---|---|
| 23mm | 150 | 100 |
| 23mm | 200 | 120 |
| 28mm | 150 | 80 |
| 28mm | 200 | 100 |
This is just a starting point. Experiment to find what feels best for you!
Step 2: Prepare the Valve
Your bike likely has one of two types of valves:
- Presta Valve: Narrower valve with a small locking nut at the tip. Unscrew the nut to open the valve.
- Schrader Valve: Wider valve, similar to what you find on car tires. Simply remove the valve cap.
Wipe the valve clean with a rag to remove any dirt.
Step 3: Attach the Pump Head
Most pumps have a dual-head that can accommodate both Presta and Schrader valves. Make sure the pump head is set to the correct valve type.
- For Presta: Push the pump head onto the valve and flip the locking lever (if your pump has one).
- For Schrader: Push the pump head straight onto the valve.
Make sure the connection is secure to prevent air from escaping.
Step 4: Start Pumping
Use a smooth, steady motion to pump air into the tire. Watch the gauge as you pump. You’ll see the needle move higher, indicating the increasing pressure.
Step 5: Reach Your Target PSI
Stop pumping when the gauge needle reaches your desired PSI. It’s always better to slightly under-inflate than over-inflate. Remember, you can always add more air!
Step 6: Remove the Pump Head
Carefully detach the pump head from the valve.
- For Presta: Flip the locking lever (if applicable) and gently pull the pump head off. Screw the locking nut back onto the valve tip.
- For Schrader: Simply pull the pump head straight off. Replace the valve cap.
You might hear a slight hiss of air as you remove the pump head. This is normal.
Step 7: Check the Tire Pressure
Give the tire a squeeze. It should feel firm, but not rock hard. If you’re unsure, use a dedicated tire pressure gauge to double-check the PSI.
Step 8: Repeat for the Other Tire
Inflate the other tire to the same pressure. Consistent tire pressure ensures balanced handling and performance.
Troubleshooting Common Issues
Sometimes, things don’t go as planned. Here are some common problems and how to fix them:
- Air Leaking When Pumping:
- Cause: Loose connection between the pump head and the valve.
- Solution: Make sure the pump head is securely attached. Try repositioning it and ensure the locking lever (if applicable) is engaged.
- Pump Gauge Not Moving:
- Cause: Pump malfunction or blocked valve.
- Solution: Check the pump for any damage. Make sure the valve isn’t clogged with dirt. Try a different pump.
- Can’t Reach Desired PSI:
- Cause: Air leak or faulty pump.
- Solution: Check for leaks around the valve and pump head. Make sure the pump is working properly. It may be time for a new pump!
Choosing the Right Pump
Not all pumps are created equal. Here’s what to look for when choosing a pump with a 0-160 psi gauge:
- Floor Pump vs. Hand Pump: Floor pumps are more efficient for inflating tires to higher pressures. Hand pumps are more portable for on-the-go repairs.
- Gauge Accuracy: Look for a pump with a clear, easy-to-read gauge. Digital gauges are often more accurate.
- Valve Compatibility: Make sure the pump head is compatible with both Presta and Schrader valves, or choose one specifically designed for your valve type.
- Build Quality: A durable pump will last longer and provide more reliable performance. Look for pumps made from high-quality materials.
Maintaining Your Pump
A little maintenance goes a long way. Here’s how to keep your pump in top condition:
- Clean the Pump Head: Regularly clean the pump head to remove dirt and debris.
- Lubricate Moving Parts: Apply a small amount of lubricant to the pump’s moving parts to keep them working smoothly.
- Store Properly: Store your pump in a dry place to prevent rust and corrosion.
Why Accurate Tire Pressure Matters
Maintaining the correct tire pressure is crucial for several reasons:
- Performance: Properly inflated tires roll faster and require less effort to pedal.
- Comfort: The right tire pressure can significantly improve your riding comfort, especially on rough roads.
- Safety: Under-inflated tires are more prone to flats and can lead to loss of control. Over-inflated tires can burst.
- Tire Longevity: Maintaining proper pressure helps prevent premature tire wear.
Advanced Tips for Tire Inflation
Once you’ve mastered the basics, try these advanced tips:
- Tubeless Tires: Tubeless tires require a different inflation technique. Use a tubeless-specific pump or an air compressor to seat the tire bead properly.
- Tire Pressure and Weather: Tire pressure decreases in cold weather and increases in hot weather. Adjust your pressure accordingly.
- Experiment with Different Pressures: Don’t be afraid to experiment with different pressures to find what works best for your riding style and terrain.
FAQ: Pump Gauge 0-160 PSI
Here are some frequently asked questions about pump gauges and tire inflation:
- What does PSI stand for?
- PSI stands for pounds per square inch. It’s a measure of air pressure.
- Is a 0-160 PSI pump gauge suitable for all bikes?
- Yes, the 0-160 PSI range covers the recommended tire pressures for most bicycle tires, from mountain bikes to road bikes.
- How do I know what PSI to inflate my tires to?
- Look for the recommended PSI range printed on the sidewall of your tire. Consider your weight, road conditions, and tire width when choosing a pressure within that range.
- What happens if I over-inflate my tires?
- Over-inflating your tires can make them more prone to bursting and can result in a harsh ride. It’s best to stay within the recommended PSI range.
- What happens if I under-inflate my tires?
- Under-inflated tires increase rolling resistance, making it harder to pedal. They’re also more susceptible to pinch flats.
- Can I use a car tire pump to inflate my bike tires?
- Yes, if you have an adapter that fits your bike’s valve type. However, car tire pumps often inflate very quickly, making it easy to over-inflate your tires. Use caution and check the pressure frequently.
- My pump gauge is broken. Can I still inflate my tires?
- It’s not recommended to inflate your tires without a gauge, as you risk over- or under-inflating them. Get a new pump or a separate tire pressure gauge.
Conclusion
Using a pump with a 0-160 psi gauge might seem basic, but it’s a game-changer for your cycling experience. By understanding the gauge, following these steps, and maintaining your equipment, you’ll enjoy smoother, faster, and safer rides. Don’t be afraid to experiment with different pressures to find what feels best for you. Happy riding!


