
How to Use Mini Pump with CO₂ Inflator Combo: Easy!
Quick Summary: Using a mini pump with a CO₂ inflator combo is simple. First, try inflating your tire with the mini pump. If that’s too hard or slow, attach the CO₂ inflator to the valve, screw in a CO₂ cartridge, and release the gas to quickly inflate the tire. Always use short bursts and be careful not to over-inflate. Finish by checking the tire pressure and making sure the tire is seated correctly on the rim.
Getting a flat tire is every cyclist’s nightmare, but it doesn’t have to ruin your ride. Carrying a mini pump with a CO₂ inflator combo can get you back on the road quickly. Many cyclists find it tricky to use both effectively, especially when time is of the essence. Don’t worry! This guide will walk you through using both a mini pump and CO₂ inflator like a pro. We’ll cover everything from choosing the right tools to step-by-step instructions, so you can handle any flat with confidence.
Why Use a Mini Pump with a CO₂ Inflator Combo?

A mini pump and CO₂ inflator combo gives you the best of both worlds. A mini pump is reliable and always ready to use, but it can take a while to inflate a tire fully. A CO₂ inflator is super fast, but you only get one shot per cartridge. Using them together ensures you can always inflate your tire, no matter the situation.
Benefits of a Combo System
- Reliability: Mini pumps never run out of air, unlike CO₂ cartridges.
- Speed: CO₂ inflators quickly inflate tires, saving time on the road.
- Flexibility: You can use the mini pump for small top-ups or the CO₂ for rapid inflation.
- Peace of Mind: Having both options ensures you’re prepared for any flat tire scenario.
Choosing the Right Mini Pump and CO₂ Inflator

Not all pumps and inflators are created equal. Here’s what to look for when choosing a mini pump and CO₂ inflator combo.
Mini Pump Features to Consider
- Size and Weight: Look for a compact and lightweight pump that’s easy to carry.
- Pumping Efficiency: Check the pump’s volume per stroke (cc/stroke). Higher volume means faster inflation.
- Maximum Pressure: Ensure the pump can reach the maximum pressure recommended for your tires (usually listed in PSI or BAR).
- Valve Compatibility: Make sure the pump works with both Presta and Schrader valves, or choose one specific to your valve type.
- Mounting Options: Consider how the pump will attach to your bike frame (e.g., frame mount, Velcro straps).
CO₂ Inflator Features to Consider
- Inflator Type: Choose between threaded or push-on inflators. Threaded are more common and generally more reliable.
- Cartridge Compatibility: Ensure the inflator is compatible with standard CO₂ cartridge sizes (12g, 16g, or 25g).
- Controlled Release: Look for an inflator with a control valve to regulate CO₂ flow and prevent over-inflation.
- Insulated Sleeve: CO₂ cartridges get very cold when discharging. An insulated sleeve protects your hands from frostbite.
- Compact Size: Opt for a small and lightweight inflator that’s easy to carry in your saddlebag or pocket.
Recommended Products
Here are a few popular and reliable mini pump and CO₂ inflator combos:
| Product | Description | Features |
|---|---|---|
| Lezyne Road Drive | High-pressure mini pump | Compact, efficient, Presta/Schrader compatible |
| Topeak Micro AirBooster | CO₂ inflator | Lightweight, controlled release, Presta/Schrader |
| Genuine Innovations Ultraflate | CO₂ inflator | Simple, reliable, threaded cartridges |
Essential Tools and Materials
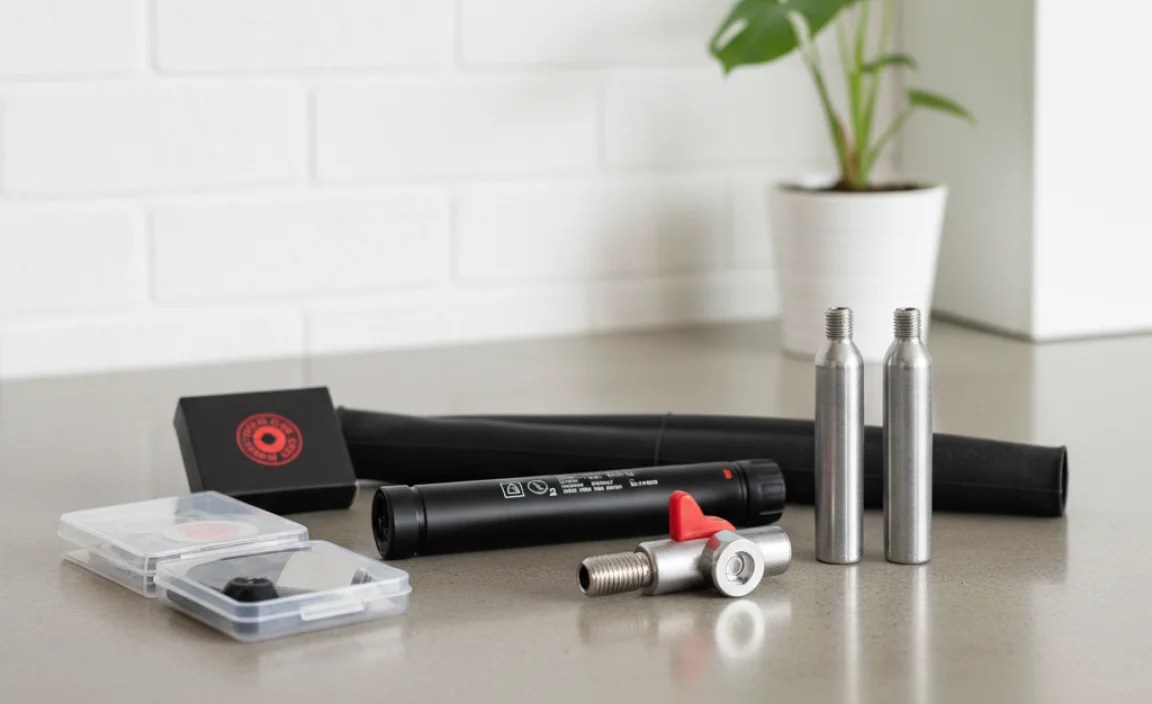
Before you start, gather these essential tools and materials:
- Mini Pump: Your primary inflation tool.
- CO₂ Inflator: For rapid inflation when needed.
- CO₂ Cartridges: Carry at least two, in case one fails.
- Tire Levers: To remove the tire from the rim.
- Spare Tube: A new tube is essential for fixing most flats.
- Multi-Tool: Includes Allen wrenches and screwdrivers for basic adjustments.
- Patch Kit: For minor punctures, a patch kit can save the day.
- Gloves: Protect your hands and improve grip.
- Rag: To clean your hands and the tire.
- Eye Protection: Safety glasses can protect your eyes from debris.
Step-by-Step Guide: Using a Mini Pump
Let’s start with the mini pump. It’s your go-to for topping off tire pressure and for situations where you want more control over inflation.
Step 1: Remove the Wheel
Use your multi-tool to loosen the wheel’s axle nuts or quick-release lever. If it’s the rear wheel, shift to the smallest cog to make removal easier. Lift the bike and remove the wheel from the frame.
Step 2: Remove the Tire
Use tire levers to carefully pry one side of the tire off the rim. Insert one lever, hook it onto a spoke, and then insert a second lever a few inches away. Pry the tire off the rim with the second lever, then slide one lever around the rim to remove the tire completely from one side.
Step 3: Inspect the Tire
Carefully check the inside and outside of the tire for any sharp objects (glass, thorns, etc.) that caused the puncture. Remove any debris to prevent another flat.
Step 4: Install the New Tube
Slightly inflate the new tube to give it some shape. Insert the valve into the rim hole, then carefully tuck the tube inside the tire. Work your way around the tire, making sure the tube isn’t pinched or twisted.
Step 5: Seat the Tire
Starting opposite the valve, use your thumbs to push the tire back onto the rim. Work your way around, ensuring the tire bead is fully seated in the rim. The last section can be tricky, so use your thumbs and palms to push it over the edge. Double-check that the tube isn’t pinched between the tire and rim.
Step 6: Inflate with the Mini Pump
Attach the pump head to the valve (Presta or Schrader). Make sure it’s securely connected. Start pumping, using smooth and consistent strokes. Check the tire pressure periodically by squeezing the tire or using a pressure gauge. Inflate to the recommended pressure (printed on the tire sidewall).
Step 7: Reinstall the Wheel
Place the wheel back into the frame, making sure it’s properly aligned. Tighten the axle nuts or close the quick-release lever securely. Spin the wheel to check for any rubbing or misalignment. Adjust as needed.
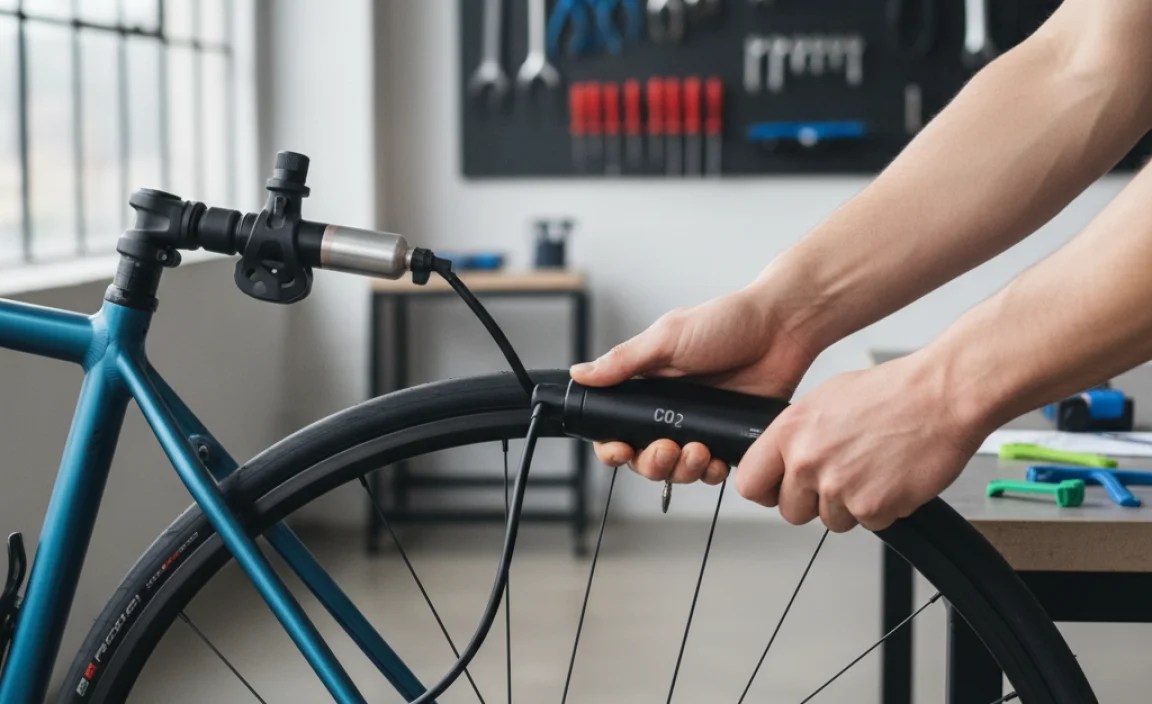
Step-by-Step Guide: Using a CO₂ Inflator
Now, let’s move on to the CO₂ inflator. This is your quick fix for getting back on the road ASAP.
Step 1: Prepare the Inflator and Cartridge
Make sure your CO₂ inflator is compatible with your valve type (Presta or Schrader). If necessary, attach the appropriate adapter. Screw the CO₂ cartridge into the inflator head until it’s snug but not overly tight. Some inflators require you to pierce the cartridge by twisting; follow the manufacturer’s instructions.
Step 2: Attach the Inflator to the Valve
Firmly press the inflator head onto the valve. Ensure a tight seal to prevent CO₂ from leaking. Some inflators have a locking mechanism or threaded connection for added security.
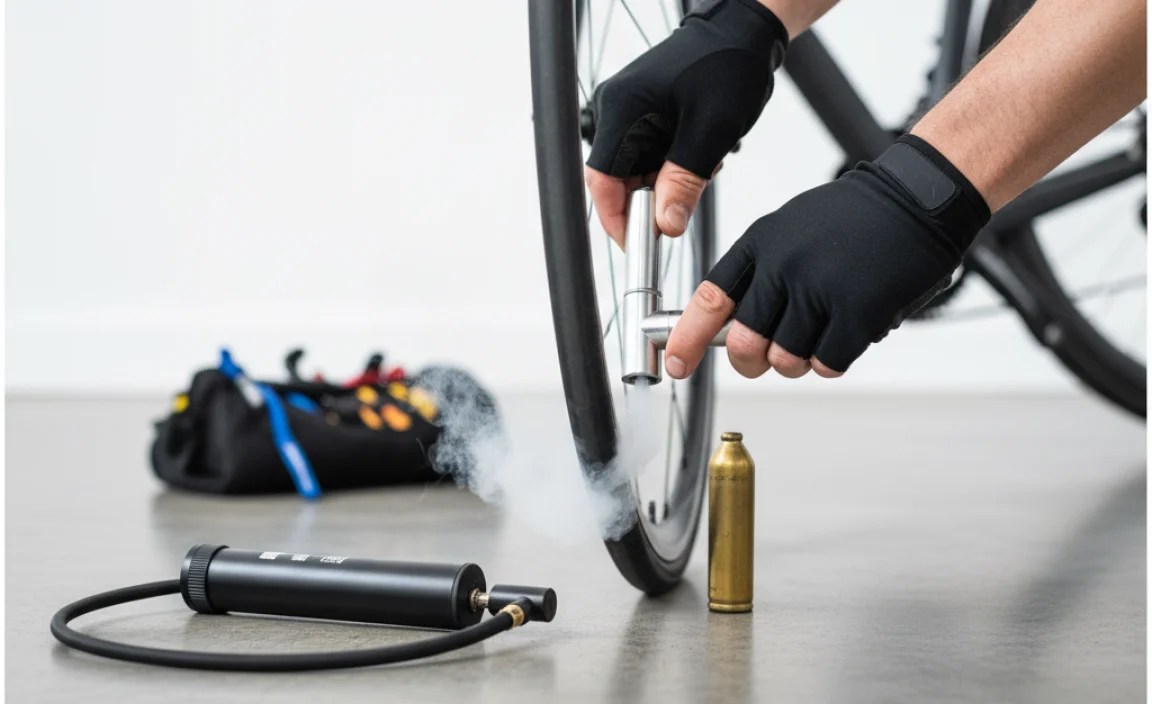
Step 3: Inflate the Tire
Control the CO₂ flow by pressing the inflator head or using the control valve (if equipped). Use short bursts to avoid over-inflation. The cartridge will get very cold, so use an insulated sleeve or gloves to protect your hands.
Step 4: Check the Tire Pressure
After inflating, immediately check the tire pressure. CO₂ inflates tires very quickly, so it’s easy to over-inflate. Use a pressure gauge if possible. The tire should feel firm but not rock hard.
Step 5: Reinstall the Wheel
Place the wheel back into the frame, ensuring proper alignment. Tighten the axle nuts or close the quick-release lever securely. Spin the wheel to check for rubbing or misalignment. Adjust as needed.
Tips for Effective Use
Here are some additional tips to help you use your mini pump and CO₂ inflator combo effectively:
- Practice Makes Perfect: Practice using both the mini pump and CO₂ inflator at home before you need them on the road.
- Carry Extra Cartridges: Always carry at least two CO₂ cartridges, in case one fails or you need to make adjustments.
- Use Controlled Bursts: When using a CO₂ inflator, use short, controlled bursts to avoid over-inflation.
- Check Tire Pressure: Always check the tire pressure after inflating, whether using a mini pump or CO₂ inflator.
- Inspect the Tire: Before installing a new tube, carefully inspect the tire for any sharp objects that caused the puncture.
- Seat the Tire Properly: Ensure the tire bead is fully seated in the rim to prevent pinch flats.
- Stay Calm: Getting a flat can be frustrating, but staying calm will help you fix it more efficiently.
Troubleshooting Common Issues
Even with the best preparation, you might encounter some issues. Here’s how to troubleshoot common problems:
| Problem | Possible Cause | Solution |
|---|---|---|
| Pump not inflating tire | Valve not engaged properly | Re-attach pump head, ensure tight seal |
| CO₂ leaking from inflator | Loose connection | Tighten cartridge and inflator head |
| Tire keeps going flat | Sharp object still in tire | Thoroughly inspect tire, remove debris |
| Can’t get tire back on rim | Tire bead not in center of rim | Work tire bead into center channel of rim |
Maintaining Your Pump and Inflator
Proper maintenance will keep your mini pump and CO₂ inflator in good working condition for years.
Mini Pump Maintenance
- Clean Regularly: Wipe down the pump with a clean rag after each use to remove dirt and grime.
- Lubricate: Periodically lubricate the pump’s internal parts with a silicone-based lubricant.
- Check for Wear: Inspect the pump head and seals for wear and tear. Replace as needed.
CO₂ Inflator Maintenance
- Clean Threads: Keep the threads on the inflator head and cartridge clean and free of debris.
- Check Seals: Inspect the seals for cracks or damage. Replace as needed.
- Store Properly: Store the inflator in a dry place to prevent corrosion.
FAQ: Mini Pump and CO₂ Inflator Combos
Here are some frequently asked questions about using mini pumps and CO₂ inflators:
- Q: Can I use a CO₂ inflator on any type of bike tire?
- A: Yes, CO₂ inflators can be used on most bike tires, including road, mountain, and hybrid tires. Just make sure the inflator is compatible with your valve type (Presta or Schrader).
- Q: How many times can I use a CO₂ cartridge?
- A: Each CO₂ cartridge is for single use only. Once it’s been punctured, it will empty completely. Always carry extra cartridges.
- Q: Is it safe to leave CO₂ in my tires long-term?
- A: CO₂ molecules are smaller than air, so they can permeate the tire more quickly. It’s best to replace CO₂ with regular air as soon as possible, especially for long rides or storage.
- Q: What size CO₂ cartridge should I use?
- A: For road bikes, 16g cartridges are usually sufficient. For mountain bikes with larger tires, 20g or 25g cartridges may be necessary.
- Q: Can I use a mini pump to inflate a completely flat tire?
- A: Yes, you can, but it will take some time and effort. Mini pumps are best for topping off pressure or inflating tires after a minor leak. For completely flat tires, a CO₂ inflator is faster.
- Q: How do I know if my tire is properly inflated?
- A: Check the recommended pressure range printed on the tire sidewall (usually in PSI or BAR). Use a pressure gauge to ensure you’re within the recommended range.
- Q: What’s the difference between Presta and Schrader valves?
- A: Presta valves are narrow and have a locking nut at the tip. Schrader valves are wider and similar to those found on car tires. Most high-performance bikes use Presta valves, while Schrader valves are common on recreational bikes.
Conclusion
Using a mini pump with a CO₂ inflator combo is a smart way to be prepared for flat tires on the road. By understanding the benefits of each tool, choosing the right equipment, and following these step-by-step instructions, you can confidently handle any flat and get back to enjoying your ride. Remember to practice, carry essential tools, and maintain your equipment for reliable performance. Happy cycling!


