
Fanttik X9 Ace Mini Bike Pump: Is It That Good?
The Fanttik X9 Ace Mini Bike Pump is a compact, powerful inflator perfect for on-the-go cyclists. This guide covers everything from initial setup to troubleshooting common issues, ensuring you’re always ready to inflate your tires quickly and efficiently. We’ll walk you through each step, making it easy to keep your tires at the optimal pressure.
Ever been stuck on the road with a flat tire and a pump that just won’t cooperate? It’s a cyclist’s worst nightmare! But don’t worry, the Fanttik X9 Ace Mini Bike Pump is designed to prevent exactly that. This little gadget packs a punch, making tire inflation quick and hassle-free. Whether you’re a seasoned rider or just starting out, understanding how to use and maintain your pump is crucial.
In this guide, we’ll break down everything you need to know about the Fanttik X9 Ace. From setting it up for the first time to mastering its features and keeping it in top shape, we’ve got you covered. Let’s get started and make sure you’re always ready to roll!
Unboxing and Initial Setup
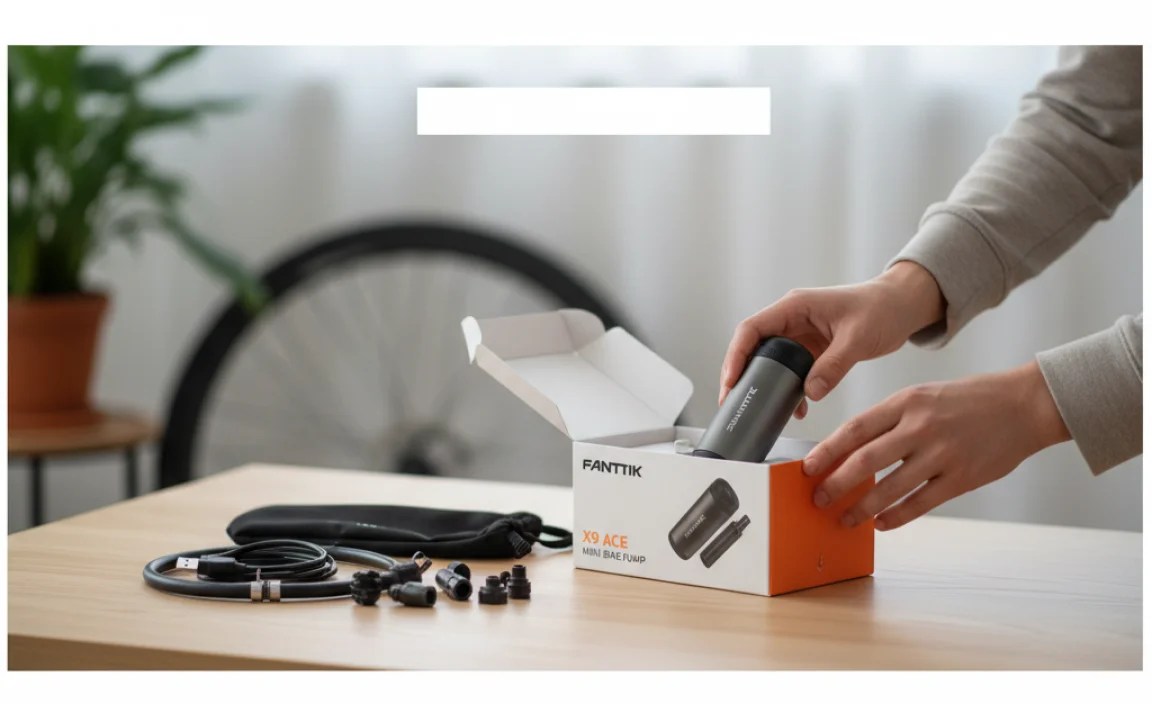
Before you hit the road, let’s get your Fanttik X9 Ace Mini Bike Pump ready. Here’s what you need to do right out of the box.
What’s in the Box?
First, let’s make sure you have everything. Your Fanttik X9 Ace package should include:
- The Fanttik X9 Ace Mini Bike Pump
- A Presta & Schrader Valve Compatible Head
- A USB-C charging cable
- A mounting bracket with screws
- A user manual
If anything is missing, contact Fanttik customer support right away.
Charging the Pump
The Fanttik X9 Ace needs to be charged before its first use. Here’s how:
- Locate the USB-C charging port on the pump.
- Plug in the provided USB-C cable.
- Connect the other end of the cable to a USB power source (like a wall adapter or computer).
- Let the pump charge fully. The indicator light will usually turn off or change color when charging is complete. This may take a few hours.
Pro Tip: Fully charging the pump before your first ride ensures it’s ready when you need it most.
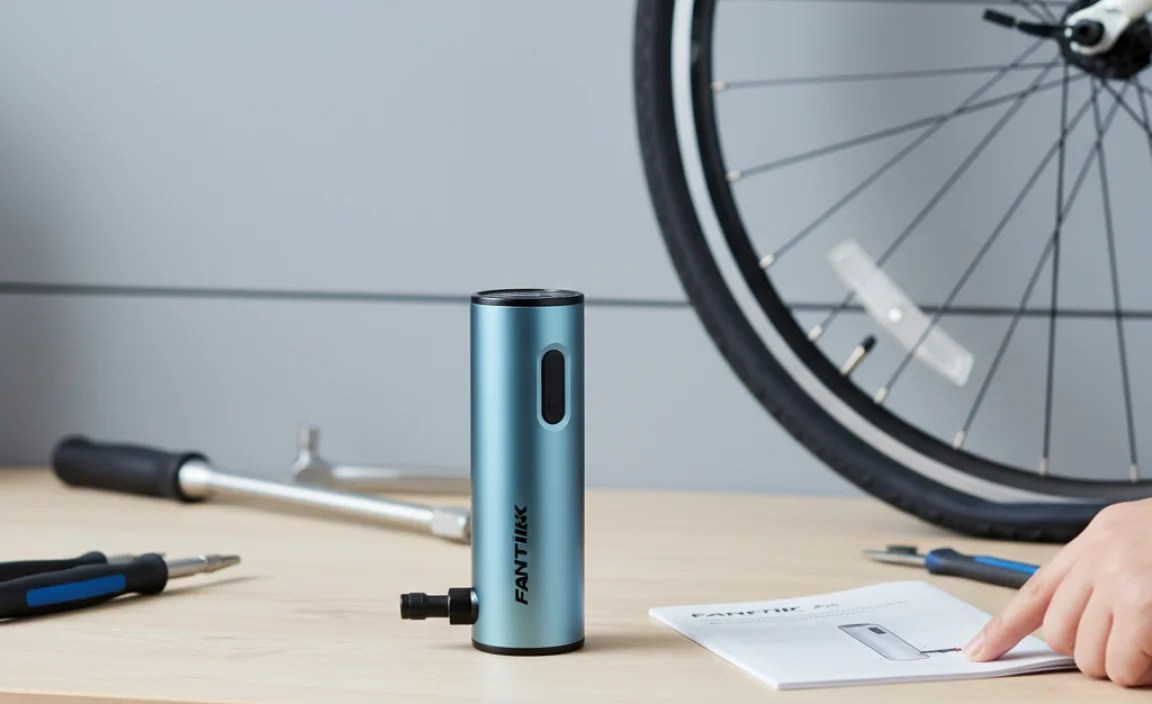
Understanding the Controls and Display
Familiarize yourself with the pump’s controls and display. This will make using it much easier on the road.
- Power Button: Turns the pump on and off.
- “+” and “-” Buttons: Adjust the target pressure.
- Unit Button: Switches between pressure units (PSI, BAR, KPA, KG/CM²).
- LCD Display: Shows the current pressure, target pressure, and battery level.
Step-by-Step Guide to Inflating Your Tires

Now that your pump is charged and you know the controls, let’s inflate some tires! Here’s a detailed guide.
Step 1: Prepare the Pump and Tire Valve
First, make sure both your pump and tire valve are ready.
- Turn on the Fanttik X9 Ace by pressing the power button.
- Remove the valve cap from your tire.
- Determine whether you have a Presta or Schrader valve.
Step 2: Connect the Pump to the Valve
The Fanttik X9 Ace is designed to work with both Presta and Schrader valves. Here’s how to connect it:
- For Schrader Valves: Simply press the pump head onto the valve. Make sure it’s a snug fit to prevent air leaks.
- For Presta Valves: Unscrew the valve nut slightly. Then, press the pump head onto the valve. Again, ensure a tight seal.
Pro Tip: A hissing sound usually means the connection isn’t tight enough. Readjust until the seal is secure.
Step 3: Set the Target Pressure
Setting the correct pressure is crucial for optimal performance and safety. Check your tire’s sidewall for the recommended PSI range.
- Use the “+” and “-” buttons to set the target pressure on the pump’s display.
- Choose the correct pressure unit using the “Unit” button. Most tires use PSI, but double-check.
Here’s a quick reference table for common tire pressures:
| Tire Type | Recommended PSI Range |
|---|---|
| Road Bike Tires | 80-130 PSI |
| Mountain Bike Tires | 25-35 PSI |
| Hybrid Bike Tires | 40-70 PSI |
| Gravel Bike Tires | 30-60 PSI |
Step 4: Start Inflating
Now, let the Fanttik X9 Ace do its job!
- Press the power button again to start the inflation process.
- The pump will automatically stop when it reaches the target pressure.
- Keep an eye on the display to monitor the pressure as it increases.
Step 5: Disconnect and Secure the Valve
Once the pump stops, carefully disconnect it from the valve.
- For both Schrader and Presta valves, gently remove the pump head.
- If you have a Presta valve, tighten the valve nut.
- Replace the valve cap to keep dirt and debris out.
Pro Tip: After inflating, double-check the tire pressure with a separate gauge for accuracy.
Mounting the Pump on Your Bike

The Fanttik X9 Ace comes with a mounting bracket so you can take it on every ride. Here’s how to install it.
Step 1: Choose a Location
Decide where you want to mount the pump. Common spots include:
- The bike frame’s down tube
- The seat tube
- Underneath the water bottle cage
Make sure the location doesn’t interfere with your pedaling or other bike components.
Step 2: Attach the Bracket
- Position the mounting bracket on the chosen location.
- Use the provided screws to secure the bracket to the bike frame.
- Tighten the screws firmly, but don’t overtighten to avoid damaging the frame.
Step 3: Secure the Pump
- Slide the Fanttik X9 Ace into the mounting bracket.
- Ensure it clicks into place and feels secure.
Pro Tip: Periodically check the bracket and screws to make sure they’re still tight.
Troubleshooting Common Issues
Even with a great pump like the Fanttik X9 Ace, you might run into occasional issues. Here’s how to troubleshoot them.
Problem: Pump Won’t Turn On
Possible Causes:
- Low battery
- Pump not properly charged
- Faulty power button
Solutions:
- Charge the pump fully.
- Try a different USB cable and power source.
- If it still doesn’t turn on, contact Fanttik customer support.
Problem: Pump Isn’t Inflating the Tire
Possible Causes:
- Incorrect valve connection
- Target pressure set too low
- Air leak
Solutions:
- Ensure the pump head is securely attached to the valve.
- Double-check the target pressure and adjust if necessary.
- Listen for air leaks and readjust the connection.
Problem: Pump Stops Inflating Before Reaching Target Pressure
Possible Causes:
- Low battery
- Overheating
Solutions:
- Charge the pump.
- Let the pump cool down before trying again.
Problem: Display Isn’t Working
Possible Causes:
- Low battery
- Malfunctioning display
Solutions:
- Charge the pump.
- If the display still doesn’t work, contact Fanttik customer support.
Maintenance Tips for Longevity
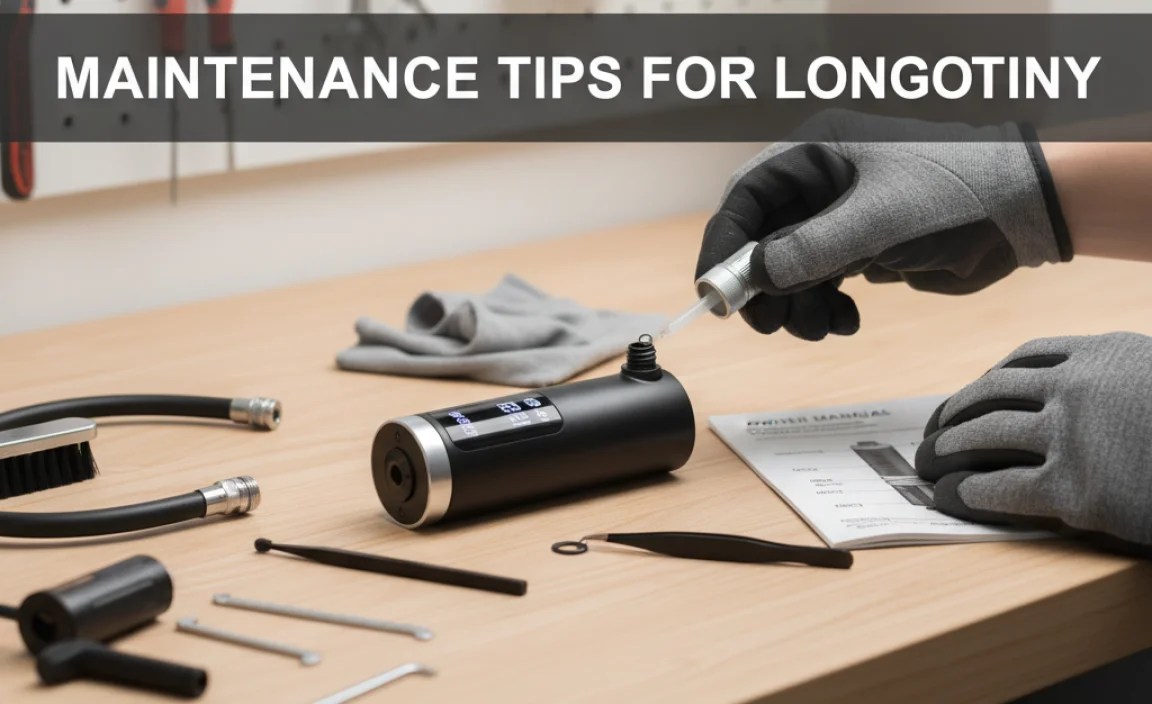
To keep your Fanttik X9 Ace in top condition, follow these maintenance tips.
Regular Cleaning
Keep the pump clean to prevent dirt and debris from affecting its performance.
- Wipe down the pump with a damp cloth after each use.
- Pay special attention to the pump head and valve connection.
- Use a small brush to clean any dirt from the crevices.
Battery Care
Proper battery care extends the life of your pump.
- Avoid fully discharging the battery. Charge it regularly.
- Store the pump in a cool, dry place when not in use.
- Don’t leave the pump in direct sunlight or extreme temperatures.
Checking for Air Leaks
Regularly check for air leaks to ensure efficient inflation.
- Listen for hissing sounds when the pump is connected to the valve.
- Inspect the pump head and hose for cracks or damage.
- Replace any worn or damaged parts.
Why Choose the Fanttik X9 Ace Mini Bike Pump?
The Fanttik X9 Ace stands out for several reasons. Here’s a comparison against other mini bike pumps.
| Feature | Fanttik X9 Ace | Typical Mini Pump |
|---|---|---|
| Inflation Speed | Fast | Slow |
| Pressure Accuracy | High | Low |
| Portability | Excellent | Good |
| Ease of Use | Very Easy | Moderate |
| Additional Features | Digital display, auto shut-off | None |
The Fanttik X9 Ace offers a blend of convenience, power, and accuracy that traditional mini pumps can’t match. Its digital display and automatic shut-off features make it incredibly user-friendly. For more information on portable inflators, resources like BikeRadar’s guide to bike pumps offer additional insights.
FAQ: Your Questions Answered
Here are some frequently asked questions about the Fanttik X9 Ace Mini Bike Pump.
Q: Can the Fanttik X9 Ace be used for car tires?
A: While it can technically inflate car tires, it’s primarily designed for bicycle tires due to its smaller size and lower maximum pressure. It might take a very long time to inflate a car tire significantly.
Q: How long does the battery last on a full charge?
A: The battery life varies depending on usage, but a fully charged Fanttik X9 Ace can typically inflate 4-6 tires. Always charge it before long rides to be safe.
Q: Is the pump compatible with tubeless tires?
A: Yes, the Fanttik X9 Ace works with tubeless tires. Just ensure the valve is properly seated and the tire bead is correctly set before inflating.
Q: What do I do if the pump gets wet?
A: Turn it off immediately and dry it thoroughly. Avoid using it until it’s completely dry to prevent electrical damage.
Q: How accurate is the pressure reading on the display?
A: The pressure reading is generally accurate, but it’s always a good idea to double-check with a separate tire pressure gauge for precise measurements.
Q: Can I change the pressure unit while inflating?
A: No, you should set the desired pressure unit before starting the inflation process. Changing it mid-inflation might cause inaccurate readings.
Q: Where can I find replacement parts for the pump?
A: Contact Fanttik customer support or check their website for replacement parts and accessories.
Conclusion
The Fanttik X9 Ace Mini Bike Pump is a game-changer for cyclists who value convenience and reliability. Its ease of use, compact design, and powerful performance make it an essential tool for any ride. By following this guide, you’ll be well-equipped to handle any inflation needs on the road. Remember to keep your pump clean, maintain the battery, and regularly check for leaks to ensure it lasts for years to come. With the Fanttik X9 Ace, you can ride with confidence, knowing you’re always prepared for a quick and easy tire inflation. Happy cycling!


