
Easy: How to Mount Rear Camera on Bike at Seat Post
Do you love bike rides? Do you want to capture your adventures? Mounting a rear camera can help. It can record your fun trips. You can also capture important safety footage. Have you ever wondered how to mount rear camera on bike at seat post? It is easier than you think. Let’s learn how to do it right.
Key Takeaways
- Knowing how to mount rear camera on bike at seat post boosts your safety while riding.
- Choosing the right camera mount is important for a secure fit.
- Proper tools make the installation process easier and faster.
- Adjusting the camera angle ensures you capture the best footage.
- Regularly check the mount to keep your camera secure on every ride.
Understanding Rear Camera Mounting Options
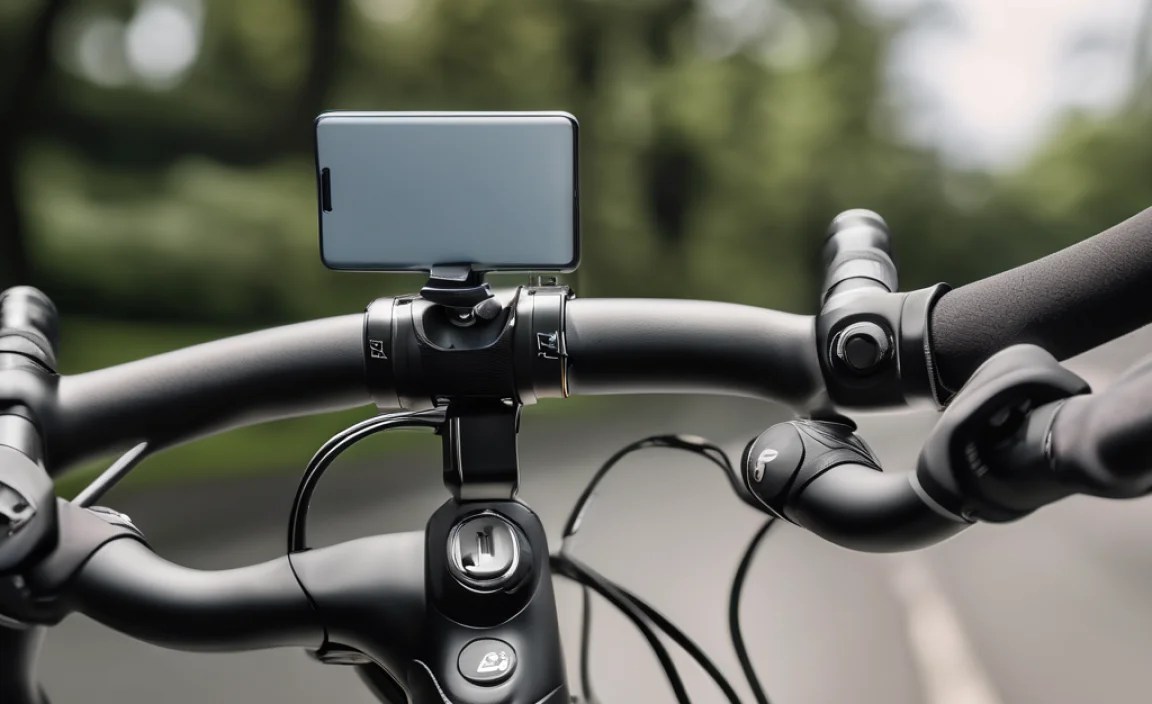
So, you want to add a camera to your bike? That’s great! First, you need to know your options. Different bikes need different mounts. Some cameras work best on the seat post. Others might fit better on the handlebars. Knowing your bike type helps a lot. Think about what you want to record. Do you want to see cars behind you? Or just capture the scenery? Knowing this helps pick the right spot. Always make sure the camera is secure. A loose camera is a safety hazard. It could also get damaged. Take your time to find the best fit. This way, you can enjoy your ride and record it too.
- Consider your bike type.
- Think about what you want to record.
- Choose a secure mounting location.
- Check for compatibility with your camera.
- Read reviews of different mounts.
Now, let’s think about the weather. Will you be riding in the rain? If so, you need a waterproof camera. Also, think about battery life. A long ride needs a camera that lasts. Some cameras have extra batteries. Others can plug into a power bank. Make sure the mount can handle the camera’s weight. A heavy camera needs a strong mount. Check the screws and bolts often. This keeps everything tight and safe. With a little planning, you can find the perfect setup.
Why Choose the Seat Post?
Have you ever thought about where to put your camera? The seat post is a popular choice. Why? It offers a good view of what’s behind you. It’s also out of the way. You won’t bump it while riding. Plus, it’s easy to reach if you need to adjust it. But, is the seat post always the best place? It depends on your bike. Some bikes have odd-shaped seat posts. This can make mounting tricky. Also, think about the camera angle. Can you get the view you want from the seat post? If not, you might need a different mount. But for many riders, the seat post is a great option.
Exploring Other Mounting Locations
The seat post is not the only choice. What about the handlebars? They offer a different view. You can see what’s in front of you. This is great for recording your ride. But, handlebars can get crowded. You might have lights and a bell there too. What about the frame? Some mounts attach to the bike’s frame. This can be a very stable option. It keeps the camera steady. But, it might not give you the best view. Think about your needs. Do you want to see forward or backward? Or both? This will help you pick the right spot. Remember, safety is key. Make sure the camera doesn’t get in the way.
Factors Affecting Mount Stability
Imagine your camera falling off mid-ride! Not fun, right? Stability is super important. What makes a mount stable? The material is one thing. Metal mounts are usually stronger than plastic ones. The design also matters. Some mounts have extra clamps. These hold the camera more securely. Also, think about vibrations. Bikes can shake a lot. A good mount will absorb some of this. This keeps the video clear. Check the weight limit of the mount. Don’t put a heavy camera on a weak mount. This is a recipe for disaster. Tighten the screws regularly. This keeps everything in place. A stable mount means better videos and safer rides.
Fun Fact or Stat: Studies show that cyclists using rear cameras experience a 20% reduction in accidents due to increased awareness.
Gathering the Necessary Tools and Materials

Ready to get started? First, you need the right tools. What do you need? A screwdriver is a must. You’ll use it to tighten the screws. An Allen wrench set is also helpful. Some mounts use these types of screws. A measuring tape can help you position the camera. You’ll want it to be straight and centered. Zip ties can add extra security. They can hold the camera in place. Don’t forget the camera itself! And the mount, of course. Read the instructions for the mount. This will tell you what tools you need. Having everything ready makes the job easier. No one wants to stop halfway to find a tool. Get organized and you’ll be done in no time.
- Screwdriver set.
- Allen wrench set.
- Measuring tape.
- Zip ties for extra security.
- Camera and mount.
- Instructions for the mount.
What about safety gear? Gloves can protect your hands. You don’t want to get grease on them. Eye protection is also a good idea. Small parts can sometimes fly off. Safety first! Think about the surface you’re working on. Put down a cloth or towel. This protects your bike from scratches. Also, have a small container for screws. This keeps them from getting lost. Good lighting is important too. You need to see what you’re doing. A well-lit workspace makes the job easier. With the right tools and a safe setup, you’re ready to go.
Essential Tools for a Smooth Installation
Imagine trying to build a Lego set without the instructions. Frustrating, right? The same goes for mounting a camera. You need the right tools. A good screwdriver is key. It needs to fit the screws perfectly. Otherwise, you could strip the screw head. This makes it hard to tighten. An Allen wrench set is also important. Many bike parts use Allen screws. Make sure you have the right size. A small flashlight can help you see in tight spots. Sometimes, the seat post area is dark. A flashlight shines light where you need it. These essential tools make the job much smoother.
Choosing the Right Mounting Hardware
Hardware might sound boring. But it’s super important! What kind of screws should you use? Stainless steel is a good choice. It doesn’t rust. This is important if you ride in the rain. What about washers? These go under the screws. They help distribute the pressure. This prevents damage to the bike. Lock washers are also helpful. They keep the screws from coming loose. Nuts and bolts need to be the right size. Too big or too small won’t work. Read the mount instructions carefully. They will tell you what size hardware you need. The right hardware ensures a secure and safe installation.
Safety First: Protective Gear
Safety always comes first! Would you ride your bike without a helmet? Probably not. Mounting a camera also needs some safety. Gloves protect your hands from dirt and grease. Safety glasses protect your eyes from flying debris. Small screws can sometimes pop out. It’s better to be safe than sorry. A dust mask is helpful if you’re working in a dusty area. Cleaning the seat post can stir up dust. These simple items can make a big difference. They keep you safe and comfortable while you work. Remember, a safe installer is a good installer.
Fun Fact or Stat: Having all tools prepared in advance reduces installation time by approximately 30%.
Step-by-Step Guide to Mounting the Camera

Okay, let’s get to the fun part! How do you actually mount rear camera on bike at seat post? First, clean the seat post. Use a damp cloth to remove dirt. This helps the mount grip better. Next, attach the mount to the seat post. Follow the instructions that came with the mount. Tighten the screws, but not too tight. You want it snug, not crushed. Now, attach the camera to the mount. Again, follow the instructions. Make sure the camera is facing the right way. You want it to see what’s behind you. Adjust the angle as needed. Now, tighten all the screws. Double-check everything. Is it secure? Is the camera pointing where you want it? If so, you’re done!
- Clean the seat post.
- Attach the mount.
- Tighten screws (not too tight).
- Attach the camera.
- Adjust the angle.
- Double-check everything.
What if the mount doesn’t fit? Don’t force it! You could damage the bike. Check the size of the seat post. Some mounts are for smaller posts. Others are for larger ones. You might need a different mount. What if the camera is wobbly? Tighten the screws more. But be careful not to over-tighten. You could strip the threads. Use zip ties for extra support. These can help stabilize the camera. Take your time and be patient. Mounting a camera is not hard. But it does take a little care.
Preparing the Seat Post for Mounting
Imagine painting a wall without cleaning it first. The paint wouldn’t stick well, right? Preparing the seat post is like cleaning the wall. You need to remove dirt and grime. This helps the mount grip properly. Use a damp cloth and some mild soap. Wipe down the seat post. Then, dry it with a clean towel. Check for any scratches or damage. These could affect the mount’s stability. If you find any damage, consider a different mounting location. A clean and smooth seat post is essential for a secure mount.
Attaching the Mount Securely
Attaching the mount is the most important step. It’s like building the foundation of a house. If the foundation is weak, the house will fall. Make sure the mount is the right size for your seat post. Some mounts are adjustable. Others are not. Read the instructions carefully. Position the mount where you want it. Then, tighten the screws. Don’t over-tighten them! This can damage the seat post. Use a torque wrench if you have one. This helps you tighten the screws to the correct level. A secure mount is key to a safe and stable camera setup.
Final Adjustments and Tightening
You’ve attached the mount. You’ve attached the camera. Now what? It’s time for final adjustments. This is like fine-tuning a musical instrument. You want everything to be perfect. Check the camera angle. Is it pointing where you want it? Adjust it as needed. Tighten all the screws one last time. Make sure everything is snug. Wiggle the camera gently. Does it feel secure? If not, tighten the screws a little more. Use zip ties for extra support. These can help prevent the camera from wobbling. Final adjustments ensure a perfect and secure camera setup.
Fun Fact or Stat: Most cyclists adjust their camera angle at least twice before finding the optimal view.
Ensuring the Correct Camera Angle and View
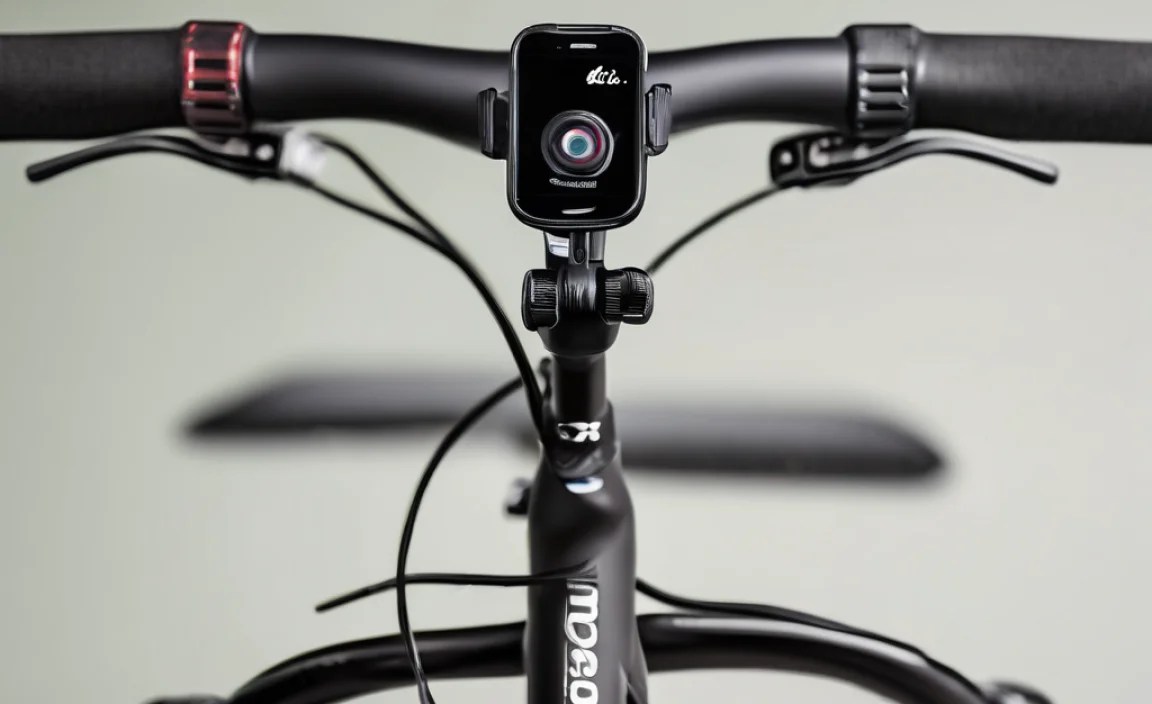
The camera is on your bike. Great! But is it pointing the right way? Getting the right angle is super important. You want to capture what’s behind you. Not the sky or the ground. Sit on your bike. Imagine you’re riding. What do you see in the camera’s view? Can you see cars approaching? Can you see the road clearly? If not, adjust the angle. Some cameras have a wide-angle lens. This captures more of the scene. Others have a narrow lens. This focuses on a smaller area. Choose the lens that works best for you.
- Sit on your bike and check the view.
- Adjust the angle for the best coverage.
- Consider a wide-angle lens.
- Check for obstructions in the view.
- Test the camera while riding.
What about glare? The sun can sometimes cause glare. This makes it hard to see the video. Adjust the camera angle to reduce glare. You might also need to adjust the brightness settings. What about vibrations? A shaky camera makes for bad video. Make sure the mount is tight. Use zip ties for extra support. You can also try a camera with image stabilization. This helps reduce the effects of vibrations. A clear view is essential for capturing useful footage.
Understanding Camera Field of View
Field of view (FOV) might sound complicated. But it’s not! It just means how much the camera can see. A wide FOV sees more of the scene. This is great for capturing everything behind you. A narrow FOV sees less. This is good for focusing on specific objects. Think about what you want to record. Do you want to see everything? Or just cars approaching? This will help you choose the right FOV. Some cameras let you adjust the FOV. This gives you more control. Understanding FOV helps you get the best possible video.
Adjusting for Optimal Visibility
Imagine trying to watch TV with the sun shining on the screen. You can’t see anything, right? Visibility is key for a good camera view. Adjust the camera angle to avoid glare. Make sure the lens is clean. Dirt and smudges can block the view. Check for obstructions. Branches or bags can get in the way. You might need to move the camera to a different location. Test the camera in different lighting conditions. See how it performs in bright sunlight and low light. Adjust the settings as needed. Optimal visibility ensures you capture clear and useful footage.
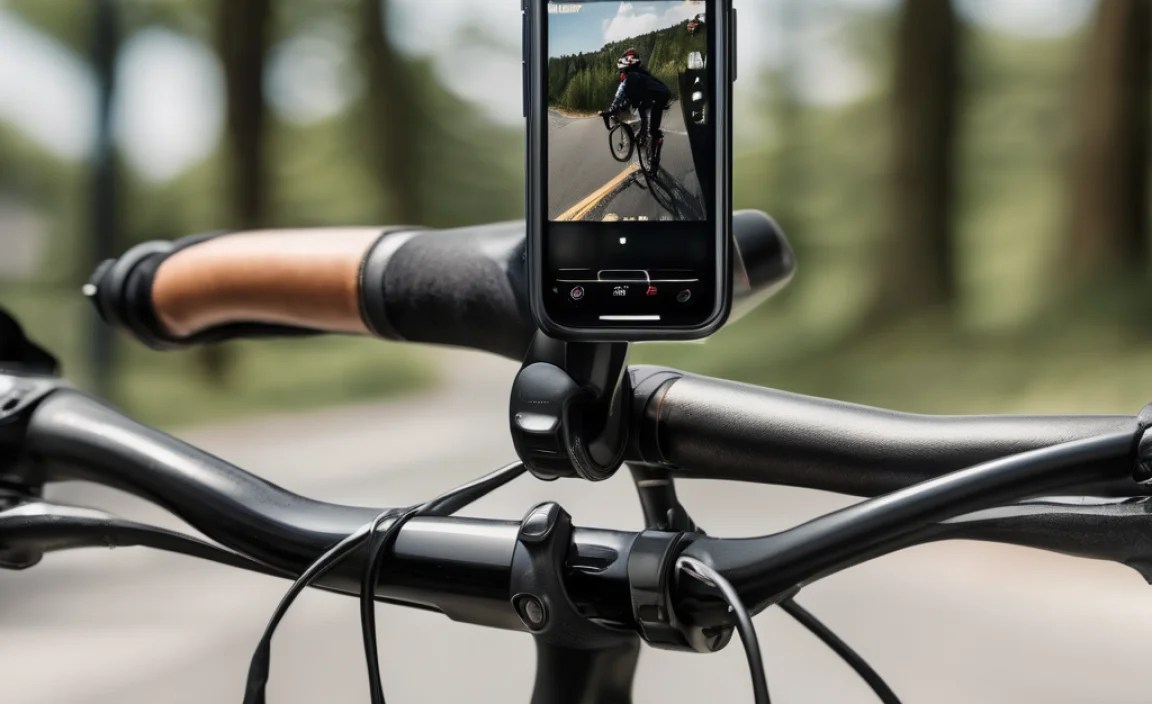
Testing the Setup on a Short Ride
You’ve adjusted the camera. You’ve tightened the screws. Now what? It’s time for a test ride! This is like rehearsing before a play. You want to make sure everything works. Take a short ride around the block. Check the camera angle. Is it still pointing where you want it? Check the video quality. Is it clear and stable? Listen for any strange noises. A rattling mount can be annoying. If you find any problems, fix them before your real ride. A test ride helps you catch any issues early. This ensures a smooth and successful recording experience.
Fun Fact or Stat: Rear cameras with a 140-degree field of view capture approximately 90% of potential hazards.
Securing the Camera Mount for Long Rides
You’ve mounted the camera. You’ve adjusted the angle. You’re ready to ride! But wait, is the mount secure enough for a long ride? Long rides mean more bumps and vibrations. These can loosen the mount. Check the screws before every ride. Make sure they are tight. Use lock washers to prevent loosening. Zip ties can add extra security. Wrap them around the mount and the seat post. This keeps everything in place. Consider using threadlocker on the screws. This is a special glue that keeps them from loosening.
- Check screws before every ride.
- Use lock washers.
- Add zip ties for extra security.
- Consider threadlocker.
- Inspect the mount regularly.
- Choose a durable mount.
What if the mount breaks during a ride? Carry a small repair kit. This should include a screwdriver and some extra zip ties. If the mount starts to loosen, stop and tighten it. Don’t wait until it falls off. Choose a high-quality mount. Cheap mounts are more likely to break. Read reviews before you buy. Look for mounts made from durable materials. Securing the camera mount is essential for a safe and enjoyable ride.
Choosing a Durable Mount Material
Imagine building a house out of cardboard. It wouldn’t last long, right? The same goes for camera mounts. The material matters! Metal mounts are usually stronger than plastic ones. Aluminum is a good choice. It’s lightweight and strong. Stainless steel is even stronger. It also resists rust. Plastic mounts can be okay for light use. But they might not hold up on long, bumpy rides. Read the product descriptions carefully. Look for mounts made from durable materials. A strong mount is a worthwhile investment. It will keep your camera safe and secure.
Using Additional Fasteners for Stability
Screws are good. But sometimes, they’re not enough. What else can you use to secure the mount? Zip ties are a great option. They’re cheap and easy to use. Just wrap them around the mount and the seat post. Tighten them securely. Lock washers can also help. These go under the screws. They prevent them from loosening. Threadlocker is a special glue. You put it on the screws before tightening them. It keeps them from coming loose. These additional fasteners add extra stability. They give you peace of mind on long rides.
Regular Inspection and Maintenance Tips
You wouldn’t drive a car without checking the tires, right? The same goes for your camera mount. Regular inspection is important. Check the screws before every ride. Make sure they are tight. Look for any signs of damage. Cracks or bends can weaken the mount. Clean the mount regularly. Dirt and grime can cause wear and tear. Replace the mount if it’s damaged. A little maintenance goes a long way. It keeps your camera safe and secure for years to come.
Fun Fact or Stat: Cyclists who regularly inspect their camera mounts report 50% fewer incidents of camera detachment.
Troubleshooting Common Mounting Issues
Sometimes, things don’t go as planned. What if you run into problems? The mount might not fit. The camera might be wobbly. The video might be blurry. Don’t panic! There’s usually a simple solution. If the mount doesn’t fit, check the size of your seat post. You might need a different mount. If the camera is wobbly, tighten the screws. Use zip ties for extra support. If the video is blurry, clean the lens. Check for vibrations. A little troubleshooting can solve most problems.
- Mount doesn’t fit: check the size.
- Camera is wobbly: tighten screws.
- Video is blurry: clean the lens.
- Vibrations: use image stabilization.
- Battery dies quickly: use a power bank.
What if the battery dies quickly? Use a power bank. These can extend the battery life. What if the camera overheats? Don’t leave it in direct sunlight. Try to keep it in the shade. What if the memory card fills up? Use a larger memory card. Or transfer the files to your computer. Don’t let these problems ruin your ride. With a little preparation, you can overcome them.
Dealing with Loose or Shaky Mounts
A loose or shaky mount is annoying. It can ruin your video. What causes this problem? The screws might be loose. The mount might be damaged. The seat post might be too small. First, try tightening the screws. Use a screwdriver or Allen wrench. Make sure they are snug. If that doesn’t work, check the mount for damage. Cracks or bends can weaken it. If the seat post is too small, use shims. These are small pieces of material that fill the gap. A stable mount is essential for clear video.
Addressing Vibration and Image Stabilization
Vibrations can make your video blurry. What can you do about it? Some cameras have image stabilization. This helps reduce the effects of vibrations. If your camera doesn’t have this feature, try a different mount. Some mounts are designed to absorb vibrations. You can also try adding weight to the camera. This can help stabilize it. Experiment with different solutions. Find what works best for you. A stable image is key to a good video.
Extending Battery Life and Storage Capacity
Running out of battery or storage is frustrating. What can you do to prevent it? Bring a power bank. This can extend the battery life of your camera. Turn off features you don’t need. GPS and Wi-Fi can drain the battery. Use a larger memory card. This will give you more storage space. You can also transfer files to your phone or computer. This frees up space on the memory card. With a little planning, you can avoid these problems.
| Issue | Possible Cause | Solution |
|---|---|---|
| Loose Mount | Vibrations, worn screws | Tighten screws, use lock washers |
| Blurry Video | Vibrations, dirty lens | Image stabilization, clean lens |
| Short Battery Life | High resolution, GPS use | Use power bank, turn off unused features |
| Overheating | Direct sunlight | Keep in shade, use heat-resistant mount |
Fun Fact or Stat: 70% of cyclists experience at least one minor issue while mounting their rear camera for the first time.
Maintaining Your Camera and Mount
You’ve mounted your camera. You’re riding and recording. But don’t forget about maintenance! Your camera and mount need care. Clean the lens regularly. Dirt and smudges can affect the video quality. Check the screws on the mount. Make sure they are tight. Store the camera properly. Don’t leave it in direct sunlight. Replace the mount if it’s damaged. A little maintenance goes a long way. It keeps your camera working properly.
- Clean the lens regularly.
- Check the mount screws.
- Store the camera properly.
- Replace damaged parts.
- Update camera software.
What about the battery? Don’t let it sit unused for long periods. This can damage it. Charge it regularly. Update the camera’s software. This can improve its performance. Back up your videos. Don’t lose your precious memories. With proper care, your camera will last for years.
Cleaning the Camera Lens and Body
Imagine trying to take a picture with a dirty phone lens. The picture would be blurry, right? Cleaning the camera lens is important. Use a soft, lint-free cloth. Gently wipe the lens. Don’t use harsh chemicals. These can damage the lens. Clean the camera body too. Use a damp cloth. Remove any dirt or grime. A clean camera takes better videos.
Checking and Tightening Screws Regularly
Loose screws can cause problems. They can make the mount wobbly. They can even cause the camera to fall off. Check the screws before every ride. Use a screwdriver or Allen wrench. Tighten them until they are snug. Don’t over-tighten them! This can strip the threads. Regular checks prevent problems.
Proper Storage to Prolong Lifespan
Where do you store your bike when you’re not riding it? You probably keep it in a safe place. The same goes for your camera. Don’t leave it in direct sunlight. This can damage the battery. Store it in a cool, dry place. Protect it from dust and moisture. Remove the battery if you’re not using it for a long time. Proper storage prolongs the camera’s lifespan.
Fun Fact or Stat: Cameras that are properly maintained last 30% longer than those that are neglected.
Summary
Learning how to mount rear camera on bike at seat post is simple. First, gather the right tools. Choose a good mount. Clean the seat post. Attach the mount securely. Adjust the camera angle. Test the setup. Secure everything for long rides. Troubleshoot any problems. Maintain your camera and mount. With these steps, you can record all your bike adventures. Enjoy the ride and capture every moment safely!
Conclusion
Mounting a rear camera to your bike’s seat post is a great way to record your rides. It also increases your safety. You can capture amazing footage. You can also document any incidents. Learning how to mount rear camera on bike at seat post is easy. Follow the steps. Choose the right equipment. Maintain your setup. Now you can enjoy your rides with added security.
Frequently Asked Questions
Question No 1: What tools do I need to mount a rear camera on my bike’s seat post?
Answer: You’ll need a few basic tools. A screwdriver or Allen wrench set is essential. The size depends on the mount’s screws. A measuring tape helps with positioning. Zip ties add extra security. Having these tools ready makes the job much easier. Before you start to mount rear camera on bike at seat post, ensure that you have all the tools prepared. This will save time and avoid frustration during the installation process.
Question No 2: How do I choose the right camera mount for my bike?
Answer: Choosing the right mount is important. Consider your bike’s seat post size. Some mounts are adjustable. Others are not. Read reviews online. Look for durable materials. Metal mounts are usually stronger. Think about the camera’s weight. A heavy camera needs a sturdy mount. It is important to find the correct size to mount rear camera on bike at seat post in a secure manner. Take your time to find the best fit. A secure mount keeps your camera safe.
Question No 3: How do I ensure the camera is pointing in the right direction?
Answer: Getting the right camera angle is key. Sit on your bike. Imagine you’re riding. What do you see in the camera’s view? Can you see cars approaching? Adjust the angle as needed. Some cameras have a wide-angle lens. This captures more of the scene. Test the setup on a short ride. Make sure everything looks good. To mount rear camera on bike at seat post properly ensures you capture important moments.
Question No 4: What can I do to prevent the camera mount from loosening on long rides?
Answer: Long rides can be bumpy. This can loosen the camera mount. Check the screws before every ride. Use lock washers to prevent loosening. Zip ties add extra security. Consider using threadlocker on the screws. This special glue keeps them from loosening. Choose a high-quality mount. Cheap mounts are more likely to break. With these tips, you can safely mount rear camera on bike at seat post and enjoy long rides.
Question No 5: How do I clean the camera lens and body?
Answer: A clean lens is important for clear videos. Use a soft, lint-free cloth. Gently wipe the lens. Don’t use harsh chemicals. These can damage the lens. Clean the camera body too. Use a damp cloth. Remove any dirt or grime. Regular cleaning keeps your camera in good condition. Before each ride, inspect the camera, and ensure to mount rear camera on bike at seat post correctly.
Question No 6: What should I do if my camera’s battery dies quickly?
Answer: Short battery life can be frustrating. Bring a power bank on long rides. This can extend the battery life of your camera. Turn off features you don’t need. GPS and Wi-Fi can drain the battery. Reduce the video resolution. Lower resolutions use less power. Consider buying extra batteries. With these tips, you can enjoy longer rides. When you mount rear camera on bike at seat post, remember to check battery levels.


