
How to Fix Adapter Leak Between Hose and Chuck? Easy Fix!
How to Fix an Adapter Leak Between Hose and Chuck

Quick Summary: Stop annoying air leaks between your bike pump’s hose and chuck with a few simple steps. Usually, it’s a loose connection or worn-out rubber O-ring. Tighten connections with a wrench, and replace any damaged O-rings. Clean the adapter and chuck threads regularly for a better seal. With these easy fixes, you’ll be back to pumping up tires in no time!
Is your bike pump leaking air where the hose meets the chuck? It’s a common problem that can be super frustrating, especially when you’re trying to get your tires inflated just right. The good news is that fixing this type of leak is often quick and easy. This guide will walk you through the steps to identify the cause of the leak and get it sealed up tight. We’ll cover everything from tightening connections to replacing worn-out parts, so you can get back to enjoying your ride.
Identifying the Leak
Before you start wrenching, let’s figure out exactly where the leak is coming from. This will save you time and effort.
Listen Closely
When you attach the chuck to your tire valve and start pumping, listen carefully. Can you hear air escaping from the connection point between the hose and the chuck? This is your primary clue.
Feel for Air
With the pump engaged, gently run your fingers around the adapter where the hose and chuck connect. Can you feel air rushing out? Even a slight breeze indicates a leak.
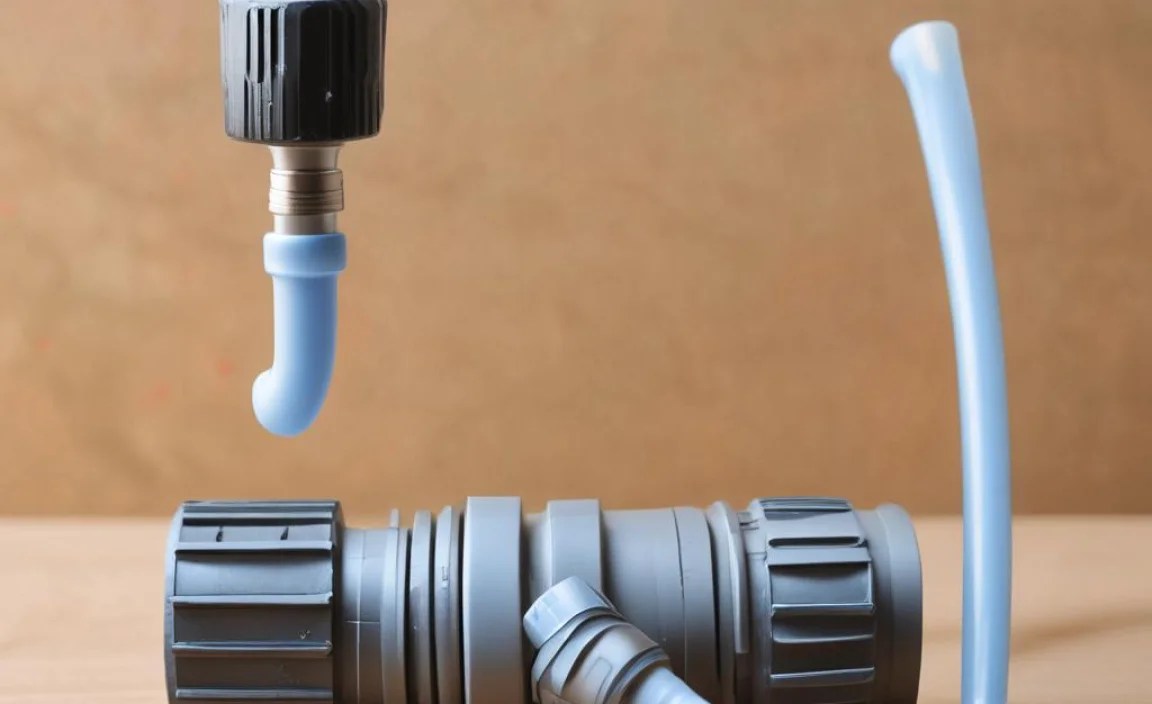
Check the O-Ring
The O-ring is a small rubber ring that creates a seal between the hose and the chuck. Examine it closely for cracks, tears, or general wear and tear. A damaged O-ring is a common cause of leaks.
Tools You’ll Need

Here’s a list of tools you might need for this repair. Having them ready will make the job smoother.
- Wrenches: Usually, you’ll need a couple of small wrenches (adjustable or the correct size for your pump fittings) to tighten connections.
- Replacement O-rings: Keep a selection of different sized O-rings. You can often find these at a hardware store or bike shop.
- Small Screwdriver or Pick: Useful for removing old O-rings.
- Grease or Lubricant: A little bit of grease can help new O-rings seat properly and improve the seal.
- Clean Rag: For wiping away dirt and grease.
Step-by-Step Guide to Fixing the Leak

Now, let’s get to the fix! Follow these steps to address the leak between your pump hose and chuck.
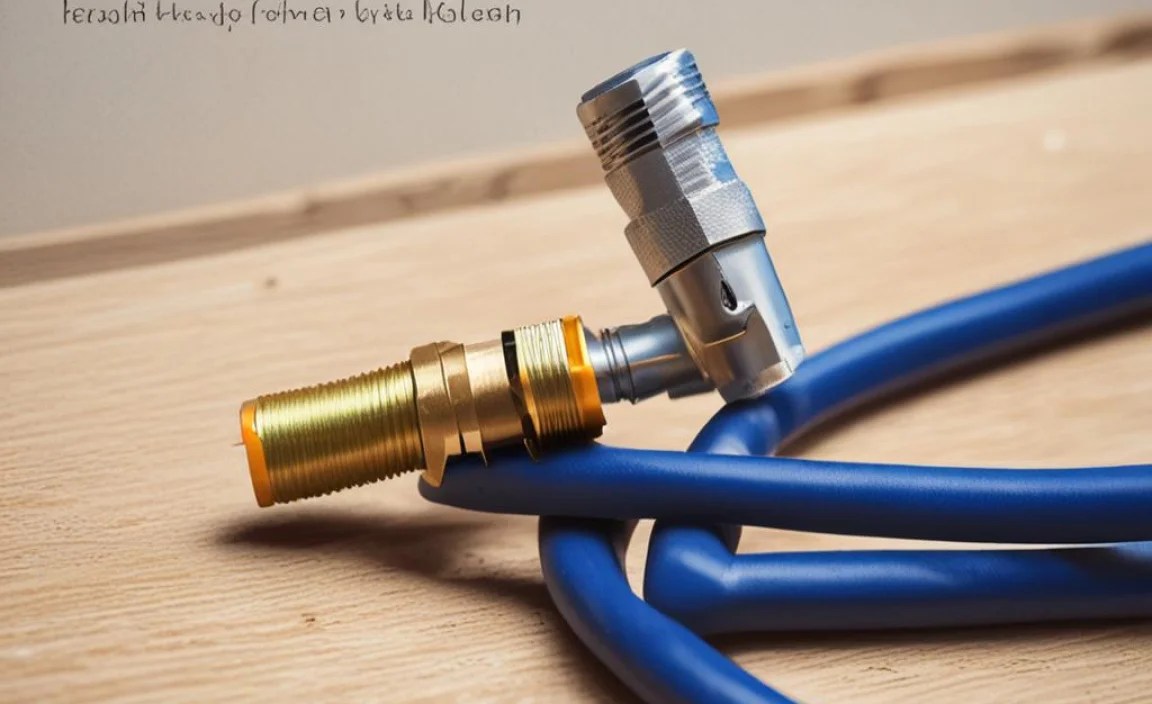
Step 1: Tighten the Connection
Often, the simplest solution is the best. Use your wrenches to gently tighten the adapter where the hose connects to the chuck. Be careful not to overtighten, as this could damage the threads. Just snug it up a bit more than it was before.
Pro Tip: Use two wrenches – one to hold the hose fitting and the other to tighten the chuck fitting. This prevents you from twisting the hose itself.
Step 2: Inspect and Replace the O-Ring
If tightening doesn’t solve the problem, the O-ring is likely the culprit. Here’s how to replace it:
- Disconnect: Detach the hose from the chuck.
- Locate the O-Ring: It’s usually seated in a groove on either the hose fitting or inside the chuck.
- Remove the Old O-Ring: Use a small screwdriver or pick to gently pry out the old O-ring. Be careful not to scratch the surrounding metal.
- Install the New O-Ring: Lightly grease the new O-ring with a bit of lubricant, then carefully seat it into the groove. Make sure it sits flat and isn’t twisted.
- Reconnect: Reattach the hose to the chuck, making sure the connection is secure.
Step 3: Clean the Threads
Dirt and grime can prevent a good seal. Clean the threads on both the hose fitting and the chuck using a clean rag. For stubborn dirt, use a small brush.
Step 4: Check for Damage
Inspect the threads on both the hose fitting and the chuck for any signs of damage, such as stripped threads or cracks. If you find any damage, you might need to replace the hose or the chuck.
Step 5: Test the Connection
After making any adjustments or replacements, test the connection. Attach the chuck to a tire valve and start pumping. Listen and feel for any leaks. If the leak is gone, you’re all set!
Advanced Troubleshooting
If you’ve tried the steps above and you’re still experiencing a leak, here are a few more things to check.
Check the Hose Itself
Sometimes, the leak isn’t at the adapter but in the hose. Inspect the hose for cracks or pinholes. Flex the hose while pumping to see if you can pinpoint any leaks. If the hose is damaged, it will need to be replaced.
Examine the Chuck
The chuck itself can be the source of the leak. Check the internal parts of the chuck for wear or damage. Some chucks have replaceable parts, while others may need to be replaced entirely.
Use Teflon Tape
For stubborn leaks, you can try wrapping the threads of the hose fitting with Teflon tape (also known as plumber’s tape). This can help create a tighter seal. Wrap the tape in the direction of the threads, and don’t use too much – a couple of layers should be enough.
Choosing the Right Replacement Parts
When replacing O-rings or other parts, it’s important to choose the right ones. Here’s what to consider.
O-Rings
Make sure the replacement O-rings are the correct size and material. Viton O-rings are a good choice because they are resistant to oil and heat. You can find O-ring kits with a variety of sizes at most hardware stores.
Hoses
When replacing the hose, choose a hose that is compatible with your pump. Check the hose fittings to make sure they match your pump and chuck.
Chucks
There are many different types of chucks available. Some are designed for Presta valves, while others are designed for Schrader valves. Choose a chuck that is compatible with your tires.
Preventing Future Leaks
Here are a few tips to help prevent future leaks between your hose and chuck.
- Regular Cleaning: Clean the threads and fittings regularly to remove dirt and grime.
- Proper Storage: Store your pump in a clean, dry place.
- Regular Inspection: Inspect your pump regularly for signs of wear or damage.
- Lubrication: Keep the O-rings lubricated to prevent them from drying out and cracking.
Troubleshooting Table
Here’s a quick reference table to help you diagnose and fix common issues:
| Problem | Possible Cause | Solution |
|---|---|---|
| Leak at hose/chuck connection | Loose connection | Tighten with wrenches |
| Leak at hose/chuck connection | Damaged O-ring | Replace O-ring |
| Leak at hose/chuck connection | Dirty threads | Clean threads |
| Leak in hose | Cracked or damaged hose | Replace hose |
| Leak in chuck | Worn or damaged chuck | Replace chuck |
| Persistent leak | Poor seal | Use Teflon tape on threads |
Pump Maintenance Checklist
Keep your pump in top shape with this simple checklist:
- Monthly: Check for leaks and tighten connections.
- Every 3 Months: Inspect and lubricate O-rings.
- Yearly: Replace the hose and chuck if necessary.
Types of Bike Pump Chucks
Understanding the different types of chucks can help you choose the right one for your needs.
Presta Chucks
Presta valves are commonly found on road bikes and some mountain bikes. Presta chucks are designed to fit these narrow valves. They often have a screw-on design for a secure connection.
Schrader Chucks
Schrader valves are similar to those found on car tires. Schrader chucks are easy to use and provide a reliable connection.
Dual-Head Chucks
Dual-head chucks can be used with both Presta and Schrader valves. They are a versatile option for households with multiple bikes.
Hose and Chuck Materials: Pros and Cons
The materials used in your pump’s hose and chuck can affect their durability and performance. Here’s a breakdown:
| Material | Pros | Cons |
|---|---|---|
| Rubber Hose | Flexible, inexpensive | Can crack over time, less durable |
| Braided Steel Hose | Durable, resists kinking | More expensive, less flexible |
| Plastic Chuck | Lightweight, inexpensive | Less durable, can break easily |
| Metal Chuck | Durable, provides a secure connection | Heavier, more expensive |
FAQ: Fixing Adapter Leaks
Why is my bike pump leaking at the hose connection?
A leak at the hose connection is often due to a loose fitting, a damaged O-ring, or dirty threads. Tighten the connection, inspect and replace the O-ring, and clean the threads to resolve the issue.
How do I know if my O-ring is bad?
Check the O-ring for cracks, tears, or flat spots. If it looks worn or damaged, it’s time to replace it.
Can I use any type of grease on the O-ring?
It’s best to use a silicone-based grease or lubricant, as it won’t damage the rubber. Avoid petroleum-based products, which can cause the O-ring to deteriorate.
What if tightening the connection doesn’t stop the leak?
If tightening doesn’t work, the O-ring is likely the problem. Replace it and make sure the threads are clean.
How often should I replace the O-rings on my bike pump?
Inspect the O-rings every few months and replace them as needed. If you use your pump frequently, you may need to replace them more often.
Is it worth repairing a bike pump, or should I just buy a new one?
Most bike pump leaks are easy to fix with simple maintenance. Replacing O-rings or tightening connections is much cheaper than buying a new pump. However, if the pump is severely damaged, it may be more cost-effective to replace it.
Can I use Teflon tape on any type of pump fitting?
Yes, Teflon tape can be used on most threaded pump fittings to create a tighter seal. Just be sure to wrap the tape in the direction of the threads and don’t use too much.
Conclusion
Fixing a leak between your bike pump’s hose and chuck doesn’t have to be a headache. By following these simple steps, you can identify the problem, make the necessary repairs, and get back to riding. Regular maintenance and a little bit of troubleshooting can keep your pump in top condition, ensuring you’re always ready to inflate your tires and hit the road or trail. So, grab your tools, give your pump some love, and enjoy the ride!


