
Chuck Internal Spring Missing? Powerful Fix Now!
Quick Summary: If your bike pump’s chuck (the part that connects to the tire valve) isn’t working because the internal spring is missing, don’t worry! You can often replace the entire chuck assembly. Find a compatible replacement chuck online or at a local bike shop, remove the old one, and install the new one. This is a simple fix that restores your pump’s functionality.
Hey there, Raymond Ammons from BicyclePumper.com here. Ever tried to pump up your tire only to find your pump chuck isn’t gripping the valve? It’s super frustrating, right? A common culprit is a missing or broken internal spring in the chuck. This little spring is crucial for a tight seal. The good news is, you don’t need a whole new pump! Often, replacing the chuck assembly is a quick and easy fix. I’ll walk you through it step-by-step so you can get back on the road in no time.
Understanding the Bike Pump Chuck

Before we dive into fixing the issue, let’s understand what the chuck does and why that little spring is so important.
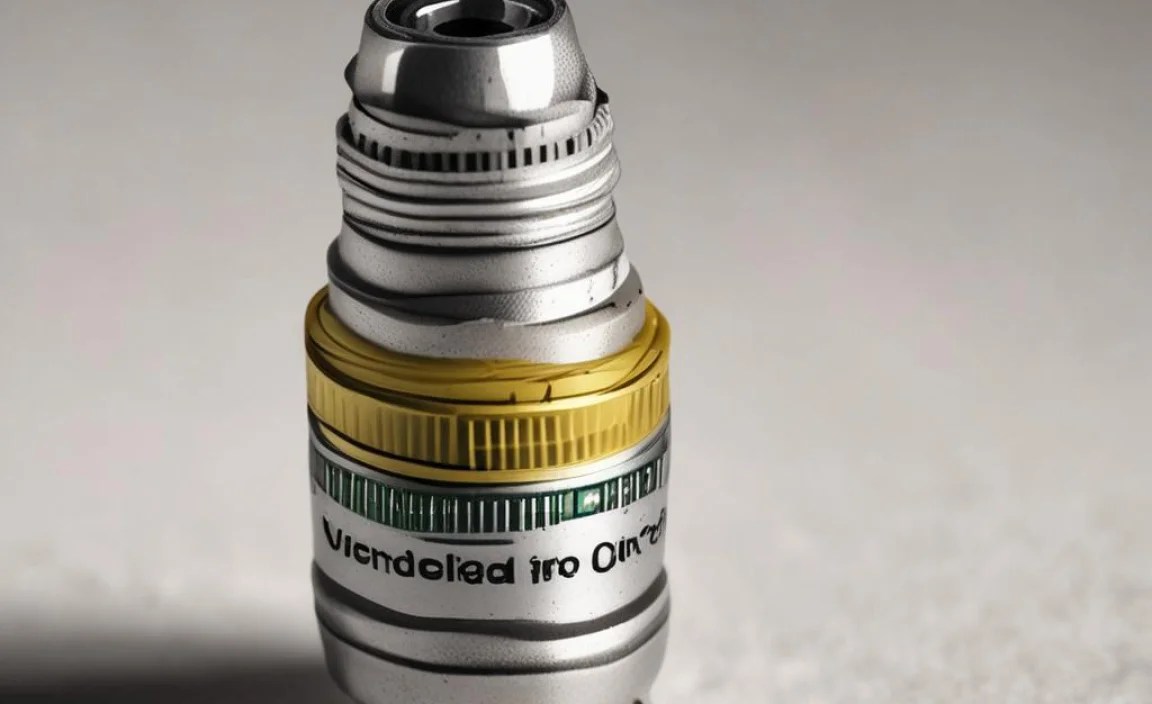
What is a Bike Pump Chuck?
The chuck is the part of your bike pump that attaches to your tire’s valve (either Presta or Schrader). It’s designed to create an airtight seal so air can flow into the tire without leaking. A good chuck is essential for efficient and effective inflation.
Why is the Internal Spring Important?
The internal spring provides the necessary tension to hold the chuck firmly against the valve. Without it, the chuck won’t seal properly, leading to air leaks and making it impossible to inflate your tire. Think of it as the muscle that keeps the chuck tightly gripping the valve.
Identifying a Missing or Damaged Spring
First, confirm that the spring is indeed the problem. Here’s how:
- Visual Inspection: Carefully examine the chuck. Can you see the spring inside? Does it look broken or compressed? If it’s missing altogether, that’s your problem.
- Wiggle Test: Gently wiggle the chuck on the valve. If it feels loose and doesn’t grip firmly, the spring is likely the issue. A functional spring will provide a snug, secure fit.
- Air Leak Test: Attach the chuck to your tire valve and try to inflate. If you hear air leaking around the chuck, the spring might not be providing enough pressure for a proper seal.
Tools and Materials You’ll Need

Before you start, gather these essential tools and materials:
- Replacement Chuck Assembly: Purchase a new chuck assembly compatible with your pump and valve type (Presta or Schrader). Bike shops and online retailers like Amazon carry these.
- Small Screwdriver or Allen Wrench: Depending on how your old chuck is attached, you might need a small screwdriver or Allen wrench to loosen any screws or bolts.
- Pliers (Optional): Pliers can be helpful for gripping and removing stubborn parts. Needle-nose pliers are particularly useful.
- Rag or Paper Towel: To wipe away any dirt or grease.
- Work Gloves (Optional): To keep your hands clean and protected.
Step-by-Step Guide to Replacing the Chuck

Now, let’s get to the actual replacement. Follow these steps carefully:
Step 1: Disconnect the Old Chuck
First, detach the old chuck from the pump hose. This usually involves unscrewing it or removing a clamp. Here’s how:
- Unscrew the Chuck: Many chucks are threaded onto the hose. Simply twist the chuck counterclockwise until it comes loose.
- Loosen the Clamp: Some chucks are held in place by a clamp. Use a small screwdriver or Allen wrench to loosen the clamp, then slide the chuck off the hose.
Step 2: Inspect the Hose
Once the old chuck is removed, inspect the end of the hose for any damage. Cracks, tears, or excessive wear can prevent a good seal with the new chuck. If the hose is damaged, you might need to replace it as well. You can often find replacement hoses at bike shops or online.
Step 3: Prepare the New Chuck
Take your new chuck assembly and examine it. Make sure you have all the necessary parts and that it’s compatible with your pump and valve type (Presta or Schrader). Some chucks are dual-headed, meaning they work with both valve types.
Step 4: Attach the New Chuck
Now, attach the new chuck to the pump hose. This is usually the reverse of the removal process:
- Screw it On: If the chuck is threaded, screw it onto the hose clockwise until it’s snug. Don’t overtighten it, as this could damage the threads.
- Tighten the Clamp: If the chuck uses a clamp, slide the chuck onto the hose and tighten the clamp with a screwdriver or Allen wrench. Make sure the clamp is secure, but not so tight that it damages the hose.
Step 5: Test the Connection
Before you start pumping up your tires, test the connection to make sure there are no leaks. Attach the chuck to a tire valve and listen for any hissing sounds. If you hear air leaking, double-check that the chuck is securely attached and that the clamp (if applicable) is tight enough.
Step 6: Inflate Your Tire
Now for the moment of truth! Attach the chuck to your tire valve and start pumping. If everything is working correctly, you should be able to inflate your tire without any air leaks. Keep an eye on the pressure gauge and inflate to the recommended PSI (pounds per square inch) printed on the sidewall of your tire.
Troubleshooting Common Issues

Sometimes, even with a new chuck, you might encounter issues. Here are a few common problems and how to solve them:
- Air Leak Around the Chuck:
- Problem: Air is leaking around the chuck when you try to inflate the tire.
- Solution: Make sure the chuck is fully seated on the valve. Try wiggling it slightly to get a better seal. If that doesn’t work, check the rubber o-rings inside the chuck. They might be worn or damaged. You can usually replace these o-rings with a small o-ring kit.
- Chuck Won’t Attach to Valve:
- Problem: The chuck won’t fit onto the tire valve, or it feels too loose.
- Solution: Double-check that you have the correct chuck for your valve type (Presta or Schrader). Some chucks are dual-headed, but you need to make sure you’re using the correct side. If it’s still too loose, the valve on your tire might be damaged. Inspect the valve for any cracks or bends.
- Pump is Hard to Push:
- Problem: The pump feels very stiff and difficult to push down.
- Solution: This could be due to a clogged air filter or a worn piston ring inside the pump. Consult your pump’s manual for instructions on how to clean the air filter or replace the piston ring. Regular maintenance can prevent this issue.
Choosing the Right Replacement Chuck
Selecting the right replacement chuck is crucial for a successful repair. Here’s what to consider:
- Valve Compatibility: Ensure the chuck is compatible with your tire valves (Presta, Schrader, or both). Dual-head chucks offer versatility.
- Pump Compatibility: Some pumps have proprietary chuck attachments. Check your pump’s manual or the manufacturer’s website to ensure compatibility.
- Material Quality: Look for chucks made from durable materials like brass or high-quality plastic. These will last longer and provide a better seal.
- User Reviews: Read online reviews to get an idea of the chuck’s performance and reliability. Pay attention to comments about ease of use and sealing ability.
Maintaining Your Bike Pump
Regular maintenance can extend the life of your bike pump and prevent future issues. Here are some tips:
- Clean the Chuck Regularly: Use a clean rag to wipe away any dirt or debris from the chuck after each use. This will prevent clogs and ensure a good seal.
- Lubricate Moving Parts: Apply a small amount of silicone lubricant to the pump’s moving parts, such as the piston and the hose connection. This will keep the pump working smoothly.
- Store Your Pump Properly: Store your pump in a dry, clean place. Avoid leaving it exposed to the elements, as this can damage the seals and other components.
- Check for Wear and Tear: Regularly inspect your pump for any signs of wear and tear, such as cracks in the hose or loose connections. Replace any worn parts promptly to prevent further damage.
Table: Common Bike Pump Chuck Types
| Chuck Type | Valve Compatibility | Pros | Cons |
|---|---|---|---|
| Presta-Only | Presta | Precise fit, efficient inflation for high-pressure tires | Only works with Presta valves |
| Schrader-Only | Schrader | Easy to use, common on many pumps | Not ideal for high-pressure tires |
| Dual-Head | Presta and Schrader | Versatile, works with both valve types | Can be bulkier, may require switching heads |
| Thread-On | Presta and Schrader | Secure connection, reduces air leaks | Can be slower to attach and detach |
| Lever-Lock | Presta and Schrader | Quick and easy attachment, good seal | Lever mechanism can wear out over time |
Table: Troubleshooting Bike Pump Issues
| Problem | Possible Cause | Solution |
|---|---|---|
| Pump not inflating tire | Loose chuck connection, damaged valve, clogged air filter | Check chuck connection, inspect valve, clean air filter |
| Air leaking from chuck | Worn o-rings, improper chuck seating, damaged valve | Replace o-rings, reseat chuck, inspect valve |
| Pump difficult to push | Low lubrication, clogged filter, damaged piston ring | Lubricate moving parts, clean filter, replace piston ring |
| Chuck not fitting valve | Incorrect chuck type, damaged valve | Use correct chuck, inspect valve |
| Hose cracked or leaking | Wear and tear, age | Replace hose |
When to Consider Professional Help
While replacing a chuck is usually a simple DIY task, there are times when it’s best to seek professional help:
- Extensive Pump Damage: If your pump has other significant damage, such as a bent barrel or a broken handle, it might be more cost-effective to replace the entire pump.
- Complex Pump Models: Some high-end pumps have complex internal mechanisms that can be difficult to repair without specialized tools and knowledge.
- Lack of Confidence: If you’re not comfortable working on your pump yourself, don’t hesitate to take it to a local bike shop. They can diagnose the problem and perform the necessary repairs.
FAQ: Chuck Internal Spring Missing
Q: Why is my bike pump not working?
A: A common reason is a missing or damaged internal spring in the chuck, which prevents a tight seal with the tire valve.
Q: Can I replace just the spring?
A: Sometimes, but it’s often easier and more reliable to replace the entire chuck assembly.
Q: Where can I buy a replacement chuck?
A: You can find replacement chucks at local bike shops or online retailers like Amazon.
Q: How do I know if I need a Presta or Schrader chuck?
A: Check your tire valves. Presta valves are thin with a small nut at the top, while Schrader valves are wider and similar to car tire valves.
Q: What tools do I need to replace the chuck?
A: Usually, you’ll need a small screwdriver or Allen wrench, and maybe pliers to grip stubborn parts.
Q: How do I maintain my bike pump?
A: Clean the chuck regularly, lubricate moving parts, and store the pump in a dry place.
Q: Is it worth fixing a bike pump or should I just buy a new one?
A: Replacing the chuck is often a cheap and easy fix. If the rest of the pump is in good condition, it’s usually worth repairing. If there’s extensive damage, a new pump might be better.
Conclusion
There you have it! Replacing a bike pump chuck with a missing internal spring is a straightforward repair that can save you money and keep your tires properly inflated. By following these steps, you can easily restore your pump to its former glory and get back to enjoying your rides. Remember to choose the right replacement chuck, maintain your pump regularly, and don’t hesitate to seek professional help if needed. Happy pumping, and I’ll see you on the road!


