
How to Make a Cycle Air Pump at Home: A DIY Guide
Quick Summary: You can make a basic cycle air pump at home using simple materials like a PVC pipe, a tire valve, a plunger, and some creativity! This guide will walk you through each step, from gathering the right supplies to testing your homemade pump. While not as powerful as a store-bought pump, it’s a fun and practical project for emergencies or learning about basic mechanics.
Ever been stranded with a flat tire and no pump in sight? It’s a cyclist’s worst nightmare! Buying a pump is always an option, but what if you could make one yourself? It sounds tricky, but with a few basic materials and some elbow grease, you can create a functional cycle air pump right in your garage. This guide will show you how to build a simple, effective pump that could save the day. Get ready to learn a new skill and impress your cycling buddies!
Why Build Your Own Cycle Air Pump?

Building your own cycle air pump might seem like a project for a rainy day, but there are several good reasons to consider it:
- Cost-Effective: Using readily available materials can be cheaper than buying a new pump.
- DIY Satisfaction: There’s a great sense of accomplishment in making something yourself.
- Emergency Solution: A homemade pump can be a lifesaver when you’re in a pinch.
- Educational: It’s a fantastic way to understand how pumps work and basic mechanics.
- Customization: You can adapt the design to fit your specific needs and preferences.
Gathering Your Materials
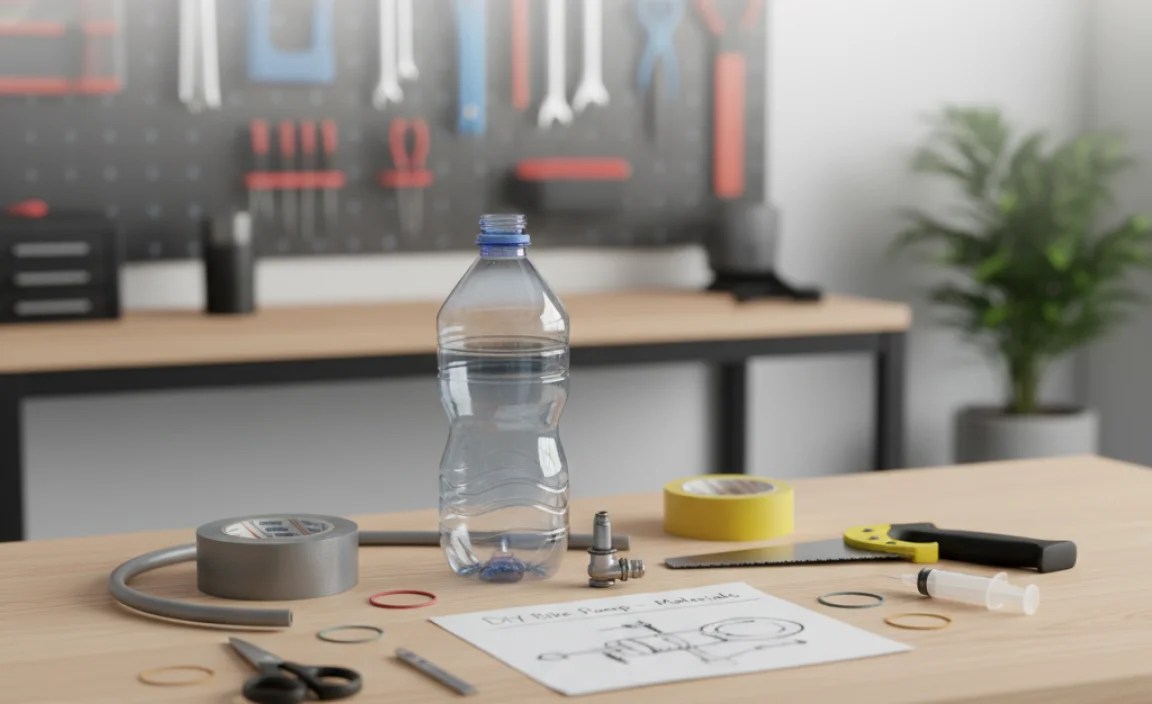
Before you start building, you’ll need to gather the following materials. You can find most of these at your local hardware store.
- PVC Pipe: A section of PVC pipe (around 12-18 inches long and 1-2 inches in diameter) will form the pump’s body.
- PVC End Cap: One end cap to seal the bottom of the PVC pipe.
- Tire Valve (Schrader or Presta): A valve from an old inner tube or a new one from a bike shop.
- Plunger: A rubber plunger (like those used for sinks) that fits snugly inside the PVC pipe.
- Drill and Drill Bits: For creating holes for the valve and handle.
- Epoxy or PVC Cement: To securely attach the valve and end cap.
- Wooden Dowel or Handle: To attach to the plunger for easy pumping.
- Rubber Washers: To improve the seal of the plunger inside the pipe.
- Sandpaper: To smooth any rough edges on the PVC pipe.
- Measuring Tape: For accurate measurements and cutting.
Step-by-Step Guide to Building Your Cycle Air Pump

Now, let’s get to the fun part – building your own cycle air pump!
Step 1: Preparing the PVC Pipe
Start by preparing the PVC pipe. Use sandpaper to smooth any rough edges, ensuring a clean and safe surface to work with.
- Measure and Cut: If necessary, cut the PVC pipe to your desired length (12-18 inches is a good range).
- Smooth the Edges: Use sandpaper to smooth both ends of the pipe. This prevents any sharp edges that could cause injury.
- Clean the Pipe: Wipe down the inside and outside of the pipe to remove any dust or debris.
Step 2: Installing the Tire Valve
Next, you’ll need to install the tire valve. This is where the air will exit the pump and inflate your tire.
- Drill a Hole: Drill a hole near the bottom of the PVC pipe, sized to fit your tire valve. Make sure the hole is clean and doesn’t have any jagged edges.
- Insert the Valve: Insert the tire valve into the hole. Ensure the valve stem is pointing outwards.
- Secure the Valve: Use epoxy or PVC cement to securely attach the valve to the pipe. Let it dry completely according to the product instructions. This creates an airtight seal.
Step 3: Sealing the Bottom of the Pump
Now, seal the bottom of the PVC pipe with the end cap. This creates the air chamber for your pump.
- Apply Cement: Apply PVC cement to the inside of the end cap and the bottom end of the PVC pipe.
- Attach the End Cap: Slide the end cap onto the pipe and hold it firmly in place for a few minutes until the cement sets.
- Allow to Dry: Let the cement dry completely before moving on to the next step. This ensures a strong, airtight seal.
Step 4: Preparing the Plunger
The plunger is what will push the air through the pump. Make sure it fits snugly inside the PVC pipe.
- Check the Fit: Ensure the rubber plunger fits snugly inside the PVC pipe. It should slide smoothly but create a good seal.
- Attach the Handle: Drill a hole in the center of the plunger. Insert the wooden dowel or handle and secure it with glue or screws. This will be the handle you use to pump air.
- Add Washers (Optional): If the plunger doesn’t create a perfect seal, add rubber washers around the plunger to improve the seal.
Step 5: Assembling the Pump
Now, put all the pieces together to assemble your homemade cycle air pump.
- Insert the Plunger: Carefully insert the plunger into the open end of the PVC pipe.
- Test the Pump: Place the valve onto a tire valve and test the pump by pushing and pulling the plunger. You should feel air coming out of the valve.
- Adjust as Needed: If the pump isn’t working efficiently, check for air leaks and adjust the seal of the plunger.
Tips for Improving Your Homemade Pump

Here are some tips to make your homemade pump even better:
- Use a High-Quality Plunger: A good plunger with a tight seal is essential for efficient pumping.
- Ensure an Airtight Seal: Pay close attention to sealing the valve and end cap to prevent air leaks.
- Experiment with Different Plunger Sizes: Try different plunger sizes to find the best fit for your PVC pipe.
- Add a pressure Gauge: For more advanced projects, you can add a small pressure gauge to monitor the air pressure.
- Lubricate the Plunger: A small amount of lubricant (like silicone grease) can help the plunger slide more smoothly.
Troubleshooting Your Homemade Pump

If your pump isn’t working as expected, here are some common issues and how to fix them:
| Problem | Possible Solution |
|---|---|
| Pump isn’t producing air. | Check for air leaks around the valve, end cap, and plunger. Ensure the plunger has a good seal. |
| Air is leaking from the valve. | Make sure the valve is securely attached and properly sealed with epoxy or PVC cement. |
| Plunger is difficult to move. | Lubricate the plunger with silicone grease or adjust the fit. |
| Pump isn’t inflating the tire. | Ensure the valve is properly connected to the tire valve and that there are no obstructions in the valve. |
Comparing DIY Pump to Store-Bought Pump
Here’s a quick comparison of DIY vs. store-bought cycle air pumps:
| Feature | DIY Cycle Air Pump | Store-Bought Cycle Air Pump |
|---|---|---|
| Cost | Lower (using recycled or inexpensive materials) | Higher (initial purchase price) |
| Efficiency | Lower (requires more effort for inflation) | Higher (designed for efficient inflation) |
| Durability | Moderate (depends on the quality of materials) | High (built with durable materials) |
| Portability | Varies (can be made compact) | Varies (portable and stationary options available) |
| Customization | High (can be customized to specific needs) | Limited (standard designs) |
| Availability | Requires time and effort to build | Readily available in stores and online |
Safety Precautions
When building and using your homemade cycle air pump, keep these safety precautions in mind:
- Wear Safety Glasses: Protect your eyes when drilling and cutting.
- Use Proper Tools: Use the right tools for the job to avoid injury.
- Work in a Well-Ventilated Area: When using epoxy or PVC cement, work in a well-ventilated area to avoid inhaling fumes.
- Be Careful with Sharp Objects: Handle knives and other sharp objects with care.
- Test Before Use: Always test the pump before relying on it for a ride.
FAQ: Making a Cycle Air Pump at Home
Here are some frequently asked questions about making a cycle air pump at home:
Q: What kind of PVC pipe should I use?
A: A PVC pipe with a diameter of 1-2 inches and a length of 12-18 inches works well for a basic pump.
Q: Can I use any type of tire valve?
A: Yes, you can use either a Schrader or Presta valve, depending on the type of valve on your bike’s inner tubes.
Q: How do I ensure an airtight seal?
A: Use epoxy or PVC cement to securely attach the valve and end cap. Also, ensure the plunger fits snugly inside the pipe. You can find high-quality options at stores like Ace Hardware.
Q: What if the plunger doesn’t fit tightly?
A: Add rubber washers around the plunger to improve the seal and create a tighter fit. You can find these at most hardware stores.
Q: Is a homemade pump as good as a store-bought pump?
A: While a homemade pump can be functional, it may not be as efficient or durable as a store-bought pump. It’s best used as an emergency solution.
Q: How can I make the pump more efficient?
A: Use a high-quality plunger, ensure an airtight seal, and lubricate the plunger to help it slide more smoothly.
Q: Where can I find the materials for this project?
A: Most of the materials can be found at your local hardware store, such as Home Depot or Lowe’s. You can also find tire valves and bike-specific parts at a local bike shop.
Conclusion
Building your own cycle air pump is a fun and rewarding project that can teach you a lot about basic mechanics. While it might not replace a high-quality store-bought pump for everyday use, it’s a great emergency solution and a fantastic way to impress your friends. So, gather your materials, follow these steps, and get ready to inflate your tires with your very own homemade pump. Happy cycling!
“`


