
Silca Brass Chuck Cleaning Guide: Keep it Like New!
Quick Summary: Keep your Silca brass chuck working like new with regular cleaning! Dust and grime can build up, affecting performance. This guide shows you how to easily disassemble, clean, and reassemble your chuck using simple tools like dish soap, water, and a small brush. Proper cleaning ensures a tight seal and accurate tire pressure every time you pump!
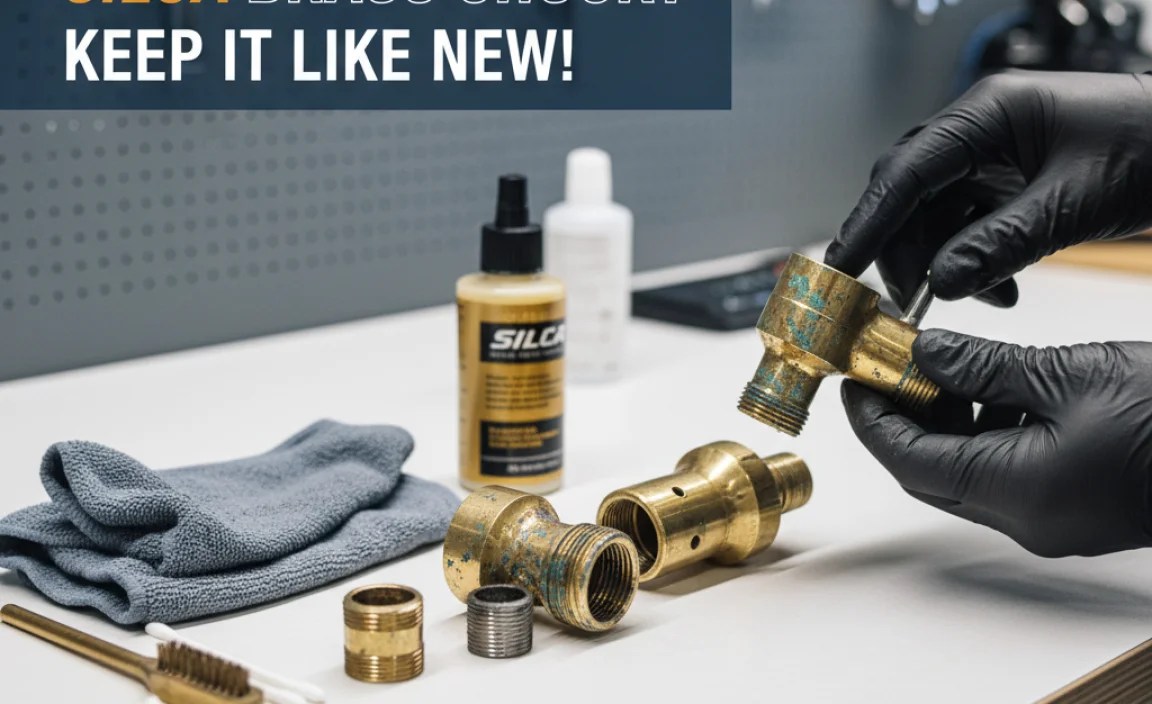
Is your Silca brass chuck not working as smoothly as it used to? Does it leak air or struggle to get a good seal on your valve? Don’t worry, you’re not alone! A dirty chuck is a common problem for cyclists. Over time, dirt, dust, and sealant can build up inside, causing these issues. The good news is that cleaning your Silca chuck is a simple process that anyone can do at home. This guide will walk you through each step, so you can get back to perfectly inflated tires in no time.
Why Clean Your Silca Brass Chuck?
A Silca brass chuck is a precision piece of equipment. Keeping it clean is key to maintaining its performance and extending its life. Here’s why regular cleaning is so important:
- Better Seal: A clean chuck creates a tighter seal on your valve stem, preventing air leaks.
- Accurate Inflation: A good seal means you’ll get a more accurate pressure reading.
- Smooth Operation: Cleaning removes grit and grime, allowing for smooth and easy operation.
- Longer Lifespan: Regular maintenance prevents wear and tear, prolonging the life of your chuck.
Tools and Materials You’ll Need
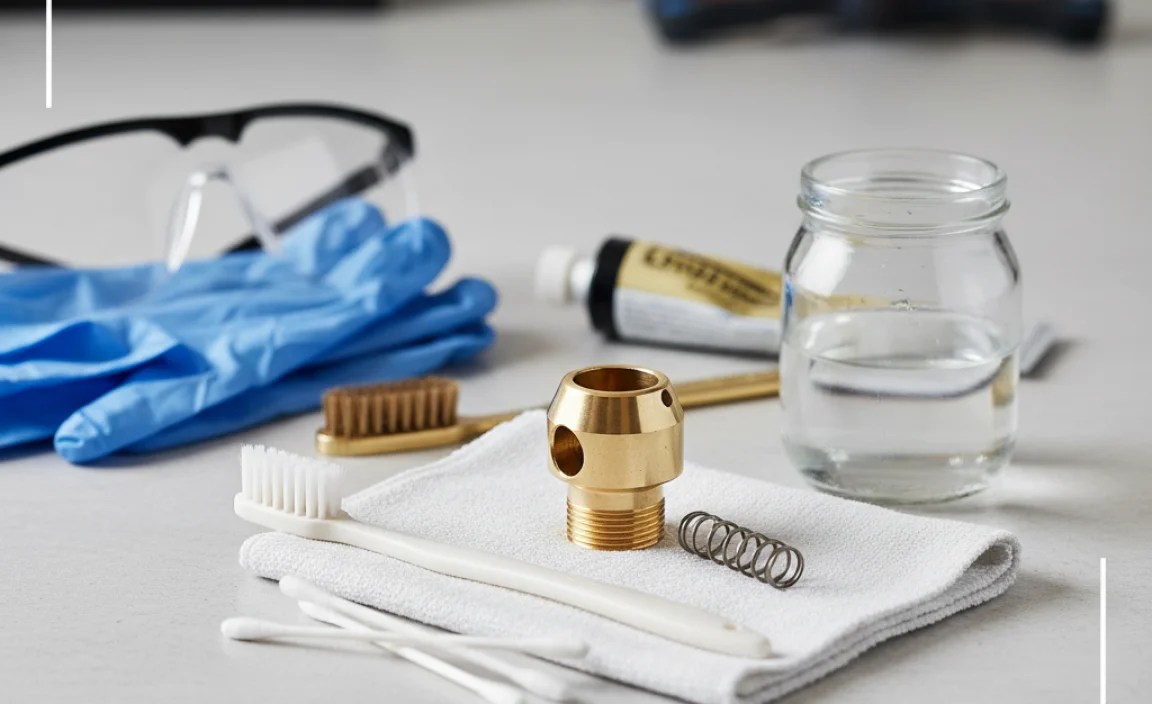
Before you start, gather these simple tools and materials:
- Small adjustable wrench or pliers
- Small flathead screwdriver
- Clean rags or paper towels
- Dish soap or mild degreaser
- Warm water
- Small brush (like a toothbrush or parts cleaning brush)
- Lubricant (light oil or grease)
- Optional: Pick or dental tool
Step-by-Step Silca Brass Chuck Cleaning Guide
Follow these steps to thoroughly clean your Silca brass chuck:
Step 1: Disassembly
- Loosen the Retaining Nut: Use your small wrench or pliers to carefully loosen the retaining nut at the base of the chuck. Be gentle; you don’t want to strip the threads.
- Remove Internal Parts: Once the nut is loose, you should be able to remove the internal parts. This usually includes a rubber gasket, a spring, and a small piston. Pay close attention to the order in which these parts are removed; this will help with reassembly.
- Separate Components: Separate all the components of the chuck. This will allow you to clean each part individually.
Step 2: Cleaning
- Soak the Parts: Fill a small bowl with warm water and a few drops of dish soap or mild degreaser. Place all the chuck components into the soapy water and let them soak for about 10-15 minutes. This will help loosen any dirt and grime.
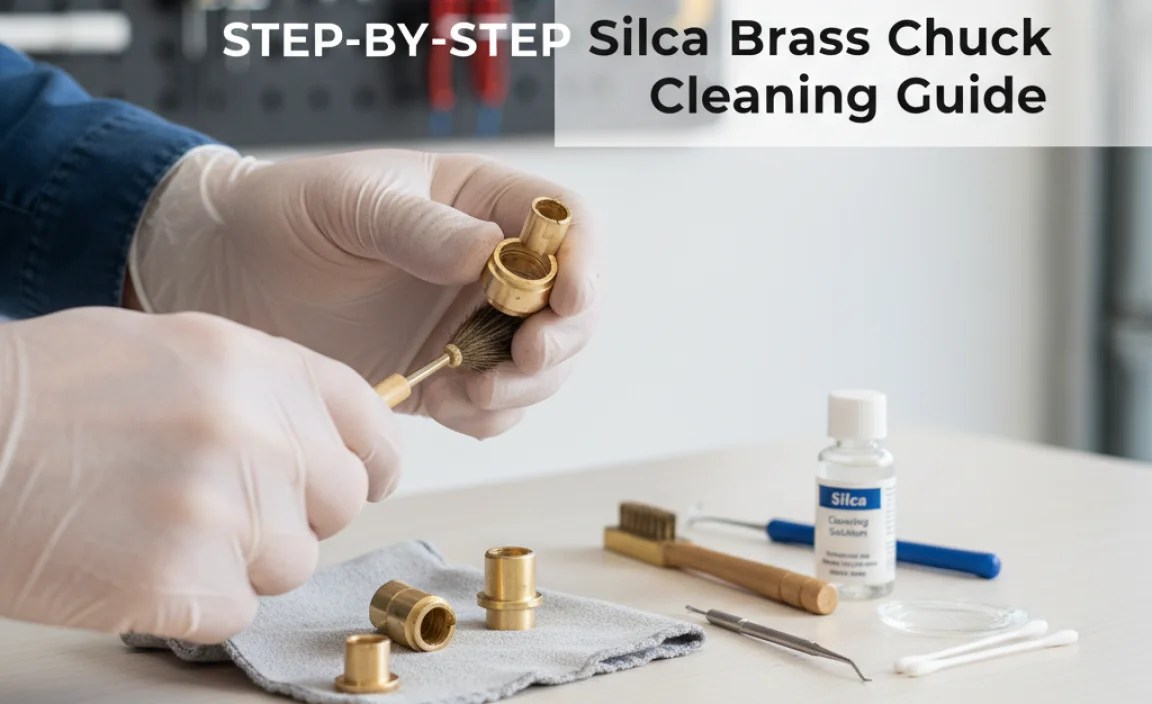
- Scrub the Parts: Use a small brush to scrub each part thoroughly. Pay close attention to any areas with visible dirt or buildup. The small brush will help you reach into crevices and remove stubborn grime.
- Rinse Thoroughly: After scrubbing, rinse each part thoroughly with clean water to remove any soap residue. Make sure all traces of soap are gone, as soap residue can affect the chuck’s performance.
- Remove Stubborn Debris: If you encounter stubborn debris, use a pick or dental tool to gently remove it. Be careful not to scratch or damage the parts.
Step 3: Drying
- Dry the Parts: Use a clean rag or paper towel to thoroughly dry each part. Make sure all parts are completely dry before reassembly. Moisture can cause corrosion and affect the chuck’s performance.
- Air Dry: Allow the parts to air dry completely before reassembling. This will ensure that no moisture is trapped inside the chuck.
Step 4: Reassembly
- Lubricate the Parts: Apply a small amount of light oil or grease to the internal parts. This will help them move smoothly and prevent wear and tear. Be careful not to over-lubricate, as too much lubricant can attract dirt and grime.
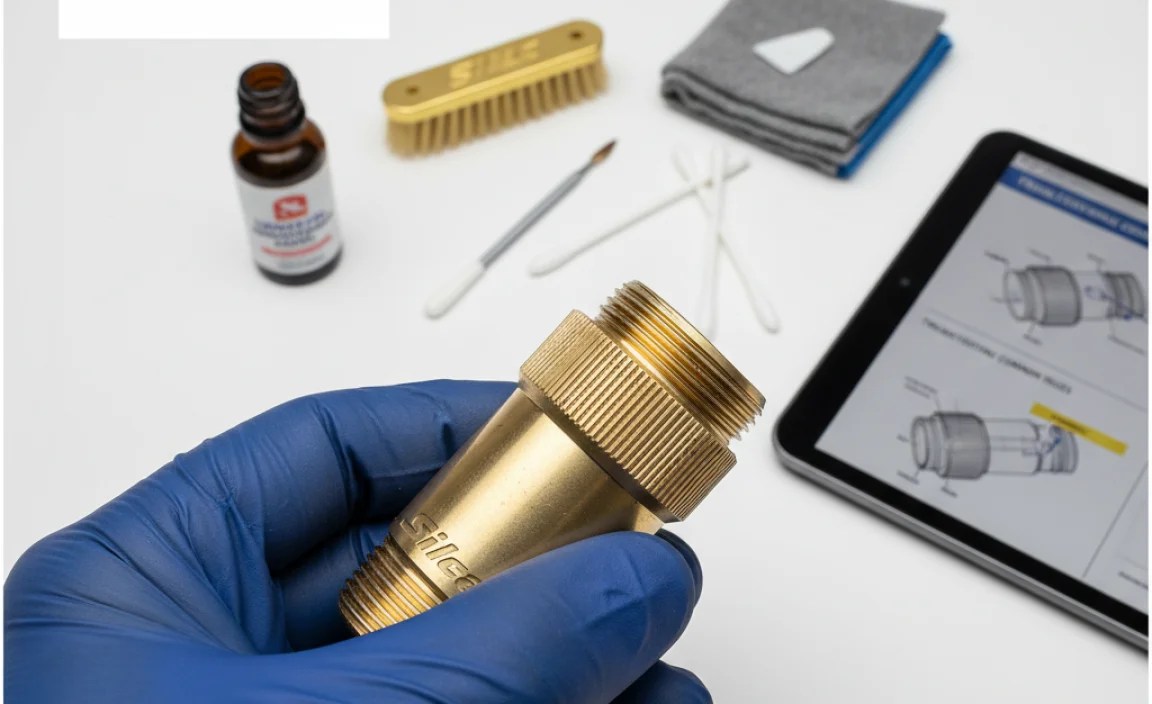
- Reassemble the Chuck: Carefully reassemble the chuck in the reverse order of disassembly. Make sure all parts are properly aligned and seated.
- Tighten the Retaining Nut: Use your small wrench or pliers to tighten the retaining nut. Be careful not to overtighten, as this can damage the chuck. Tighten it until it is snug but not overly tight.
Maintenance Tips for Your Silca Brass Chuck

Here are some tips to keep your Silca brass chuck in top condition:
- Regular Cleaning: Clean your chuck regularly, especially if you ride in dusty or dirty conditions. A quick cleaning after each ride can prevent buildup and keep your chuck working smoothly.
- Storage: Store your pump and chuck in a clean, dry place. This will protect them from the elements and prevent corrosion.
- Check for Wear: Regularly inspect your chuck for signs of wear and tear. Replace any worn or damaged parts as needed.
- Use Quality Lubricants: Use only high-quality lubricants that are designed for bicycle components. Avoid using harsh chemicals or solvents, as these can damage the chuck.
Troubleshooting Common Issues
Here are some common issues you might encounter with your Silca brass chuck and how to troubleshoot them:
| Issue | Possible Cause | Solution |
|---|---|---|
| Air Leak | Dirty or damaged gasket | Clean the gasket or replace it if damaged |
| Difficult to Attach | Buildup of dirt and grime | Clean the chuck thoroughly |
| Valve Stem Damage | Improper chuck alignment | Ensure proper alignment when attaching the chuck |
| Chuck Not Sealing | Worn or damaged internal parts | Replace worn or damaged parts |
Choosing the Right Cleaning Products
Selecting the right cleaning products is crucial for maintaining your Silca brass chuck. Here’s a breakdown of recommended and not-recommended options:
| Product Type | Recommended | Not Recommended | Why |
|---|---|---|---|
| Soaps | Mild dish soap | Harsh detergents | Dish soap is gentle and effective. Harsh detergents can damage the rubber seals. |
| Degreasers | Citrus-based degreasers | Petroleum-based degreasers | Citrus degreasers are safe for rubber and metal. Petroleum-based ones can degrade rubber. |
| Lubricants | Silicone-based lubricants, light machine oil | WD-40 (for long-term lubrication) | Silicone and light oils provide smooth action. WD-40 is a solvent and cleaner, not a long-term lubricant. |
| Solvents | Isopropyl alcohol (for cleaning only) | Acetone, brake cleaner | Isopropyl alcohol evaporates cleanly. Acetone and brake cleaner can damage rubber and plastic parts. |
When to Replace Your Silca Brass Chuck
Even with regular cleaning and maintenance, your Silca brass chuck will eventually wear out. Here are some signs that it’s time for a replacement:
- Constant Air Leaks: If you’ve cleaned the chuck and replaced the gasket, but it still leaks air, it’s likely time for a new chuck.
- Visible Damage: Cracks, breaks, or significant corrosion are signs that the chuck needs to be replaced.
- Difficulty Attaching: If the chuck becomes increasingly difficult to attach to the valve stem, it may be worn out.
- Loss of Performance: If you notice a significant drop in performance, such as difficulty inflating tires or inaccurate pressure readings, it may be time for a new chuck.
Alternative Chucks and Upgrades
While the Silca brass chuck is a top-quality product, there are other options available. Here are a few alternative chucks and upgrades to consider:
- Silca Hiro V.2 Chuck: An updated version of the classic chuck, offering improved ergonomics and performance.
- Lezyne ABS Flip Thread Chuck: A versatile chuck that works with both Presta and Schrader valves.
- Topeak SmartHead DX3: Another versatile option that automatically adjusts to Presta and Schrader valves.
FAQ: Cleaning Your Silca Brass Chuck
Here are some frequently asked questions about cleaning your Silca brass chuck:
Q: How often should I clean my Silca brass chuck?
A: Clean your chuck every 1-3 months, or more often if you ride in dirty conditions.
Q: Can I use WD-40 to lubricate my chuck?
A: No, WD-40 is a solvent and cleaner, not a lubricant. Use a light oil or grease instead.
Q: What kind of brush should I use to clean my chuck?
A: A small brush with soft bristles, like a toothbrush or parts cleaning brush, works well.
Q: Can I use a different type of degreaser?
A: Yes, but make sure it’s a mild, citrus-based degreaser that’s safe for rubber and metal.
Q: How do I know if my chuck is too worn out to clean?
A: If you see cracks, breaks, or significant corrosion, or if cleaning doesn’t improve performance, it’s time for a new chuck.
Q: Where can I buy replacement parts for my Silca brass chuck?
A: You can purchase replacement parts from Silca’s website or from most online bicycle retailers. Silca’s website is a good place to start.
Q: What if I lose one of the small parts during disassembly?
A: Contact Silca or your local bike shop. They may have replacement parts available for purchase. Taking photos during disassembly can also help you remember the order of parts.
Conclusion
Cleaning your Silca brass chuck is a simple yet crucial part of bike maintenance. By following these steps, you can ensure that your chuck continues to provide reliable performance for years to come. Regular cleaning not only improves the seal and accuracy of your pump but also extends the lifespan of your valuable equipment. So, grab your tools, follow this guide, and enjoy perfectly inflated tires on every ride!


