
Why Cheap Chucks Waste More Air: The Secret Tip
Cheap chucks, or bike pumps, often waste more air due to poor sealing and low-quality construction. This leads to inefficient inflation, requiring more strokes and effort to reach the desired tire pressure. Over time, the cost of replacement chucks and the frustration of unreliable performance make investing in a higher-quality chuck a more economical and efficient choice.
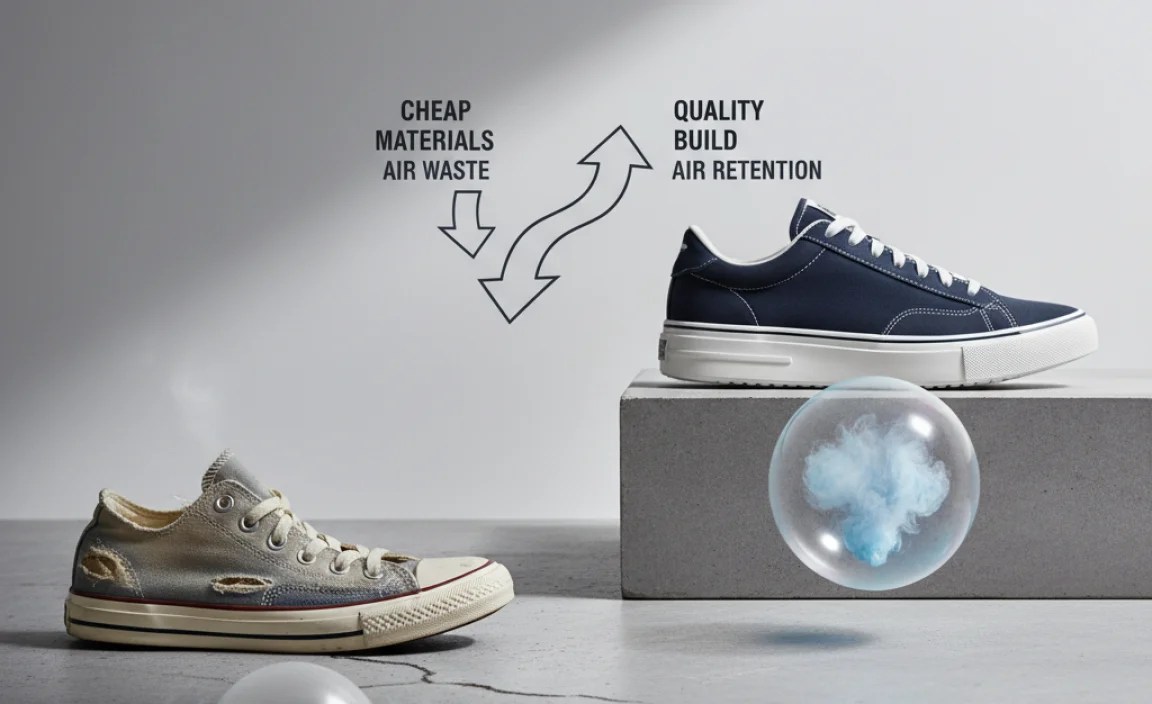
Ever feel like you’re pumping forever and your bike tires are barely inflating? It’s a common frustration for many cyclists, and the culprit might be your bike pump’s chuck. A low-quality chuck can leak air, making each pump stroke less effective. This not only wastes your energy but also makes achieving the correct tire pressure a real challenge. Don’t worry, we’re here to help you understand why this happens and how to choose a better chuck for efficient inflation. Let’s dive in and get your tires pumped up properly!
Understanding Bike Pump Chucks

The chuck is the part of your bike pump that connects directly to the tire valve. Its primary job is to create an airtight seal, allowing air to flow into the tire without any leakage. There are two main types of chucks:
- Presta: Designed for Presta valves, which are commonly found on road bikes and high-performance bicycles.
- Schrader: Designed for Schrader valves, which are similar to car tire valves and are often used on mountain bikes and hybrid bikes.
Some pumps come with dual-head chucks that can accommodate both Presta and Schrader valves, offering versatility for different types of bikes.
Why Cheap Chucks Fail
Cheap chucks often fail due to several key reasons:
- Poor Sealing: Low-quality materials and manufacturing result in a less-than-perfect seal around the tire valve. This leads to air leakage, reducing the efficiency of each pump stroke.
- Material Quality: Inexpensive chucks are typically made from lower-grade plastics or metals that are prone to wear and tear. This can cause the chuck to crack, deform, or break over time.
- Design Flaws: Some cheap chucks have inherent design flaws that make it difficult to achieve a secure connection with the tire valve. This can result in frustration and wasted effort.
The Impact of Air Leakage
Air leakage has a significant impact on your pumping efficiency. When air leaks out of the chuck, you’re essentially wasting energy and time. It takes more strokes to reach the desired tire pressure, and you might even struggle to inflate the tire to the recommended PSI. This not only makes your arms tired but can also lead to inaccurate tire pressure readings, affecting your bike’s performance and handling.
The Anatomy of a Bike Pump Chuck

To understand why cheap chucks waste air, let’s break down the components of a typical bike pump chuck:
- Valve Connector: This is the part that attaches to the Presta or Schrader valve. It needs to fit snugly and create an airtight seal.
- Sealing Washer/O-ring: Located inside the valve connector, the sealing washer or O-ring is crucial for preventing air leakage.
- Lever/Locking Mechanism: Some chucks have a lever or locking mechanism that secures the chuck to the valve. This helps maintain a tight seal during inflation.
- Body: The main structure of the chuck, which houses the internal components and connects to the pump hose.
How Each Component Contributes to Air Loss
Each component plays a vital role in preventing air loss:
- Valve Connector: If the valve connector is not precisely machined or is made from a flexible material, it may not create a tight seal around the valve.
- Sealing Washer/O-ring: A worn, cracked, or low-quality sealing washer or O-ring will allow air to escape.
- Lever/Locking Mechanism: A loose or poorly designed lever or locking mechanism will fail to maintain a secure connection, leading to air leakage.
- Body: Cracks or deformities in the body of the chuck can create pathways for air to escape.
The table below summarizes how these components contribute to air loss:
| Component | Function | How it Contributes to Air Loss |
|---|---|---|
| Valve Connector | Attaches to the valve | Poor machining or flexible material leads to a loose seal. |
| Sealing Washer/O-ring | Prevents air leakage | Worn, cracked, or low-quality material allows air to escape. |
| Lever/Locking Mechanism | Secures chuck to valve | Loose or poorly designed mechanism fails to maintain a secure connection. |
| Body | Houses internal components | Cracks or deformities create pathways for air to escape. |
Materials Matter: Quality vs. Cost
The materials used in a bike pump chuck greatly influence its performance and longevity.
Common Materials Used in Chucks
- Plastic: Often used in cheaper chucks, plastic is lightweight and inexpensive but prone to wear and cracking.
- Aluminum: A popular choice for mid-range chucks, aluminum offers a good balance of durability and weight.
- Brass: Used in high-quality chucks, brass is durable, corrosion-resistant, and provides a tight seal.
- Steel: Also used in high-quality chucks, steel is exceptionally durable and can withstand high pressures.
Why Higher Quality Materials Are Worth the Investment
Investing in a chuck made from higher-quality materials like brass or steel offers several benefits:
- Improved Durability: High-quality materials are more resistant to wear and tear, ensuring a longer lifespan for your chuck.
- Better Sealing: Brass and steel provide a more consistent and reliable seal, minimizing air leakage.
- Corrosion Resistance: These materials are less susceptible to corrosion, which can degrade the performance of the chuck over time.
- Enhanced Performance: A well-made chuck will provide a more efficient and effective pumping experience.
Here’s a comparison of the materials used in chucks:
| Material | Pros | Cons | Typical Use |
|---|---|---|---|
| Plastic | Lightweight, inexpensive | Prone to wear and cracking, poor sealing | Cheap chucks |
| Aluminum | Durable, lightweight | More expensive than plastic | Mid-range chucks |
| Brass | Durable, corrosion-resistant, excellent sealing | More expensive than aluminum | High-quality chucks |
| Steel | Exceptionally durable, withstands high pressures | Heavier, more expensive | High-quality chucks |
Step-by-Step Guide to Identifying a Faulty Chuck

Knowing how to identify a faulty chuck can save you time and frustration. Here’s a step-by-step guide:
- Visual Inspection:
- Check the chuck for any visible cracks, deformities, or damage.
- Examine the sealing washer or O-ring for wear, cracks, or missing pieces.
- Leak Test:
- Attach the chuck to the tire valve.
- Listen for any hissing sounds, which indicate air leakage.
- Feel around the connection point for escaping air.
- Pressure Test:
- Inflate the tire to a specific pressure (e.g., 50 PSI).
- Monitor the pressure gauge on the pump.
- If the pressure drops quickly, it could indicate a leak in the chuck.
- Wiggle Test:
- While the chuck is attached to the valve, gently wiggle it.
- If you notice any air leakage during the wiggling, the chuck may not be making a secure connection.
Tools You’ll Need
- Your bike pump
- A tire pressure gauge
- Soapy water (optional, for leak detection)
What to Look For
When performing these tests, pay attention to the following:
- Any visible damage to the chuck.
- Audible hissing sounds indicating air leakage.
- A noticeable drop in tire pressure after inflation.
- Looseness or instability in the connection between the chuck and the valve.
Choosing the Right Chuck: What to Look For

Selecting the right chuck can significantly improve your pumping experience. Here are some key factors to consider:
- Material: Opt for chucks made from high-quality materials like brass or steel for durability and reliable sealing.
- Valve Compatibility: Ensure the chuck is compatible with the type of valves on your bike (Presta, Schrader, or both).
- Sealing Mechanism: Look for chucks with a robust sealing mechanism, such as a secure lever or locking system.
- User Reviews: Read reviews from other cyclists to get an idea of the chuck’s performance and reliability.
Recommended Brands and Models
Here are a few recommended brands and models known for their quality and performance:
- Lezyne: Lezyne offers a range of high-quality chucks with excellent sealing and durability.
- Silca: Silca chucks are known for their precision engineering and long-lasting performance.
- Topeak: Topeak provides reliable chucks with user-friendly designs and good value.
Where to Buy
You can purchase bike pump chucks from various sources:
- Local Bike Shops: Bike shops offer expert advice and a chance to inspect the chucks in person.
- Online Retailers: Online retailers like Amazon and REI offer a wide selection of chucks with customer reviews.
- Manufacturer Websites: Purchasing directly from the manufacturer’s website can ensure you get genuine products.
Maintaining Your Bike Pump Chuck
Proper maintenance can extend the life of your bike pump chuck and ensure optimal performance.
Cleaning and Lubrication Tips
- Regular Cleaning: Clean the chuck regularly with a damp cloth to remove dirt and debris.
- Lubrication: Apply a small amount of silicone-based lubricant to the sealing washer or O-ring to keep it supple and prevent air leakage.
When to Replace Your Chuck
Replace your chuck if you notice any of the following:
- Visible cracks or damage
- Persistent air leakage
- Difficulty achieving a secure connection with the valve
- Decreased pumping efficiency
Extending the Life of Your Chuck
Here are some tips to extend the life of your chuck:
- Store your bike pump in a dry, protected area.
- Avoid over-tightening the chuck on the valve.
- Inspect the chuck regularly for wear and tear.
- Replace the sealing washer or O-ring as needed.
Troubleshooting Common Chuck Issues
Even with a high-quality chuck, you may encounter some common issues. Here’s how to troubleshoot them:
Air Leaks
- Problem: Air is leaking from the connection between the chuck and the valve.
- Solution:
- Ensure the chuck is securely attached to the valve.
- Check the sealing washer or O-ring for wear or damage.
- Try tightening the lever or locking mechanism.
Difficulty Attaching to Valve
- Problem: The chuck is difficult to attach to the valve.
- Solution:
- Make sure the chuck is compatible with the valve type (Presta or Schrader).
- Clean the valve and chuck to remove any dirt or debris.
- Apply a small amount of lubricant to the valve stem.
Chuck Won’t Lock
- Problem: The chuck’s lever or locking mechanism won’t engage.
- Solution:
- Inspect the lever or locking mechanism for damage.
- Ensure the chuck is properly aligned with the valve.
- Try adjusting the tension on the lever or locking mechanism.
The Environmental Impact of Air Waste
While air leakage from a bike pump chuck may seem insignificant, it can contribute to environmental concerns over time.
Energy Waste
Inefficient pumping due to air leakage requires more energy to inflate tires. This increased effort can lead to:
- Increased Physical Exertion: More strokes and time spent pumping.
- Higher Energy Consumption: If using an electric pump, wasted electricity.
Resource Depletion
Frequent replacement of cheap, faulty chucks contributes to resource depletion and waste. Manufacturing low-quality products requires raw materials and energy, and their short lifespan means more frequent disposal.
Reducing Your Carbon Footprint
You can reduce your environmental impact by:
- Investing in Durable Equipment: Choose high-quality chucks that last longer and perform efficiently.
- Maintaining Your Gear: Regularly clean and lubricate your chuck to extend its lifespan.
- Repairing Instead of Replacing: Replace worn parts like sealing washers instead of the entire chuck whenever possible.
- Recycling: Properly dispose of old chucks and bike pumps through recycling programs.
FAQ: Why Cheap Chucks Waste More Air
Here are some frequently asked questions about bike pump chucks:
- Why does my bike pump seem to be leaking air?
- Air leakage often occurs due to a poor seal between the chuck and the tire valve. This can be caused by a worn sealing washer, a loose connection, or a damaged chuck.
- What’s the difference between Presta and Schrader valves?
- Presta valves are narrow and typically found on road bikes, while Schrader valves are wider and similar to car tire valves, often used on mountain and hybrid bikes.
- How do I know if my bike pump chuck needs replacing?
- Signs that your chuck needs replacing include visible damage, persistent air leakage, difficulty attaching to the valve, and decreased pumping efficiency.
- Can I use a car tire pump on my bike tires?
- Yes, if your bike has Schrader valves. However, car tire pumps can overinflate bike tires, so use caution and check the pressure frequently. You will need an adapter to use a car pump on a Presta valve.
- What type of lubricant should I use on my bike pump chuck?
- Use a silicone-based lubricant to keep the sealing washer or O-ring supple and prevent air leakage. Avoid using petroleum-based lubricants, as they can damage rubber components.
- Are dual-head chucks a good option?
- Yes, dual-head chucks are versatile and can accommodate both Presta and Schrader valves, making them a convenient choice if you have multiple bikes with different valve types.
- How often should I maintain my bike pump chuck?
- Clean and lubricate your chuck every few months, or more frequently if you use your bike pump regularly. Inspect it for wear and tear each time you use it.
Conclusion
Investing in a high-quality bike pump chuck is a small upgrade that can make a big difference in your cycling experience. By understanding the components of a chuck, choosing durable materials, and performing regular maintenance, you can ensure efficient inflation, save energy, and reduce waste. Don’t let a cheap chuck deflate your ride – choose wisely, maintain diligently, and enjoy the benefits of properly inflated tires on every journey. Happy Ride!


