
Easy: How to Use Screw-On Chuck Without Damaging Valve
Using a screw-on chuck doesn’t have to mean damaged valves! To prevent damage, align the chuck straight, avoid cross-threading by turning it backward first, and tighten it gently. Over-tightening is a common cause of valve damage, so a snug fit is all you need for an accurate pressure reading and effective inflation.
Ever struggled with a screw-on chuck, fearing you’ll bend or break your bike’s valve? You’re not alone! Many cyclists find these chucks tricky, often leading to frustration and damaged valves. But don’t worry; using a screw-on chuck without causing harm is totally achievable with the right technique.
This guide will walk you through each step to confidently and safely inflate your tires. We’ll cover everything from choosing the right chuck to mastering the gentle touch needed to protect your valves. By the end, you’ll be pumping like a pro, keeping your tires properly inflated and your valves in perfect shape. Let’s get started!
Understanding Screw-On Chucks and Valve Types

Before diving into the “how-to,” let’s cover the basics. Knowing your equipment and valve types is essential for preventing damage.
What is a Screw-On Chuck?
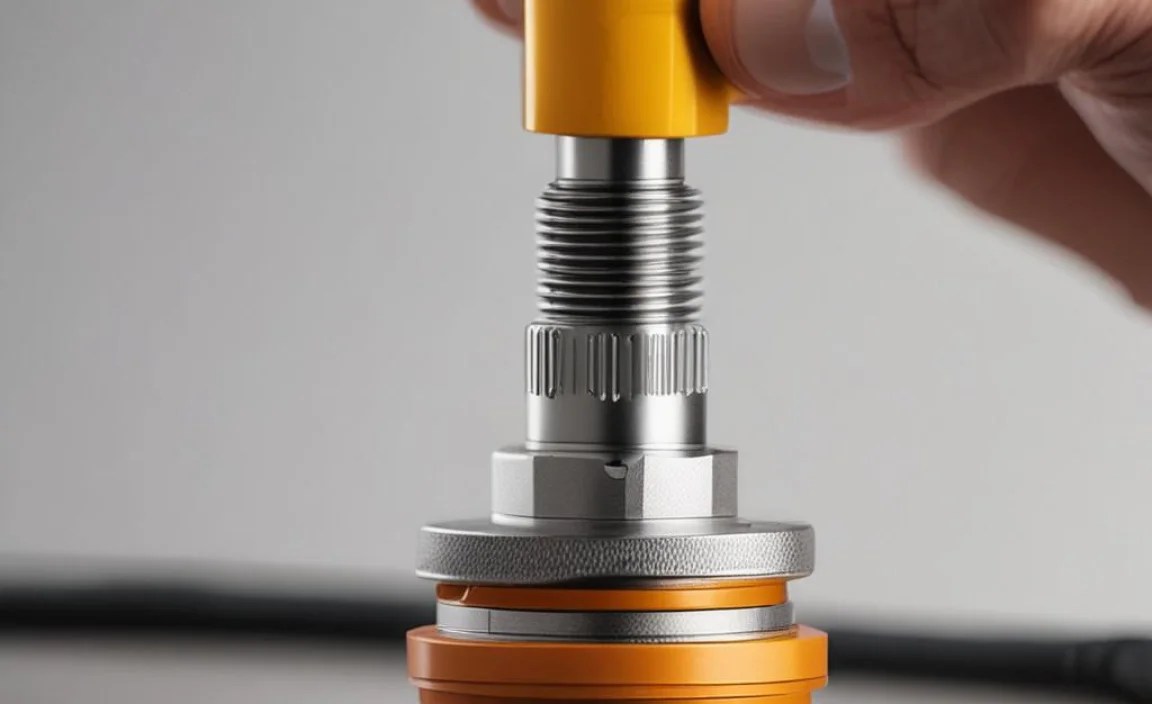
A screw-on chuck is a type of pump head that attaches to your tire’s valve by screwing onto it. This design provides a secure connection, minimizing air leakage during inflation. They’re commonly found on floor pumps and some portable pumps.
- Pros: Secure connection, minimal air leakage, often more durable.
- Cons: Can be tricky to align, potential for cross-threading, risk of valve damage if overtightened.
Common Bicycle Valve Types
The two most common types are Presta and Schrader valves. Knowing which you have is the first step in avoiding damage.
- Presta Valves: Found mostly on road bikes and high-performance bikes. They are narrower, with a valve core that needs to be opened before inflation.
- Schrader Valves: Common on car tires and some mountain and hybrid bikes. They are wider and have a spring-loaded pin in the center.
| Valve Type | Appearance | Common On | Considerations |
|---|---|---|---|
| Presta | Narrow, with a lock nut at the tip | Road bikes, high-performance bikes | Requires unlocking before inflation, more fragile |
| Schrader | Wider, similar to car tire valves | Mountain bikes, hybrid bikes, car tires | More robust, but still susceptible to damage from misaligned chucks |
Why Valves Get Damaged
Valve damage usually occurs from:
- Cross-threading: Forcing the chuck onto the valve at an angle.
- Over-tightening: Applying too much pressure when screwing on the chuck.
- Bent Valve Stems: Applying lateral force while pumping.
- Using the Wrong Chuck Type: Trying to force a chuck not designed for your valve.
Step-by-Step Guide: Using a Screw-On Chuck Without Damage

Follow these steps to safely and effectively inflate your tires with a screw-on chuck.
Step 1: Prepare Your Valve
Before attaching the chuck, prepare your valve:
- Presta Valves: Unscrew the valve nut completely. Gently depress the valve tip to ensure it’s not stuck. This releases any residual pressure.
- Schrader Valves: Simply remove the valve cap.
Step 2: Align the Chuck
Proper alignment is key. This prevents cross-threading and bent valve stems.
- Hold the chuck straight in line with the valve.
- Visually inspect to ensure the threads are aligned.
- Avoid angling the chuck; it should meet the valve head-on.
Step 3: Thread the Chuck On
This is where many people go wrong. Take your time and be gentle.
- Backpedal: Gently turn the chuck counter-clockwise (backwards) until you feel the threads align and “click” into place. This prevents cross-threading.
- Tighten Gently: Once aligned, screw the chuck on clockwise. Tighten it just enough to create a good seal. You shouldn’t need to use a lot of force.
- Listen and Feel: Pay attention to how the chuck is threading. If it feels rough or difficult, stop, realign, and try again.
Step 4: Inflate Your Tire
With the chuck securely attached, you can now inflate your tire.
- Secure the Pump: Place the pump on a stable surface.
- Use Smooth Strokes: Inflate the tire using smooth, even strokes. Avoid jerky or forceful movements.
- Monitor Pressure: Keep an eye on the pressure gauge. Inflate to the recommended pressure (printed on your tire’s sidewall).
Step 5: Remove the Chuck Carefully
Removing the chuck is just as important as attaching it.
- Unscrew Gently: Slowly unscrew the chuck counter-clockwise.
- Straight Pull: Once unscrewed, pull the chuck straight off the valve. Avoid bending or wiggling it.
- Presta Valves: Screw the valve nut back down to prevent air leakage and protect the valve.
- Replace Valve Cap: Replace the valve cap on both Presta and Schrader valves to keep dirt and debris out.
Troubleshooting Common Issues
Even with the best technique, you might encounter issues. Here’s how to handle them:
Air Leaking While Pumping
If you hear air leaking while pumping, it usually means the chuck isn’t sealed properly.
- Check the Connection: Make sure the chuck is screwed on tight enough.
- Inspect the Chuck: Look for worn or damaged rubber seals inside the chuck. Replace if necessary.
- Valve Core Issues: The valve core might be loose or damaged. Tighten or replace it using a valve core tool.
Chuck Won’t Thread On
If the chuck won’t thread onto the valve, don’t force it!
- Check Alignment: Ensure the chuck is perfectly aligned with the valve.
- Clean Threads: Dirt or debris on the threads can cause problems. Clean both the chuck and valve threads.
- Valve Damage: The valve threads might be damaged. If so, the valve may need replacement.
Bent Valve Stem
A bent valve stem is a sign of excessive force or misalignment.
- Prevention: Always align the chuck carefully and avoid applying lateral force while pumping.
- Repair: Unfortunately, a bent valve stem usually requires replacing the inner tube or tire (if it’s a tubeless setup).
Choosing the Right Screw-On Chuck

Not all screw-on chucks are created equal. Here’s what to look for:
- Material: Look for durable materials like metal or high-quality plastic.
- Thread Quality: The threads should be clean and well-defined for easy engagement.
- Compatibility: Ensure the chuck is compatible with both Presta and Schrader valves, or choose one specifically designed for your valve type.
- Ergonomics: A comfortable grip makes the process easier and reduces the risk of slippage.
Here are a few recommended brands:
- Topeak: Known for quality and durability.
- Lezyne: Offers innovative designs and precise construction.
- Park Tool: A trusted name in bicycle tools.
Alternative to Screw-On Chucks

If you’re consistently struggling with screw-on chucks, consider these alternatives:
- Lever-Lock Chucks: These chucks clamp onto the valve with a lever mechanism, offering a quick and secure connection without threading.
- Threadless Chucks: These simply press onto the valve, creating a seal without any screwing required.
Each type has its pros and cons, but they generally reduce the risk of valve damage.
| Chuck Type | Connection Method | Pros | Cons |
|---|---|---|---|
| Screw-On | Threads onto valve | Secure, minimal leakage | Risk of cross-threading, valve damage |
| Lever-Lock | Clamps onto valve with lever | Quick, secure, less risk of damage | Can be bulkier, may not fit all valves |
| Threadless | Presses onto valve | Easy to use, minimal risk of damage | Seal may not be as secure |
Maintaining Your Pump and Chuck
Proper maintenance extends the life of your pump and ensures reliable performance.
- Clean Regularly: Wipe down the pump and chuck with a clean cloth to remove dirt and debris.
- Inspect Seals: Check the rubber seals inside the chuck for wear and tear. Replace as needed.
- Lubricate Threads: Apply a small amount of lubricant to the chuck threads for smooth operation.
- Store Properly: Store your pump in a dry place to prevent corrosion.
FAQ: Screw-On Chucks and Valve Safety
What is cross-threading, and why is it bad?
Cross-threading happens when you force a screw onto a thread at an angle. This damages the threads on both the chuck and the valve, making it difficult to get a secure connection and potentially ruining the valve.
How tight should I screw on the chuck?
Just tight enough to create a good seal! Over-tightening can damage the valve. You should feel air hissing, but it shouldn’t be excessive.
Can I use a screw-on chuck on both Presta and Schrader valves?
Some chucks are dual-headed and work with both. Check your chuck to see if it has separate openings for each valve type. If not, you’ll need a chuck specifically designed for your valve.
What should I do if the chuck gets stuck on the valve?
Don’t force it! Gently wiggle the chuck while unscrewing it. If it’s really stuck, try applying a drop of lubricant to the threads.
How often should I replace the rubber seals in my chuck?
It depends on how often you use your pump, but check them every few months. If you notice air leaking or the chuck not sealing properly, it’s time for a replacement.
Is it okay to use pliers to tighten the chuck?
Absolutely not! Using pliers will almost certainly damage the valve. The chuck should only be tightened by hand.
What PSI is safe for tires?
It depends on the tire and the type of riding you are doing. Check the sidewall of your tire for the manufacturer’s recommended pressure range. Never exceed the maximum PSI listed.
Conclusion
Using a screw-on chuck doesn’t have to be a nerve-wracking experience. By understanding the equipment, practicing the right techniques, and taking your time, you can inflate your tires safely and effectively. Remember, gentle alignment and a light touch are key to preventing valve damage. So go ahead, pump up those tires with confidence, and enjoy the ride!


