
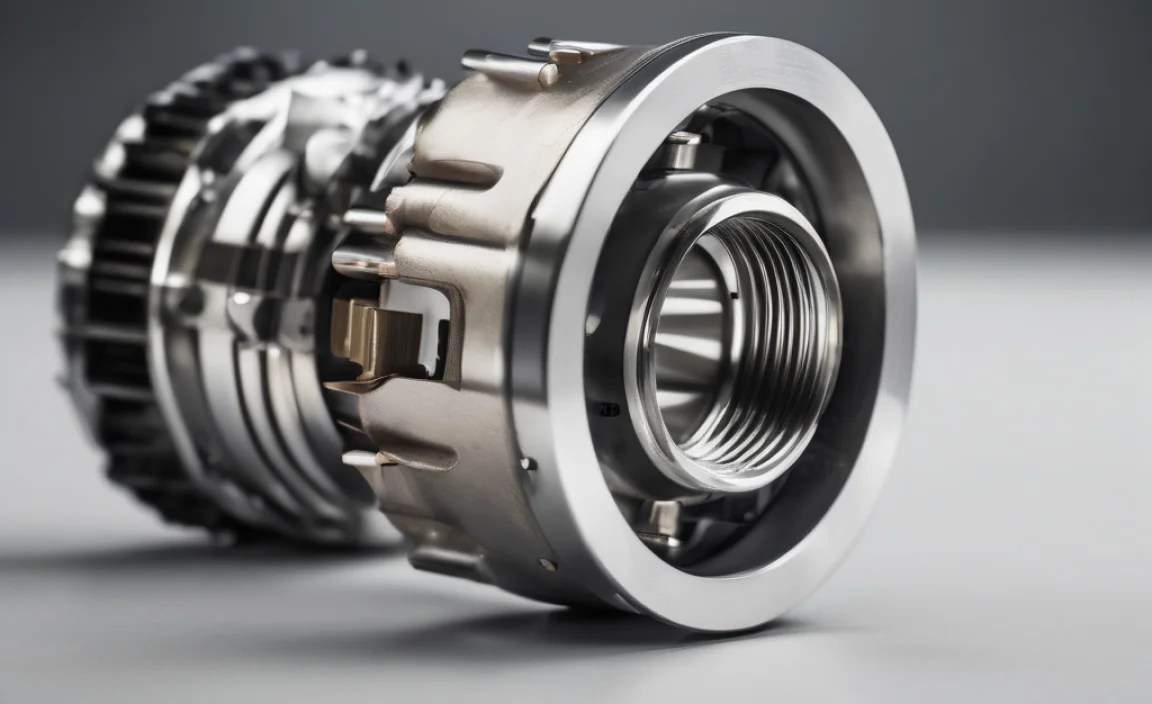
Chuck’s Internal Components: Powerful Guide
Quick Summary: Chucks, also known as bike pumps, have several key parts inside. These include the piston, which moves air; the check valve, which stops air from flowing backward; the seals, which keep the air from leaking; the hose, which connects to the tire valve; and the handle, which you use to pump. Knowing these parts helps you fix your pump and keep your tires inflated!
Ever struggled with a bike pump that just won’t pump? It’s a common problem for cyclists. Bike pumps, or “chucks,” have parts that can wear out or get damaged. Understanding what’s inside your pump helps you fix it instead of buying a new one. This saves you money and keeps your tires properly inflated. Let’s explore the parts inside your bike pump and how they work together.
Understanding the Internal Components of a Bike Pump

Bike pumps aren’t just simple tubes. They use clever mechanics to force air into your tires. Knowing the main parts helps you understand how to fix common problems.
Main Internal Components
- Piston: The heart of the pump, moving up and down to draw in and push out air.
- Check Valve: A one-way valve that stops air from flowing back into the pump.
- Seals (O-rings): Rubber rings that create airtight seals, preventing leaks.
- Hose: Connects the pump to the tire valve.
- Handle: The lever you use to operate the pump.
The Piston: The Pump’s Engine
The piston is a critical part. It moves inside the pump’s cylinder, creating pressure to push air into your tire. It’s connected to the handle, so when you push down, the piston moves.
How the Piston Works
- Upstroke (Intake): As you pull the handle up, the piston moves up, creating a vacuum. This vacuum sucks air into the pump cylinder through an intake valve.
- Downstroke (Compression): When you push the handle down, the piston moves down. This compresses the air in the cylinder. The compressed air then gets forced through the hose and into your tire.
Check Valve: Preventing Backflow
The check valve is a one-way valve. It only allows air to flow in one direction—from the pump to the tire. This is vital because you don’t want the air you just pumped in to flow back into the pump.
Types of Check Valves
- Flapper Valve: A simple hinged valve that opens to allow airflow and closes to prevent backflow.
- Poppet Valve: Uses a spring-loaded mechanism to open and close the valve. These are often more durable.
Seals (O-rings): Keeping Air In
Seals, often O-rings, are essential for maintaining an airtight system. They sit between parts like the piston and cylinder, preventing air from leaking out.
Why Seals Fail
- Wear and Tear: Over time, seals can dry out, crack, or wear down from friction.
- Dirt and Grime: Dirt can get between the seal and the cylinder, causing leaks.
- Improper Lubrication: Lack of lubrication increases friction and wear.
Hose: Connecting to the Tire Valve
The hose connects the pump to your tire valve. It needs to be flexible and durable to withstand the pressure.
Types of Hose Connections
- Threaded: Screws onto the valve. Provides a secure connection.
- Lever-Lock (Chuck): Clamps onto the valve with a lever. Quick and easy to use.
Handle: Providing the Leverage
The handle is what you use to operate the pump. It provides the leverage needed to move the piston and compress the air.
Handle Design Considerations
- Ergonomics: A comfortable handle reduces hand fatigue.
- Material: Sturdy materials like wood or plastic ensure durability.
- Length: A longer handle provides more leverage, making it easier to pump.
Diagnosing Common Pump Problems
Knowing the parts helps you figure out what’s wrong when your pump fails. Here are some common problems and how to diagnose them.
Pump Not Pumping Air
If your pump isn’t pushing air into the tire, here’s what to check:
- Check Valve: Make sure the check valve isn’t stuck or blocked. Clean it or replace it if necessary.
- Piston: Ensure the piston is moving freely and not damaged.
- Hose Connection: Check that the hose is securely attached to both the pump and the tire valve.
Air Leaking
If you hear or feel air leaking, the problem is likely with the seals or hose.
- Seals: Inspect the seals for cracks or wear. Replace them if needed.
- Hose: Check the hose for holes or cracks. Replace the hose if damaged.
- Valve Core: The valve core on your tire could be loose or damaged. Tighten or replace it.
Handle Difficult to Push
If the handle is hard to push, the piston might be dry or the cylinder might be dirty.
- Lubrication: Apply a small amount of lubricant to the piston and cylinder.
- Cleaning: Clean the inside of the cylinder to remove any dirt or debris.
Step-by-Step Guide to Bike Pump Maintenance

Regular maintenance keeps your pump working smoothly. Here’s how to maintain your bike pump.
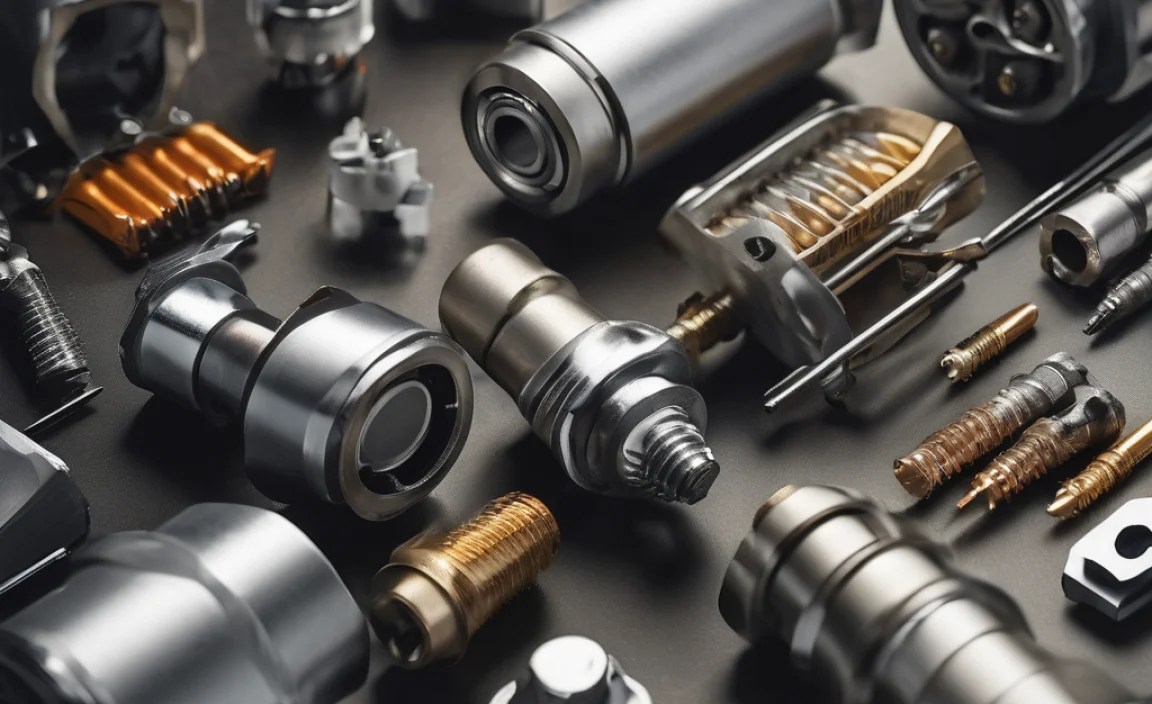
Tools You’ll Need
- Screwdrivers (Phillips and flathead)
- Pliers
- Lubricant (silicone-based is best)
- Clean rags
- Replacement seals (O-rings)
Step 1: Disassemble the Pump
- Remove the Handle: Unscrew or unclip the handle from the piston rod.
- Open the Cylinder: Most pumps have a screw-on base or cap. Unscrew it to access the internal parts.
- Remove the Piston: Carefully slide the piston out of the cylinder.
- Detach the Hose: Disconnect the hose from the pump body.
Step 2: Clean the Components
- Wipe Down Parts: Use a clean rag to wipe down the piston, cylinder, and other components.
- Remove Debris: Check for and remove any dirt or debris. A small brush can help with hard-to-reach areas.
- Clean the Check Valve: Disassemble the check valve and clean it thoroughly. Ensure it moves freely.
Step 3: Inspect and Replace Worn Parts
- Check Seals: Inspect all seals (O-rings) for cracks, wear, or damage. Replace any that look worn.
- Examine Piston: Look for damage on the piston. Replace if necessary.
- Inspect Hose: Check the hose for cracks or leaks. Replace if needed.
Step 4: Lubricate the Components
- Apply Lubricant: Apply a small amount of silicone-based lubricant to the piston, cylinder, and seals.
- Reassemble Check Valve: Lubricate the check valve parts before reassembling.
Step 5: Reassemble the Pump
- Insert Piston: Carefully slide the piston back into the cylinder.
- Attach Hose: Reconnect the hose to the pump body.
- Close Cylinder: Screw the base or cap back onto the cylinder.
- Reattach Handle: Reconnect the handle to the piston rod.
Step 6: Test the Pump
- Check for Leaks: Pump a few times and listen for air leaks.
- Ensure Proper Function: Make sure the pump is pushing air effectively.
Troubleshooting Tips
Even with maintenance, problems can arise. Here are some troubleshooting tips.
Problem: Pump Still Not Pumping Air
- Check Valve Installation: Ensure the check valve is installed in the correct direction.
- Seal Fit: Make sure the seals are the correct size and fit snugly.
- Cylinder Alignment: Ensure the cylinder is properly aligned.
Problem: Air Leaking After Maintenance
- Seal Lubrication: Ensure seals are adequately lubricated.
- Hose Connection: Double-check the hose connection for tightness.
- Valve Core: Ensure the valve core on your tire is tight and functioning correctly.
Problem: Handle Still Difficult to Push
- Lubricant Type: Use only silicone-based lubricant. Other types can damage the seals.
- Internal Obstructions: Check for any remaining dirt or debris inside the cylinder.
- Piston Alignment: Ensure the piston is aligned correctly within the cylinder.
Choosing the Right Bike Pump

Selecting the right pump can make a big difference. Here are some factors to consider.
Types of Bike Pumps
- Floor Pumps: Best for home use. Provide more leverage and volume.
- Mini Pumps: Portable for on-the-road repairs. Compact but require more effort.
- CO2 Inflators: Use compressed CO2 cartridges for quick inflation. Good for emergencies.
Key Features to Look For
- Pressure Gauge: Helps you inflate tires to the correct pressure.
- Dual Head: Compatible with both Presta and Schrader valves.
- Durable Construction: Look for pumps made from sturdy materials like steel or aluminum.
Table: Comparing Bike Pump Types
| Type | Pros | Cons | Best Use |
|---|---|---|---|
| Floor Pump | High volume, easy to use, accurate gauge | Not portable | Home use, inflating tires quickly |
| Mini Pump | Portable, lightweight | Lower volume, requires more effort | On-the-road repairs, emergencies |
| CO2 Inflator | Very fast inflation, compact | Requires cartridges, can be wasteful | Emergencies, racing |
Table: Common Bike Pump Problems and Solutions
| Problem | Possible Cause | Solution |
|---|---|---|
| Pump not pumping air | Check valve blocked or installed backward | Clean or reinstall check valve |
| Air leaking | Worn or damaged seals | Replace seals |
| Handle hard to push | Lack of lubrication | Lubricate piston and cylinder |
| Hose detached | Loose connection | Tighten or replace hose |
| Gauge not working | Damaged gauge | Replace gauge |
External Resources for Further Learning
- Park Tool: Park Tool Repair Help – Comprehensive guides on bike maintenance and repair.
- REI: REI Bike Maintenance Tips – Expert advice on keeping your bike in top condition.
FAQ: Internal Components of a Chuck
What is the most common part to fail in a bike pump?
The most common part to fail in a bike pump is the seal (O-ring). These seals can dry out, crack, or wear down over time, causing air leaks. Regularly inspecting and lubricating the seals can help extend their lifespan.
How often should I maintain my bike pump?
You should maintain your bike pump every 3-6 months, depending on how often you use it. Regular maintenance includes cleaning, lubricating, and inspecting the internal components for wear and tear.
Can I use any lubricant on my bike pump?
No, you should only use silicone-based lubricant on your bike pump. Other types of lubricants can damage the seals and other internal components.
What is a check valve and why is it important?
A check valve is a one-way valve that allows air to flow in only one direction—from the pump to the tire. It prevents air from flowing back into the pump, ensuring efficient inflation.
How do I know if my bike pump seals need replacing?
You’ll know your bike pump seals need replacing if you notice air leaking from the pump while you’re using it, or if the pump is not building pressure as it should.
What type of bike pump is best for home use?
A floor pump is best for home use. It provides more leverage and volume, making it easier to inflate tires quickly and accurately. Floor pumps also often come with a pressure gauge, which helps you inflate tires to the correct pressure.
Can I fix a broken bike pump hose?
Yes, you can often fix a broken bike pump hose. If the hose has a small crack or leak, you can try patching it with rubber sealant or tape. However, if the hose is severely damaged, it’s best to replace it entirely.
Conclusion
Understanding the internal components of your bike pump empowers you to maintain it effectively. By knowing how each part works, you can diagnose problems, perform simple repairs, and keep your tires properly inflated. Regular maintenance extends the life of your pump and ensures your rides are always smooth. So, grab your tools, follow these steps, and keep your pump in top shape!


