
Easy How to Replace Hose Clamp for Chuck Now!
Quick Summary:
Replacing a hose clamp on your bike pump’s chuck is simple! First, gather a screwdriver (usually flathead or Phillips) and your new hose clamp. Unscrew the old clamp, slide it off, and then slide the new clamp onto the hose. Position the new clamp correctly and tighten it securely, but not too tight! Test the connection to ensure it’s airtight. You’re all set for pumping!
Ever tried pumping up your bike tire only to find air leaking everywhere except into the tube? A common culprit is a worn-out hose clamp on your pump’s chuck. These little guys keep the hose tightly connected, ensuring all that precious air goes where it’s supposed to. Don’t worry, replacing them is a quick and easy fix that anyone can do.
In this guide, I’ll walk you through each step to replace that pesky hose clamp and get your pump working like new. No more frustrating leaks – just smooth, efficient pumping. Let’s get started!
What You’ll Need
Before diving in, make sure you have these items ready:
- New Hose Clamp: Make sure it’s the correct size for your pump’s hose. Measure the outer diameter of your hose to ensure a snug fit.
- Screwdriver: Usually a flathead or Phillips head, depending on the type of clamp.
- Pliers (optional): May be helpful for removing stubborn old clamps.
Step-by-Step Guide to Replacing Your Hose Clamp

Step 1: Identify the Problem
First, confirm that the hose clamp is indeed the issue. Here’s how:
- Check for Leaks: While pumping, listen and feel for air escaping around the hose where it connects to the chuck.
- Inspect the Clamp: Look for visible damage, rust, or looseness on the existing clamp.
- Wiggle the Hose: Gently wiggle the hose at the connection point. Excessive movement indicates a loose clamp.
Step 2: Prepare Your Work Area
A little preparation makes the job easier:
- Gather Your Tools: Have your new clamp, screwdriver, and pliers (if needed) within reach.
- Clean the Area: Wipe down the hose and chuck area to remove any dirt or grime. This will help you see what you’re doing and ensure a good seal.
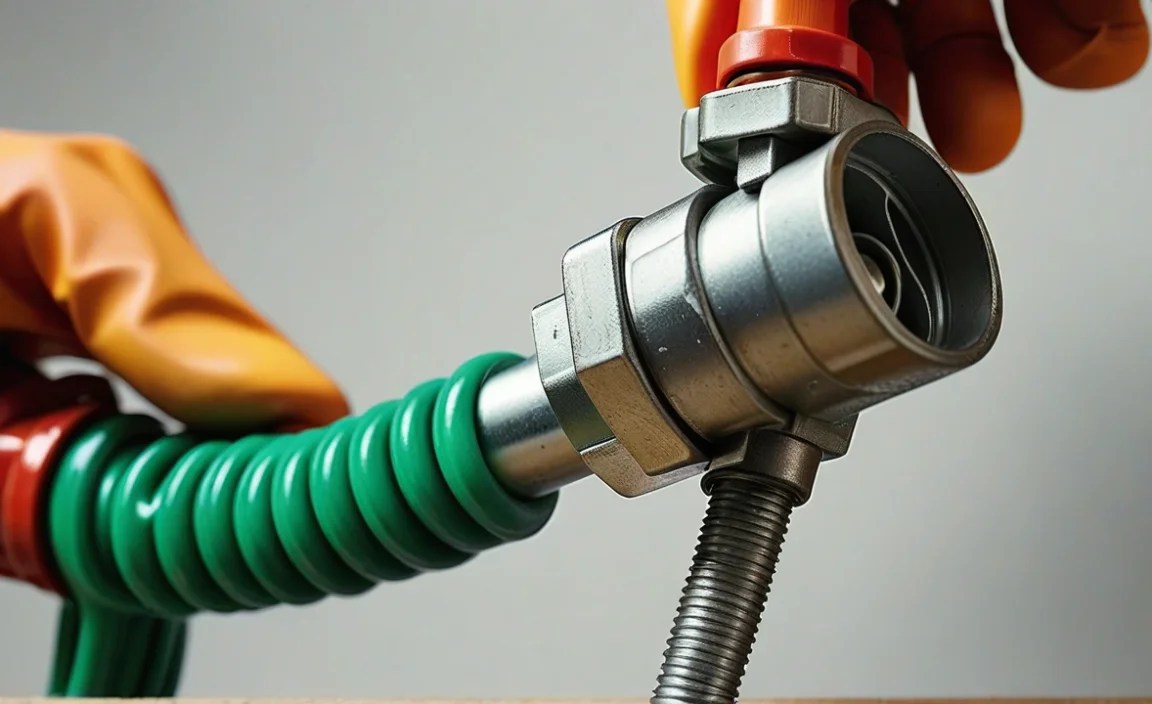
Step 3: Remove the Old Hose Clamp
Now, let’s get that old clamp off:
- Position the Screwdriver: Place the screwdriver on the screw head of the old clamp.
- Loosen the Screw: Turn the screwdriver counterclockwise to loosen the clamp. If it’s stuck, try using pliers to gently grip and turn the screw.
- Remove the Clamp: Once loosened, slide the old clamp off the hose. You might need to wiggle it a bit if it’s tight.
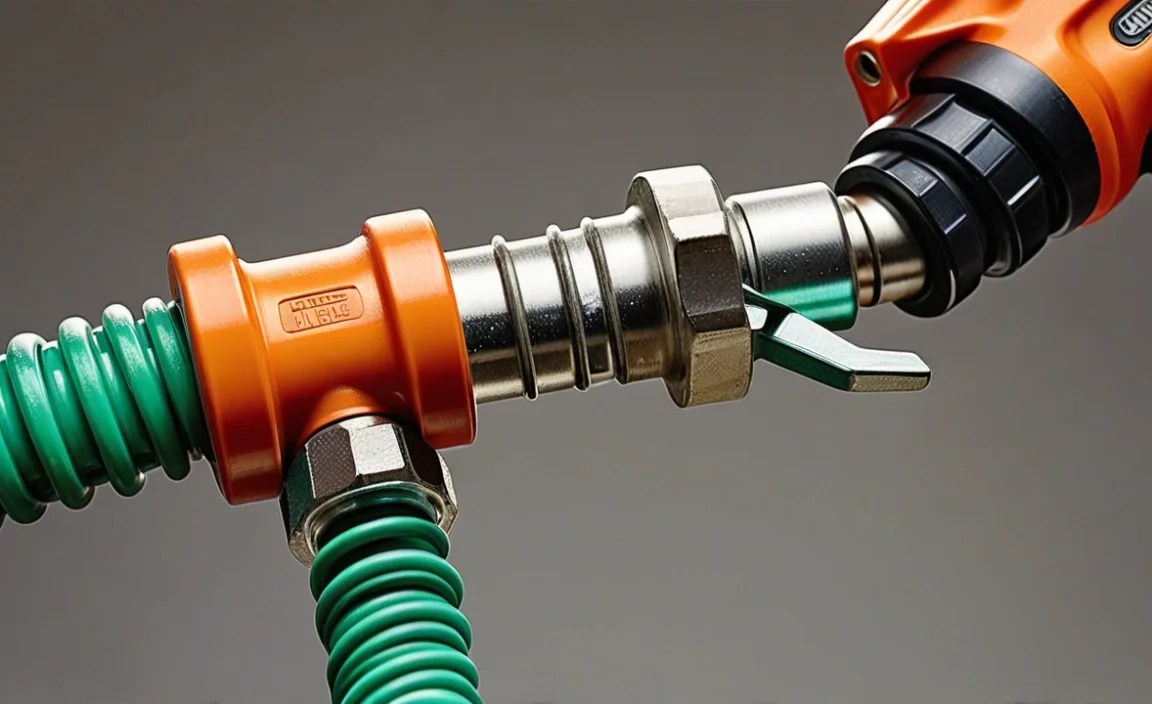
Step 4: Install the New Hose Clamp
Time to put on the new clamp and restore that airtight seal:
- Position the New Clamp: Slide the new hose clamp onto the hose, positioning it about ¼ inch from the end of the hose where it connects to the chuck.
- Align the Clamp: Make sure the clamp is aligned straight on the hose and that the screw is easily accessible.
- Tighten the Screw: Using your screwdriver, tighten the screw clockwise until the clamp feels snug. Be careful not to overtighten, as this could damage the hose.
Step 5: Test for Leaks
The moment of truth! Let’s make sure everything is working correctly:
- Attach the Chuck: Connect the pump’s chuck to your bike tire’s valve.
- Pump a Few Strokes: Pump a few strokes and listen for any hissing sounds around the hose clamp area.
- Check for Air Leaks: Feel around the clamp with your hand to detect any escaping air.
- Adjust if Necessary: If you detect a leak, tighten the clamp slightly and test again.
Troubleshooting Tips
Sometimes, things don’t go perfectly. Here are a few common issues and how to solve them:
- Clamp Too Loose: If you’re still getting leaks after tightening, make sure the clamp is the correct size. You might need a smaller clamp for a tighter fit.
- Clamp Too Tight: Overtightening can damage the hose. If you’ve overtightened and the hose looks compressed or cracked, you’ll need to replace the hose as well.
- Screw Stripped: If the screw on the clamp is stripped and won’t tighten, you’ll need to replace the clamp.
- Hose is Cracked or Damaged: If the hose itself is cracked or damaged, replacing just the clamp won’t solve the problem. You’ll need to replace the entire hose.
Choosing the Right Hose Clamp

Not all hose clamps are created equal. Here’s what to look for:
- Size: Measure the outer diameter of your hose to ensure a snug fit. Clamps come in various sizes, so choose one that matches your hose.
- Material: Stainless steel clamps are more durable and resistant to rust than cheaper metal clamps.
- Type: Worm-drive clamps (the standard type with a screw) are generally fine for bike pumps.
Maintaining Your Bike Pump
Regular maintenance will keep your bike pump working efficiently for years to come:
- Inspect Regularly: Check the hose, chuck, and clamps for wear and tear every few months.
- Clean the Chuck: Keep the chuck clean to ensure a good seal with the tire valve. Use a small brush or cloth to remove dirt and debris.
- Lubricate Moving Parts: Occasionally lubricate the pump’s piston and other moving parts with a light oil or silicone spray.
- Store Properly: Store your pump in a dry place to prevent rust and corrosion.
Different Types of Hose Clamps
While worm-drive clamps are the most common for bike pumps, here’s a quick overview of other types:
| Type of Clamp | Description | Pros | Cons | Common Applications |
|---|---|---|---|---|
| Worm-Drive Clamps | The most common type, featuring a screw that tightens a band around the hose. | Easy to use, widely available, and inexpensive. | Can loosen over time, may corrode if not stainless steel. | Automotive, plumbing, and general-purpose applications, including bike pumps. |
| T-Bolt Clamps | Uses a T-bolt to tighten a circular band, providing a strong and even clamping force. | High clamping force, durable, and resistant to corrosion. | More expensive than worm-drive clamps, can be bulky. | Heavy-duty applications, such as turbocharger hoses and exhaust systems. |
| Spring Clamps | A spring steel band that applies constant pressure. | Self-adjusting, easy to install and remove. | Lower clamping force compared to other types. | Low-pressure applications, such as coolant hoses. |
| Ear Clamps | Also known as O-clips, these clamps are crimped to provide a permanent seal. | Tamper-proof, lightweight, and compact. | Requires a special tool for installation and removal, not reusable. | Automotive, industrial, and hydraulic applications. |
Essential Tools for Bike Maintenance
Besides a screwdriver and pliers, here are some other useful tools for bike maintenance:
- Multi-Tool: A compact tool with various Allen wrenches, screwdrivers, and other useful bits.
- Tire Levers: For removing and installing tires.
- Chain Tool: For breaking and connecting chains.
- Adjustable Wrench: For various nuts and bolts.
- Bike Stand: Makes maintenance easier by holding your bike upright.
FAQ: Replacing Hose Clamps for Chuck
Q1: What size hose clamp do I need?
Measure the outer diameter of your pump’s hose where the clamp will sit. Choose a clamp size that fits snugly around the hose.
Q2: Can I reuse an old hose clamp?
It’s generally not recommended. Old clamps can lose their tension and may not provide a reliable seal. It’s best to use a new clamp for optimal performance.
Q3: What happens if I overtighten the hose clamp?
Overtightening can damage the hose, causing it to compress or crack. This can lead to leaks and require you to replace the hose.
Q4: How often should I replace my hose clamp?
Replace the hose clamp if you notice any signs of wear, rust, or leaks. Regular inspection every few months can help you catch potential problems early.
Q5: Can I use any type of clamp for my bike pump?
Worm-drive clamps are typically the best choice for bike pumps. Ensure the clamp is the correct size and made of a durable material like stainless steel.
Q6: What if the hose is also damaged?
If the hose is cracked, brittle, or damaged, replacing the hose clamp alone won’t fix the problem. You’ll need to replace the entire hose to ensure a proper seal.
Q7: Where can I buy replacement hose clamps?
You can find replacement hose clamps at most hardware stores, automotive supply stores, and online retailers. Make sure to check the size before purchasing.
The Importance of Bike Pump Maintenance
A well-maintained bike pump is essential for keeping your tires properly inflated, which improves your bike’s performance, handling, and safety. Proper tire pressure reduces the risk of flats, increases efficiency, and provides a more comfortable ride. Neglecting your pump can lead to frustration and unnecessary expenses.
Here’s why regular bike pump maintenance matters:
- Optimal Tire Pressure: Maintaining the correct tire pressure ensures a smooth and efficient ride.
- Reduced Risk of Flats: Properly inflated tires are less susceptible to pinch flats.
- Improved Handling: Correct tire pressure enhances your bike’s handling and stability.
- Increased Efficiency: Properly inflated tires reduce rolling resistance, making it easier to pedal.
- Extended Tire Life: Maintaining proper pressure can extend the life of your tires.
Conclusion
Replacing a hose clamp on your bike pump is a simple yet crucial maintenance task that can save you from frustrating air leaks and ensure your tires are always properly inflated. By following these step-by-step instructions, you can easily replace the clamp, troubleshoot common issues, and maintain your pump for years of reliable use.
So, grab your screwdriver, new clamp, and get ready to enjoy smooth, efficient pumping. Happy riding!


