
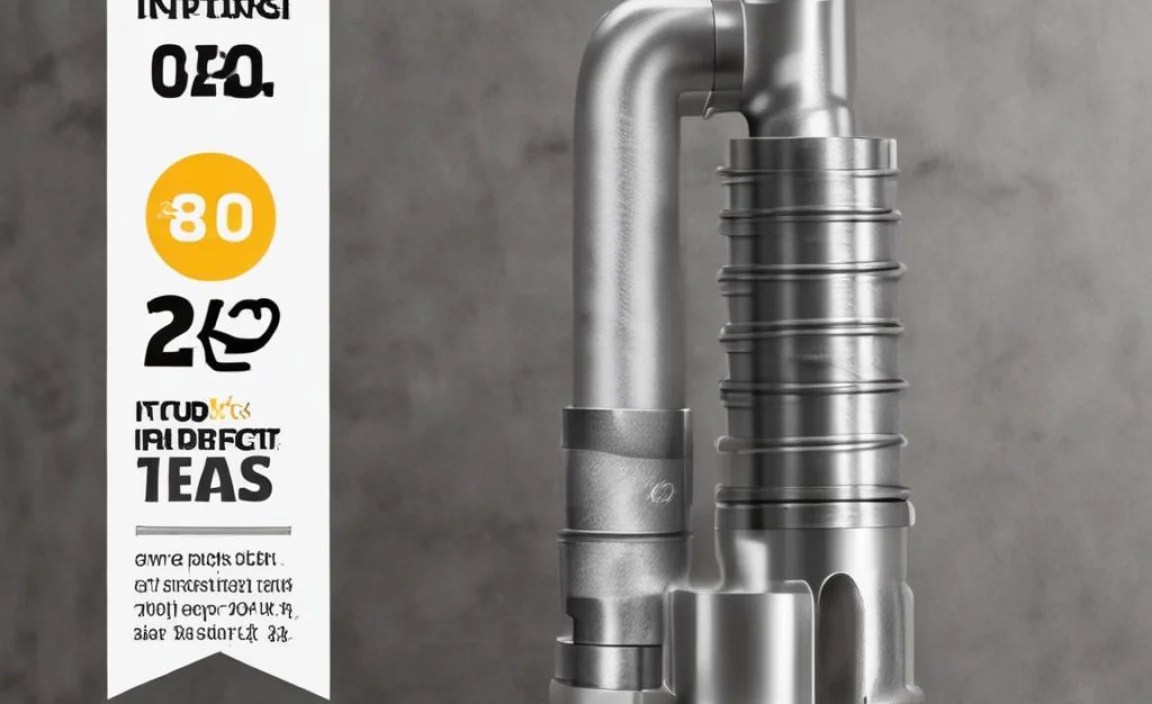
How to Inspect Chuck Hose Connection: Easy Steps
Quick Summary:
Checking your chuck hose connection is key for reliable tire inflation. First, visually inspect the hose for cracks or wear. Then, tighten the connection points with a wrench if needed. Test for air leaks by listening for hissing sounds while pumping. If leaks persist, replace the hose or chuck. Regular inspection ensures accurate pressure and prevents frustrating flats!
Are you tired of bike tires that slowly deflate, or struggling to get an accurate pressure reading when you pump? A faulty chuck hose connection could be the culprit! It’s a common problem, but luckily, it’s easy to fix. A simple inspection can save you from frustrating rides and potential flats. Don’t worry; you don’t need to be a bike mechanic to tackle this. This guide will walk you through each step, so you can be back on the road with confidence. Let’s get started!
Why Inspect Your Chuck Hose Connection?

Your bike pump’s chuck hose connection is where the magic happens – it’s the link between your pump and your tire valve. But over time, this connection can weaken, causing a whole host of problems. Here’s why regular inspection is crucial:
- Prevent Air Leaks: A loose or damaged connection lets air escape, making it impossible to inflate your tires to the correct pressure.
- Ensure Accurate Pressure Readings: Leaks throw off the pressure gauge, so you might think your tires are properly inflated when they’re not.
- Avoid Frustrating Flats: Underinflated tires are more prone to pinch flats, where the tube gets pinched between the rim and the road.
- Extend the Life of Your Pump: Catching small problems early can prevent them from snowballing into bigger, more expensive repairs.
- Maintain Riding Performance: Proper tire pressure is essential for optimal rolling resistance, handling, and overall riding comfort.
Tools You’ll Need

Before you start inspecting, gather these simple tools:
- Wrench: An adjustable wrench or a set of appropriately sized wrenches to tighten the hose connections.
- Soap and Water (Optional): A small spray bottle filled with soapy water to help locate air leaks.
- Rag: To wipe away any dirt or grime.
- Replacement Hose or Chuck (If Needed): Have these on hand if you suspect damage and want to replace parts immediately.
Step-by-Step Guide: How to Inspect Your Chuck Hose Connection

Follow these steps to thoroughly inspect your chuck hose connection and identify any potential problems:
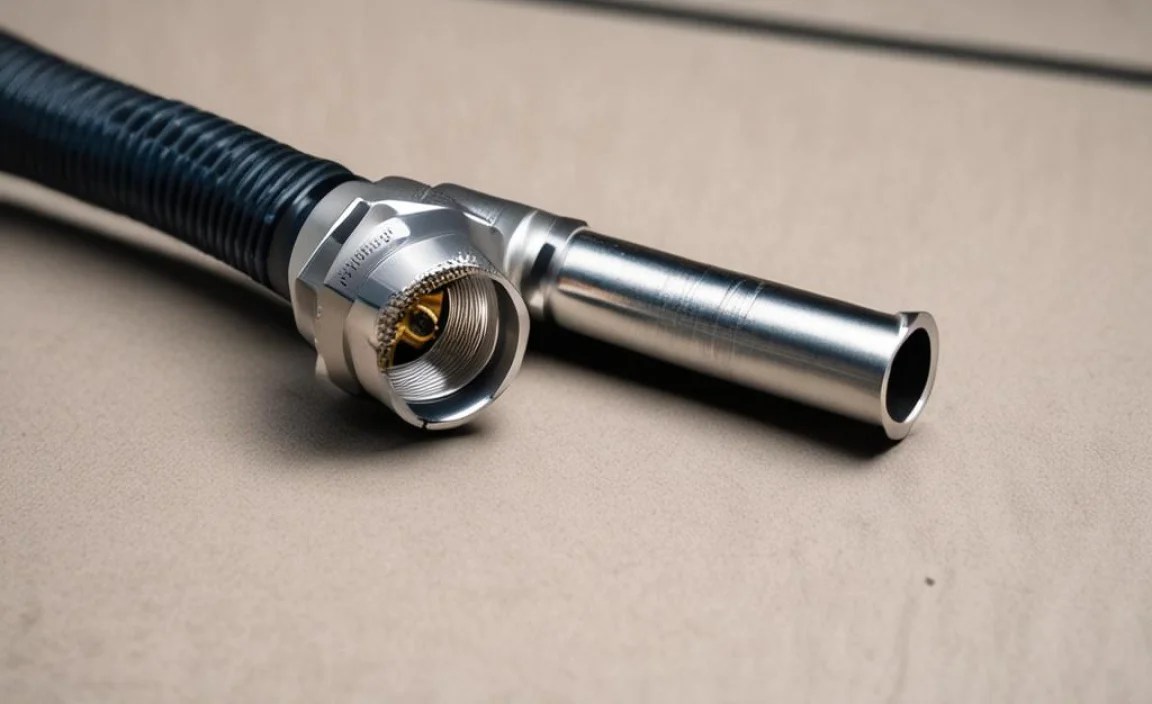
Step 1: Visual Inspection
Start with a close visual examination of the entire hose and its connection points.
- Check the Hose: Look for cracks, cuts, kinks, or any signs of wear and tear along the length of the hose. Pay close attention to the areas near the connections.
- Inspect the Connections: Examine where the hose connects to the pump and the chuck. Look for any looseness, rust, or damage.
- Examine the Chuck: Check the chuck itself for damage to the valve interface. Make sure the lever or mechanism that secures it to the valve is working smoothly.
Step 2: Tighten the Connections
If you notice any looseness at the connection points, carefully tighten them with a wrench.
- Identify the Connection Points: Locate the nuts or fittings where the hose attaches to the pump and the chuck.
- Use the Correct Wrench: Select a wrench that fits snugly on the nut or fitting. Avoid using pliers, as they can damage the metal.
- Tighten Gently: Apply gentle pressure to tighten the connection. Be careful not to overtighten, as this could strip the threads or damage the hose.
Step 3: Test for Air Leaks
After tightening the connections, test for air leaks to see if the problem is resolved.
- Attach the Chuck to a Tire Valve: Securely attach the chuck to a tire valve.
- Inflate the Tire Slightly: Pump a small amount of air into the tire.
- Listen for Hissing: Listen carefully for any hissing sounds coming from the hose or connections. This indicates an air leak.
- Use Soapy Water (Optional): If you can’t pinpoint the leak by sound, spray the connections with soapy water. Bubbles will form where air is escaping.
Step 4: Replace Damaged Parts (If Necessary)
If you find any damaged parts or persistent air leaks, it’s time to replace them.
- Determine the Faulty Part: Identify whether the hose, the chuck, or both need to be replaced.
- Purchase Replacement Parts: Buy a replacement hose or chuck that is compatible with your pump. Most bike shops carry these parts.
- Install the New Part: Follow the manufacturer’s instructions to install the new hose or chuck. Usually, this involves unscrewing the old part and screwing in the new one.
Step 5: Re-Test
After replacing any parts, test the connection again to ensure everything is working correctly.
- Attach the Chuck to a Tire Valve: Securely attach the chuck to a tire valve.
- Inflate the Tire: Pump the tire to the desired pressure.
- Check for Leaks: Listen for hissing sounds or use soapy water to check for leaks.
- Verify Pressure Accuracy: Compare the pressure reading on your pump’s gauge to a separate pressure gauge to ensure accuracy.
Troubleshooting Common Issues
Even with careful inspection and maintenance, you might encounter some common issues. Here’s how to troubleshoot them:
Hose Kinks
Problem: The hose is bent or kinked, restricting airflow.
Solution:
- Straighten the Hose: Gently straighten the hose by hand.
- Use a Hose Straightener: If the kink is severe, you can use a specialized hose straightener tool.
- Replace the Hose: If the hose is permanently damaged, replace it.
Loose Connections
Problem: The connections between the hose, pump, and chuck are loose.
Solution:
- Tighten with a Wrench: Use a wrench to gently tighten the connections.
- Check for Worn Threads: If the threads are worn, replace the fitting or the entire hose.
- Use Teflon Tape: Wrap Teflon tape around the threads before tightening to create a tighter seal. You can find this at your local hardware store or online.
Air Leaks
Problem: Air is leaking from the hose or connections.
Solution:
- Locate the Leak: Listen for hissing sounds or use soapy water to find the source of the leak.
- Tighten the Connection: If the leak is at a connection, tighten it with a wrench.
- Replace Damaged Parts: If the hose or chuck is damaged, replace it.
Chuck Not Sealing
Problem: The chuck is not sealing properly on the tire valve.
Solution:
- Check the Chuck’s Mechanism: Make sure the lever or mechanism that secures the chuck to the valve is working smoothly.
- Clean the Chuck: Remove any dirt or debris from the chuck.
- Replace the Chuck: If the chuck is worn or damaged, replace it.
Maintenance Tips for Longevity
To keep your chuck hose connection in top shape and extend its lifespan, follow these maintenance tips:
- Store Your Pump Properly: Store your pump in a cool, dry place away from direct sunlight and extreme temperatures.
- Avoid Over-Tightening: When tightening connections, avoid over-tightening, as this can damage the threads or the hose.
- Regularly Clean Your Pump: Wipe down your pump with a damp cloth to remove dirt and grime.
- Inspect Regularly: Make it a habit to inspect your chuck hose connection regularly, especially before long rides.
- Replace Worn Parts Promptly: Don’t wait until a part fails completely. Replace worn parts as soon as you notice them.
Choosing the Right Bike Pump and Chuck
Investing in a high-quality bike pump and chuck can make a big difference in your cycling experience. Here’s what to look for:
Bike Pump Types
| Pump Type | Pros | Cons | Best For |
|---|---|---|---|
| Floor Pump | High volume, stable, accurate gauge | Less portable | Home use, inflating tires quickly |
| Mini Pump | Portable, lightweight | Lower volume, can be tiring to use | On-the-go repairs, emergency inflation |
| CO2 Inflator | Very fast inflation, compact | Requires CO2 cartridges, can be wasteful | Racing, quick repairs |
Chuck Types
| Chuck Type | Pros | Cons | Compatibility |
|---|---|---|---|
| Presta/Schrader Switchable | Versatile, works with both valve types | Can be more complex | Bikes with both Presta and Schrader valves |
| Presta-Specific | Simple, reliable | Only works with Presta valves | Road bikes, high-performance bikes |
| Schrader-Specific | Durable, easy to use | Only works with Schrader valves | Mountain bikes, hybrid bikes |
Chuck Materials
The material of the chuck can also affect its performance and durability. Common materials include:
- Plastic: Lightweight and inexpensive, but less durable.
- Aluminum: Lightweight and more durable than plastic.
- Brass: Durable and corrosion-resistant, but heavier.
Understanding Valve Types
Before you can properly inspect your chuck hose connection, it’s important to understand the two main types of bike tire valves:
- Presta Valves: These valves are narrow and have a small nut at the top that needs to be unscrewed before inflating. They are commonly found on road bikes and high-performance bikes.
- Schrader Valves: These valves are wider and look similar to car tire valves. They are commonly found on mountain bikes, hybrid bikes, and some road bikes.
How to Choose the Right Chuck
When choosing a chuck, consider the following factors:
- Valve Compatibility: Make sure the chuck is compatible with the type of valves on your bike tires.
- Ease of Use: Choose a chuck that is easy to attach and detach from the valve.
- Durability: Look for a chuck made from durable materials that can withstand regular use.
- Sealing Performance: Choose a chuck that provides a tight seal to prevent air leaks.
Chuck Maintenance
Just like your hose, your chuck needs regular maintenance to keep it working properly. Here are some tips:
- Clean the Chuck Regularly: Use a small brush or a cloth to remove dirt and debris from the chuck.
- Lubricate the Chuck: Apply a small amount of lubricant to the chuck’s moving parts to keep them working smoothly.
- Replace Worn Parts: If the chuck’s seals or other parts are worn, replace them promptly.
Advanced Troubleshooting
If you’ve tried the basic troubleshooting steps and are still having problems, here are some advanced troubleshooting tips:
Check the Pump’s Internal Seals
The pump itself may have internal leaks. Check the seals and O-rings inside the pump and replace them if necessary.
Inspect the Hose for Hidden Damage
Sometimes, damage to the hose isn’t visible. Try bending the hose in different places to see if you can find any hidden cracks or leaks.
Use a Professional Repair Service
If you’re not comfortable working on your pump yourself, take it to a professional bike repair service. They have the tools and expertise to diagnose and repair complex problems.
Safety Precautions
When working on your chuck hose connection, keep these safety precautions in mind:
- Wear Safety Glasses: Protect your eyes from flying debris.
- Disconnect the Pump: Before working on the hose or chuck, disconnect the pump from the power source (if it’s an electric pump) or release any stored pressure.
- Use the Right Tools: Use the correct tools for the job to avoid damaging the parts.
- Work in a Well-Ventilated Area: If you’re using any chemicals or lubricants, work in a well-ventilated area.
FAQ: Inspecting Chuck Hose Connections
Here are some frequently asked questions about inspecting chuck hose connections:
Why is my bike tire losing air even though I just pumped it?
A common cause is a leaky chuck hose connection. Inspect the hose for cracks and tighten connections. Also, check your tire valve for damage or debris.
How often should I inspect my pump’s hose connection?
Ideally, inspect it monthly or before any long ride. Regular checks can prevent sudden air loss and ensure your pump works when needed.
Can I use any type of hose for my bike pump?
No, use a hose specifically designed for bike pumps. These hoses handle high pressure and are compatible with pump fittings. Using the wrong hose can cause leaks or damage.
What does it mean if my pump gauge fluctuates wildly?
This usually indicates a leak in the system, often at the hose connection. Tighten or replace the hose and chuck to stabilize the gauge.
Is it okay to use lubricant on my chuck hose connection?
Yes, applying a small amount of silicone-based lubricant can help maintain a good seal and prevent corrosion. Avoid oil-based lubricants, which can damage rubber components.
How do I know if my chuck is compatible with my tire valve?
Check if your chuck is designed for Presta, Schrader, or both types of valves. Most modern pumps have a dual-head chuck that accommodates both valve types.
My chuck lever is hard to close. What should I do?
Clean the chuck and lubricate the lever mechanism. If it’s still difficult, the chuck might be worn and need replacement.
Conclusion
Inspecting your chuck hose connection doesn’t have to be a daunting task. By following these simple steps, you can keep your pump working smoothly and enjoy worry-free rides. Remember to regularly inspect your hose and connections, tighten any loose fittings, and replace damaged parts promptly. With a little bit of care and attention, you can keep your tires properly inflated and enjoy all the benefits of cycling. Happy riding!


