
How Manufacturers Test Chuck Sealing Performance? Powerful Secrets
**Quick Summary:** Manufacturers test chuck sealing performance using air pressure and vacuum tests. Air pressure checks for leaks by pressurizing the chuck and looking for escaping air. Vacuum tests create a vacuum inside the chuck to see if it can maintain it over time. These tests make sure the chuck securely holds parts during machining.
Ever wondered how manufacturers make sure your bike pump chuck seals perfectly every time? A leaky chuck can be super frustrating, wasting your effort and leaving your tires flat. It’s all about rigorous testing! Manufacturers use some clever methods to guarantee that perfect seal, ensuring every pump delivers the pressure you need.
In this guide, I’ll walk you through exactly how manufacturers test chuck sealing performance. We’ll cover the tools, techniques, and standards they use. By the end, you’ll understand what goes into making a reliable chuck – and maybe even appreciate your pump a little more. Let’s dive in!
Understanding Chuck Sealing Performance
Before we get into the testing process, let’s clarify what we mean by “chuck sealing performance.” A chuck’s primary job is to create an airtight connection between your pump and the tire valve. When the seal is good, all the air goes into the tire. When it’s bad, air leaks out, making it harder to inflate the tire and wasting energy. Key aspects of chuck sealing performance include:
- Leak Rate: How much air escapes over a given period. A lower leak rate means a better seal.
- Pressure Resistance: The maximum pressure the chuck can handle without leaking.
- Durability: How well the seal holds up over repeated use and under different conditions (temperature, humidity, etc.).
- Compatibility: How well the chuck seals with different types of valves (Presta, Schrader, Dunlop).
Manufacturers use specific tests to measure each of these aspects. Let’s look at some common methods.
Common Testing Methods for Chuck Sealing
Manufacturers employ a variety of tests to ensure chucks meet performance standards. These tests often involve precise measurements and controlled environments. Here are some of the most common methods:
Air Pressure Testing
Air pressure testing is one of the most straightforward ways to check for leaks. The basic idea is to pressurize the chuck and see if any air escapes.
How it Works:
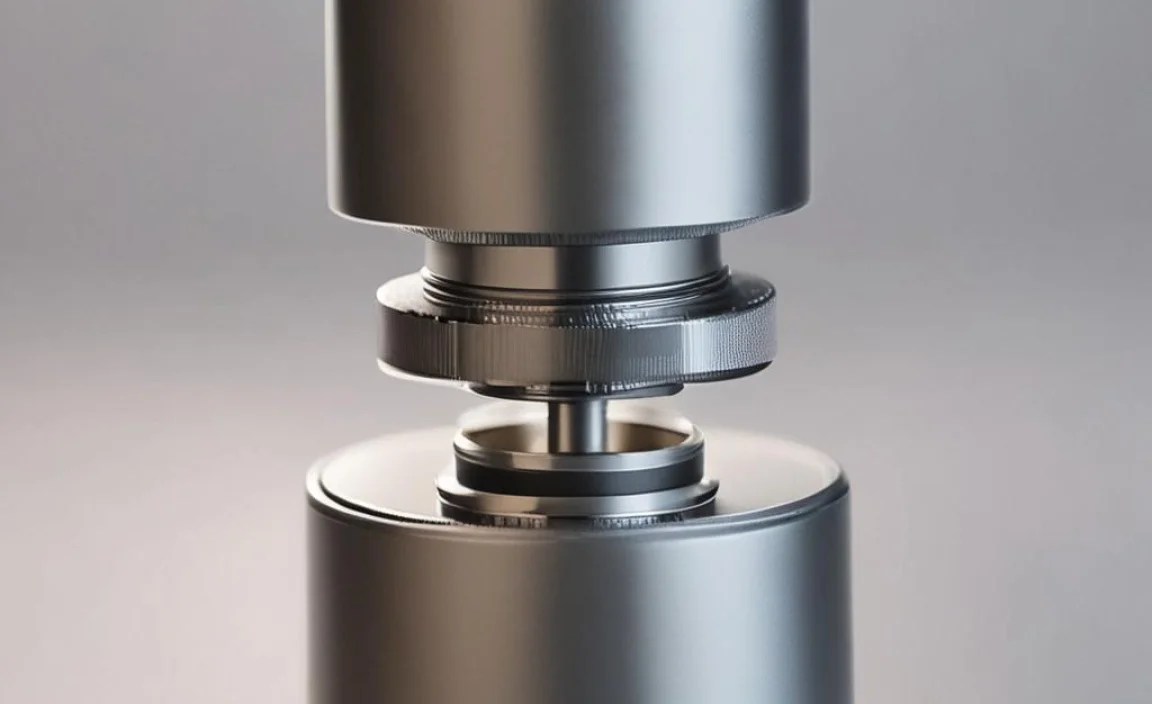
- Setup: The chuck is connected to a pressure source and sealed against a test fixture that simulates a tire valve.
- Pressurization: Air pressure is applied to the chuck, typically at a level higher than the expected working pressure.
- Leak Detection: The chuck is observed for any signs of leakage. This can be done visually (looking for bubbles), audibly (listening for hissing sounds), or with specialized leak detection equipment.
- Measurement: If leaks are present, the leak rate can be measured using a flow meter or by monitoring the pressure drop over time.
This method is effective for identifying large leaks and weak points in the chuck’s sealing mechanism.
Vacuum Testing
Vacuum testing is another common method, especially for checking the integrity of the seal under negative pressure conditions.
How it Works:
- Setup: The chuck is connected to a vacuum source and sealed against a test fixture.
- Vacuum Application: A vacuum is created inside the chuck, typically to a specified level.
- Monitoring: The vacuum level is monitored over time. If the vacuum drops, it indicates a leak.
- Leak Detection: Similar to air pressure testing, leaks can be detected visually or with specialized equipment.
Vacuum testing is particularly useful for identifying small leaks and ensuring the chuck can maintain a seal even when there’s a pressure difference.
Immersion Testing
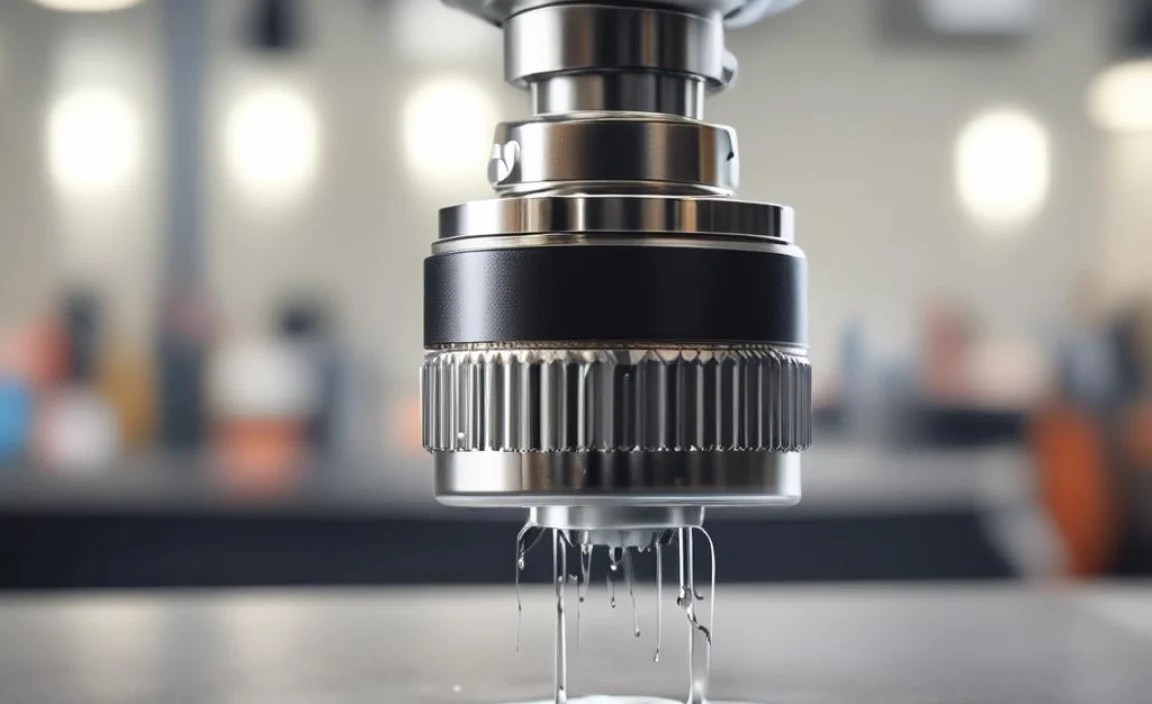
Immersion testing is a simple but effective way to visually detect leaks. It involves submerging the pressurized chuck in water and looking for bubbles.
How it Works:
- Setup: The chuck is connected to a pressure source and pressurized.
- Immersion: The chuck is submerged in a tank of water.
- Observation: The chuck is observed for any bubbles rising from the seal.
This method is easy to set up and provides a clear visual indication of leaks. However, it’s not suitable for measuring leak rates quantitatively.
Automated Leak Testing Systems
For high-volume manufacturing, automated leak testing systems are often used. These systems combine pressure or vacuum testing with automated leak detection and data logging.
How it Works:
- Automated Setup: Chucks are automatically loaded into a test fixture.
- Automated Testing: The system applies pressure or vacuum, monitors for leaks, and records the results.
- Data Analysis: The data is analyzed to determine if the chuck meets the specified performance criteria.
- Pass/Fail Indication: The system automatically indicates whether the chuck has passed or failed the test.
Automated systems provide fast, accurate, and repeatable testing, making them ideal for quality control in manufacturing environments.
Specific Test Parameters and Standards
Manufacturers don’t just test randomly; they follow specific parameters and standards to ensure consistency and reliability. Here are some key aspects:
Pressure Levels
The pressure levels used in testing are typically higher than the expected working pressure of the chuck. This ensures that the chuck can handle overpressure situations without leaking. Common pressure levels for testing bike pump chucks range from 120 PSI to 160 PSI, depending on the intended use.
Leak Rate Limits
Leak rate limits define the maximum acceptable leakage for a chuck to pass the test. These limits are usually specified in terms of air volume per unit time (e.g., cubic centimeters per minute or standard liters per hour). The acceptable leak rate depends on the application. For bike pump chucks, the leak rate should be minimal to ensure efficient inflation.
Test Duration
The duration of the test is important to ensure that any leaks are detected. Testing durations can range from a few seconds to several minutes, depending on the test method and the required sensitivity. Longer test durations are typically used for vacuum testing to detect very small leaks.
Environmental Conditions
Environmental conditions such as temperature and humidity can affect the sealing performance of a chuck. Manufacturers may conduct tests under different environmental conditions to ensure that the chuck performs reliably in various situations. For example, chucks may be tested at high and low temperatures to simulate extreme weather conditions.
Industry Standards
Several industry standards provide guidelines for testing and performance of sealing components. These standards help manufacturers ensure that their products meet certain quality and safety requirements. Some relevant standards include:
- ISO 9001: Quality management systems – Requirements
- ASTM F2057: Standard Safety Specification for Clothing Storage Units
While these standards may not be specific to chucks, they provide a framework for quality control and testing procedures.
Tools and Equipment Used in Testing


Manufacturers use a range of tools and equipment to perform chuck sealing tests. Here are some of the most common:
- Pressure Source: An air compressor or gas cylinder to provide pressurized air.
- Vacuum Source: A vacuum pump to create a vacuum.
- Pressure Gauges: Accurate pressure gauges to measure the pressure applied to the chuck.
- Vacuum Gauges: Vacuum gauges to measure the vacuum level inside the chuck.
- Flow Meters: Flow meters to measure the leak rate.
- Leak Detectors: Electronic leak detectors to detect small leaks.
- Test Fixtures: Custom-designed fixtures to hold and seal the chuck during testing.
- Data Acquisition Systems: Computer-based systems to record and analyze test data.
The choice of tools and equipment depends on the specific test method and the required accuracy and sensitivity.
Step-by-Step Guide to a Simplified Chuck Sealing Test (DIY)

While you won’t have access to the sophisticated equipment used in manufacturing, you can perform a simplified chuck sealing test at home. This test will help you identify any major leaks and assess the overall condition of your chuck.
Materials Needed:
- Your bike pump
- A tire with a valve matching your chuck (Presta or Schrader)
- A bucket of water
Steps:
- Connect the Chuck: Attach the chuck to the tire valve as you normally would.
- Pressurize the Tire: Inflate the tire to a moderate pressure (e.g., 40 PSI).
- Listen for Leaks: Listen carefully for any hissing sounds around the chuck. This indicates a leak.
- Submerge the Chuck (Optional): If you suspect a leak but can’t hear it, submerge the chuck in a bucket of water. Look for bubbles rising from the seal.
- Observe Pressure Drop: After inflating the tire, monitor the pressure gauge on your pump. If the pressure drops quickly, it indicates a leak in the chuck or valve connection.
This simple test can help you identify whether your chuck is sealing properly. If you detect a leak, you may need to clean or replace the chuck.
Troubleshooting Common Sealing Issues
Even with careful manufacturing and testing, chucks can sometimes develop sealing issues. Here are some common problems and how to troubleshoot them:
- Loose Connection: Make sure the chuck is securely attached to the valve. Sometimes, simply tightening the connection can solve the problem.
- Dirty or Damaged Seal: Check the seal for dirt, debris, or damage. Clean the seal with a soft cloth or replace it if necessary.
- Worn Chuck Components: Over time, the components of the chuck can wear out, leading to leaks. In this case, it may be necessary to replace the entire chuck.
- Incorrect Chuck Type: Make sure you’re using the correct chuck type for your valve (Presta or Schrader). Using the wrong chuck can damage the valve and cause leaks.
Regular maintenance and inspection can help prevent sealing issues and prolong the life of your chuck.
The Future of Chuck Sealing Technology
Chuck sealing technology is constantly evolving. Manufacturers are developing new materials and designs to improve sealing performance, durability, and compatibility. Some emerging trends include:
- Advanced Materials: Use of advanced polymers and composite materials to create more durable and flexible seals.
- Improved Designs: Development of new chuck designs that provide a more secure and airtight connection.
- Smart Chucks: Integration of sensors and electronics to monitor pressure and detect leaks in real-time.
- Eco-Friendly Materials: Use of sustainable and recyclable materials to reduce the environmental impact of chuck manufacturing.
These advancements promise to make chucks more reliable, efficient, and environmentally friendly in the future.
FAQ: Chuck Sealing Performance
What does “chuck sealing performance” mean?
It refers to how well a chuck creates an airtight seal between a pump and a tire valve, preventing air leaks during inflation.
Why is chuck sealing important?
A good seal ensures efficient inflation, saves energy, and maintains the correct tire pressure for safe and comfortable riding.
How do manufacturers test chuck sealing?
They use air pressure tests, vacuum tests, and immersion tests to detect leaks and measure the leak rate under different conditions.
Can I test my bike pump chuck at home?
Yes, you can perform a simple DIY test by listening for hissing sounds or submerging the chuck in water to look for bubbles while inflating a tire.
What are some common causes of chuck sealing issues?
Loose connections, dirty or damaged seals, worn components, and using the wrong chuck type can all cause leaks.
How can I maintain my bike pump chuck?
Regularly clean the seal, ensure a secure connection, and replace worn components to prolong its life and performance.
What are some future trends in chuck sealing technology?
Advancements include using advanced materials, improved designs, integrating sensors for real-time monitoring, and using eco-friendly materials.
Conclusion
Understanding how manufacturers test chuck sealing performance gives you a behind-the-scenes look at the effort that goes into making reliable bike pumps. From air pressure tests to vacuum checks, each method plays a crucial role in ensuring that your chuck delivers a perfect seal every time. By learning about these processes, you can better appreciate the quality of your equipment and troubleshoot any sealing issues that may arise.
Now that you know how the pros ensure a perfect seal, you’re better equipped to maintain your own bike pump and keep your tires properly inflated. Happy riding!


