
Floor Pump Parts: Find the Right Part Fast!
Quick Summary: Floor pumps are essential for keeping your tires properly inflated. Understanding the parts—like the base, barrel, piston, hose, chuck, and gauge—helps you maintain your pump, troubleshoot issues, and even upgrade components. Knowing these parts ensures your pump works efficiently, saving you time and effort before every ride.
Ever struggled with a bike tire that’s just a little too soft? A good floor pump is your best friend for quick and accurate inflation. But what happens when your trusty pump starts to lose pressure or the gauge stops working? Don’t worry! Most pump problems can be fixed with a little know-how. By understanding the different parts of your floor pump, you can easily maintain it, troubleshoot common issues, and keep your tires perfectly inflated. We’ll break down each component and show you how they work together.
In this guide, we’ll cover everything from the base to the chuck, so you’ll be ready to tackle any pump repair. Let’s dive in and get your pump working like new!
Understanding Your Floor Pump: A Beginner’s Guide to Parts and Maintenance

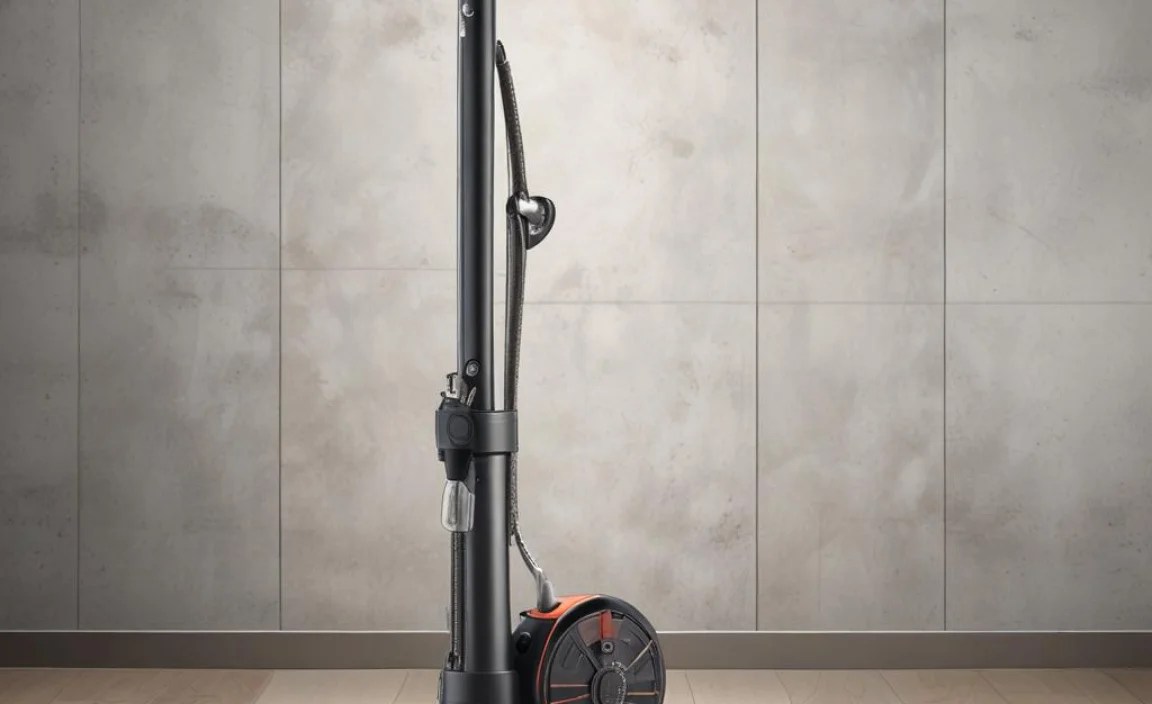
A floor pump, also known as a track pump, is a must-have for any cyclist. It’s designed to efficiently inflate your tires to the correct pressure. Knowing the different parts of your pump will help you keep it in good working order, saving you money and frustration in the long run.
Key Components of a Floor Pump
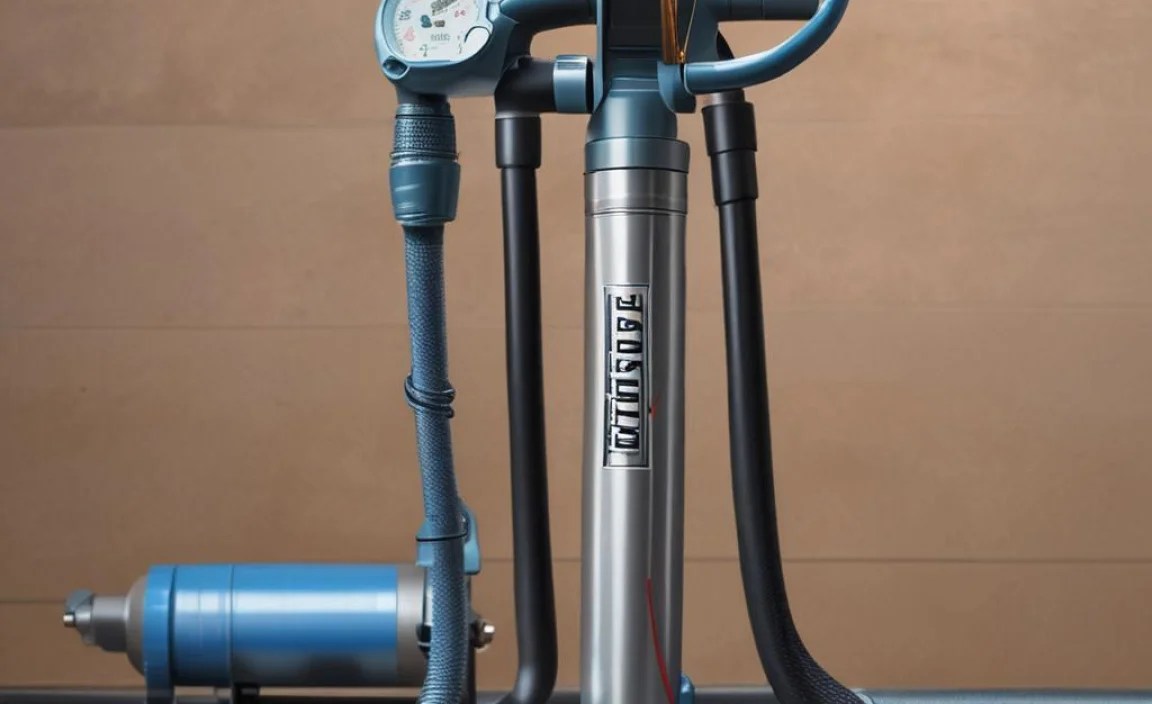
Let’s break down the main parts of a floor pump:
- Base: The foundation of the pump, providing stability.
- Barrel: The cylinder in which the piston moves to compress air.
- Piston: The internal component that moves up and down to create air pressure.
- Hose: Connects the pump to the tire valve.
- Chuck: The part that attaches to the valve on your tire.
- Gauge: Displays the current tire pressure.
- Handle: The part you grip to operate the pump.
The Base: Foundation of Stability
The base of a floor pump is crucial for stability. It keeps the pump steady while you’re inflating your tires. Bases are typically made of steel, aluminum, or durable plastic. A wide base provides better stability, preventing the pump from tipping over during use.
Types of Bases:
- Steel: Durable and heavy, offering excellent stability.
- Aluminum: Lighter than steel but still provides good stability.
- Plastic: The least durable option, suitable for occasional use.
The Barrel: Heart of the Pump
The barrel is the cylinder where air is compressed. It’s usually made of steel or aluminum. The quality of the barrel affects the pump’s efficiency and durability. A well-made barrel ensures smooth piston movement and consistent air compression.
Barrel Materials:
- Steel: Offers excellent durability and heat resistance.
- Aluminum: Lighter and more resistant to corrosion than steel.
The Piston: Creating Air Pressure
The piston is the internal component that moves up and down inside the barrel to compress air. It has a seal (usually a rubber or plastic O-ring) that ensures air is pushed into the tire rather than escaping back into the barrel. The condition of the piston and its seal directly impacts the pump’s performance.
Piston Components:
- Piston Rod: Connects the handle to the piston.
- Piston Seal (O-ring): Creates an airtight seal against the barrel walls.
The Hose: Connecting Pump to Tire
The hose connects the pump to the tire valve. It needs to be flexible and durable to withstand repeated use and pressure. Hoses are typically made of rubber or reinforced plastic. A longer hose can be more convenient, especially for bikes on a repair stand.
Hose Materials:
- Rubber: Flexible and durable but can degrade over time.
- Reinforced Plastic: More resistant to wear and tear than rubber.
The Chuck: Attaching to the Valve
The chuck is the part that attaches to the tire valve. There are two main types of chucks: Schrader and Presta. Some pumps have a dual-head chuck that can accommodate both valve types. A secure and airtight connection is essential for efficient inflation.
Types of Chucks:
- Schrader: Used on car tires and some bike tires.
- Presta: Commonly found on road bikes and high-performance bikes.
- Dual-Head: Accommodates both Schrader and Presta valves.
Switching between Presta and Schrader valves on a dual-head chuck usually involves disassembling the chuck to reconfigure the internal parts. Some newer pumps have an easy switch that requires no disassembly.
The Gauge: Monitoring Tire Pressure
The gauge displays the current tire pressure in either PSI (pounds per square inch) or bar (a metric unit of pressure). An accurate gauge is crucial for achieving the correct tire pressure, which affects rolling resistance, comfort, and handling. Gauges can be analog or digital.
Types of Gauges:
- Analog: Traditional dial gauge, reliable and easy to read.
- Digital: Provides a precise digital readout, often with additional features like pressure memory.
The Handle: Grip and Ergonomics
The handle is the part you grip to operate the pump. Ergonomics are important for comfort and efficiency. Handles are typically made of wood, plastic, or rubber. A comfortable handle reduces fatigue during inflation.
Handle Materials:
- Wood: Classic look and comfortable grip.
- Plastic: Lightweight and durable.
- Rubber: Provides a non-slip grip.
Maintaining Your Floor Pump: Step-by-Step Guide

Regular maintenance will keep your floor pump working efficiently and extend its lifespan. Here’s a step-by-step guide to maintaining your pump:
Step 1: Cleaning the Pump
Keep the pump clean by wiping it down with a damp cloth regularly. Pay special attention to the hose and chuck, as these parts can accumulate dirt and grime.
Step 2: Inspecting the Hose
Check the hose for cracks, kinks, or leaks. Replace the hose if you notice any damage. A damaged hose can reduce the pump’s efficiency and make it harder to inflate tires.
Step 3: Checking the Chuck
Inspect the chuck for wear and tear. Make sure the rubber seals inside the chuck are in good condition. If the chuck is not sealing properly, replace it. A faulty chuck can leak air and make it difficult to achieve the correct tire pressure.
Step 4: Lubricating the Piston
The piston needs occasional lubrication to ensure smooth movement. Apply a few drops of light oil or silicone grease to the piston seal. This will reduce friction and improve the pump’s efficiency. To access the piston, you’ll typically need to disassemble the pump head.
- Remove the handle from the pump.
- Unscrew the pump head from the barrel.
- Carefully pull out the piston.
- Apply a small amount of lubricant to the piston seal.
- Reassemble the pump.
Step 5: Calibrating the Gauge
Over time, the gauge on your floor pump may become inaccurate. Use a separate pressure gauge to check the accuracy of your pump’s gauge. If the gauge is inaccurate, you may be able to calibrate it. Some pumps have an adjustment screw on the back of the gauge. If your gauge cannot be calibrated, consider replacing it.
Troubleshooting Common Floor Pump Problems
Even with regular maintenance, you may encounter problems with your floor pump. Here are some common issues and how to fix them:
Problem 1: Pump Not Building Pressure
Possible Causes:
- Leaky hose
- Faulty chuck
- Worn piston seal
Solutions:
- Check the hose for leaks and replace if necessary.
- Inspect the chuck and replace if it’s not sealing properly.
- Replace the piston seal if it’s worn or damaged.
Problem 2: Gauge Not Working
Possible Causes:
- Faulty gauge
- Blocked hose
Solutions:
- Check the hose for blockages and clear them.
- Replace the gauge if it’s not working.
Problem 3: Difficulty Attaching Chuck to Valve
Possible Causes:
- Incorrect chuck type
- Debris in the chuck
Solutions:
- Ensure you’re using the correct chuck for your valve type (Schrader or Presta).
- Clean the chuck to remove any debris.
Problem 4: Air Leaking from the Chuck
Possible Causes:
- Worn rubber seals in the chuck
- Improper chuck installation
Solutions:
- Replace the rubber seals in the chuck.
- Make sure the chuck is properly seated on the valve stem.
Upgrading Your Floor Pump
If your floor pump is old or not performing well, you may want to consider upgrading certain parts. Here are some common upgrades:
- Chuck: Upgrade to a high-quality chuck for a more secure and airtight connection.
- Hose: Replace the hose with a longer, more durable hose for added convenience.
- Gauge: Upgrade to a digital gauge for more accurate pressure readings.
Floor Pump Parts: A Detailed Breakdown

For a comprehensive understanding, here’s a detailed table outlining each part, its function, common materials, and maintenance tips:
| Part | Function | Common Materials | Maintenance Tips |
|---|---|---|---|
| Base | Provides stability | Steel, Aluminum, Plastic | Keep clean, check for cracks |
| Barrel | Compresses air | Steel, Aluminum | Keep clean, check for dents |
| Piston | Creates air pressure | Steel, Rubber, Plastic | Lubricate regularly, replace worn seals |
| Hose | Connects pump to tire valve | Rubber, Reinforced Plastic | Check for cracks, replace if damaged |
| Chuck | Attaches to tire valve | Plastic, Metal, Rubber | Keep clean, replace worn seals |
| Gauge | Displays tire pressure | Plastic, Metal | Calibrate regularly, replace if inaccurate |
| Handle | Provides grip | Wood, Plastic, Rubber | Keep clean, check for damage |
Choosing the Right Floor Pump
Selecting the right floor pump depends on your needs and the types of bikes you own. Here are some factors to consider:
- Valve Compatibility: Ensure the pump is compatible with both Schrader and Presta valves, or choose a dual-head model.
- Gauge Accuracy: Look for a pump with an accurate and easy-to-read gauge.
- Build Quality: Choose a pump with a durable base, barrel, and handle.
- Hose Length: Consider a longer hose for added convenience.
- Maximum Pressure: Ensure the pump can reach the maximum pressure required for your tires.
Floor Pump Brands: A Quick Comparison
Here’s a comparison of some popular floor pump brands:
| Brand | Pros | Cons | Price Range |
|---|---|---|---|
| Lezyne | High-quality, durable, accurate gauges | More expensive | $$$-$$$$ |
| Topeak | Reliable, good value, wide range of models | Some models have less durable parts | $$-$$$ |
| Park Tool | Professional-grade, durable, accurate | Expensive | $$$-$$$$ |
| Serfas | Affordable, decent quality, good for beginners | Less durable than high-end brands | $-$$-$$ |
| Specialized | Good performance, ergonomic designs | Can be pricey | $$$-$$$$ |
Essential Tools for Floor Pump Maintenance
Having the right tools makes floor pump maintenance easier. Here are some essential tools:
- Screwdrivers: For disassembling the pump.
- Pliers: For removing and installing parts.
- Wrenches: For tightening and loosening bolts.
- Lubricant: Light oil or silicone grease for lubricating the piston.
- Spare Parts: O-rings, chucks, and hoses.
Floor Pump Safety Tips
When using a floor pump, it’s important to follow these safety tips:
- Wear Safety Glasses: Protect your eyes from debris.
- Check Tire Pressure: Never exceed the maximum pressure recommended for your tires.
- Secure the Pump: Ensure the pump is stable before using it.
- Inspect Equipment: Regularly check the pump for damage.
FAQ: Floor Pump Parts and Maintenance
Here are some frequently asked questions about floor pump parts and maintenance:
What is the difference between a Schrader and Presta valve?
Schrader valves are wider and have a spring-loaded pin in the center, similar to car tires. Presta valves are narrower and have a locking nut at the tip that needs to be unscrewed before inflating.
How often should I lubricate my floor pump?
You should lubricate your floor pump every 3-6 months, depending on how frequently you use it. If you notice the pump is becoming harder to use, it’s time to lubricate the piston.
How do I know if my floor pump gauge is accurate?
Use a separate, reliable pressure gauge to check the accuracy of your floor pump gauge. If there’s a significant difference, calibrate or replace the gauge.
Can I use a floor pump for tubeless tires?
Yes, you can use a floor pump for tubeless tires, but a pump with a “tubeless” setting or a separate tubeless inflator is recommended for seating the tire bead initially. These pumps deliver a large volume of air quickly.
What should I do if my floor pump hose is leaking?
If your floor pump hose is leaking, replace it immediately. A leaking hose will reduce the pump’s efficiency and make it difficult to inflate tires.
How do I switch between Schrader and Presta valves on my pump?
On a dual-head chuck, you typically need to disassemble the chuck and reconfigure the internal parts. Some newer pumps have an easy switch that requires no disassembly.
Why is my floor pump not building pressure?
This could be due to a leaky hose, faulty chuck, or worn piston seal. Check each component and replace as necessary.
Conclusion
Understanding the different parts of your floor pump and how they work together is essential for maintaining your bike tires and ensuring a smooth ride. Regular maintenance, such as cleaning, lubricating, and inspecting the components, will keep your pump working efficiently and extend its lifespan. By troubleshooting common issues and upgrading parts when necessary, you can keep your floor pump in top condition and enjoy hassle-free tire inflation for years to come. So, get to know your pump, take good care of it, and happy cycling!


