How to Use Btwin Cycle Pump: Easy Guide
Quick Summary: To use a B’Twin cycle pump, first, make sure the pump head is compatible with your tire’s valve (Presta or Schrader). Securely attach the pump head to the valve, ensuring a tight seal. Lock the lever (if applicable) to prevent air leakage. Then, pump steadily, using your body weight for leverage. Watch the pressure gauge (if present) and inflate to the recommended PSI (printed on your tire sidewall). Finally, unlock the lever, detach the pump head, and you’re good to go!
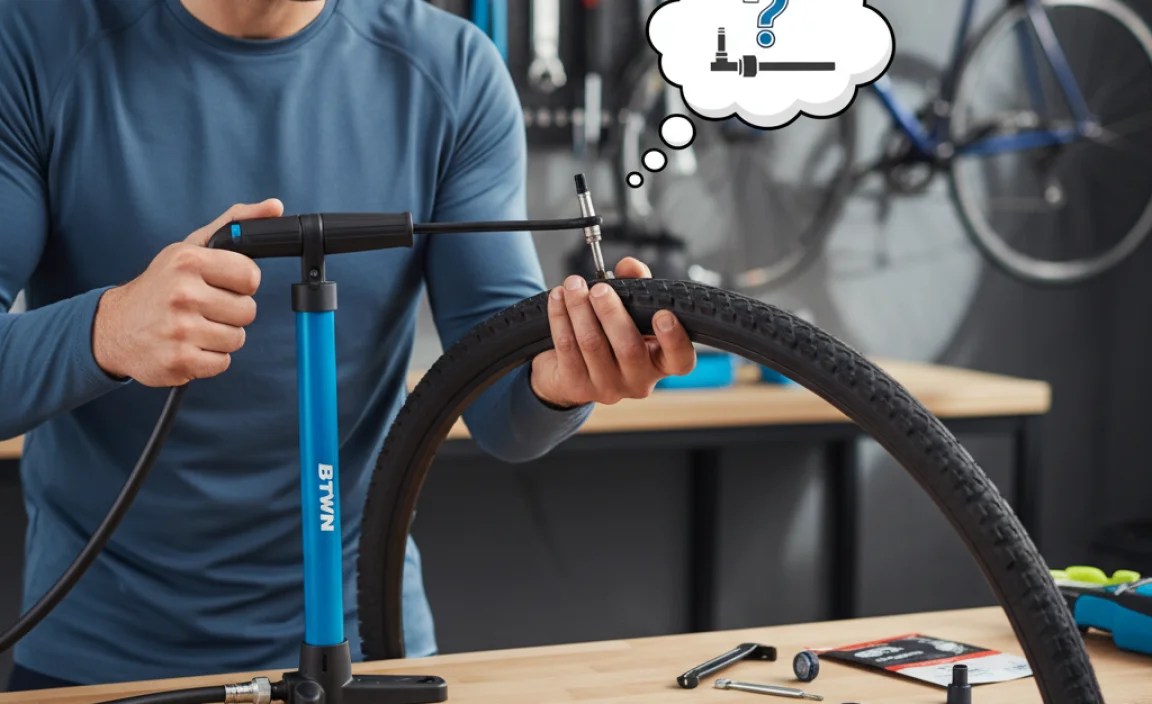
Is your bike tire looking a little flat? Don’t worry, it happens to the best of us! Pumping up your tires is a basic bike maintenance task that’s easy to learn. A B’Twin cycle pump is a great tool for keeping your tires properly inflated, which makes for a smoother, safer, and more enjoyable ride. Many folks find tire inflation confusing, but I’m here to show you that it’s not as complicated as it seems.
In this guide, I’ll walk you through each step, from identifying your tire valve type to achieving the perfect tire pressure. We’ll cover everything you need to know to use your B’Twin cycle pump like a pro. Let’s get started and get you back on the road or trail!
Understanding Your B’Twin Cycle Pump
Before we jump into the how-to, let’s take a closer look at the B’Twin cycle pump and its key components. Knowing these parts will make the inflation process much smoother.
Key Components
- Pump Head: This is the part that attaches to your tire’s valve. Many B’Twin pumps have dual heads to accommodate both Presta and Schrader valves.
- Valve Connector: The part of the pump head that makes the actual connection to the valve.
- Locking Lever (if applicable): Some pumps have a lever that locks the pump head onto the valve for a secure seal.
- Pump Body: The main cylinder of the pump.
- Handle: The part you grip to pump air.
- Base: Provides stability while pumping (usually found on floor pumps).
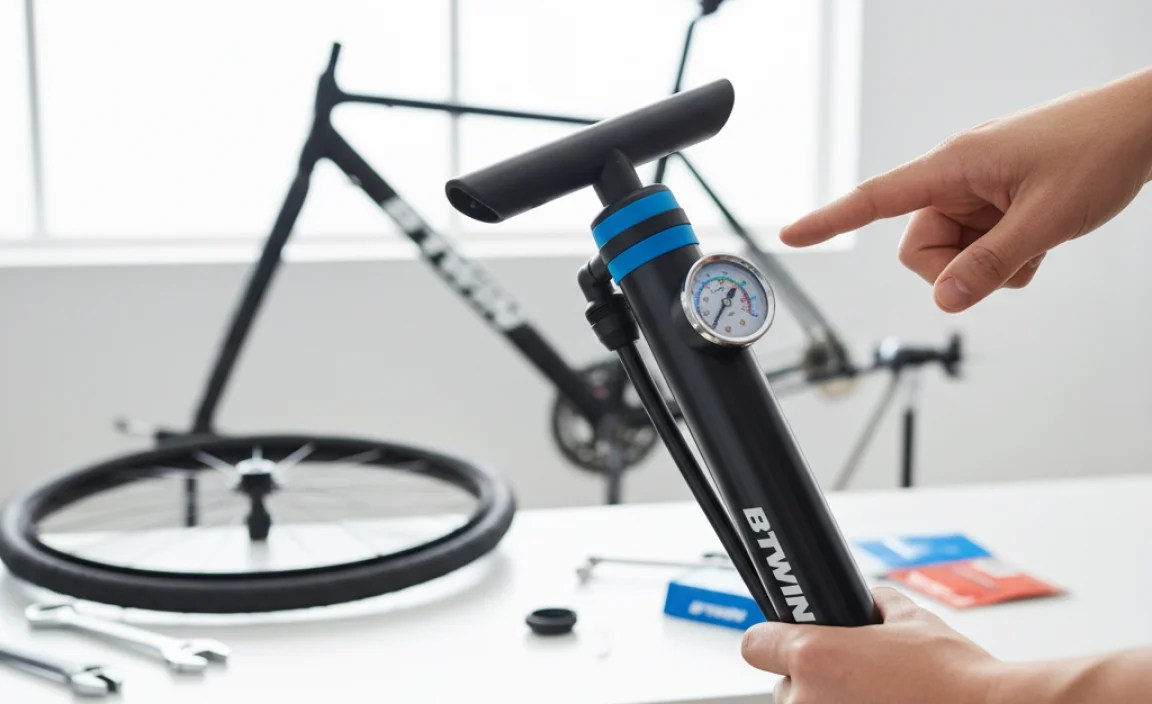
- Pressure Gauge (if applicable): Displays the current tire pressure in PSI or bar.
- Hose (if applicable): Connects the pump body to the pump head, offering more flexibility.
Types of Valves
The most important thing to know before pumping is what type of valve your tire has. The two common types are Presta and Schrader.
- Presta: This valve is narrower and typically found on road bikes and higher-end bicycles. It has a small nut at the top that you need to unscrew before inflating.
- Schrader: This is the same type of valve you find on car tires. It’s wider and more common on mountain bikes, hybrid bikes, and kids’ bikes.
It’s crucial to identify the valve type because using the wrong pump head can damage the valve or prevent inflation. Most B’Twin pumps are designed to work with both types, but you might need to adjust the pump head setting. Let’s look at how to identify your valve.
| Feature | Presta Valve | Schrader Valve |
|---|---|---|
| Width | Narrow | Wider |
| Appearance | Has a small nut at the tip | Looks like a car tire valve |
| Commonly Found On | Road bikes, high-end bikes | Mountain bikes, hybrid bikes, car tires |
Step-by-Step Guide: Using Your B’Twin Cycle Pump
Now that you know the parts of your B’Twin pump and the types of valves, let’s get to the actual pumping! Follow these steps for a perfectly inflated tire.
Step 1: Prepare the Valve
Depending on your valve type, the preparation will differ slightly.
For Presta Valves:
- Remove the valve cap: Unscrew the small plastic cap covering the valve. Set it aside in a safe place.
- Loosen the valve nut: Turn the small nut at the top of the valve counterclockwise until it’s loose.
- Press the valve tip: Briefly press down on the valve tip to release a small amount of air. This ensures the valve isn’t stuck.
For Schrader Valves:
- Remove the valve cap: Unscrew the cap covering the valve and set it aside.
Step 2: Attach the Pump Head
Now it’s time to connect the pump head to the valve. Here’s how:
- Select the correct opening: If your B’Twin pump has a dual pump head, make sure you’ve selected the correct opening for your valve type (Presta or Schrader). Some pumps have a switch or rotating piece to change between valve types.
- Position the pump head: Place the pump head squarely over the valve.
- Engage the locking lever (if applicable): If your pump has a locking lever, flip it to the locked position. This secures the pump head to the valve and creates an airtight seal. You should feel a snug fit. If the pump head feels loose, double-check that it’s properly aligned and the lever is fully engaged.
Step 3: Start Pumping
With the pump head securely attached, you’re ready to start pumping air into the tire. Here’s the proper technique:
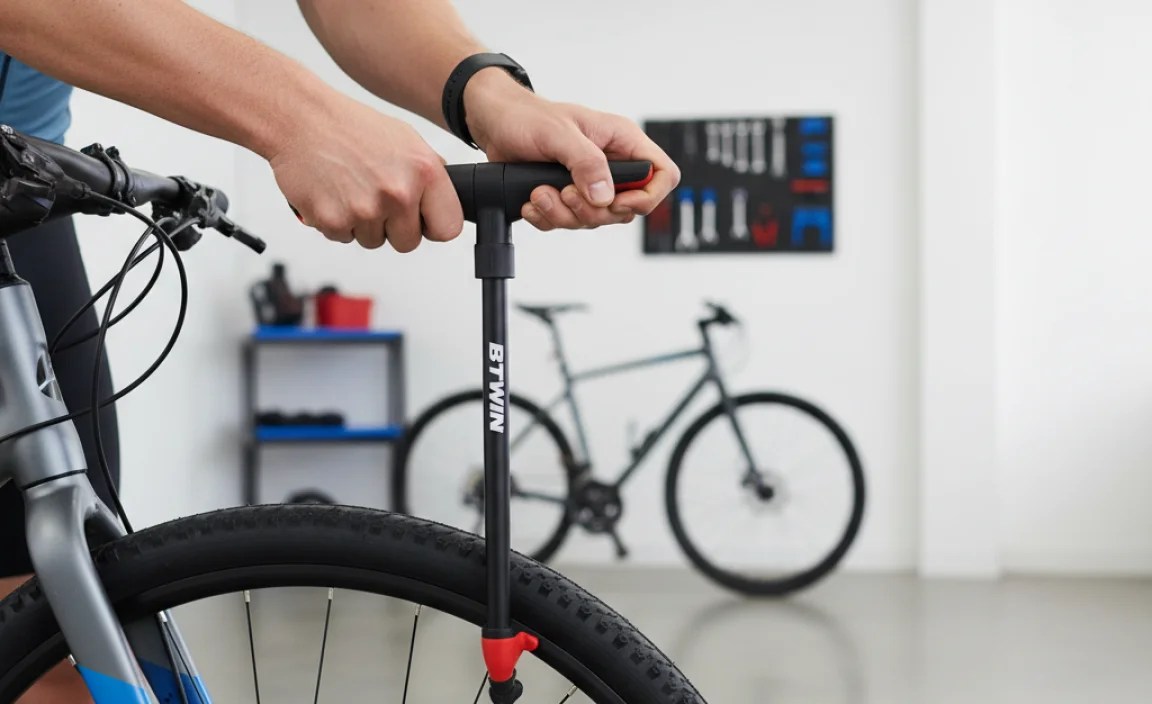
- Position yourself: If you’re using a floor pump, place your feet on the base for stability. If you’re using a hand pump, find a stable surface to place the tire on.
- Grip the handle: Hold the pump handle firmly with both hands.
- Pump steadily: Use your body weight to push down on the handle in a smooth, controlled motion. Avoid jerky or rapid movements.
- Watch the pressure gauge (if present): Keep an eye on the pressure gauge to monitor the tire pressure. If your pump doesn’t have a gauge, you’ll need to check the pressure periodically with a separate tire pressure gauge.
Pro Tip: It may take some practice to get the hang of pumping efficiently. If you’re struggling, try adjusting your body position or using a different grip on the handle.
Step 4: Inflate to the Correct Pressure
Getting the right tire pressure is crucial for optimal performance, comfort, and safety. Here’s how to determine the correct pressure:
- Find the recommended PSI: Look for a PSI (Pounds per Square Inch) range printed on the sidewall of your tire. This indicates the minimum and maximum pressure the tire is designed to handle.
- Consider your weight and riding style: Lighter riders can usually get away with lower pressures, while heavier riders will need higher pressures to avoid pinch flats. Also, consider the type of riding you’ll be doing. For road riding, you’ll typically want higher pressures for lower rolling resistance. For off-road riding, you’ll want lower pressures for better traction and comfort.
- Use a tire pressure gauge: If your pump doesn’t have a built-in gauge, use a separate gauge to accurately measure the tire pressure. Press the gauge onto the valve and read the pressure.
- Adjust as needed: Add or release air until you reach the desired pressure within the recommended range.
Warning: Never exceed the maximum PSI listed on the tire sidewall. Overinflating can cause the tire to explode, which can be dangerous.
Step 5: Detach the Pump Head
Once you’ve reached the correct tire pressure, it’s time to detach the pump head.
- Disengage the locking lever (if applicable): If your pump has a locking lever, flip it to the unlocked position.
- Carefully remove the pump head: Pull the pump head straight off the valve. Use a gentle twisting motion if needed.
- For Presta valves: Tighten the valve nut by turning it clockwise until it’s snug.
- Replace the valve cap: Screw the valve cap back onto the valve. This helps keep dirt and debris out of the valve.
That’s it! You’ve successfully inflated your tire using a B’Twin cycle pump. Now you’re ready to hit the road or trail.
Choosing the Right B’Twin Cycle Pump
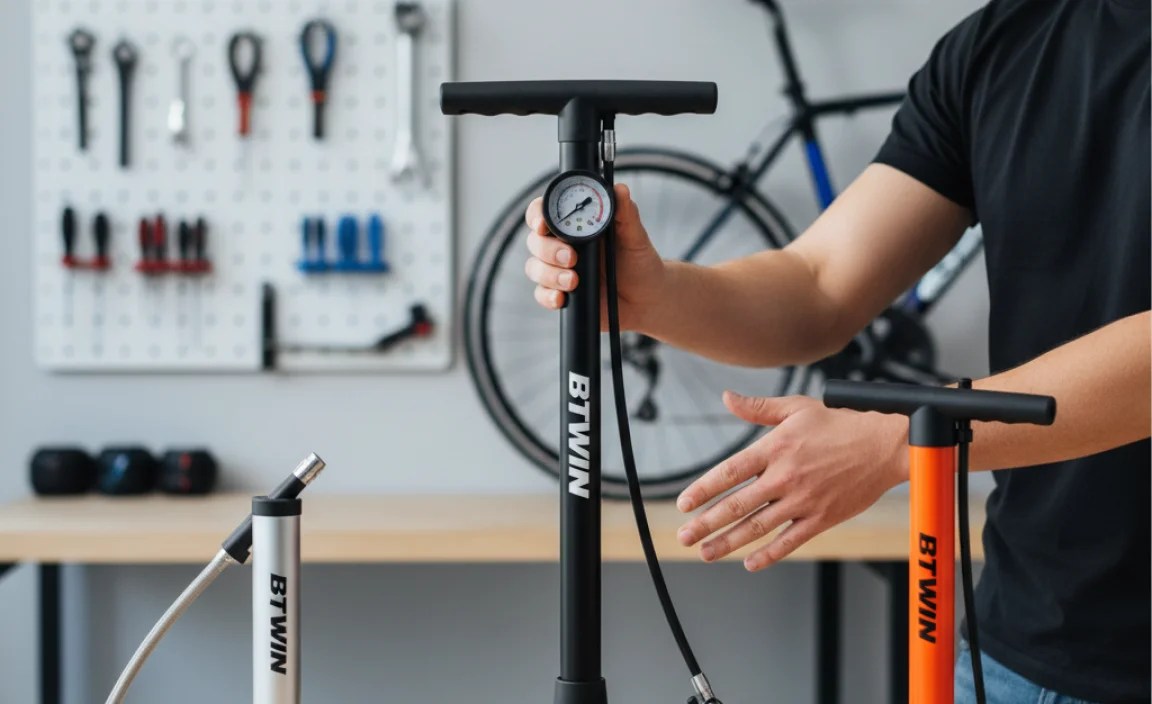
B’Twin offers a range of cycle pumps to suit different needs and budgets. Here’s a quick overview of some popular options:
- B’Twin Mini Pump: Compact and lightweight, perfect for carrying on rides. Ideal for quick top-ups and emergency repairs.
- B’Twin Foot Pump (Floor Pump): Offers more power and stability for easier inflation. Great for home use and achieving precise tire pressures.
- B’Twin Hand Pump: A good balance between portability and power. Suitable for both on-the-go and home use.
- B’Twin Telescopic Pump: Features a telescopic design for increased air volume per stroke, making inflation faster.
Factors to Consider When Choosing a Pump
When selecting a B’Twin cycle pump, keep these factors in mind:
- Valve Compatibility: Ensure the pump is compatible with both Presta and Schrader valves, or choose one that matches your specific valve type.
- Pressure Gauge: A built-in gauge makes it easier to achieve accurate tire pressures.
- Portability: If you plan to carry the pump on rides, choose a compact and lightweight model.
- Inflation Power: Floor pumps generally offer more power and efficiency than hand pumps.
- Budget: B’Twin pumps are available at various price points, so choose one that fits your budget.
Troubleshooting Common Issues
Sometimes, you might encounter problems while using your B’Twin cycle pump. Here are some common issues and how to fix them:
| Issue | Possible Cause | Solution |
|---|---|---|
| Pump not inflating tire | Incorrect valve setting, loose pump head, damaged valve | Check valve setting, ensure tight seal, inspect valve for damage |
| Air leaking from pump head | Loose connection, worn-out seal | Ensure tight connection, replace seal if necessary |
| Difficulty pumping | Clogged valve, pump malfunction | Clean valve, lubricate pump, consider pump replacement |
| Incorrect pressure reading | Faulty gauge | Use a separate tire pressure gauge to verify |
Maintaining Your B’Twin Cycle Pump
To keep your B’Twin cycle pump in top condition, follow these maintenance tips:
- Clean the pump regularly: Wipe down the pump body and handle with a damp cloth to remove dirt and grime.
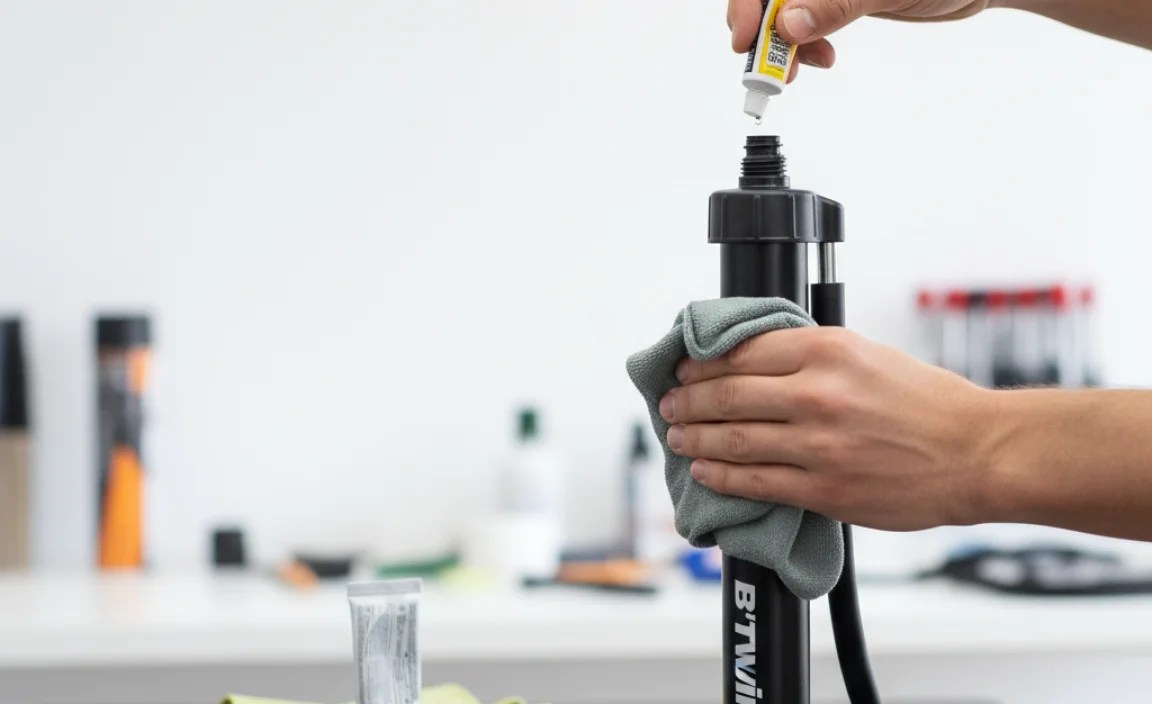
- Lubricate the pump: Apply a small amount of lubricant to the pump’s moving parts (piston, seals) to ensure smooth operation.
- Inspect the pump head: Check the pump head for damage or wear. Replace it if necessary.
- Store the pump properly: Store the pump in a dry, protected location to prevent rust and corrosion.
Why Proper Tire Inflation Matters
Maintaining the correct tire pressure isn’t just about comfort; it also impacts performance, safety, and tire longevity. Here’s why it’s so important:
- Rolling Resistance: Properly inflated tires roll more efficiently, requiring less effort to pedal.
- Puncture Resistance: Underinflated tires are more susceptible to pinch flats (snakebite punctures).
- Handling: Correct tire pressure improves bike handling and control, especially when cornering.
- Comfort: Adjusting tire pressure can fine-tune the ride comfort, especially on rough roads or trails.
- Tire Wear: Riding with consistently underinflated tires can cause premature tire wear.
FAQ: Common Questions About B’Twin Cycle Pumps
Here are some frequently asked questions about using B’Twin cycle pumps:
- Q: How often should I inflate my bike tires?
- A: It depends on the type of tire and riding conditions, but generally, you should check and inflate your tires at least once a week, or before every ride if you’re a frequent cyclist.
- Q: Can I use a car tire pump on my bike tires?
- A: Yes, if your bike has Schrader valves. However, car tire pumps often inflate to very high pressures, so be careful not to overinflate your bike tires. It’s best to use a pump with a pressure gauge.
- Q: What is the difference between PSI and BAR?
- A: PSI (Pounds per Square Inch) and BAR are both units of pressure measurement. 1 BAR is equal to approximately 14.5 PSI. Most bike pumps and gauges display both units.
- Q: My pump head won’t fit on my Presta valve. What should I do?
- A: Make sure you’ve selected the correct opening on the pump head for Presta valves. Also, ensure that the valve nut is fully unscrewed and the valve tip is not stuck.
- Q: How do I know if my tire is overinflated?
- A: Check the pressure gauge or use a separate gauge to measure the pressure. If it exceeds the maximum PSI listed on the tire sidewall, release some air until it’s within the recommended range.
- Q: My tire keeps losing air even after I pump it up. What could be the problem?
- A: There could be a leak in the tire or tube. Check for punctures or damage. Also, make sure the valve core is tightened properly.
- Q: Where can I find the recommended tire pressure for my bike?
- A: The recommended tire pressure (PSI range) is usually printed on the sidewall of your tire. You can also consult your bike’s owner’s manual for more information.
Conclusion
Using a B’Twin cycle pump is a simple yet essential skill for any cyclist. By understanding the different pump components, valve types, and proper inflation techniques, you can keep your tires properly inflated for a smooth, safe, and enjoyable riding experience. Remember to always check the recommended tire pressure, maintain your pump, and troubleshoot any issues that may arise. With a little practice, you’ll become a tire inflation expert in no time! Now get out there and enjoy the ride!