
How to Inflate a Tire with a Mini Pump Step by Step
How to Inflate a Tire with a Mini Pump Step by Step

Quick Summary: Inflating a bike tire with a mini pump can seem tricky, but it’s totally doable! First, make sure your pump fits your valve type (Presta or Schrader). Attach the pump head securely to the valve, lock it in place, and start pumping using smooth, full strokes. Check the tire pressure regularly and stop when you reach the recommended PSI. Ride on!
Ever been stuck on the side of the road with a flat tire, armed only with a mini pump? It’s a common cyclist’s woe, and it can feel frustrating. Mini pumps are great for emergencies, but they definitely require a bit of technique to use effectively. Don’t worry, you’re not alone! Many cyclists struggle to get their tires properly inflated with these compact tools. But with a little know-how, you can master the mini pump and get back on your bike in no time.
This guide will walk you through each step, from identifying your valve type to achieving the right tire pressure. We’ll also cover some common pitfalls and how to avoid them. Let’s get started and turn you into a mini-pump pro!
Understanding Your Bike Tire Valve

Before you even think about pumping, you need to know what kind of valve your bike has. The two main types are Presta and Schrader. Knowing the difference is key to using your mini pump correctly.
Presta Valves
Presta valves are commonly found on road bikes and higher-end mountain bikes. They are narrower than Schrader valves and have a small locking nut at the top.
- Appearance: Thin, with a locking nut.
- Usage: Unscrew the locking nut before inflating and screw it back on afterward.
- Advantages: Holds higher pressures, common on performance bikes.
Schrader Valves
Schrader valves are the same type you find on car tires. They are wider and more robust than Presta valves. These are common on mountain bikes, hybrid bikes, and kids’ bikes.
- Appearance: Wider, similar to car tire valves.
- Usage: Simply attach the pump and inflate.
- Advantages: Durable, easy to use, common on many types of bikes.
Make sure your mini pump is compatible with your valve type. Some pumps have dual heads that work with both, while others require you to switch internal parts.
Gathering Your Tools and Gear

Before you start pumping, make sure you have everything you need. This will make the process smoother and prevent frustration.
- Mini Pump: Choose a reliable pump that fits your valve type.
- Spare Tube (optional): If you had a flat, you’ll need a new tube.
- Tire Levers (optional): To remove the old tire if you had a flat.
- Multi-Tool (optional): Some have built-in tire levers or other helpful tools.
- Rag: To keep your hands clean.
Having these items on hand can save you a lot of time and hassle, especially if you’re dealing with a flat tire on the road.
Step-by-Step Guide to Inflating Your Tire

Now for the main event! Follow these steps to inflate your tire with a mini pump like a pro.
Step 1: Prepare the Valve
Depending on your valve type, the preparation will be slightly different.
Presta Valve Prep:
- Remove the valve cap.
- Unscrew the locking nut at the top of the valve.
- Tap the valve tip to loosen it. You should hear a small release of air. This prevents the valve from sticking closed.
Schrader Valve Prep:
- Remove the valve cap.
- That’s it! Schrader valves are ready to go.
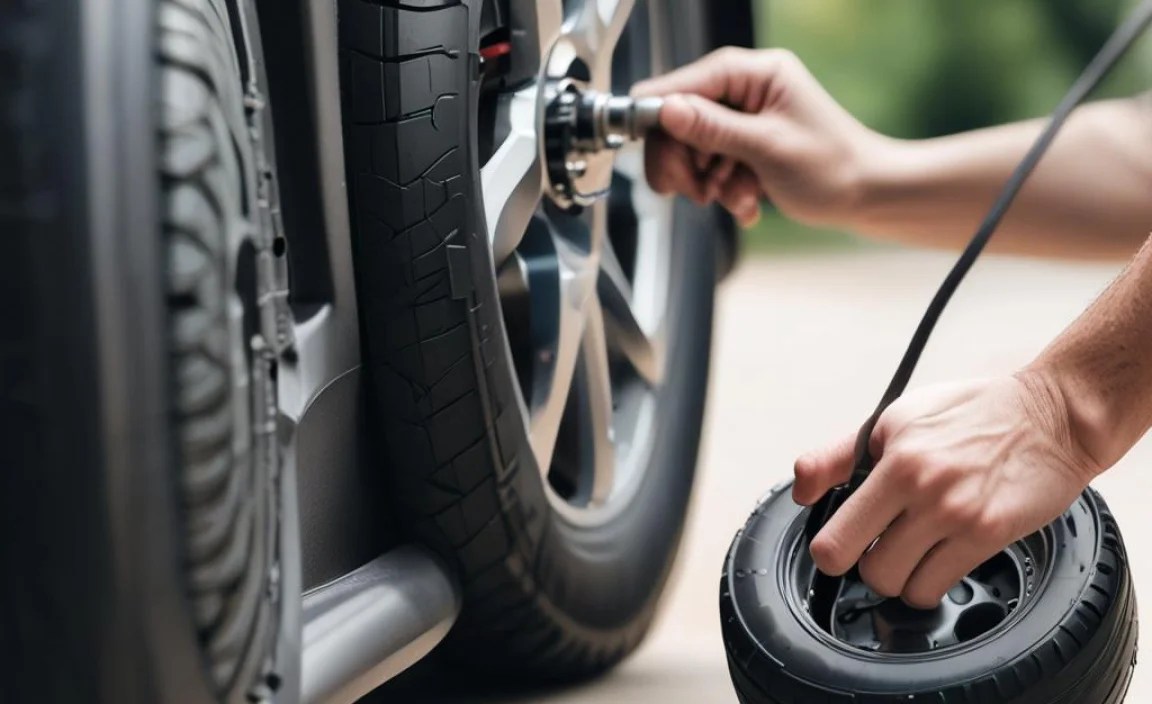
Step 2: Attach the Pump Head
This is where things can get a little tricky. Make sure the pump head is securely attached to the valve to avoid air leaks.
- Place the pump head over the valve.
- Make sure it’s straight and aligned properly.
- Engage the locking lever (if your pump has one). This secures the pump head to the valve.
If you hear air leaking, double-check the connection and try again. A secure fit is crucial for efficient pumping.
Step 3: Start Pumping
Now it’s time to put some muscle into it! Use smooth, full strokes to inflate the tire.
- Place the pump handle in your palm and grip firmly.
- Use your body weight to push down on the pump.
- Pull the pump back up smoothly.
- Repeat, keeping a steady rhythm.
Mini pumps require more effort than floor pumps, so be prepared for a workout. Try to use your whole body to generate power, not just your arms.
Step 4: Check the Pressure
It’s important to monitor the tire pressure as you pump. Overinflating or underinflating can affect your ride quality and safety.
- Use a tire pressure gauge to check the pressure periodically.
- Look for the recommended PSI (pounds per square inch) on the sidewall of your tire.
- Inflate to the recommended pressure range.
If you don’t have a gauge, you can get a rough estimate by squeezing the tire. It should feel firm but not rock hard.
Step 5: Detach the Pump and Secure the Valve
Once you’ve reached the desired pressure, carefully detach the pump and secure the valve.
- Disengage the locking lever (if your pump has one).
- Carefully remove the pump head from the valve.
Presta Valve Post-Pump:
- Screw the locking nut back down to the top.
- Replace the valve cap.
Schrader Valve Post-Pump:
- Replace the valve cap.
Make sure the valve is properly sealed to prevent air from leaking out.
Troubleshooting Common Issues
Sometimes, things don’t go as planned. Here are some common issues you might encounter and how to fix them.
Air Leaking Around the Valve
If you hear air hissing around the valve while pumping, the pump head isn’t properly sealed.
- Solution: Reattach the pump head, making sure it’s straight and the locking lever is engaged.
- Another Solution: Check the pump head for wear or damage. You may need to replace it.
Pump Won’t Attach to the Valve
If the pump head won’t fit onto the valve, there may be a compatibility issue or obstruction.
- Solution: Make sure your pump head is compatible with your valve type (Presta or Schrader).
- Another Solution: Check the valve for dirt or debris. Clean it with a rag if necessary.
Tire Won’t Inflate
If you’re pumping but the tire isn’t inflating, there may be a hole in the tube or a problem with the pump.
- Solution: Check the tube for punctures. If you find one, replace the tube.
- Another Solution: Test the pump on another tire to see if it’s working properly.
Choosing the Right Mini Pump
Not all mini pumps are created equal. Here are some factors to consider when choosing a mini pump.
Pump Type
There are two main types of mini pumps: hand pumps and CO2 inflators. Each has its pros and cons.
| Pump Type | Pros | Cons |
|---|---|---|
| Hand Pump | Reusable, no need for cartridges, reliable. | Requires more effort, can be slow. |
| CO2 Inflator | Fast inflation, easy to use. | Requires cartridges, can be wasteful, one-time use per cartridge. |
Size and Weight
Mini pumps are designed to be portable, but some are smaller and lighter than others. Consider how much space you have and how much weight you’re willing to carry.
Valve Compatibility
Make sure the pump is compatible with your valve type (Presta or Schrader). Some pumps have dual heads that work with both.
Pressure Rating
Check the maximum pressure the pump can deliver. Road bikes typically require higher pressures than mountain bikes.
Features
Some mini pumps have additional features like built-in pressure gauges, flexible hoses, and mounting brackets.
Tips for Easier Inflation
Here are some extra tips to make inflating your tires with a mini pump easier and more efficient.
- Use Your Body Weight: Instead of just using your arms, lean into the pump and use your body weight to generate power.
- Take Breaks: Mini pumps require more effort than floor pumps. Take breaks as needed to avoid fatigue.
- Keep the Pump Clean: Dirt and debris can damage the pump and reduce its efficiency. Clean it regularly with a rag.
- Practice Makes Perfect: The more you use your mini pump, the better you’ll get at it. Practice at home before you need it on the road.
- Consider a Floor Pump for Home: Mini pumps are great for emergencies, but a floor pump is much easier and faster for regular maintenance.
Maintaining Your Bike Tires
Proper tire maintenance is essential for a safe and enjoyable ride. Here are some tips to keep your tires in good condition.
- Check Tire Pressure Regularly: Inflate your tires to the recommended pressure before each ride.
- Inspect Tires for Wear and Damage: Look for cuts, bulges, or excessive wear. Replace tires as needed.
- Clean Your Tires: Remove dirt and debris with a rag and mild soap.
- Store Your Bike Properly: Avoid storing your bike in direct sunlight or extreme temperatures, as this can damage the tires.
Safety Precautions
When inflating your tires, always follow these safety precautions.
- Don’t Overinflate: Overinflating can cause the tire to explode, which can be dangerous.
- Use a Pressure Gauge: Use a pressure gauge to ensure you’re inflating to the recommended pressure.
- Inspect Tires Before Each Ride: Look for signs of wear or damage.
- Be Aware of Your Surroundings: When inflating your tires on the road, be aware of traffic and other hazards.
Recommended Tire Pressure
The correct tire pressure depends on several factors, including tire size, rider weight, and riding conditions. Here’s a general guide.
| Tire Type | Recommended PSI |
|---|---|
| Road Bike Tires (23-25mm) | 100-120 PSI |
| Hybrid Bike Tires (32-38mm) | 50-70 PSI |
| Mountain Bike Tires (2.0-2.4″) | 25-35 PSI |
Always refer to the tire manufacturer’s recommendations for the most accurate pressure range. You can find these printed on the tire sidewall.
External Resources
For more information on bike maintenance and repair, check out these resources:
- Park Tool Repair Help – Comprehensive guides and videos on bike repair.
- REI Expert Advice on Bicycle Maintenance – Tips and advice from REI’s cycling experts.
FAQ: Inflating Tires with a Mini Pump
What is the difference between Presta and Schrader valves?
Presta valves are thin with a locking nut and are common on road bikes. Schrader valves are wider, like car tires, and often found on mountain bikes.
How do I know what PSI to inflate my tires to?
Look for the recommended PSI range printed on the sidewall of your tire. Use a tire pressure gauge to check the pressure as you inflate.
Why is air leaking when I try to pump?
Make sure the pump head is securely attached to the valve. Engage the locking lever if your pump has one. If it still leaks, check the pump head for damage.
How can I make pumping easier with a mini pump?
Use your body weight to push down on the pump. Take breaks as needed. Keep the pump clean and well-maintained.
Can I use a mini pump to inflate a car tire?
While technically possible, it’s not recommended. Mini pumps are designed for bike tires and would take a very long time to inflate a car tire.
What if my mini pump doesn’t fit my valve type?
Some mini pumps have dual heads that work with both Presta and Schrader valves. If yours doesn’t, you’ll need to get an adapter or a new pump.
How often should I check my tire pressure?
Ideally, check your tire pressure before each ride. At a minimum, check it once a week.
Conclusion
Inflating a tire with a mini pump doesn’t have to be a daunting task. With the right tools, a little technique, and some practice, you can confidently handle flat tires and keep your bike rolling smoothly. Remember to identify your valve type, choose the right pump, and follow the step-by-step instructions. Don’t forget to check your tire pressure regularly and maintain your tires properly. By mastering the mini pump, you’ll be prepared for any roadside emergency and can enjoy your rides with peace of mind. Happy cycling!


