
Mini Bike Pump: The Easiest Inflation?
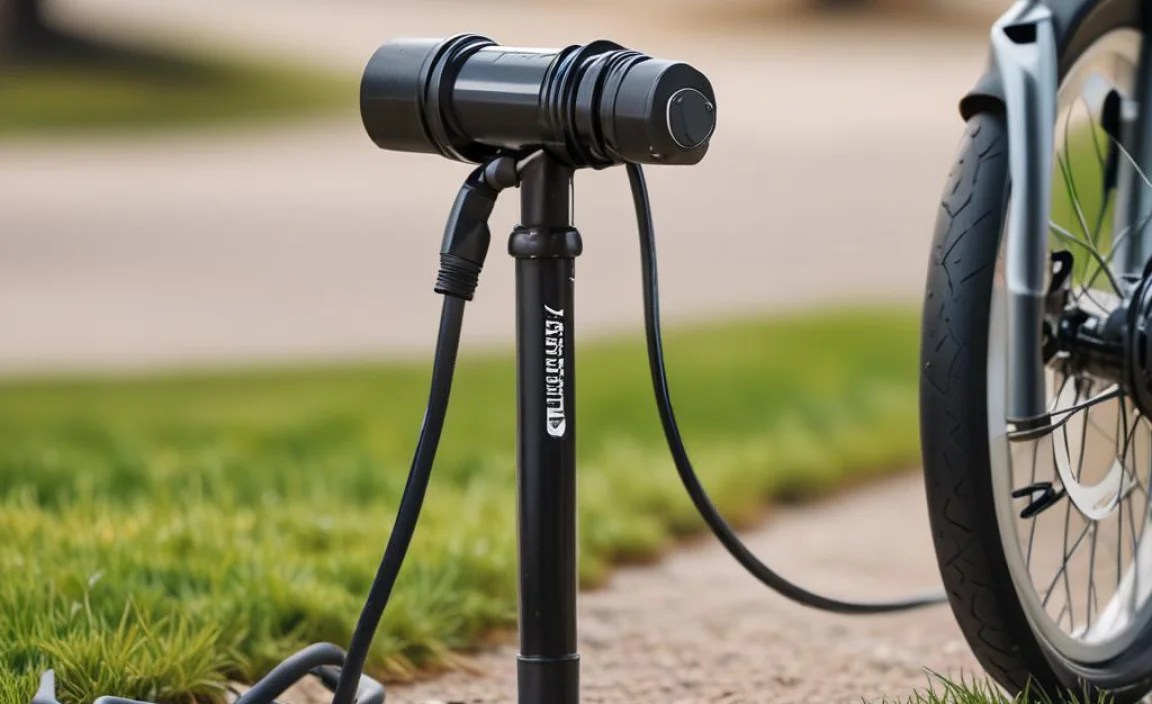
A mini bike pump is a small, portable pump designed to inflate your bike tires on the go. To use one effectively, securely attach the pump head to your tire valve, engage the locking lever (if present), and pump steadily until you reach the desired tire pressure. Check the pressure with a gauge to avoid overinflation.
Ever been miles from home with a flat tire and no way to pump it up? It’s a cyclist’s worst nightmare! A mini bike pump is your trusty sidekick, small enough to carry but powerful enough to get you back on the road. But using one isn’t always as straightforward as it seems. Many cyclists struggle with getting a good seal or reaching the right pressure.
In this guide, I’ll walk you through everything you need to know to use a mini bike pump like a pro. We’ll cover choosing the right pump, attaching it correctly, pumping efficiently, and even some troubleshooting tips. Let’s get started and make flat tires a minor inconvenience, not a ride-ending disaster!
What is a Mini Bike Pump?

A mini bike pump is a compact, lightweight pump designed for inflating bicycle tires during emergencies or when you’re away from home. Unlike floor pumps, which are larger and intended for home use, mini pumps are made to be portable and easily carried in a backpack, frame mount, or jersey pocket.
Types of Mini Bike Pumps
Mini bike pumps come in several varieties, each with its own advantages:
- Hand Pumps: These are the most common type, operated by hand to inflate the tire.
- CO2 Inflators: These use a cartridge of compressed CO2 to quickly inflate a tire. They’re fast but require replacement cartridges.
- Hybrid Pumps: Some pumps combine hand pumping with CO2 inflation for versatility.
- Mini Floor Pumps: These are slightly larger than standard mini pumps but offer a footrest and more efficient pumping action.
Key Features to Consider
When choosing a mini bike pump, consider these features:
- Size and Weight: Look for a pump that is compact and lightweight for easy portability.
- Inflation Power (PSI): Check the maximum pressure the pump can deliver. Road bikes typically need higher pressure (80-130 PSI) than mountain bikes (25-35 PSI).
- Valve Compatibility: Ensure the pump is compatible with both Presta and Schrader valves, or choose one that matches your bike’s valves. Some pumps have dual heads or adapters.
- Build Quality: Opt for a pump made from durable materials like aluminum alloy for longevity.
- Gauge: Some mini pumps include a built-in pressure gauge, which helps you avoid over- or under-inflation.
- Mounting Bracket: A mounting bracket allows you to attach the pump to your bike frame for convenient storage.
Choosing the Right Mini Bike Pump

Selecting the right mini bike pump depends on your cycling style, tire type, and personal preferences. Here’s a breakdown to help you make the best choice.
For Road Bikes
Road bikes require higher tire pressures for optimal performance. Look for a mini pump that can reach at least 100 PSI (Pounds per Square Inch). A pump with a pressure gauge is highly recommended to achieve precise inflation.
For Mountain Bikes
Mountain bikes typically use lower tire pressures for better traction on trails. A pump that delivers around 30-50 PSI is usually sufficient. Volume is more important than high pressure, so choose a pump that moves a good amount of air per stroke.
For Commuting and Hybrid Bikes
A versatile mini pump that can handle a range of pressures is ideal for commuting and hybrid bikes. Look for a pump that can reach 60-80 PSI and is compatible with both Presta and Schrader valves.
CO2 Inflators vs. Hand Pumps
CO2 inflators offer rapid inflation but require you to carry CO2 cartridges. They are great for quick fixes during races or time-sensitive situations. Hand pumps, on the other hand, are reusable and don’t rely on cartridges, making them a reliable option for everyday use.
Here’s a comparison table:
| Feature | CO2 Inflator | Hand Pump |
|---|---|---|
| Speed of Inflation | Very Fast | Slower |
| Reusability | Requires new cartridge per use | Reusable |
| Portability | Compact | Compact, but slightly larger than CO2 inflators |
| Cost | Low initial cost, but ongoing cost of cartridges | Higher initial cost, but no ongoing costs |
| Reliability | Reliable if cartridge is full | Reliable, no dependence on cartridges |
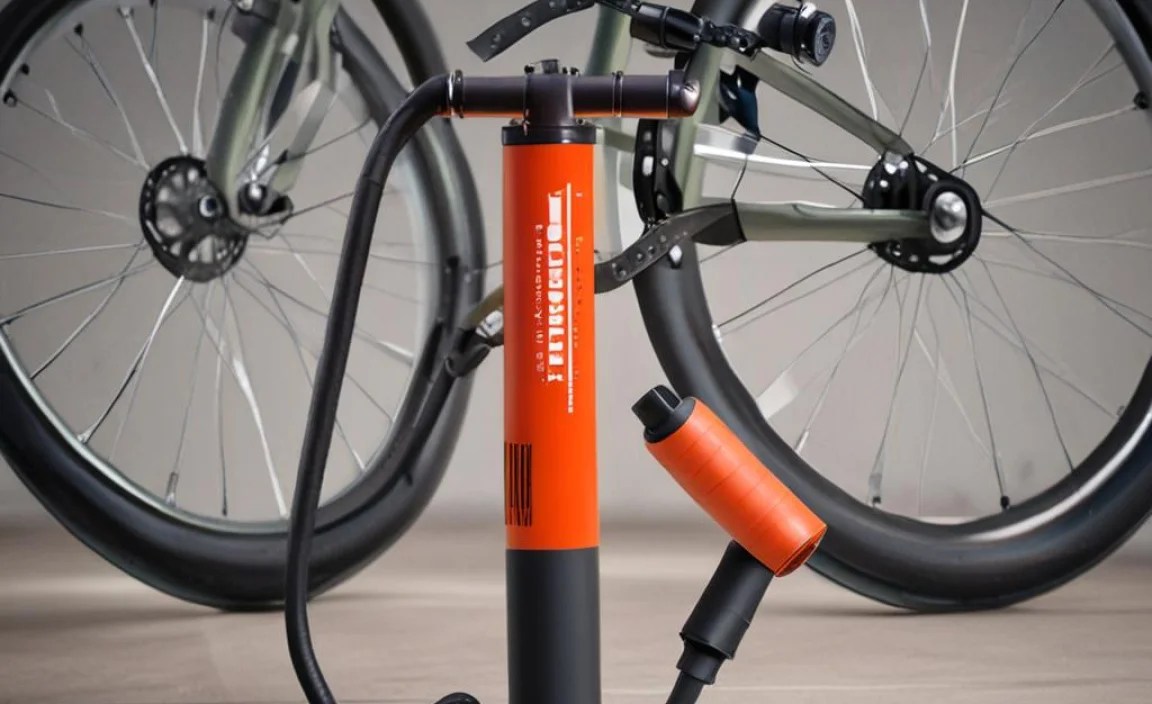
Step-by-Step Guide to Using a Mini Bike Pump

Using a mini bike pump correctly ensures efficient inflation and prevents damage to your tires and valves. Follow these steps for optimal results.
Step 1: Prepare Your Bike and Pump
- Inspect the Tire: Check for any debris or damage to the tire. Remove any sharp objects that may have caused the flat.
- Locate the Valve: Identify whether you have a Presta or Schrader valve. Presta valves are narrow with a locking nut at the tip, while Schrader valves are wider and similar to those on car tires.
- Prepare the Pump: Ensure the pump head is compatible with your valve type. Some pumps have dual heads or require you to switch an internal part to match the valve.
Step 2: Attach the Pump to the Valve
- Presta Valve: Unscrew the locking nut at the tip of the valve. Gently push the valve stem to ensure it’s not stuck. Attach the pump head straight onto the valve, ensuring a snug fit. Engage the locking lever if your pump has one.
- Schrader Valve: Remove the valve cap. Attach the pump head straight onto the valve, ensuring a secure fit. Engage the locking lever if your pump has one.
Step 3: Start Pumping
- Position Yourself: Place one hand on the pump handle and the other on the tire or frame for stability.
- Pump Steadily: Use smooth, consistent strokes to inflate the tire. Avoid jerky movements, which can damage the valve.
- Monitor Pressure: If your pump has a gauge, monitor the pressure as you pump. If not, periodically squeeze the tire to get a sense of the pressure.
Step 4: Reach the Desired Pressure
- Check the Tire Sidewall: Look for the recommended pressure range printed on the tire sidewall.
- Inflate Accordingly: Inflate the tire to the appropriate pressure for your riding conditions. Lower pressures provide better grip on rough terrain, while higher pressures offer lower rolling resistance on smooth surfaces.
Step 5: Detach the Pump and Secure the Valve
- Disengage the Locking Lever: If your pump has a locking lever, disengage it.
- Remove the Pump Head: Carefully remove the pump head from the valve, using a straight, gentle motion to avoid bending the valve.
- Presta Valve: Screw the locking nut back onto the valve.
- Schrader Valve: Replace the valve cap.
Tips for Efficient Pumping
Maximize your pumping efficiency with these tips:
- Use Your Body Weight: Lean into the pump to generate more force with each stroke.
- Maintain a Good Seal: Ensure the pump head is securely attached to the valve to prevent air leakage.
- Pump in Smooth, Full Strokes: Use the full range of the pump to maximize air volume per stroke.
- Take Breaks: If you’re struggling to reach the desired pressure, take short breaks to avoid fatigue.
Troubleshooting Common Issues
Even with the best technique, you might encounter issues. Here’s how to troubleshoot them:
Air Leaking from the Valve
Problem: Air escapes around the valve when pumping.
Solution: Ensure the pump head is securely attached to the valve. Check the pump head for wear or damage. Replace the pump head if necessary.
Difficulty Attaching the Pump
Problem: The pump head won’t attach to the valve.
Solution: Make sure the pump head is compatible with your valve type. Check for any debris or damage in the valve. Try a different pump head or adapter.
Inability to Reach Desired Pressure
Problem: You can’t pump the tire to the recommended pressure.
Solution: Ensure the pump is capable of reaching the desired pressure. Check for air leaks in the tire or valve. Make sure you are using full, efficient strokes.
Valve Damage
Problem: The valve stem bends or breaks.
Solution: Use a gentle, straight motion when attaching and detaching the pump. Avoid excessive force. Consider using a pump with a swivel head to reduce stress on the valve.
Maintaining Your Mini Bike Pump
Regular maintenance ensures your mini bike pump remains in good working condition. Here’s how to keep it performing optimally.
Cleaning
Clean your mini bike pump regularly to remove dirt and debris. Use a damp cloth to wipe down the exterior. For internal cleaning, disassemble the pump and clean the parts with a mild detergent and water. Ensure all parts are completely dry before reassembling.
Lubrication
Lubricate the moving parts of your mini bike pump to ensure smooth operation. Use a silicone-based lubricant on the piston and seals. Avoid using oil-based lubricants, which can attract dirt and damage the pump.
Storage
Store your mini bike pump in a dry place to prevent corrosion and damage. If you use a frame mount, ensure the pump is securely attached to prevent it from falling off during rides. Regularly check the pump for any signs of wear or damage.
Mini Bike Pump Recommendations
Here are a few highly-rated mini bike pumps available on the market:
| Pump | Features | Pros | Cons |
|---|---|---|---|
| Lezyne Micro Floor Drive HP | High-pressure, mini floor pump with footrest and gauge | Efficient pumping, accurate pressure readings | Slightly larger than other mini pumps |
| Topeak Mini Rocket IGlow | Compact, lightweight, with integrated light | Highly portable, added visibility | May require more strokes to reach high pressure |
| Crankbrothers Sterling LG | High-volume, reversible Presta/Schrader head | Efficient for mountain bike tires, easy valve switching | Gauge not as precise as other models |
| Blackburn Core Mini-Pump | Affordable, reliable, compact design | Great value, durable construction | Lacks a pressure gauge |
FAQ About Mini Bike Pumps
Here are some frequently asked questions about mini bike pumps.
What is the ideal PSI for my tires?
The ideal PSI (Pounds per Square Inch) for your tires is usually printed on the tire sidewall. Road bikes typically require higher pressures (80-130 PSI), while mountain bikes use lower pressures (25-35 PSI). Adjust the pressure based on your weight, riding conditions, and personal preference.
How do I know if my pump is compatible with my valve?
Check the pump head for compatibility with Presta and Schrader valves. Some pumps have dual heads or adapters. Presta valves are narrow with a locking nut, while Schrader valves are wider and similar to car tire valves.
Can I use a CO2 inflator instead of a mini pump?
Yes, CO2 inflators offer rapid inflation and are great for quick fixes. However, they require replacement CO2 cartridges and don’t allow for pressure adjustments like hand pumps do. They are a good option for races or emergencies.
How often should I maintain my mini bike pump?
You should clean your mini bike pump regularly, especially after using it in dirty or wet conditions. Lubricate the moving parts every few months to ensure smooth operation. Store it in a dry place to prevent corrosion.
What should I do if my tire keeps losing air?
Check for punctures or damage to the tire. Inspect the valve for leaks. If the tire continues to lose air, you may need to replace the tube or tire.
Is it possible to over-inflate my tires with a mini pump?
Yes, it is possible to over-inflate your tires, especially if your pump doesn’t have a gauge. Always check the recommended pressure range on the tire sidewall and avoid exceeding it. Over-inflation can lead to blowouts.
How can I carry my mini bike pump on rides?
Most mini bike pumps come with a mounting bracket that allows you to attach the pump to your bike frame. Alternatively, you can carry the pump in a backpack, jersey pocket, or saddlebag.
Conclusion
Mastering the use of a mini bike pump is an essential skill for any cyclist. By choosing the right pump, following the correct inflation techniques, and maintaining your equipment, you can confidently handle flat tires and keep your rides smooth and enjoyable. Remember to check your tire pressure regularly and always carry your mini pump on every ride. With a little practice, you’ll be back on the road in no time, no matter where your adventures take you. Happy cycling!


