
How to Store Mini Pump Properly: Smart Tips!
Quick Summary: Storing your mini pump properly keeps it ready for action and extends its life! Always clean off dirt and moisture after each use. Store it in a cool, dry place, away from direct sunlight. If your pump came with a mount, use it on your bike frame. If not, a small bag in your cycling pack works great. Remember to check it regularly for smooth operation!
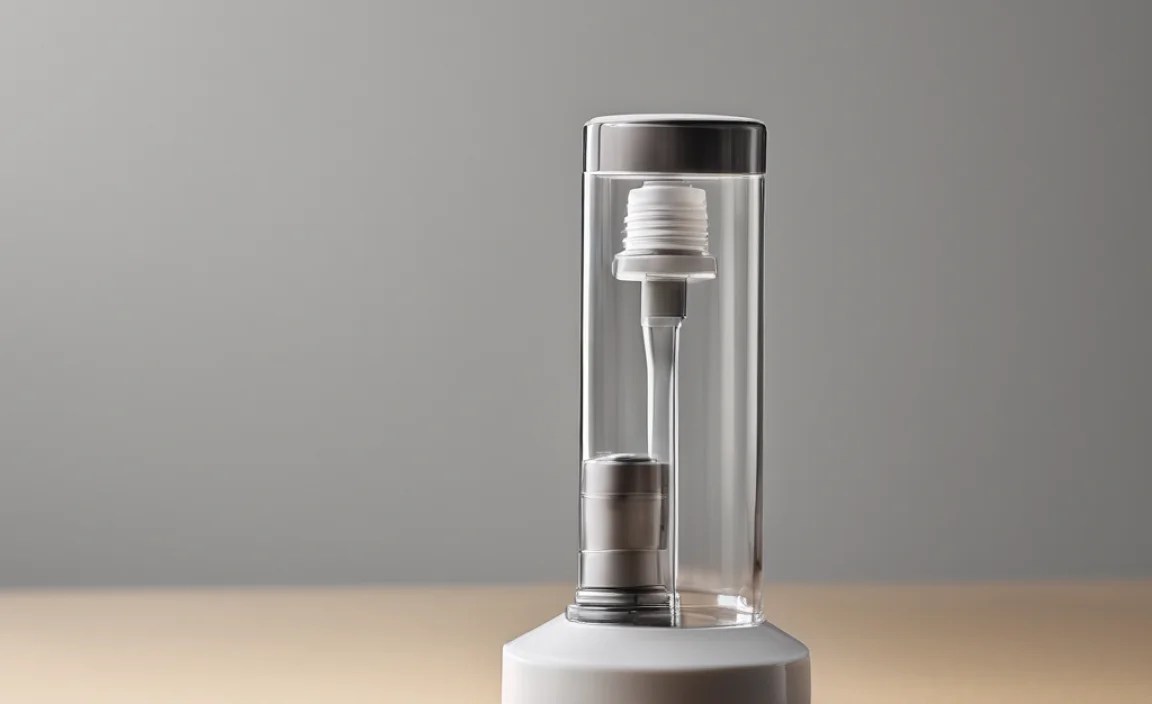
Ever had a flat tire and reached for your mini pump, only to find it clogged with grit or the seals dried out? It’s a common problem for cyclists, and it’s super frustrating! A mini pump is a must-have tool, but it needs a little TLC to work when you need it most. Don’t worry; keeping your pump in top shape isn’t hard.
In this guide, I’ll walk you through the best ways to store your mini pump, so it’s always ready for your next ride. We’ll cover cleaning tips, storage spots, and a few maintenance tricks. Let’s get started!
Why Proper Storage Matters for Your Mini Pump

Think of your mini pump as a trusty sidekick. It’s small, reliable, and always there to help you out of a jam. But just like any tool, it needs proper care to stay in good working order. Here’s why how you store your mini pump makes a big difference:
- Prevents Corrosion: Moisture and dirt can cause rust and corrosion, especially on metal parts.
- Protects Seals: The rubber seals inside your pump can dry out and crack if exposed to heat or sunlight.
- Keeps it Clean: Dirt and grime can get inside the pump and clog the mechanism.
- Ensures Reliability: Proper storage means your pump will work when you need it most.
Step-by-Step Guide to Storing Your Mini Pump

Follow these simple steps to keep your mini pump in top condition:
Step 1: Clean Your Mini Pump After Each Use
This is the most important step! After you’ve used your pump, take a minute to clean it.
- Wipe it Down: Use a clean, dry cloth to wipe off any dirt, mud, or water.
- Clean the Nozzle: Pay special attention to the pump head or nozzle, where dirt can easily get trapped. A small brush or cotton swab can help.
- Dry Thoroughly: Make sure the pump is completely dry before storing it.
Step 2: Choose the Right Storage Location
Where you store your mini pump is just as important as cleaning it. Here are a few options:
- On Your Bike Frame: Many mini pumps come with a mounting bracket that attaches to your bike frame. This is a convenient option, but make sure the pump is protected from the elements.
- In a Cycling Pack: If you carry a cycling pack, a small compartment is a great place to store your pump. Just be sure to keep it separate from sharp objects that could damage it.
- In a Tool Box: If you have a home workshop, store your pump with your other bike tools.
Here’s a quick comparison of storage locations:
| Storage Location | Pros | Cons |
|---|---|---|
| On Bike Frame | Convenient, always accessible | Exposed to weather, can get dirty |
| Cycling Pack | Protected from weather, secure | Takes up space in pack, need to remember to pack it |
| Tool Box | Safe, dry, organized | Not accessible on rides |
Step 3: Protect Your Pump from the Elements
Whether you store your pump on your bike or in a pack, protect it from the elements:
- Avoid Direct Sunlight: The sun can damage the rubber seals and fade the pump’s finish.
- Keep it Dry: Moisture can cause corrosion and rust.
- Protect from Extreme Temperatures: Extreme heat or cold can damage the pump’s internal components.
Step 4: Consider a Protective Case or Bag
If you want extra protection, consider using a case or bag:
- Pump Sleeves: Some pumps come with a sleeve or cover. Use it!
- Small Ziplock Bags: A simple ziplock bag can keep out dirt and moisture.
- Tool Rolls: If you carry other tools, a tool roll can keep everything organized and protected.
Step 5: Regular Maintenance Checks
A little maintenance goes a long way. Check your pump regularly to make sure it’s in good working order:
- Check the Seals: Look for cracks or damage. Replace them if needed.
- Lubricate Moving Parts: Use a silicone-based lubricant to keep the pump working smoothly.
- Test the Pump: Make sure it inflates properly before you need it on a ride.
Recommended Products for Mini Pump Storage and Maintenance

Here are a few products that can help you store and maintain your mini pump:
- Topeak RaceRocket HP Mini Pump: Comes with a mounting bracket and is known for its reliability.
- Lezyne Road Drive Mini Pump: High-quality pump with a durable construction.
- Silicone Lubricant: A must-have for keeping your pump’s moving parts smooth.
- Tool Roll: A great way to organize your pump and other bike tools.
Tips for Extending the Life of Your Mini Pump

Want to get the most out of your mini pump? Follow these tips:
- Read the Instructions: Familiarize yourself with your pump’s specific features and maintenance requirements.
- Use the Right Nozzle: Make sure you’re using the correct nozzle for your valve type (Presta or Schrader).
- Don’t Over-Inflate: Check your tire’s recommended pressure and don’t exceed it.
- Replace Worn Parts: Don’t wait until your pump fails completely. Replace worn seals or hoses as needed.
Common Mistakes to Avoid
Here are a few common mistakes to avoid when storing your mini pump:
- Ignoring Cleaning: Neglecting to clean your pump after use is a surefire way to shorten its life.
- Storing in Direct Sunlight: This can damage the seals and fade the finish.
- Forgetting to Check it Regularly: A quick check every few weeks can prevent problems down the road.
Advanced Storage Solutions
For serious cyclists or those who live in harsh climates, here are some advanced storage solutions:
- Waterproof Bags: If you ride in wet conditions, a waterproof bag is a must.
- Climate-Controlled Storage: If you live in an area with extreme temperatures, consider storing your pump indoors.
- Regular Professional Maintenance: Take your pump to a bike shop for a tune-up every year or two.
Mini Pump Maintenance Schedule
Here’s a sample maintenance schedule to keep your mini pump in top condition:
| Frequency | Task | Description |
|---|---|---|
| After Each Use | Wipe Down | Remove dirt and moisture with a clean cloth. |
| Monthly | Check Seals | Inspect for cracks or damage; replace if needed. |
| Every 3 Months | Lubricate | Apply silicone-based lubricant to moving parts. |
| Annually | Deep Clean | Disassemble and clean internal components. |
Mini Pump Storage for Different Types of Bikes
The best way to store your mini pump can vary depending on the type of bike you have:
- Road Bikes: Frame mounts are popular for road bikes, as they keep the pump easily accessible during fast rides.
- Mountain Bikes: A cycling pack or tool roll is a good option for mountain bikes, as it protects the pump from mud and debris.
- Hybrid Bikes: Frame mounts or panniers work well for hybrid bikes, depending on your commuting or recreational needs.
- E-Bikes: Consider the extra weight and space on an e-bike; a frame mount or dedicated e-bike bag might be best.
Why a Well-Maintained Pump Matters
Having a properly stored and maintained mini pump isn’t just about convenience; it’s about safety and peace of mind. A reliable pump can get you back on the road quickly after a flat tire, preventing you from being stranded. It also ensures that your tires are properly inflated, which improves your bike’s handling and efficiency. According to the League of American Bicyclists, regular bike maintenance is essential for safe cycling. Taking care of your mini pump is a small part of that larger effort.
Troubleshooting Common Mini Pump Problems
Even with proper storage, you might encounter issues with your mini pump. Here are a few common problems and how to fix them:
- Pump Won’t Inflate: Check the valve connection and make sure the pump head is securely attached.
- Air Leaks: Inspect the seals and replace them if they’re damaged.
- Stiff Pumping Action: Lubricate the moving parts with silicone lubricant.
- Nozzle Won’t Fit: Make sure you’re using the correct nozzle for your valve type. Some pumps have reversible nozzles for Presta and Schrader valves.
Alternatives to Mini Pumps
While mini pumps are a great option, there are other ways to inflate your tires on the go:
- CO2 Inflators: These use compressed CO2 cartridges to quickly inflate your tires. They’re lightweight and easy to use, but you’ll need to carry extra cartridges.
- Frame-Mounted Pumps: These are larger pumps that attach to your bike frame. They provide more pumping power than mini pumps but are less portable.
- Handheld Inflators: Some cyclists prefer small, handheld inflators that don’t require cartridges or frame mounting.
1. Where is the best place to store my mini pump?
The best place to store your mini pump is either mounted on your bike frame (if it has a mount) or in a cycling pack. Avoid direct sunlight and moisture.
2. How often should I clean my mini pump?
Ideally, clean your mini pump after each use. At a minimum, wipe it down monthly to remove dirt and grime.
3. What type of lubricant should I use on my mini pump?
Use a silicone-based lubricant. Avoid petroleum-based lubricants, as they can damage the rubber seals.
4. How do I know if my mini pump needs new seals?
If you notice air leaks or reduced pumping power, it’s likely time to replace the seals.
5. Can I store my mini pump in my car?
It’s not recommended to store your mini pump in your car, especially in hot weather. Extreme temperatures can damage the pump’s components.
6. What should I do if my mini pump gets wet?
If your mini pump gets wet, dry it thoroughly as soon as possible to prevent corrosion. Disassemble it if necessary to dry the internal parts.
7. Is it okay to leave my mini pump on my bike during the winter?
It’s best to remove your mini pump from your bike during the winter, especially if you live in an area with freezing temperatures. Store it indoors in a dry place.
Conclusion
Storing your mini pump properly is a small investment that pays off big time. By following these simple steps, you can keep your pump in top condition and avoid the frustration of a flat tire and a broken pump. Remember to clean it, store it in a safe place, and check it regularly. With a little care, your mini pump will be a reliable companion on all your cycling adventures. Now get out there and ride with confidence, knowing you’re prepared for anything!


