
How to Remove Hand Pump From Valve Without Losing Air: Easy!
Quick Summary: Removing a hand pump from your bike tire valve without losing air is simple! Make sure the pump head is properly seated, then quickly pull it straight off while keeping the valve steady. A swift, decisive motion is key to prevent air from escaping. With practice, you’ll master this essential cycling skill!
Ever wrestled with your bike pump, struggling to remove it from the valve without hearing that dreaded hiss of escaping air? It’s a common frustration for cyclists of all levels. Don’t worry, though—it’s a problem with a solution. With a few simple techniques, you can remove your hand pump smoothly and efficiently, keeping your tires properly inflated and ready for your next ride.
This guide will walk you through the steps to remove your hand pump without losing air. We’ll cover different valve types, pump head designs, and helpful tips to make the process easy. Get ready to say goodbye to frustrating pump removals and hello to confident bike maintenance!
Understanding Bike Tire Valves

Before diving into the removal process, it’s important to understand the different types of valves you’ll encounter on bicycle tires. The two most common types are Presta and Schrader valves.
Presta Valves
Presta valves are typically found on higher-end bikes and road bikes. They are narrower than Schrader valves and have a locking nut at the top. To inflate a tire with a Presta valve, you must first unscrew the locking nut.
- Pros:
- Maintains higher pressure.
- Lighter than Schrader valves.
- Aero advantage (due to smaller size).
- Cons:
- More fragile than Schrader valves.
- Requires unscrewing before inflation.
- Can be more difficult to use with some pumps.
Schrader Valves
Schrader valves are commonly found on mountain bikes, hybrid bikes, and car tires. They are wider and more robust than Presta valves and have a spring-loaded pin in the center.
- Pros:
- More durable than Presta valves.
- Easy to use with most pumps and air compressors.
- Commonly found, making inflation convenient.
- Cons:
- Bulkier and heavier than Presta valves.
- Can’t hold as high pressure as Presta valves.
Here’s a quick comparison table:
| Feature | Presta Valve | Schrader Valve |
|---|---|---|
| Typical Bike Type | Road Bikes, High-End Bikes | Mountain Bikes, Hybrid Bikes |
| Width | Narrow | Wide |
| Durability | Less Durable | More Durable |
| Pressure Capacity | Higher | Lower |
| Ease of Use | Slightly More Complex | Simpler |
Choosing the Right Hand Pump

The type of hand pump you use can also affect how easily you can remove it from the valve without losing air. There are two main types of hand pumps:
- Lever-Lock Pumps: These pumps have a lever that you engage to create a tight seal with the valve.
- Thread-On Pumps: These pumps screw onto the valve.
Lever-Lock Pumps
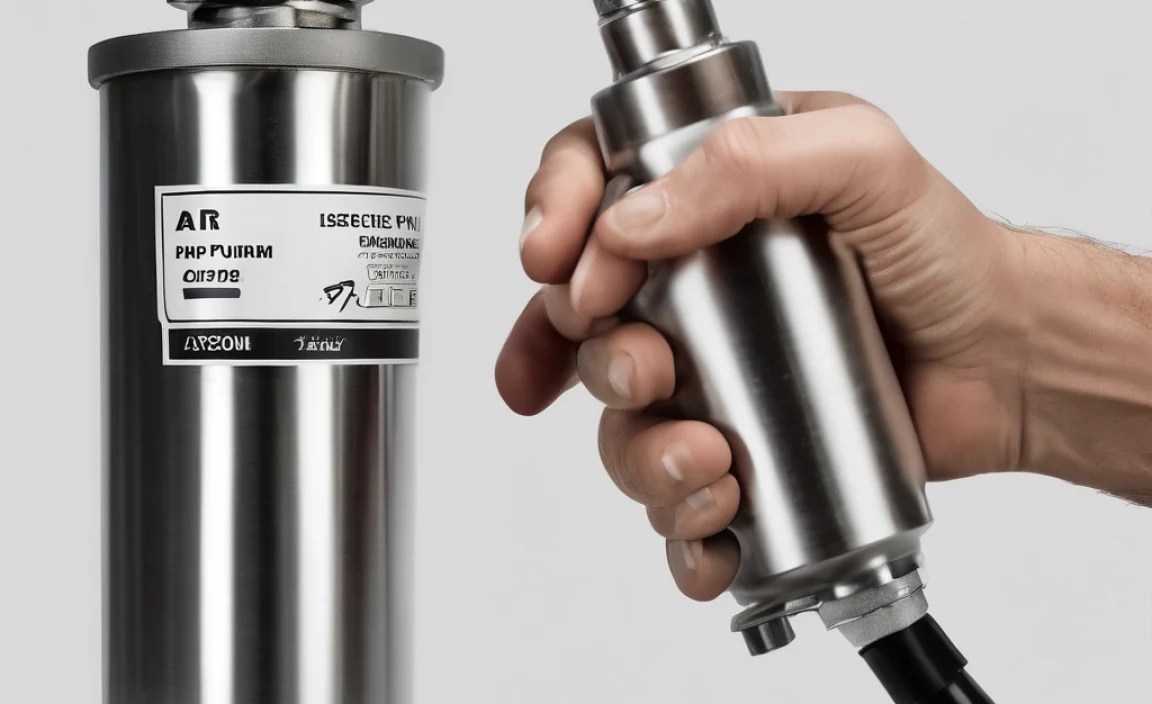
Lever-lock pumps are generally easier to use and remove without losing air. The lever mechanism creates a secure seal, and when you disengage the lever, you can quickly pull the pump head off the valve.
Pros of Lever-Lock Pumps:
- Easy to attach and detach.
- Secure seal during inflation.
- Minimal air loss upon removal.
Cons of Lever-Lock Pumps:
- Can be more expensive than thread-on pumps.
- The lever mechanism can sometimes be fragile.
Thread-On Pumps
Thread-on pumps screw directly onto the valve. While they can provide a secure connection, they can be more challenging to remove quickly without losing air. The screwing motion can sometimes loosen the valve core, causing air to escape.
Pros of Thread-On Pumps:
- Generally less expensive.
- Simple design.
Cons of Thread-On Pumps:
- Can be difficult to remove quickly.
- Higher risk of air loss upon removal.
- May loosen the valve core.
Step-by-Step Guide: Removing a Hand Pump Without Losing Air

Now, let’s get into the step-by-step instructions for removing your hand pump efficiently. These steps apply to both Presta and Schrader valves, as well as lever-lock and thread-on pumps.
Step 1: Ensure a Proper Seal
Before you even start pumping, make sure the pump head is properly seated on the valve. A good seal is crucial for efficient inflation and easy removal. For Presta valves, ensure the locking nut is unscrewed. For Schrader valves, make sure the pump head is firmly pressed onto the valve.
Step 2: Inflate to the Desired Pressure
Inflate your tire to the recommended pressure, which is usually printed on the sidewall of the tire. Use a pump with a built-in pressure gauge for accuracy. Overinflating or underinflating can affect your ride quality and tire life.
Step 3: Disengage the Lever (for Lever-Lock Pumps)
If you’re using a lever-lock pump, disengage the lever. This releases the seal between the pump head and the valve. Make sure you have a firm grip on the pump head before releasing the lever.
Step 4: The Quick Pull Technique
This is the most critical step. With a firm grip, quickly and smoothly pull the pump head straight off the valve. Avoid twisting or wiggling the pump head, as this can damage the valve core and cause air to leak. The key is a swift, decisive motion.
Step 5: Re-Tighten the Locking Nut (for Presta Valves)
If you have a Presta valve, immediately re-tighten the locking nut after removing the pump. This prevents any residual air from escaping and protects the valve core.
Step 6: Check the Tire Pressure
After removing the pump, double-check the tire pressure to ensure it’s still at the desired level. A small amount of air loss is normal, but if you’ve lost a significant amount, repeat the process, paying close attention to the seal and removal technique.
Tips and Tricks for Minimizing Air Loss

Here are some extra tips and tricks to help you minimize air loss when removing your hand pump:
- Use a High-Quality Pump: A good quality pump will have a well-designed pump head that creates a secure seal and releases easily.
- Practice Makes Perfect: The more you practice, the better you’ll become at removing the pump quickly and smoothly.
- Keep Your Valve Clean: Dirt and debris can interfere with the seal between the pump head and the valve. Clean your valves regularly with a clean cloth.
- Check Valve Core Tightness: A loose valve core can cause air leaks. Use a valve core tool to tighten the core if necessary. You can find valve core tools at most bike shops or online retailers like Amazon.
- Consider a Pump with a Pressure Release Button: Some pumps have a pressure release button that allows you to fine-tune the pressure before removing the pump head.
Troubleshooting Common Issues
Sometimes, despite your best efforts, you may still encounter issues when removing your hand pump. Here are some common problems and how to troubleshoot them:
- Pump Head Stuck on Valve: If the pump head is stuck, don’t force it. Try wiggling it gently from side to side while pulling straight out.
- Air Leaking Upon Removal: This is usually caused by a poor seal or a slow removal technique. Review the steps above and try again, focusing on creating a secure seal and using a swift, decisive motion.
- Valve Core Loosening: If the valve core is loosening, use a valve core tool to tighten it. Be careful not to overtighten, as this can damage the valve.
- Damaged Valve: If your valve is damaged, it may be time to replace it. You can purchase replacement valves at most bike shops.
Recommended Tools and Accessories
Having the right tools and accessories can make the process of inflating and maintaining your bike tires much easier. Here are some recommended items:
- High-Quality Hand Pump: Look for a pump with a durable construction, a secure pump head, and a built-in pressure gauge.
- Valve Core Tool: This tool is essential for tightening or removing valve cores.
- Tire Pressure Gauge: A separate tire pressure gauge can provide more accurate readings than the gauge on your pump.
- Patch Kit: A patch kit is a must-have for repairing punctures on the road or trail.
- Floor Pump: While this article focuses on hand pumps, a good floor pump is great for inflating tires at home.
Bike Shop Insights
I spoke with several mechanics at local bike shops to gather their insights on this topic. Here’s a summary of their recommendations:
- Regular Maintenance: Regularly inspect your valves for damage and replace them as needed.
- Use the Right Pump Head: Make sure you’re using the correct pump head for your valve type (Presta or Schrader).
- Practice: The more you practice, the better you’ll become at removing the pump without losing air.
FAQ: Removing Hand Pump from Valve
Here are some frequently asked questions about removing a hand pump from a valve without losing air:
What is the best way to remove a hand pump from a Presta valve?
Unscrew the Presta valve’s locking nut, attach the pump head securely, inflate to the desired pressure, then quickly and smoothly pull the pump head straight off. Immediately re-tighten the locking nut to prevent air loss.
Why am I losing air when I remove my hand pump?
Air loss usually occurs due to a poor seal between the pump head and the valve, or a slow removal technique. Ensure the pump head is properly seated and use a swift, decisive motion to remove it.
How do I prevent the valve core from loosening when removing the pump?
Avoid twisting or wiggling the pump head during removal. If the valve core continues to loosen, use a valve core tool to tighten it before inflating your tire.
Can the type of hand pump affect air loss?
Yes, lever-lock pumps generally provide a more secure seal and easier removal than thread-on pumps, resulting in less air loss.
What should I do if the pump head is stuck on the valve?
Don’t force it. Gently wiggle the pump head from side to side while pulling straight out. If it’s still stuck, try lubricating the valve with a small amount of silicone-based lubricant.
How often should I replace my bike tire valves?
Inspect your valves regularly for damage and replace them as needed. Signs of damage include cracks, leaks, or difficulty inflating the tire. Most cyclists replace their valves every 1-2 years.
Is it normal to lose a little air when removing the pump?
Yes, a small amount of air loss is normal. However, if you’re losing a significant amount of air, review your technique and ensure the pump head is properly seated.
Conclusion
Removing a hand pump from your bike tire valve without losing air is a skill that every cyclist can master. By understanding the different valve types, choosing the right pump, and following the steps outlined in this guide, you can keep your tires properly inflated and enjoy a smooth, efficient ride. Remember to practice the quick pull technique, keep your valves clean, and use high-quality tools for the best results. With a little patience and persistence, you’ll be pumping like a pro in no time!


