
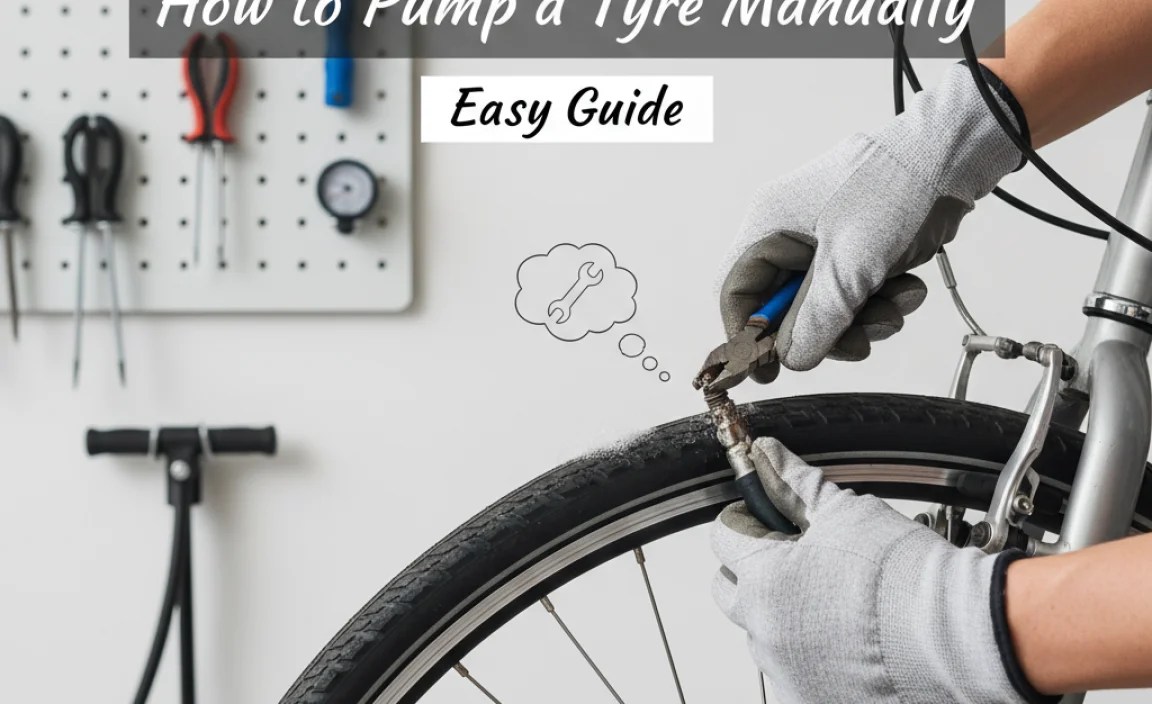
How to Pump a Tyre to Correct PSI Manually: Easy Guide
Quick Summary: Pumping your bike tires to the correct PSI manually is simple! First, find the recommended PSI on your tire’s sidewall. Then, attach your pump to the valve, making sure it’s secure. Use firm, steady strokes to inflate the tire, checking the pressure with the pump’s gauge as you go. Once you reach the correct PSI, detach the pump and you’re ready to ride!
Ever feel like your bike ride is harder than it should be? Or maybe your tires are wearing out too quickly? One of the most common causes is incorrect tire pressure. Too low, and you’re fighting rolling resistance. Too high, and you risk a flat tire or a harsh ride. But don’t worry! Pumping your tires to the correct PSI (pounds per square inch) manually is easier than you think. This guide will walk you through each step, so you can enjoy smoother, safer, and more efficient rides.
What You’ll Need

Before you start, make sure you have these essential items:
- Bike Pump: A floor pump with a gauge is best for accurate inflation.
- Tire Pressure Gauge (if your pump doesn’t have one): For checking PSI independently.
- Your Bike! Obviously!
Understanding Tire Pressure

Before we dive into the how-to, let’s cover some basics.
What is PSI?
PSI stands for pounds per square inch. It’s the unit of measurement for tire pressure. The correct PSI ensures optimal performance, comfort, and safety.
Why is Correct PSI Important?
- Performance: Proper inflation reduces rolling resistance, making you faster and more efficient.
- Comfort: Correct PSI absorbs bumps and vibrations, providing a smoother ride.
- Safety: Over or under-inflated tires can lead to accidents or tire damage.
- Tire Longevity: Maintaining proper pressure prevents premature wear and tear.
Finding the Recommended PSI
The recommended PSI range is usually printed on the sidewall of your tire. Look for numbers followed by “PSI.” For example, “50-75 PSI.” This range indicates the minimum and maximum pressures your tire can handle. It’s crucial to stay within this range. Some tires only show the maximum PSI. In this case, you can use online resources to find a recommended range based on tire width, rider weight, and riding conditions.
Step-by-Step Guide: Pumping Your Tire Manually
Now, let’s get to the main event! Follow these steps to pump your bike tire to the correct PSI manually.
Step 1: Prepare Your Bike and Pump
First, position your bike so the valve stem is easily accessible. Remove the valve cap from the tire valve and set it aside in a safe place.
Step 2: Choose the Correct Valve Type
Bike tires typically use two types of valves: Schrader and Presta. Make sure your pump head is set to the correct valve type.
- Schrader Valves: These are similar to car tire valves, wider and sturdier.
- Presta Valves: These are narrower and have a locking nut at the tip. You’ll need to unscrew the nut before inflating.
Step 3: Attach the Pump Head
Carefully attach the pump head to the valve. Ensure a secure fit to prevent air leakage.
- Schrader Valve: Press the pump head straight onto the valve.
- Presta Valve: Gently press the pump head onto the valve after unscrewing the locking nut.
Step 4: Lock the Pump Head (If Applicable)
Many pumps have a lever or locking mechanism to secure the pump head to the valve. Engage this lever to create an airtight seal.
Step 5: Start Pumping
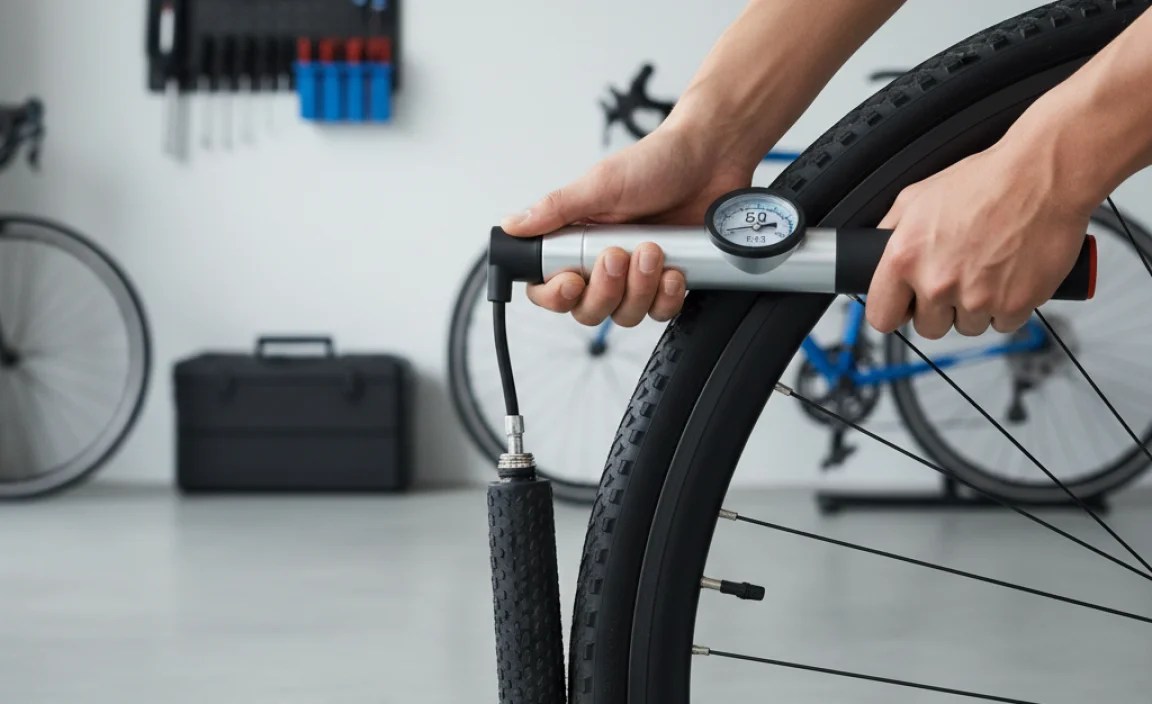
Using a steady, rhythmic motion, begin pumping. Keep your arms straight and use your body weight to push down on the pump handle. Watch the pressure gauge on the pump to monitor the PSI.
Step 6: Monitor the PSI
Keep an eye on the pressure gauge as you pump. Stop when you reach your desired PSI, staying within the recommended range printed on your tire.
Step 7: Detach the Pump Head
Once you’ve reached the correct PSI, disengage the locking lever (if applicable) and carefully remove the pump head from the valve. Be careful, as some air might escape during detachment.
Step 8: Secure the Valve
For Presta valves, screw the locking nut back down. Replace the valve cap on both Schrader and Presta valves to protect them from dirt and debris.
Step 9: Check Your Work
Give your tires a quick visual inspection. They should feel firm but not rock hard. If you’re unsure, use a separate tire pressure gauge to double-check the PSI.
Troubleshooting Common Issues
Sometimes, things don’t go as planned. Here are some common issues and how to fix them.
Air Leaking When Pumping
If you hear air leaking while pumping, it could be due to a loose connection between the pump head and the valve. Make sure the pump head is securely attached and the locking lever (if applicable) is engaged. Also, check the valve itself for damage.
Pump Head Won’t Attach
If the pump head won’t attach, double-check that you’re using the correct setting for your valve type (Schrader or Presta). Also, inspect the pump head and valve for any damage or obstructions.
Can’t Reach Desired PSI
If you’re struggling to reach the desired PSI, it could be due to a faulty pump, a leak in the tire, or a damaged valve. Check your pump for any signs of damage and inspect your tire for punctures or cuts. If the valve is damaged, you may need to replace the inner tube.
Choosing the Right Bike Pump

Not all bike pumps are created equal. Here’s what to look for when choosing a pump.
Floor Pumps vs. Hand Pumps
- Floor Pumps: These are larger, more powerful pumps that are ideal for home use. They typically have a gauge for accurate pressure readings.
- Hand Pumps: These are smaller, more portable pumps that are great for on-the-go repairs. However, they can be less accurate and require more effort to use.
Pump Features to Consider
- Gauge: A built-in gauge is essential for accurate inflation.
- Valve Compatibility: Choose a pump that is compatible with both Schrader and Presta valves.
- Durability: Look for a pump made from high-quality materials that can withstand frequent use.
- Comfort: A comfortable handle and base will make pumping easier.
PSI Charts and Considerations
While the tire sidewall provides a PSI range, optimal tire pressure depends on several factors.
Factors Affecting Tire Pressure
- Rider Weight: Heavier riders need higher PSI.
- Tire Width: Wider tires can handle lower PSI.
- Road Conditions: Rough roads may benefit from slightly lower PSI for comfort.
- Type of Riding: Mountain biking often requires lower PSI for better grip.
General PSI Guidelines
Use these charts as a starting point, but always refer to your tire’s recommended range and adjust based on your specific needs.
Road Bikes
| Rider Weight (lbs) | Tire Width (mm) | Recommended PSI |
|---|---|---|
| 120-150 | 23-25 | 90-100 |
| 150-180 | 23-25 | 100-110 |
| 180+ | 23-25 | 110-120 |
Mountain Bikes
| Rider Weight (lbs) | Tire Width (inches) | Recommended PSI |
|---|---|---|
| 120-150 | 2.2-2.4 | 22-25 |
| 150-180 | 2.2-2.4 | 25-28 |
| 180+ | 2.2-2.4 | 28-32 |
Gravel Bikes
| Rider Weight (lbs) | Tire Width (mm) | Recommended PSI |
|---|---|---|
| 120-150 | 38-42 | 35-40 |
| 150-180 | 38-42 | 40-45 |
| 180+ | 38-42 | 45-50 |
Maintaining Your Bike Pump
A well-maintained pump will last longer and provide more accurate readings.
Regular Cleaning
Wipe down your pump with a clean cloth after each use to remove dirt and grime. Periodically clean the pump head with a brush to remove any debris.
Lubrication
Apply a small amount of lubricant to the pump’s moving parts to keep them working smoothly. Use a silicone-based lubricant, as petroleum-based lubricants can damage rubber seals.
Storage
Store your pump in a dry, protected location to prevent rust and corrosion. Avoid storing it in direct sunlight, as this can damage the rubber components.
Additional Tips for Optimal Tire Pressure
- Check Tire Pressure Regularly: Aim to check your tire pressure before each ride.
- Use a Reliable Gauge: Invest in a high-quality tire pressure gauge for accurate readings.
- Adjust for Conditions: Consider adjusting your tire pressure based on the road conditions and weather.
- Experiment: Find the PSI that feels best for you and your riding style within the recommended range.
Advanced Techniques
Once you’re comfortable with the basics, you can explore these advanced techniques.
Using a Shock Pump
If you have a bike with air suspension (mountain bikes, for example), you’ll need a shock pump to adjust the pressure in your forks and shocks. Shock pumps are designed to deliver small amounts of air at high pressure. Here is a useful article on the best shock pumps
Tubeless Tire Setup
Tubeless tires offer several advantages, including lower rolling resistance and fewer flat tires. However, they require special rims, tires, and sealant. Inflating tubeless tires can sometimes be tricky and may require a compressor or a high-volume pump.
FAQ: Common Questions About Tire Pressure
What happens if my tire pressure is too low?
Low tire pressure increases rolling resistance, making it harder to pedal. It also makes you more prone to pinch flats (snake bites) and can damage your rims.
What happens if my tire pressure is too high?
High tire pressure can result in a harsh, uncomfortable ride. It also reduces grip and increases the risk of blowouts, especially on rough roads.
Can I use a car tire pump for my bike?
While some car tire pumps can be used on bikes with Schrader valves, it’s generally not recommended. Car tire pumps often deliver air too quickly and lack the precision needed for bike tires. It’s safer to use a bike-specific pump.
How often should I check my tire pressure?
Ideally, you should check your tire pressure before every ride. At a minimum, check it once a week.
Is it okay to exceed the maximum PSI listed on my tire?
No! Exceeding the maximum PSI is dangerous and can cause your tire to explode. Always stay within the recommended range.
What’s the difference between Schrader and Presta valves?
Schrader valves are wider and sturdier, similar to car tire valves. Presta valves are narrower and have a locking nut at the tip. Presta valves are often found on high-performance bikes.
How do I convert between PSI and Bar?
PSI and Bar are both units of pressure. To convert from PSI to Bar, divide the PSI value by 14.5. To convert from Bar to PSI, multiply the Bar value by 14.5. For example, 60 PSI is approximately 4.1 Bar.
Conclusion
Pumping your bike tires to the correct PSI manually is a fundamental skill for any cyclist. By following these steps and understanding the importance of tire pressure, you can enjoy smoother, safer, and more efficient rides. Remember to check your tire pressure regularly, choose the right pump, and adjust your PSI based on your weight, tire width, and riding conditions. With a little practice, you’ll become a tire pressure pro in no time! Now get out there and enjoy the ride!


