
Why is My Well Pump Constantly Cycling? A Simple Guide
Quick Summary: A well pump that cycles on and off too often usually means there’s a problem with water pressure. This could be due to a faulty pressure tank, a leak in the system, a clogged well screen, or a bad check valve. Diagnosing the cause early can save you from bigger headaches and costly repairs later on!
Is your well pump turning on and off more than it should? This is called “short cycling,” and it’s a common problem for homeowners with well water. It’s annoying, wastes energy, and puts extra wear and tear on your pump. The good news is, you can often diagnose and fix the problem yourself with a few simple steps. We’ll walk you through the most common causes and how to address them. Let’s get started so you can get your water system back to normal!
Understanding Well Pump Cycling

Before we dive into troubleshooting, let’s clarify what “cycling” means and why constant cycling is bad.
What is Well Pump Cycling?
A well pump is designed to turn on when the water pressure in your home drops below a certain level (usually around 40 PSI) and turn off when it reaches a higher level (usually around 60 PSI). This range is maintained by a pressure tank, which stores water under pressure. Cycling refers to this on-and-off process of the pump.
Why is Constant Cycling a Problem?
Constant, rapid cycling puts a strain on the pump motor and other components. It’s like repeatedly starting and stopping your car – it wears things out much faster. This can lead to:
- Reduced pump lifespan
- Increased energy bills
- Water pressure fluctuations
- Potential pump failure
Common Causes of Well Pump Short Cycling

Here are the most common reasons why your well pump might be cycling too frequently:
- Faulty Pressure Tank: This is the most frequent culprit.
- Leaks in the System: Even small leaks can cause pressure loss.
- Clogged Well Screen: This restricts water flow into the pump.
- Bad Check Valve: This allows water to flow back into the well.
- Incorrect Pressure Switch Setting: The pressure switch may need adjustment.
- Low Well Water Level: If the well is running dry, the pump will cycle.
Step-by-Step Troubleshooting Guide
Now, let’s get to the troubleshooting. Follow these steps to identify the cause of your well pump’s cycling problem.
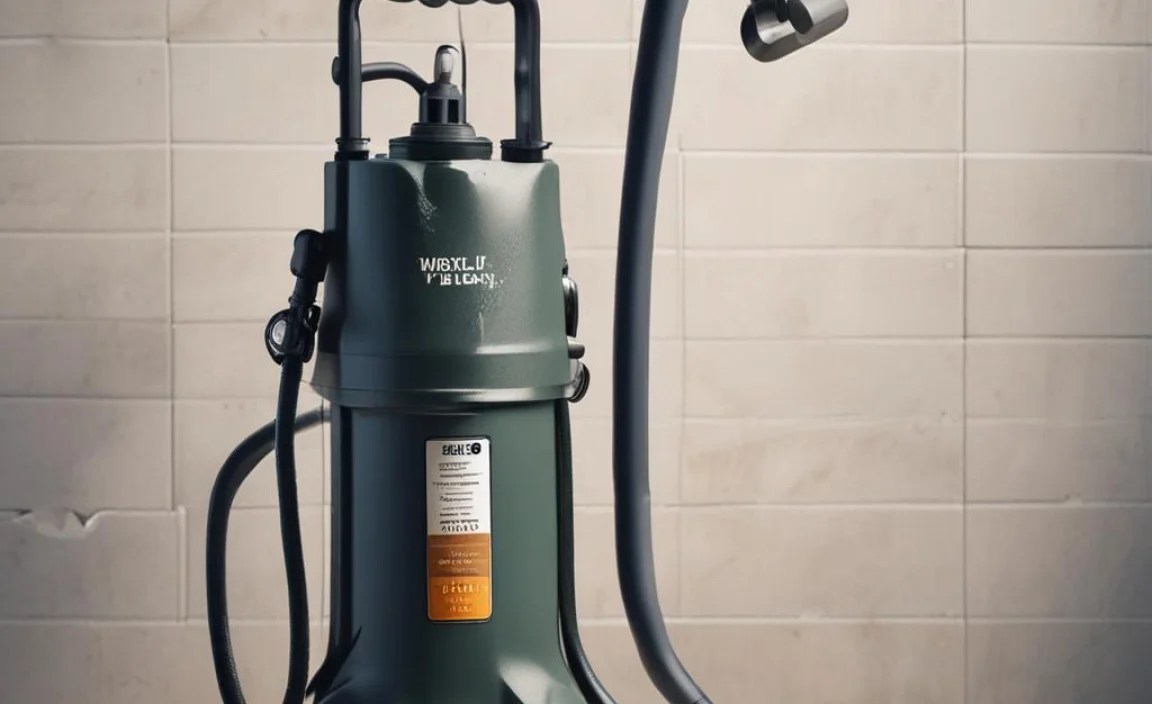
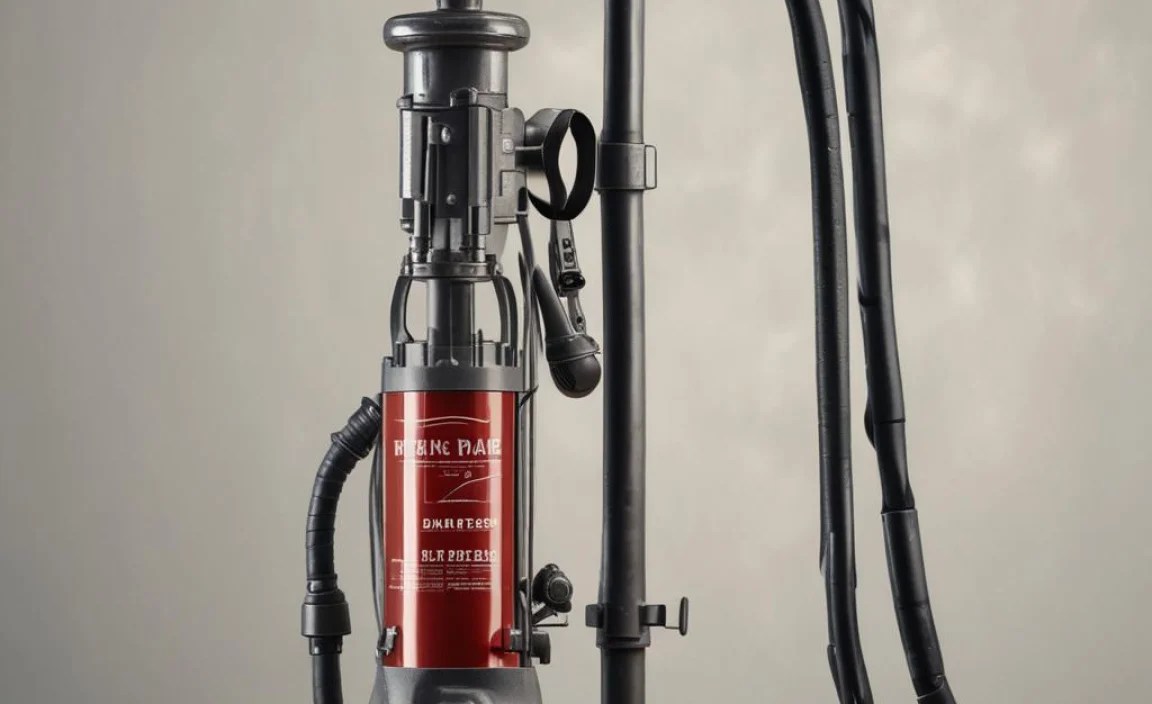
Step 1: Check the Pressure Tank
The pressure tank stores water under pressure, providing a buffer that prevents the pump from turning on and off constantly. A faulty tank is the most common cause of short cycling.
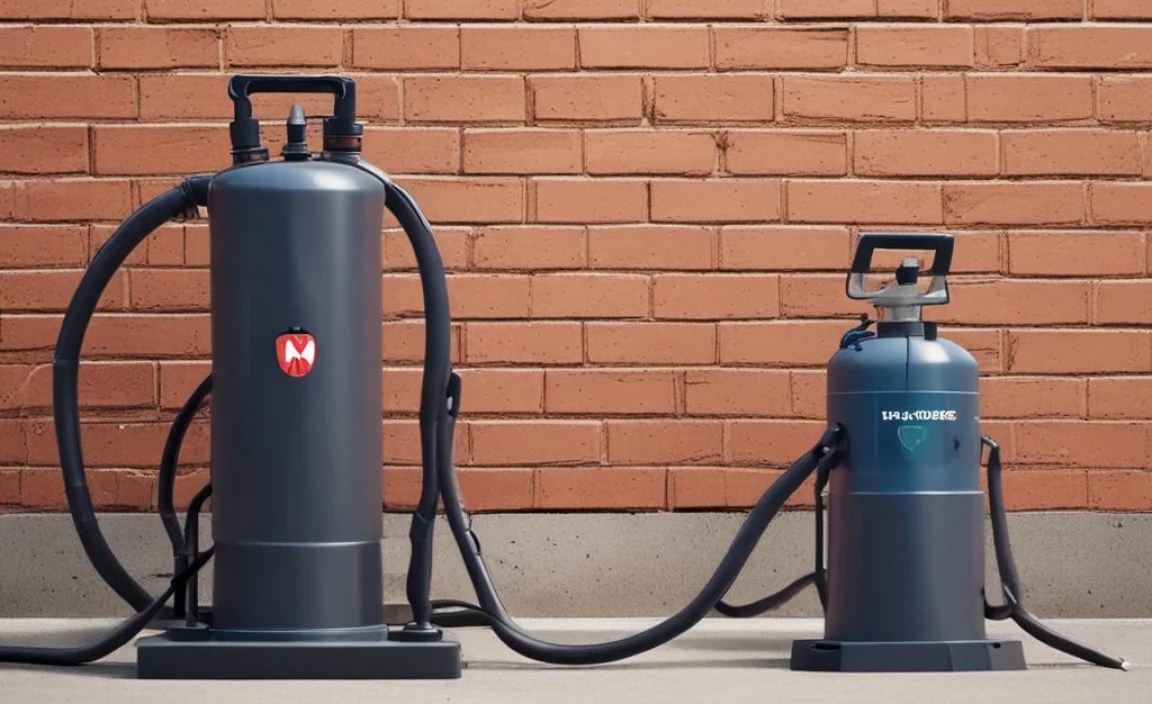
- Locate the Pressure Tank: It’s usually a blue or gray tank near your well pump.
- Check the Air Pressure:
- Turn off the pump breaker.
- Drain all the water from the system by opening a faucet at the lowest point in your house.
- Locate the Schrader valve (like a tire valve) on top of the tank.
- Use a tire pressure gauge to check the air pressure. It should be 2 PSI below the pump’s cut-in pressure (usually 38 PSI if your pump cuts in at 40 PSI).
- If the pressure is low, use an air compressor to add air.
- If water comes out of the Schrader valve, the bladder inside the tank is likely ruptured, and you’ll need to replace the tank.
- Recharge the Tank (If Needed): If the tank feels heavy and full of water, the air charge may be gone. You may need to drain the tank completely and recharge it with air.
Step 2: Inspect for Leaks
Even a small leak can cause a significant drop in water pressure, leading to short cycling. Check all visible pipes and connections.
- Check Faucets and Toilets: Look for drips or running water. A running toilet can be a silent culprit.
- Inspect Visible Pipes: Check for leaks around pipe joints, fittings, and valves, especially near the pump and pressure tank.
- Examine Underground Pipes (If Possible): Look for wet spots or unusually lush vegetation in the area where underground pipes run. This could indicate a leak.
- Check the Well Casing: Inspect the area around the well casing for any signs of water leakage.
If you find a leak, repair it promptly by tightening fittings, replacing damaged pipes, or calling a plumber.
Step 3: Check the Well Screen
A clogged well screen restricts water flow to the pump, causing it to work harder and cycle more frequently.
- Determine Well Screen Location: This usually requires knowing your well’s construction. The screen is at the bottom of the well.
- Monitor Water Flow: If you notice a significant decrease in water flow from your faucets, it could indicate a clogged well screen.
- Consider Professional Inspection: Cleaning a well screen is usually a job for a professional well service company. They have the equipment to safely and effectively clean the screen without damaging the well.
Step 4: Examine the Check Valve
The check valve prevents water from flowing back into the well when the pump shuts off. A faulty check valve can cause a rapid loss of pressure and short cycling.
- Locate the Check Valve: It’s usually located near the pump, either above or below it.
- Inspect for Leaks: Check for leaks around the check valve body and connections.
- Test the Check Valve:
- Turn off the pump breaker.
- Open a faucet downstream of the check valve.
- If water flows backward towards the well, the check valve is likely faulty and needs to be replaced.
- Replace the Check Valve: If the check valve is faulty, replace it with a new one of the same size and type.
Step 5: Check the Pressure Switch
The pressure switch controls when the pump turns on and off. If it’s not set correctly or is malfunctioning, it can cause short cycling.
- Locate the Pressure Switch: It’s a small, box-like device with wires connected to it, usually located near the pressure tank.
- Inspect the Wiring: Check for loose or corroded wires.
- Check the Pressure Settings:
- Most pressure switches have adjustable settings for the cut-in and cut-out pressure.
- The typical setting is 40/60 PSI (pump turns on at 40 PSI, off at 60 PSI).
- Refer to your pump manufacturer’s specifications for the correct settings.
- Adjust the Settings (If Needed):
- Carefully adjust the screws on the pressure switch to match the recommended settings.
- Make small adjustments and monitor the pump cycling to avoid damaging the pump.
- Replace the Pressure Switch (If Faulty): If the pressure switch is not working correctly, replace it with a new one of the same type.
Step 6: Check the Well Water Level
If your well’s water level is too low, the pump may suck air and cycle on and off rapidly. This is more common during periods of drought or high water usage.
- Monitor Water Supply: Check for sputtering faucets or inconsistent water flow, which can indicate a low water level.
- Check Well Records: Review your well’s drilling records for information about the well depth and static water level.
- Consider Professional Inspection: A well service company can measure the water level in your well and assess its capacity.
- Conserve Water: If the water level is low, reduce your water consumption to allow the well to recover.
Tools You Might Need
Here’s a list of tools you might need for troubleshooting and repairing your well pump system:
- Tire Pressure Gauge: For checking the air pressure in the pressure tank.
- Air Compressor: For adding air to the pressure tank.
- Wrenches: For tightening or loosening pipe fittings.
- Screwdrivers: For adjusting the pressure switch.
- Multimeter: For testing electrical components (use with caution and proper knowledge).
- Plumber’s Tape: For sealing pipe threads.
- Flashlight: For inspecting dark areas.
- Bucket: For catching water during repairs.
When to Call a Professional
While many well pump problems can be resolved with DIY troubleshooting, some situations require a professional. Call a qualified well service company if:
- You’re uncomfortable working with electrical components.
- You suspect a problem with the well itself (e.g., low water level, contaminated water).
- You’ve tried the troubleshooting steps and the pump is still cycling.
- You’re unsure about any aspect of the repair process.
Preventative Maintenance Tips
Regular maintenance can help prevent well pump problems and extend the life of your system.
- Annual Well Inspection: Have your well and pump inspected by a professional at least once a year.
- Monitor Water Quality: Test your water regularly for bacteria, nitrates, and other contaminants.
- Maintain Proper Pressure Tank Air Charge: Check the air pressure in your pressure tank every few months.
- Protect Wellhead: Keep the area around your wellhead clean and free of debris.
- Conserve Water: Avoid excessive water usage, especially during dry periods.
Troubleshooting Table
This table summarizes common symptoms, possible causes, and solutions for well pump cycling issues.
| Symptom | Possible Cause | Solution |
|---|---|---|
| Pump cycles on and off rapidly | Faulty pressure tank | Check air pressure, replace tank if needed |
| Pump cycles on and off frequently | Leaks in the system | Inspect pipes, faucets, and toilets for leaks |
| Reduced water flow | Clogged well screen | Consider professional cleaning |
| Pump runs but no water comes out | Low well water level | Conserve water, consider professional inspection |
| Pump cycles even when no water is being used | Bad check valve | Replace the check valve |
| Pump cycles erratically | Incorrect pressure switch setting | Adjust pressure switch settings |
Cost Considerations
Here’s a general idea of the costs associated with common well pump repairs. Keep in mind that prices can vary depending on your location and the specific parts and labor involved.
| Repair | Estimated Cost |
|---|---|
| Pressure Tank Replacement | $300 – $800 (including tank and labor) |
| Check Valve Replacement | $50 – $200 (including part and labor) |
| Pressure Switch Replacement | $50 – $150 (including part and labor) |
| Well Screen Cleaning | $300 – $1000 (depending on well depth and complexity) |
| Well Pump Replacement | $800 – $3000 (including pump and labor) |
Conclusion
Dealing with a constantly cycling well pump can be frustrating, but with a systematic approach, you can often identify and fix the problem yourself. Remember to start with the easiest checks, like the pressure tank and leaks, and work your way through the more complex issues. If you’re ever unsure, don’t hesitate to call a qualified well service company. Taking care of your well pump system will ensure a reliable water supply for your home for years to come!
FAQ
- Why is my well pump turning on and off so often?
- Frequent cycling usually points to a problem with your water pressure. The most common cause is a faulty pressure tank that can’t maintain the correct pressure, but leaks and other issues can also be responsible.
- How do I check the pressure tank on my well?
- First, turn off the pump and drain the system. Then, use a tire pressure gauge on the Schrader valve (like on a tire). The pressure should be a couple of PSI below the pump’s cut-in pressure (usually around 38 PSI). If it’s low, add air. If water comes out, the tank is likely bad.
- Can a leaky toilet cause my well pump to cycle?
- Yes, absolutely! Even a small, constant leak from a toilet can slowly lower the water pressure in your system, causing the pump to kick on more often than it should. Check your toilets for leaks by listening closely and looking for any signs of water running when it shouldn’t be.
- Is it okay to adjust the pressure switch myself?
- You can adjust the pressure switch carefully, but it’s important to know what you’re doing. Refer to your pump’s manual for the correct settings and make small adjustments. If you’re uncomfortable or unsure, it’s best to call a professional.
- How long should a well pump last?
- With proper maintenance, a well pump can last anywhere from 8 to 15 years. However, frequent cycling and other issues can shorten its lifespan. Regular inspections and prompt repairs can help extend the life of your pump.
- What happens if my well runs dry?
- If your well runs dry, your pump can be damaged. It’s essential to conserve water, especially during dry periods. If you suspect your well is running low, consult a professional well service company. They can assess the situation and recommend solutions.
- Can cold weather affect my well pump?
- Yes, freezing temperatures can cause pipes to freeze and potentially burst, leading to leaks and pump problems. Insulate your pipes and wellhead to protect them from the cold. Also, make sure your well casing is properly sealed to prevent water from freezing inside.


