
How to Cycle Water Pumps Well: A Beginner’s Guide
Quick Summary: To effectively cycle water pumps, start by understanding your pump type and its flow rate. Ensure the pump is properly installed with correct fittings. Begin with short cycles (e.g., 15 minutes on, 45 minutes off) and gradually increase the “on” time while monitoring temperature and pressure. Adjust the cycle to prevent overheating and maintain consistent water flow. Regular checks will ensure optimal performance and longevity.
Ever wondered how to keep your water pumps running smoothly without burning them out? Cycling water pumps is a crucial part of maintaining your system, whether it’s for a home well, irrigation setup, or industrial application. It can be frustrating when pumps fail prematurely, but with the right knowledge and techniques, you can extend their lifespan and ensure consistent performance. Let’s dive into a simple, step-by-step guide to help you cycle your water pumps like a pro. By the end, you’ll know exactly how to keep your pumps happy and your water flowing!
Understanding Water Pump Cycling

Before we jump into the “how-to,” let’s understand why cycling is important and what it entails.
Why Cycle Water Pumps?
Cycling water pumps is essential for several reasons:
- Prevent Overheating: Continuous operation can cause the motor to overheat, leading to damage and failure.
- Extend Lifespan: Intermittent use reduces wear and tear on pump components.
- Energy Efficiency: Cycling can save energy by only running the pump when necessary.
- Maintain Water Pressure: Proper cycling helps maintain consistent water pressure in the system.
What Does Cycling Mean?
Cycling refers to the process of turning the pump on and off at regular intervals rather than running it continuously. This on-off pattern allows the pump to cool down and prevents excessive strain on its components.
Step-by-Step Guide to Cycling Water Pumps

Here’s a detailed guide to help you cycle your water pumps effectively:
Step 1: Know Your Pump Type
Different pumps have different characteristics. Identifying your pump type is the first step. Here are some common types:
- Submersible Pumps: Typically used in wells and submerged in water.
- Centrifugal Pumps: Commonly used for boosting water pressure and irrigation.
- Jet Pumps: Used for shallow wells and boosting pressure.
- Booster Pumps: Increase water pressure in existing systems.
Understanding your pump type will help you tailor the cycling strategy to its specific needs. For example, submersible pumps are generally more tolerant of continuous use than jet pumps.
Step 2: Determine Your Water Demand
Assess how much water you need and when you need it. This will influence your cycling intervals. Consider:
- Peak Usage Times: When is water demand highest (e.g., mornings, evenings)?
- Average Usage: How much water do you typically use per day?
- System Capacity: What is the capacity of your water storage tank (if applicable)?
Knowing your water demand helps you avoid unnecessary pump operation and ensures you have enough water when you need it.
Step 3: Install a Cycle Timer or Pressure Switch
To automate the cycling process, you’ll need either a cycle timer or a pressure switch.
Cycle Timer
A cycle timer turns the pump on and off at preset intervals. Here’s how to use it:
- Purchase a Timer: Choose a timer that suits your pump’s voltage and current requirements.
- Install the Timer: Connect the timer to the pump’s power supply according to the manufacturer’s instructions.
- Set Intervals: Start with short intervals (e.g., 15 minutes on, 45 minutes off) and adjust based on performance.
Pressure Switch
A pressure switch turns the pump on when the water pressure drops below a certain level and off when it reaches a setpoint. Here’s how to use it:
- Purchase a Switch: Select a pressure switch compatible with your pump and system.
- Install the Switch: Connect the switch to the pump and water line, following the manufacturer’s instructions.
- Adjust Settings: Set the pressure range to maintain consistent water pressure (e.g., 40-60 PSI).
Step 4: Set Initial Cycling Intervals
Start with conservative intervals to avoid stressing the pump. Here are some guidelines:
- Short Cycles: Begin with 15 minutes on, 45 minutes off.
- Moderate Cycles: Try 30 minutes on, 30 minutes off.
- Long Cycles: Use 45 minutes on, 15 minutes off for systems with high water demand.
Adjust these intervals based on your specific needs and pump characteristics.
Step 5: Monitor Pump Performance
Regularly check the pump to ensure it’s operating efficiently. Monitor these factors:
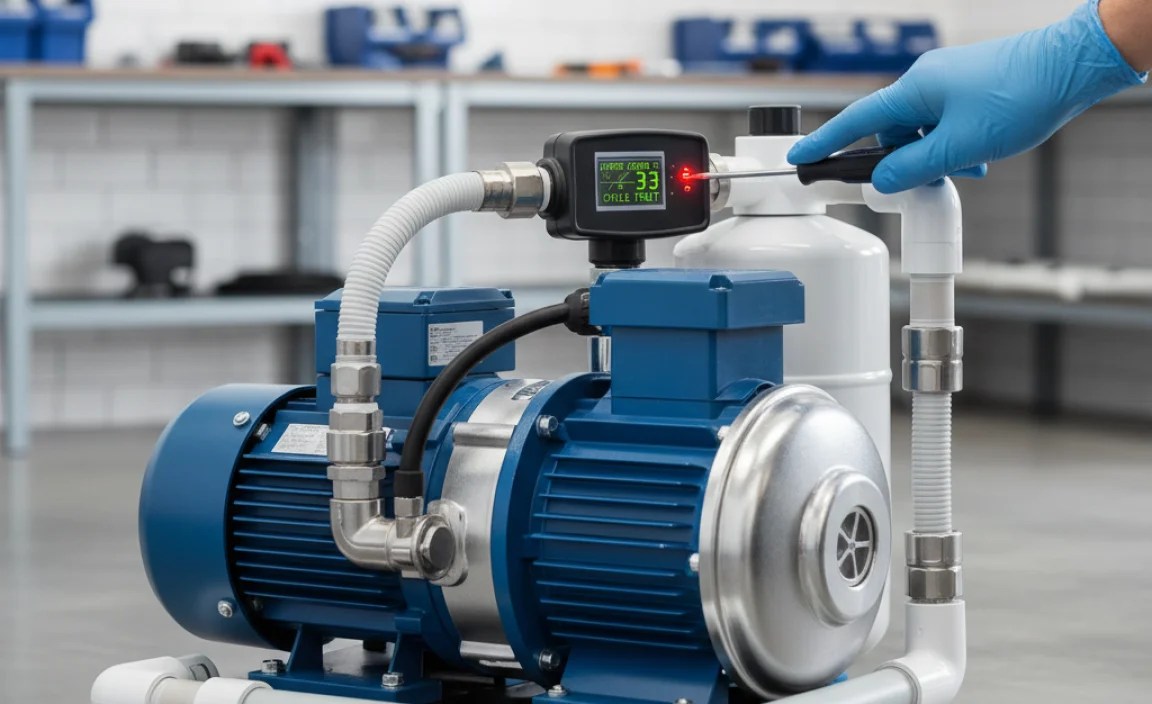
- Temperature: Check the motor temperature. It should not be excessively hot to the touch.
- Pressure: Ensure water pressure remains consistent during operation.
- Flow Rate: Verify that the pump is delivering the expected flow rate.
- Noise: Listen for unusual noises that could indicate a problem.
Consistent monitoring will help you identify and address issues before they become major problems.
Step 6: Adjust Cycling Intervals as Needed
Based on your observations, adjust the cycling intervals to optimize performance. Consider these adjustments:
- Increase “On” Time: If water pressure drops too quickly, increase the “on” time.
- Decrease “On” Time: If the pump overheats, decrease the “on” time.
- Adjust “Off” Time: Modify the “off” time to allow for adequate cooling.
Fine-tuning the intervals will help you achieve the best balance between water availability and pump longevity.
Step 7: Implement a Maintenance Schedule
Regular maintenance is crucial for keeping your pump in good condition. Follow these tips:
- Inspect Regularly: Check the pump, wiring, and fittings for wear and damage.
- Clean the Pump: Remove debris and sediment from the pump and surrounding area.
- Lubricate Moving Parts: Apply lubricant to bearings and other moving parts as needed.
- Check Valves: Ensure check valves are functioning properly to prevent backflow.
A consistent maintenance schedule will prolong the life of your pump and prevent unexpected failures.
Advanced Techniques for Optimizing Pump Cycling

For those looking to take their pump cycling to the next level, here are some advanced techniques.
Variable Frequency Drives (VFDs)
VFDs control the speed of the pump motor, allowing you to match the water flow to the demand. This can significantly improve energy efficiency and reduce wear and tear.
Benefits of VFDs:
- Energy Savings: Adjust pump speed to match demand, reducing energy consumption.
- Reduced Wear: Lower pump speed reduces stress on components.
- Consistent Pressure: Maintains constant water pressure regardless of demand.
Soft Starters
Soft starters gradually increase the voltage to the pump motor during startup, reducing the initial surge of current. This can prevent electrical and mechanical stress.
Benefits of Soft Starters:
- Reduced Stress: Minimizes mechanical stress on the pump and motor.
- Electrical Protection: Prevents voltage drops and electrical damage.
- Extended Lifespan: Reduces wear and tear, prolonging pump life.
Using a Pressure Tank
A pressure tank stores water under pressure, reducing the frequency of pump starts and stops. This can extend the pump’s lifespan and provide more consistent water pressure.
Benefits of Pressure Tanks:
- Reduced Cycling: Decreases the number of pump starts and stops.
- Consistent Pressure: Maintains a steady water pressure.
- Extended Lifespan: Reduces wear and tear on the pump.
Troubleshooting Common Pump Cycling Issues
Even with the best practices, you might encounter some issues. Here’s how to troubleshoot common problems:
Pump Overheating
Problem: The pump motor is getting too hot.
Solution:
- Reduce the “on” time.
- Ensure proper ventilation.
- Check for obstructions in the pump.
- Verify the pump is not running dry.
Inconsistent Water Pressure
Problem: Water pressure fluctuates excessively.
Solution:
- Adjust the pressure switch settings.
- Check for leaks in the system.
- Ensure the pressure tank is properly charged.
- Inspect the pump for damage.
Pump Cycling Too Frequently
Problem: The pump turns on and off too often.
Solution:
- Increase the pressure tank size.
- Check for leaks in the system.
- Adjust the pressure switch settings.
Pump Not Turning On
Problem: The pump fails to start.
Solution:
- Check the power supply.
- Inspect the wiring.
- Reset the overload protection.
- Verify the pressure switch is functioning.
Tools and Equipment for Pump Cycling

Having the right tools and equipment can make the job easier and more efficient. Here’s a list of essential items:
- Cycle Timer or Pressure Switch: Automates the on-off process.
- Multimeter: For checking voltage and current.
- Pressure Gauge: To monitor water pressure.
- Thermometer: To check motor temperature.
- Wrenches and Screwdrivers: For installing and adjusting components.
- Lubricant: For lubricating moving parts.
Having these tools on hand will help you maintain and troubleshoot your pump system effectively.
Example Cycling Scenarios
Let’s explore some example scenarios to illustrate how to apply these principles.
Scenario 1: Home Well System
Situation: A homeowner uses a submersible pump for their well and notices the pump is running constantly, leading to high energy bills.
Solution:
- Install a pressure switch to control the pump.
- Set the pressure range to 40-60 PSI.
- Monitor water pressure and adjust the range as needed.
- Implement a maintenance schedule to inspect and clean the pump regularly.
Scenario 2: Irrigation System
Situation: A farmer uses a centrifugal pump for irrigation and wants to optimize water usage and pump lifespan.
Solution:
- Install a cycle timer to control the pump.
- Set initial intervals to 30 minutes on, 30 minutes off.
- Monitor water flow and adjust intervals based on crop needs.
- Consider using a VFD to match pump speed to water demand.
Scenario 3: Industrial Water System
Situation: An industrial facility uses a booster pump to maintain water pressure and wants to improve energy efficiency.
Solution:
- Install a soft starter to reduce mechanical stress on the pump.
- Implement a VFD to control pump speed and match water demand.
- Monitor pump performance and adjust settings to optimize energy usage.
- Establish a comprehensive maintenance program to prevent downtime.
Benefits of Proper Water Pump Cycling
Proper water pump cycling offers numerous benefits, including:
- Extended Pump Lifespan: Reduces wear and tear, prolonging the life of the pump.
- Energy Savings: Optimizes energy usage, lowering electricity bills.
- Consistent Water Pressure: Maintains steady water pressure, ensuring reliable water supply.
- Reduced Maintenance Costs: Prevents breakdowns and reduces the need for repairs.
- Improved System Performance: Enhances the overall efficiency and reliability of the water system.
Understanding Pressure Switch Settings
A pressure switch is a critical component in maintaining proper water pump cycling. Understanding how to adjust its settings can significantly impact your system’s performance.
Key Pressure Switch Settings
Here are the key settings you should be familiar with:
- Cut-In Pressure: The pressure at which the pump turns on.
- Cut-Out Pressure: The pressure at which the pump turns off.
- Differential: The difference between the cut-in and cut-out pressure.
Adjusting Pressure Switch Settings
To adjust these settings, follow these steps:
- Locate the Adjustment Screws: Typically found under the switch cover.
- Adjust the Range Screw: This sets the overall pressure range (cut-out pressure).
- Adjust the Differential Screw: This sets the difference between cut-in and cut-out pressure.
- Monitor the Pressure: Use a pressure gauge to verify the settings.
Here is a table that shows typical pressure switch settings
| Setting | Typical Value | Description |
|---|---|---|
| Cut-In Pressure | 40 PSI | The pressure at which the pump starts. |
| Cut-Out Pressure | 60 PSI | The pressure at which the pump stops. |
| Differential | 20 PSI | The difference between cut-in and cut-out pressure. |
FAQ: Water Pump Cycling
Here are some frequently asked questions about cycling water pumps:
- Q: How often should I cycle my water pump?
- A: Start with 15 minutes on and 45 minutes off, then adjust based on your water demand and pump performance.
- Q: Can I run my submersible pump continuously?
- A: While submersible pumps are designed for immersion, cycling them can still extend their lifespan and save energy.
- Q: What is a pressure tank, and why do I need one?
- A: A pressure tank stores water under pressure, reducing the frequency of pump starts and stops, which extends the pump’s life and provides consistent water pressure.
- Q: How do I know if my pump is overheating?
- A: Check the motor temperature. If it’s excessively hot to the touch or you notice a burning smell, your pump might be overheating.
- Q: What is a VFD, and how can it help with pump cycling?
- A: A VFD (Variable Frequency Drive) controls the speed of the pump motor, allowing you to match water flow to demand, which saves energy and reduces wear.
- Q: My pump is cycling too frequently. What should I do?
- A: Check for leaks in your system, ensure your pressure tank is properly charged, and adjust the pressure switch settings.
- Q: How do I maintain my water pump?
- A: Regularly inspect the pump, wiring, and fittings for wear and damage. Clean the pump, lubricate moving parts, and check valves to ensure they are functioning properly.
Conclusion
Cycling water pumps effectively is a blend of understanding your equipment, monitoring performance, and making informed adjustments. By following this guide, you can extend the life of your pump, save energy, and ensure a reliable water supply. Remember to regularly inspect and maintain your system to prevent unexpected issues. With a little effort, you can keep your water pumps running smoothly for years to come. Happy cycling!
“`


