
How to Clean a Punctured Tire Before Patching: Easy Guide
Quick Summary: To properly clean a punctured tire before patching, first remove the tire and tube. Find the puncture and roughen the area around it with a tire lever or sandpaper. Apply a thin layer of vulcanizing fluid or rubber cement, let it dry until tacky, and then firmly apply the patch. This ensures a strong bond and a reliable repair.
Finding a flat tire is never fun, especially when you’re miles from home. But don’t worry! Patching a tire is a simple skill that can save you time and money. The key to a long-lasting patch is proper cleaning. A clean surface ensures the patch sticks securely and prevents future flats. In this guide, I’ll walk you through each step to clean your tire like a pro, so your patch holds and you can get back to riding!
Why Cleaning is Crucial Before Patching
Think of patching a tire like applying a sticker. If the surface is dirty, the sticker won’t stick well, right? The same goes for tire patches. Cleaning removes dirt, debris, and any remnants of the object that caused the puncture. This creates a clean surface for the patch to bond with the tire, ensuring a strong, airtight seal. Skip this step, and your patch is likely to fail, leaving you stranded again.
What Happens If You Don’t Clean the Tire?
Here’s what can happen if you skip the cleaning step:
- Poor Adhesion: Dirt and grime prevent the patch from properly adhering to the tire.
- Air Leaks: Even a tiny bit of debris can create a gap, leading to slow leaks.
- Patch Failure: The patch may peel off completely, especially under pressure.
- Increased Risk of Future Flats: A poorly applied patch can weaken the tire, making it more susceptible to future punctures.
Tools and Materials You’ll Need

Before you start, gather these essential items:
- Tire Levers: To remove the tire from the rim.
- Sandpaper or Tire Roughener: To create a textured surface for better adhesion.
- Clean Cloth or Paper Towel: To wipe away dirt and debris.
- Vulcanizing Fluid or Rubber Cement: The adhesive that bonds the patch to the tire.
- Tire Patch Kit: Contains patches of various sizes.
- Inflation Device (Pump or CO2 Inflator): To inflate the tire after patching.
- Water (Optional): To help locate the puncture.
Step-by-Step Guide: Cleaning a Punctured Tire

Step 1: Remove the Wheel and Tire
First, take the wheel off your bike. Depending on your bike, this might involve quick-release levers or tools. Once the wheel is off, use tire levers to carefully remove one side of the tire from the rim. Insert one tire lever under the tire bead and hook it onto a spoke. Insert a second lever a few inches away and gently pry the tire off the rim. Work your way around until one side of the tire is completely detached.
Pro Tip: If the tire is tight, use a third tire lever to make the process easier.
Step 2: Remove the Inner Tube
Once one side of the tire is off the rim, you can pull out the inner tube. Start by removing the valve from the rim. Then, carefully pull the tube out from under the tire, working your way around until it’s completely free.
Step 3: Locate the Puncture
Now, you need to find the hole in the tube. There are a couple of ways to do this:
- Visual Inspection: Inflate the tube slightly and look for any obvious holes or cuts.
- Water Test: If you can’t find the hole visually, inflate the tube and submerge it in water. Look for bubbles to pinpoint the location of the puncture.
Mark the location of the puncture with a pen or marker. This will help you find the corresponding spot on the tire.
Step 4: Inspect the Tire
This is a crucial step. Run your fingers along the inside of the tire to feel for any sharp objects that may still be embedded. Carefully remove any glass, thorns, or debris. This prevents future flats from the same object.
Warning: Be careful when feeling inside the tire to avoid cutting yourself on sharp objects.
Step 5: Mark the Puncture Location on the Tire
Using the location of the puncture on the tube as a guide, mark the corresponding spot on the inside of the tire. This ensures you clean the correct area.
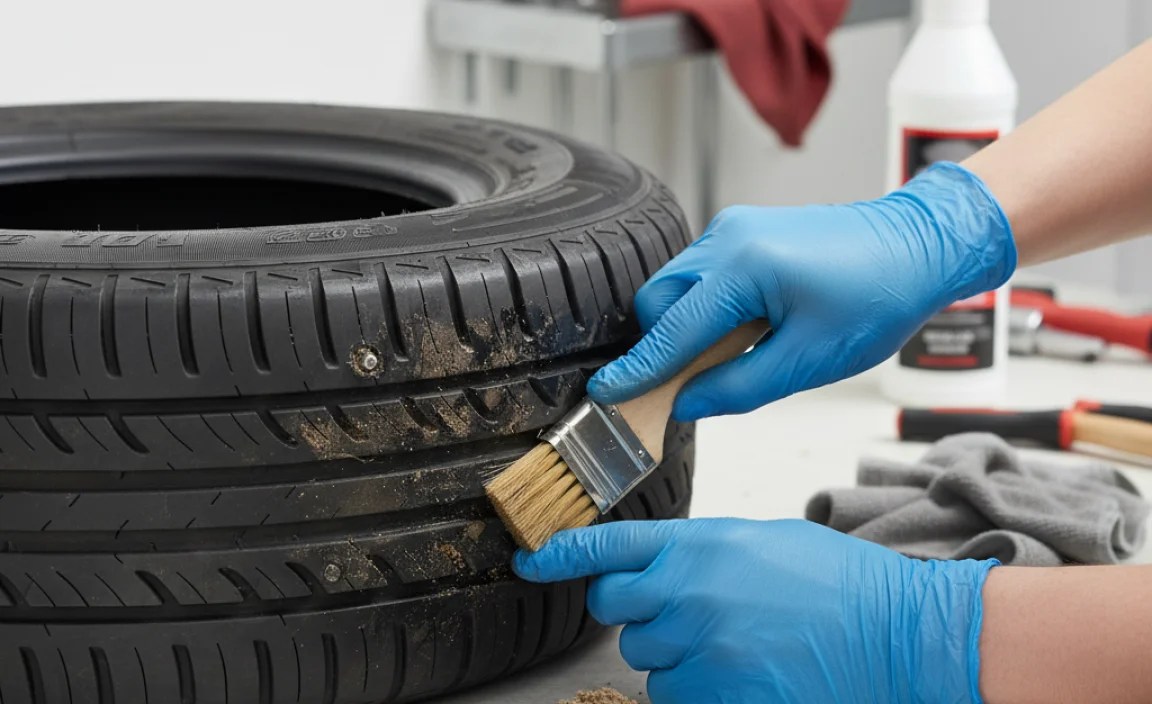
Step 6: Roughen the Area Around the Puncture
This is where the cleaning process really begins. Use sandpaper or a tire roughener to gently roughen the area around the puncture on the inside of the tire. This creates a textured surface that the patch can grip onto.
Why Roughen? Roughening the surface increases the surface area and creates tiny grooves for the adhesive to bond with. Think of it like preparing wood for glue – a rough surface holds much better than a smooth one.
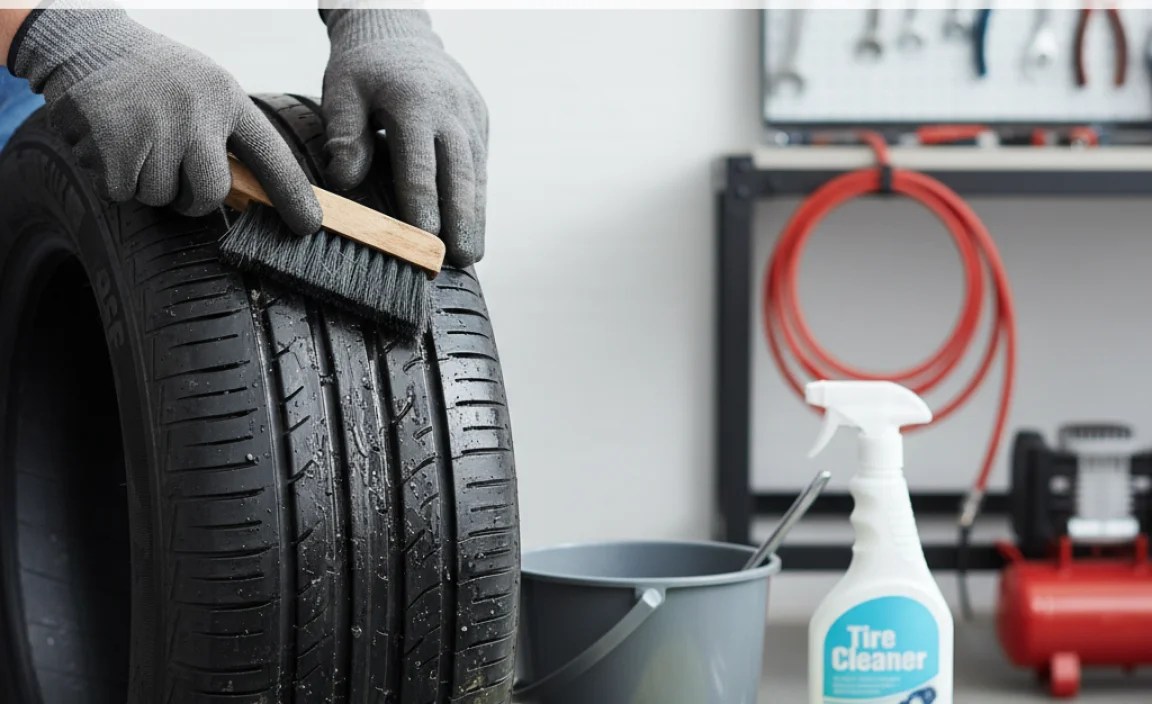
Step 7: Clean the Roughened Area
After roughening, use a clean cloth or paper towel to wipe away any dust or debris. Make sure the area is completely clean and dry. You can use a bit of rubbing alcohol on the cloth for extra cleaning power, but ensure it evaporates fully before proceeding.
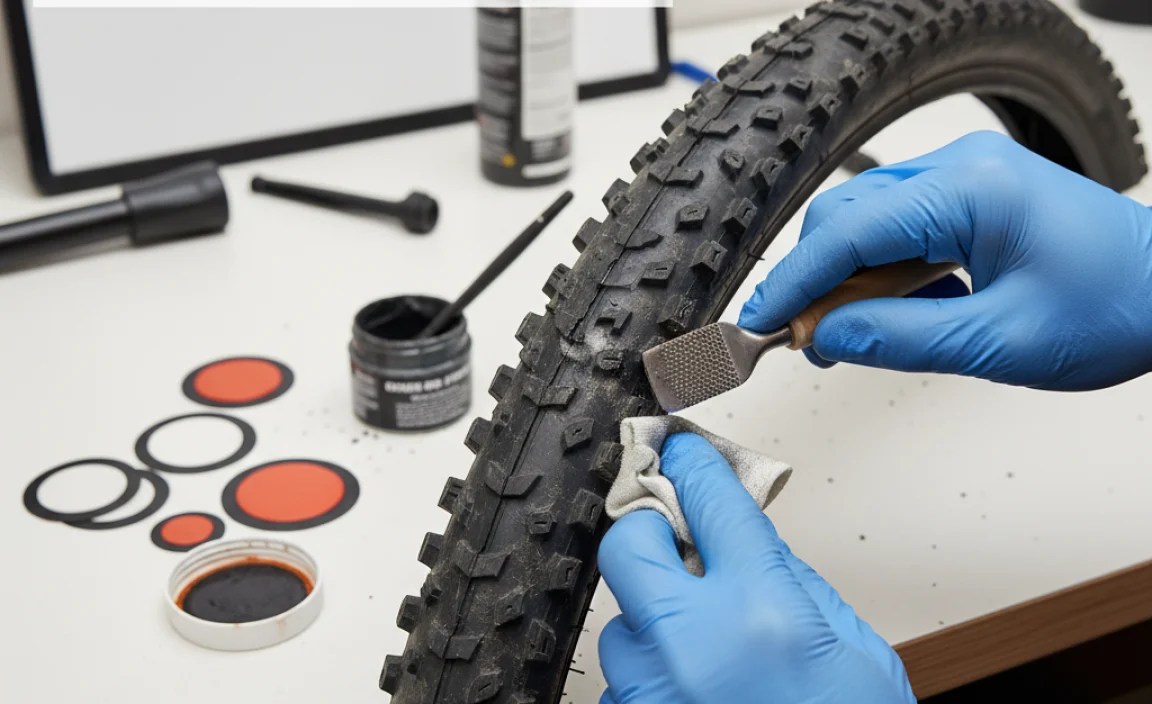
Step 8: Apply Vulcanizing Fluid or Rubber Cement
Now, apply a thin, even layer of vulcanizing fluid or rubber cement to the cleaned area. Be careful not to use too much, as this can weaken the bond. Let the fluid dry for the time recommended on the packaging (usually a few minutes) until it becomes tacky. This is a crucial step for proper adhesion.
Why Vulcanizing Fluid? Vulcanizing fluid isn’t just glue; it actually melts the rubber of the patch and tire together, creating a chemical bond. This is what makes the patch so strong and durable.
Step 9: Apply the Patch
Remove the backing from the patch and carefully apply it to the prepared area. Press firmly and evenly over the entire patch. Some patch kits include a small metal plate or roller to help with this. Apply pressure for the recommended time (usually a minute or two) to ensure a strong bond.
Step 10: Reinstall the Tube and Tire
Carefully insert the tube back into the tire, starting with the valve. Make sure the tube isn’t twisted or pinched. Then, use your thumbs to push the tire bead back onto the rim. Start opposite the valve and work your way around. If the last part is difficult, use tire levers, being careful not to pinch the tube.
Step 11: Inflate the Tire
Inflate the tire to the recommended pressure (printed on the sidewall of the tire). Check for any bulges or unevenness, which could indicate a pinched tube. If everything looks good, you’re ready to ride!
Troubleshooting Common Issues
Even with careful cleaning, you might encounter some issues. Here’s how to troubleshoot them:
| Issue | Possible Cause | Solution |
|---|---|---|
| Patch won’t stick | Insufficient cleaning, old vulcanizing fluid, not enough pressure | Re-clean the area, use fresh vulcanizing fluid, apply more pressure when applying the patch. |
| Air leak after patching | Pinched tube, insufficient cleaning, patch not properly sealed | Deflate the tire and check for pinches. Re-clean and re-patch if necessary, ensuring a tight seal. |
| Patch bubbles or peels off | Too much vulcanizing fluid, contaminated surface, incorrect application | Use less vulcanizing fluid, ensure the surface is completely clean, follow the application instructions carefully. |
Tips for a Long-Lasting Patch
Follow these tips to ensure your patch lasts as long as possible:
- Use Quality Patch Kits: Invest in a reputable brand for better materials and adhesives.
- Check Expiration Dates: Vulcanizing fluid can expire, so check the date before using it.
- Carry a Patch Kit: Always have a patch kit with you on rides for quick repairs.
- Practice Makes Perfect: Practice patching at home to get comfortable with the process.
- Consider a Tire Boot: If the tire has a large cut, use a tire boot (a small piece of durable material) on the inside of the tire before patching. This provides extra support. You can even use a folded dollar bill in a pinch!
Advanced Cleaning Techniques
For stubborn dirt or contamination, consider these advanced cleaning techniques:
- Rubbing Alcohol: Use rubbing alcohol on a clean cloth to remove grease or oil.
- Fine-Grit Sandpaper: For heavily soiled areas, use fine-grit sandpaper for more aggressive cleaning.
- Tire Cleaner: Specialized tire cleaners can remove stubborn dirt and grime without damaging the tire.
When to Replace, Not Patch
While patching is a great skill, sometimes a tire is beyond repair. Consider replacing the tire if:
- The tire has a large cut or tear (larger than a few millimeters).
- The tire sidewall is damaged.
- The tire is severely worn or has exposed casing.
- You’ve had multiple punctures in the same area.
FAQ: Cleaning Punctured Tires Before Patching
Here are some common questions about cleaning punctured tires:
- Do I really need to clean the tire before patching?
- Yes! Cleaning is essential for a strong, reliable patch. It removes dirt and debris that can prevent the patch from bonding properly.
- Can I use regular glue instead of vulcanizing fluid?
- No. Regular glue won’t create the chemical bond needed for a durable patch. Always use vulcanizing fluid or rubber cement specifically designed for tire repair.
- How long should I let the vulcanizing fluid dry?
- Let it dry until it becomes tacky, usually a few minutes. The packaging will provide specific instructions.
- What if I don’t have sandpaper?
- You can use a tire roughener, the edge of a tire lever (carefully!), or even a small piece of metal to roughen the surface.
- Can I patch a tire sidewall?
- Patching a tire sidewall is generally not recommended, as it’s a high-stress area. It’s best to replace the tire if the sidewall is damaged.
- How many times can I patch a tire?
- It’s generally safe to patch a tire a few times, but avoid patching the same area repeatedly. If you’re getting frequent flats, it’s time for a new tire.
- What’s the best way to find a very small puncture?
- The water test is your best bet. Inflate the tube and submerge it in water, looking for tiny bubbles. Add a little soap to the water to make the bubbles more visible.
Conclusion
Cleaning a punctured tire before patching might seem like a small step, but it’s crucial for a successful and long-lasting repair. By following these steps and tips, you can confidently fix your flat tires and get back on the road. Remember, a little preparation goes a long way in ensuring a safe and enjoyable ride. Now get out there and pump some pedals!


